Let’s dye a pair of shoes today! Dying shoes is a simple process that will allow you to change the look of your canvas shoes to anything you want (or need) them to look like. This is a great summer activity to do with your kids.
Have you ever wanted to dye your Toms or any other shoes? If you haven’t even thought to do that before, I don’t blame you. Some great ideas are born out of necessity.
This, my friends, is the story of a girl who dripped bleach on her Toms.
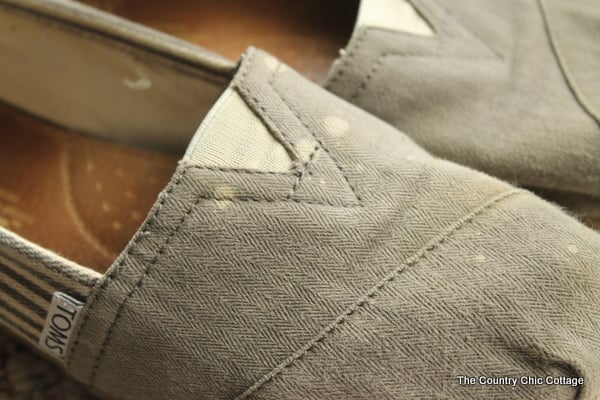
You know what happens when you do that? Spots. Lovely bleach spots. Okay- If I’m being real, I couldn’t stand looking at the bleach spots on my Toms. And there’s the necessity that sparked this project!
Now, I’m not suggesting that you go and splash bleach on your shoes. The desire to dye them a different color can just be longing for a change. Whether you have a pair of shoes that have bleach spots or you just don’t love them anymore, break out the dye and let’s get started!
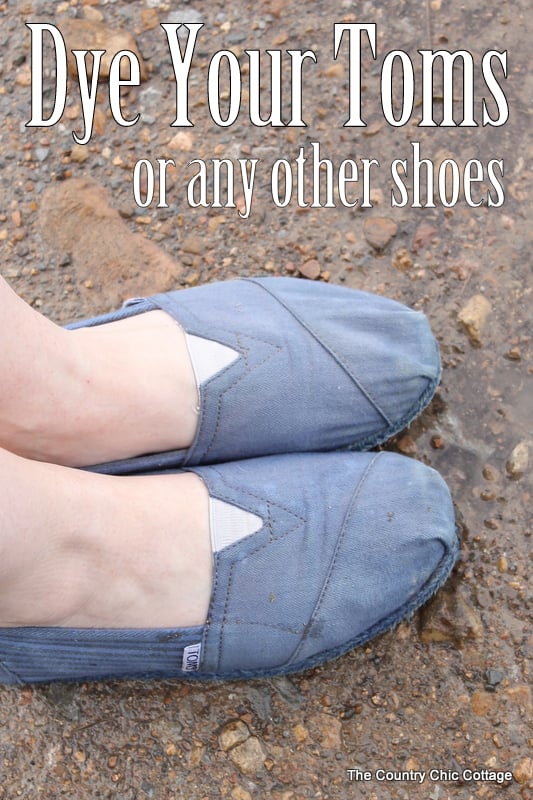
Dye Your Shoes Whatever Color You Like!
Totally changing your canvas shoes with dye can sound intimidating. I get it, but I’m here to tell you it’s really, very simple. Dye isn’t intimidating and can change your life…plus, it just might save your shoes one day.
If you want to explore more fun dye projects, try these Dyed Curtains, Dye Your Rugs, or make a Dyed Wood Desk Organizer.
Items Needed To Dye Shoes:
Here are the materials you need to do this project:
- Shoes (mine are pictured below with said bleach spots **sigh**)
- RIT Color Remover
- Rubber gloves
- RIT Dye in the color of your choice (oh so many options but be sure to go DARKER than the original shoe color to make it easier on you)
- RIT Dye Fixative (this is optional but I would recommend for shoes since they will get wet)
- Salt (used with cotton fabrics)
- Old clothes, rags, etc
- Large pot that your shoes will fit into (cannot be aluminum)
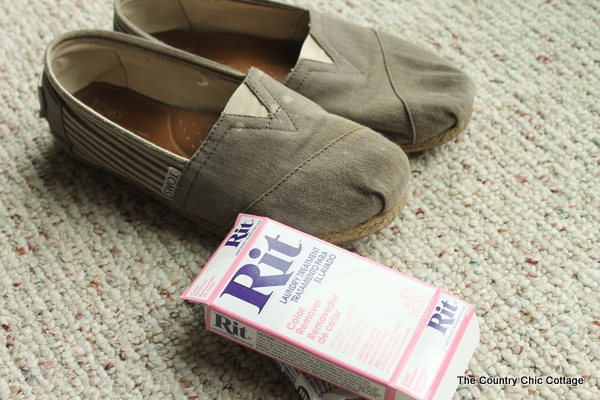
Here’s a close up of my spotty shoes in case you want to see the bleachy issue.
How To Dye Shoes: Step By Step Tutorial
Here’s the process I used to dye my Toms shoes, but it would also work to dye any canvas shoes you have.
Step 1
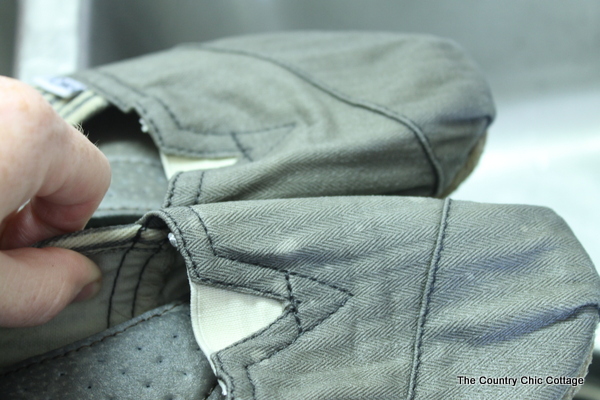
I started with the Rit Color Remover. Make sure to read all of the instructions that come in your package. The heated method apparently works the best. Unfortunately, it STINKS, so open windows for ventilation before beginning the procedure.
What does the Rit Color Remover do?
It helps remove some of the color from your shoes so that they’re easier to dye. The color remover will have varying degrees of success depending on the fabric. I was pleased that I was dealing with a lighter version of my original shoes disaster.
Step 2
After using the Rit Color Remover, it’s time to dye your shoes.
Remember, dye is not intimidating! All you need to do is follow the instructions carefully. Grab your bottle of RIT dye and read everything FIRST.
I make every attempt to follow along with those instructions when dying anything. Tons of information can be found on the RIT studio as well if you are thinking of trying out dye on a different item.
Step 3
Next comes the step of setting the dye. If you dye shoes, I recommend that you use the RIT dye fixative to make sure they don’t bleed or change color when they get wet (which is inevitable).
Follow the complete instructions on the box.
Step 4
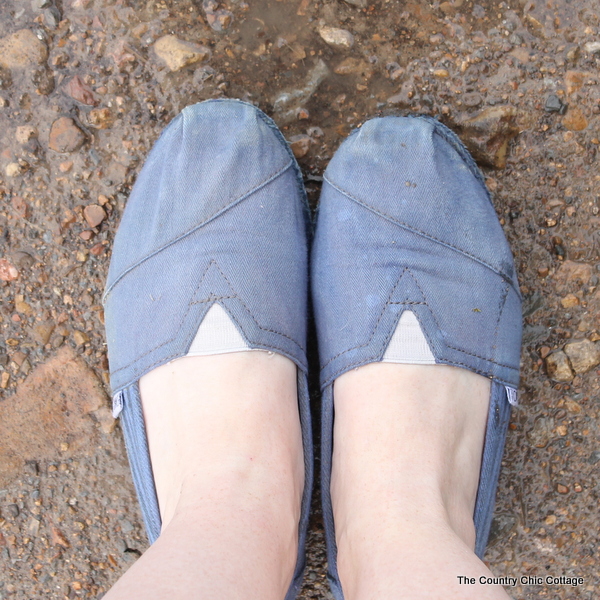
I washed my shoes in the washing machine after I finished the entire process, and they’re perfect! I’m thrilled with the results. I felt the need to take some after pictures of my new dyed shoes (with the photo bombing pup!).

This little guy thought differently. He was sure it was time to pet him instead of taking pictures of myself wearing dyed shoes! That is why you’ll see specs of mud on my perfectly dyed shoes in all of these after shots. 🤦
Just look at him y’all…you can’t be mad!
How To Dye Shoes: Final Thoughts
You can still notice the bleach spots if you really look closely. However, in person, they are way less noticeable, which I love. I have been wearing my new dyed Toms everywhere and have had zero issues with the dye – that fixative really works!
And, if you will notice, the dye does not work on the tag because of the material type. So not only do they look amazing dyed, but they look like they were meant to be that way! Win-win!
So take the time to dye your shoes a fun color, whether they’re Toms or any other shoes!
Check Out These Posts For More Fun With Dye:
- DIY Tie Dye Curtains
- How to Dye Your Rugs
- Dyed Glitter Clothespins
- Dip Dyed Curtains
- Wood Tie Dye Art
- Dip Dyed Burlap Bag
Supplies
- Shoes
- Rubber gloves
- RIT Color Remover
- RIT dye in the color of your choice
- RIT dye fixative
- Salt
- Old rags or clothes
- Large pot for your shoes *make sure it's not aluminum
Instructions
- Start by using the RIT Color Remover. You can find a link to online directions in the notes below.
- Dye your shoes. Follow the dyeing instructions (link is down below in the notes).
- Set the dye using the RIT Dye Fixative. You can find a link to online directions in the notes below.
- Wash your shoes in the washing machine to remove any extra dye.


Did you cover the rubber or did the dye not take to it?
The dye just doesn’t take to it!
Did the TOMS tag get bleached or dyed?
The tag didn’t change color. The material it is made out of did not absorb the dye.