Make your own outdoor serving tray with this craft tutorial. A simple project that will last for years. Customize with your own paint colors and fabrics.
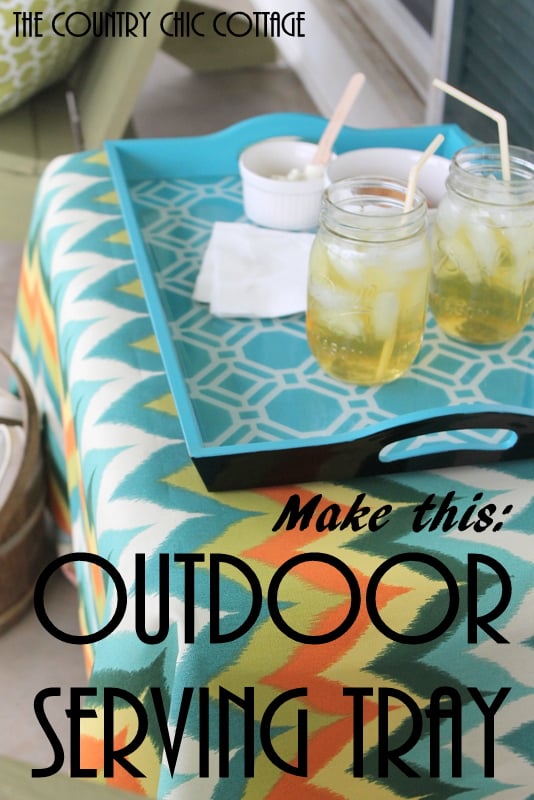
Over a year ago, I made this outdoor serving tray for the DecoArt blog. It has held up so well and has been so useful around our home that I thought I would share it here today. I am a part of the DecoArt design team; however, all projects and opinions are my own. Are you ready to make your own version of this outdoor serving tray? I promise it is not as hard as it looks!
I’ve done a couple of similar projects like this one. Try this vintage map tray, button American flag tray, or decoupaged sheet music tray for another style!
How To Make A Decoupaged Serving Tray
Supplies need to make an outdoor serving tray:
- Americana Decou-Page Matte
- Patio Paint Desert Turquoise
- Fabric (your choice; however, mine comes from Fabric.com)
- Sponge Roller (optional)
- Alumilite Amazing Clear Cast
- Craft knife
- Straight edge
My large wood tray actually came from the thrift store. Any tray will do in any size you like. I painted the top of the tray with the patio paint in desert turquoise. The sides and bottom were already black. The patio paint adds extra durability for this project for outdoors. Allow the paint to fully dry and cure before continuing.
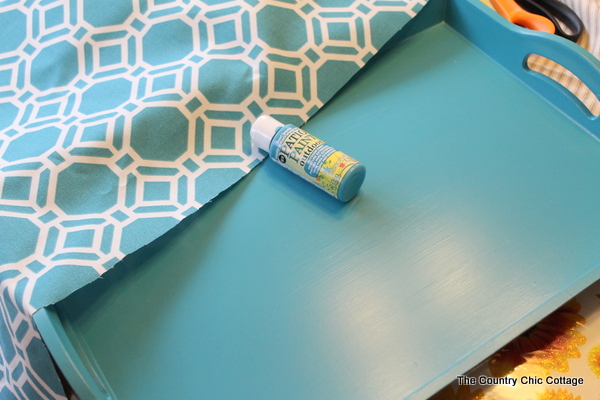
I then grabbed my Americana Decoupage and got to work with the fabric. The fabric is cut slightly larger than the bottom of my tray. I had that sponge roller in my crafting supplies, and it will make the job go a little quicker, but it is not required. A brush will also work fine. I think a straight edge helps you smooth your fabric. An old credit card will do the job here as well.
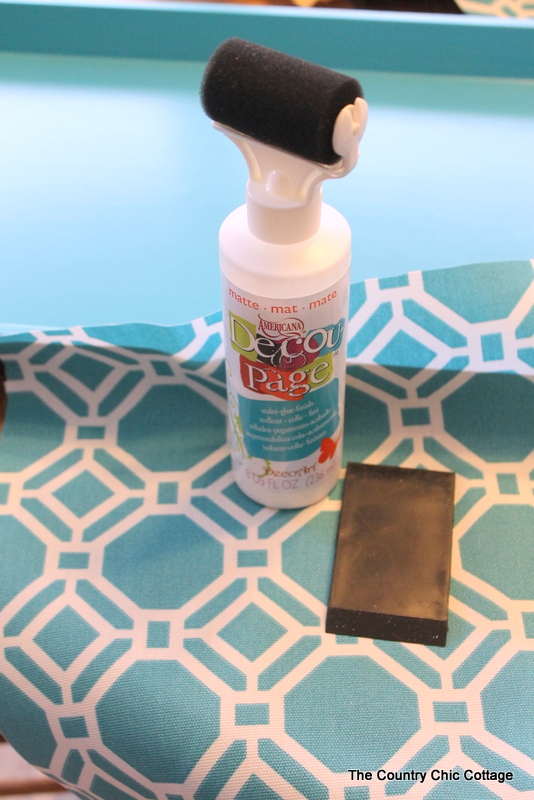
Apply the decoupage to the bottom of the tray in an even coat and apply your fabric. Press down with a straight edge or old credit card, smoothing the fabric and eliminating any wrinkles. Press all the way to the corners of the tray. Keep any pattern on your material as straight as possible.
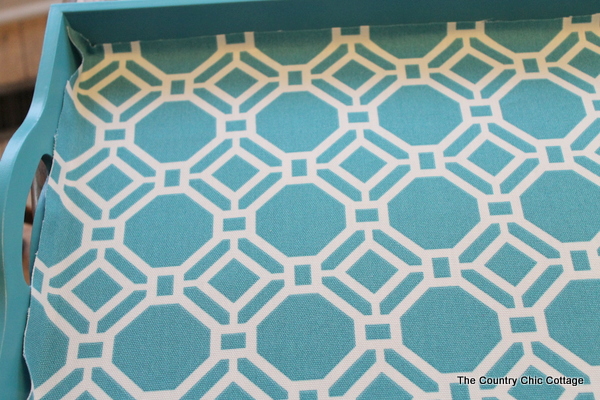
Now, use a craft knife along with your straight edge and trim the excess fabric around the edges. Press with the straight edge or credit card and cut along the line with your craft knife. Continue all the way around the tray. Allow the decoupage to dry completely on this step before continuing.
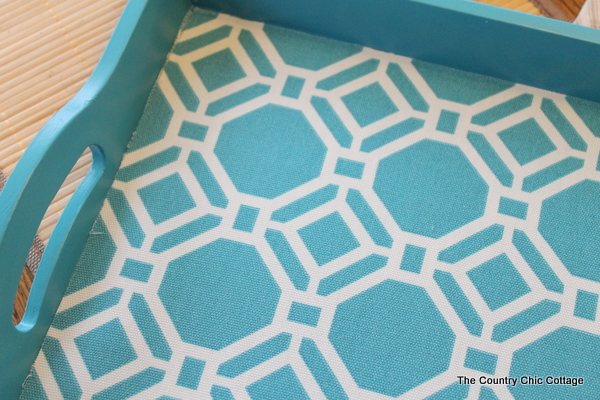
Apply an even coat of decoupage on top of your fabric. This will seal the fabric for the epoxy layer we are going to add. Allow this to dry at least overnight.
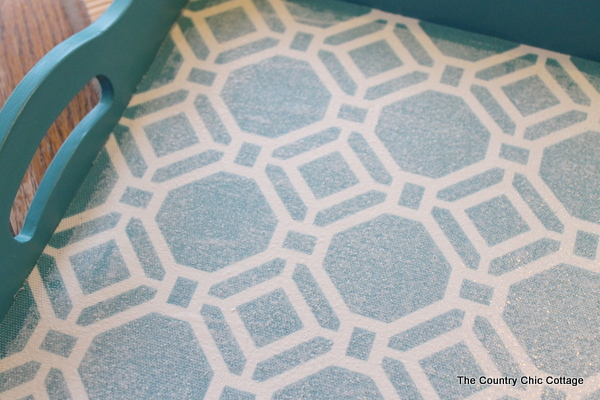
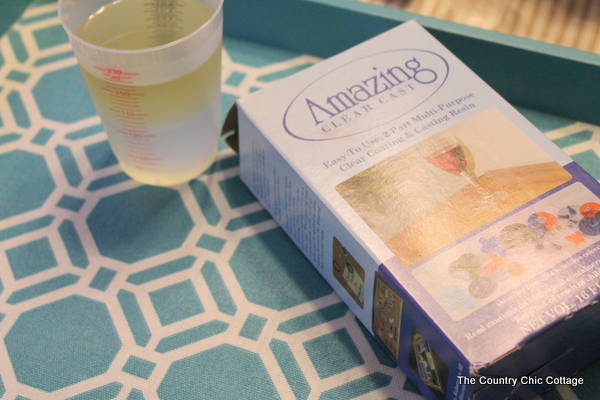
I used Amazing Clear Cast Resin on my project. There are a variety of two-part casting resins on the market, and any of those will work. For best results, you need to follow the package directions of the brand you choose. Working with resins can be intimidating, but it is very simple. Following directions is key. Mix very well and according to the package directions. Always set a timer and mix according to the times on the package. Once mixed according to the package directions, pour into your tray and spread to all of the edges. A flame can be used after pouring to pop bubbles on the surface of your resin. I use a standard lighter that has a long arm and wave it over the surface.
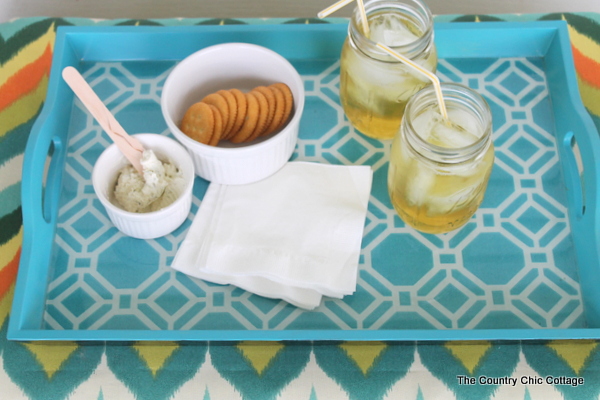
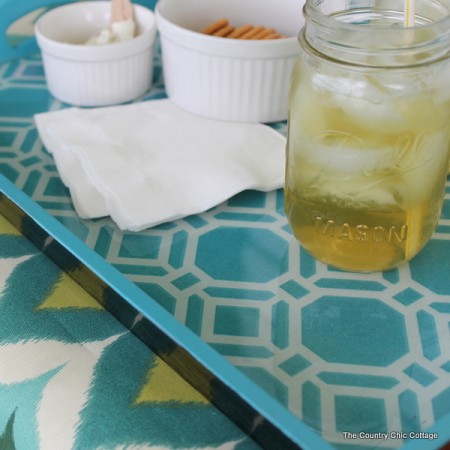
This layer will have to be cured for at least 24 hours. Do not touch the surface while it is curing. The epoxy layer gives the look of glass to your finished project. Plus, it will protect your fabric-lined tray from any damage. This epoxy has kept my outdoor serving tray looking good for an entire year, and I leave it on my porch! I can’t wait to see how many more years I can get out of it.
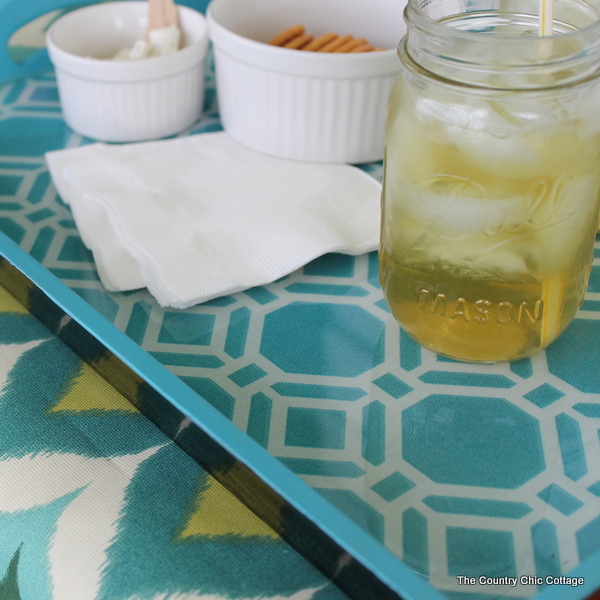
Now, would anyone like some sweet tea? I am serving up drinks and snacks on the porch with my outdoor serving tray. Make your own version by following these instructions. Just be sure to invite me over!
I am compensated as part of the DecoArt design team; however, all projects and opinions are my own.
Struggling with resin and need help?
I know that a ton of you are intimidated by resin. Don’t be! You just need to know the basics and gain some experience with the medium. I have a course that will help you master epoxy resin and give you the confidence you need to tackle this project and so much more.
With unique insights drawn from more than a decade of creating and selling resin jewelry worldwide, this course is from an Amazon best-selling author on the topic. This class goes beyond making a few projects. You get thirty video lessons to give you clear directions on how to make resin jewelry you can confidently share and sell. Want to see more?
Equipment
- Fabric (your choice however mine comes from Fabric.com)
- Sponge Roller (optional)
- Craft knife
- Straight edge
Supplies
- Americana Decou-Page Matte
- Patio Paint Desert Turquoise
- Alumilite Amazing Clear Cast
Instructions
- I painted the top of the tray with the patio paint in desert turquoise. The patio paint adds extra durability for this project for outdoors. Allow the paint to fully dry and cure before continuing.
- Apply the decoupage to the bottom of the tray in an even coat and apply your fabric. Press down with a straight edge or old credit card smoothing the fabric and eliminating any wrinkles. Press all the way to the corners of the tray. Keep any pattern on your material as straight as possible.
- Now use a craft knife along with your straight edge and trim the excess fabric around the edges. Press with the straight edge or credit card and cut along the line with your craft knife. Continue all the way around the tray. Allow the decoupage to dry completely on this step before continuing.
- Apply an even coat of decoupage on top of your fabric. This will seal the fabric for the epoxy layer we are going to add. Allow this to dry at least overnight.
- Now mix the Amazing Clear Cast Resin according to the package directions. Then, just pour into your tray and spread to all of the edges. A flame can be used after pouring to pop bubbles on the surface of your resin. I use a standard lighter that has a long arm and wave it over the surface.
- Allow to cure for at least 24 hours. Do not touch the surface while it is curing.


