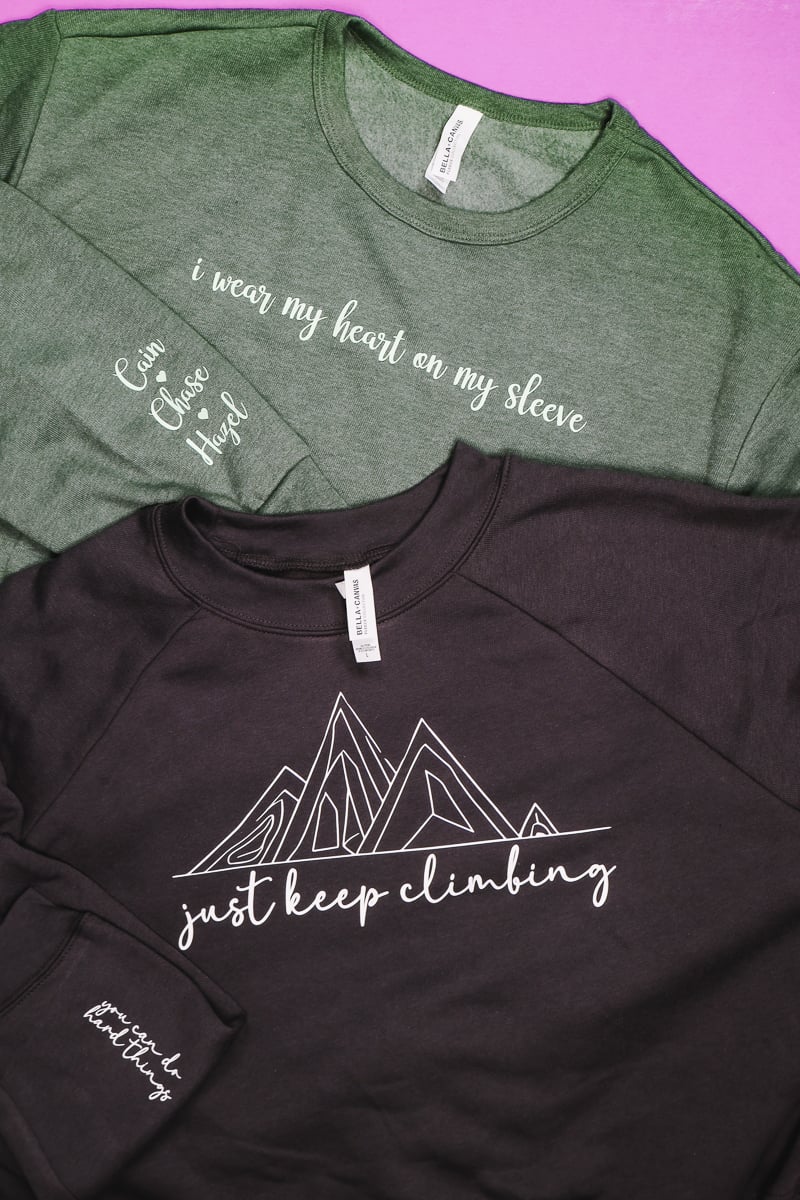
Today I am going to teach you how to make Cricut sweatshirts with coordinating designs on the chest and wrist. This is such a fun project. There are so many different combinations you could do using this tutorial, I can’t wait to see what you come up with.
I’m using my EasyPress for today’s project. For more information on how EasyPresses and Heat Presses are similar and different, my comparison article can help.
Cricut Sweatshirts with Designs on Wrist and Chest
I am a huge fan of the BELLA+CANVAS fleece sweatshirts. They’re really soft and comfortable. I love that they have a wide variety of colors, fits, and styles. There is definitely something for everyone.
Make sure you check them out and don’t forget you can purchase BELLA+CANVAS wholesale without a reseller’s license here!
I’m including the free SVG for the Just Keep Climbing design. You can get that at the link below. For the Heart On My Sleeve design, I created that one directly in Cricut Design Space.
Supplies Used
- Free SVG file
- BELLA+CANVAS Maker’s Account for Sweatshirts
- Cricut Machine
- Siser Easyweed
- EasyPress
- EasyPress Mat
- Weeding Tools
How to Make Cricut Sweatshirts
To begin we need to decide on our design. You can create a design right in Design Space using fonts in the program or upload your own design.
How to Upload a Design in Design Space
From the Design Space canvas, click Upload and then from the next screen click Upload again. Locate the design on your computer and select it. Upload it as a cut file into Design Space and add it to the canvas.
You can then resize the image to fit your sweatshirt.
How to Create a Design in Design Space
I am using the Annie Leu font in Design Space for the I Wear My Heart On My Sleeve design.
My text across the chest is just under 10.5 inches wide and just over an inch tall.
For the names on the sleeve, the size will depend on the length of the names you’re adding. Just make sure they’re not too large or too small.
I adjusted mine and added hearts between each name and then attached them all. Once they’re attached, you can resize the whole thing to fit the sleeve. Because they’re attached they will cut out together.
How to Cut HTV with a Cricut
HTV can be cut on any Cricut machine. I am using my Explore 3 today. Before you select the material don’t forget to mirror your design. Add the HTV to the cutting mat shiny side down.
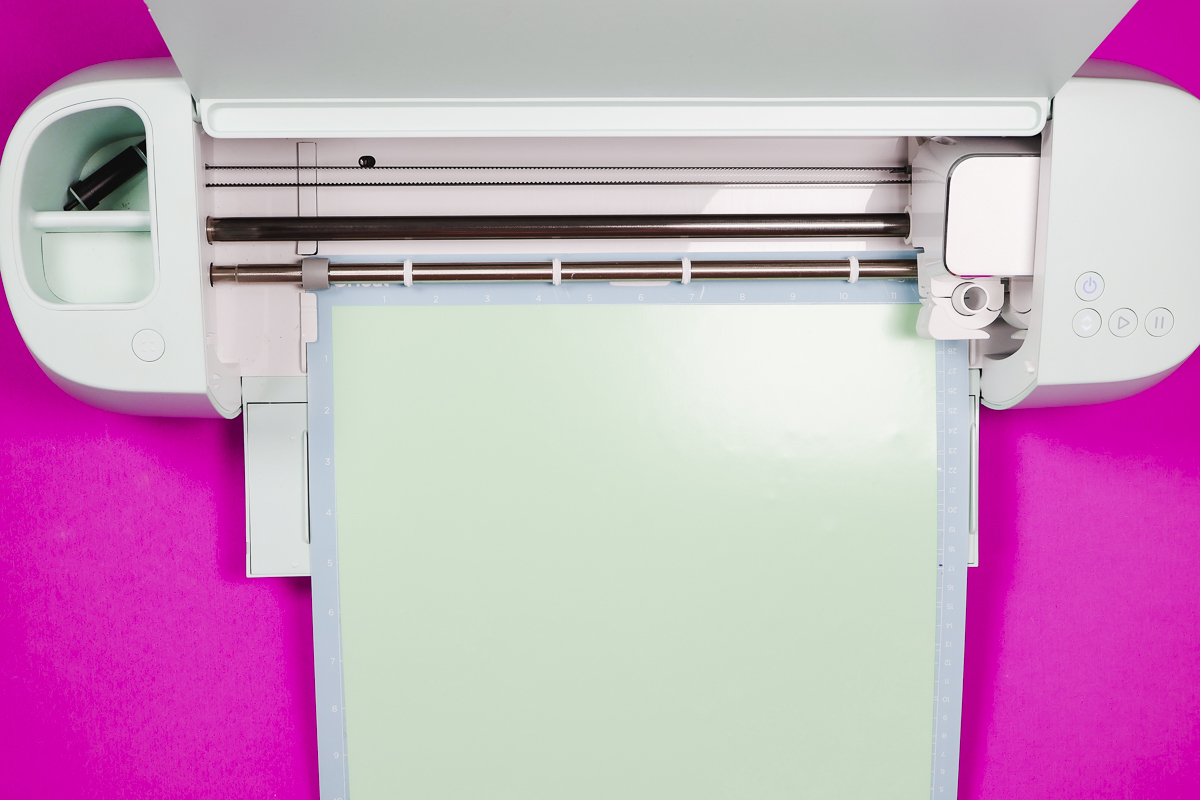
Choose the correct material within Design Space and load the mat into the machine. Press Go and allow the machine to cut out the design.
When it’s finished, unload the mat and remove the material from the mat.
Free HTV Cheat Sheet
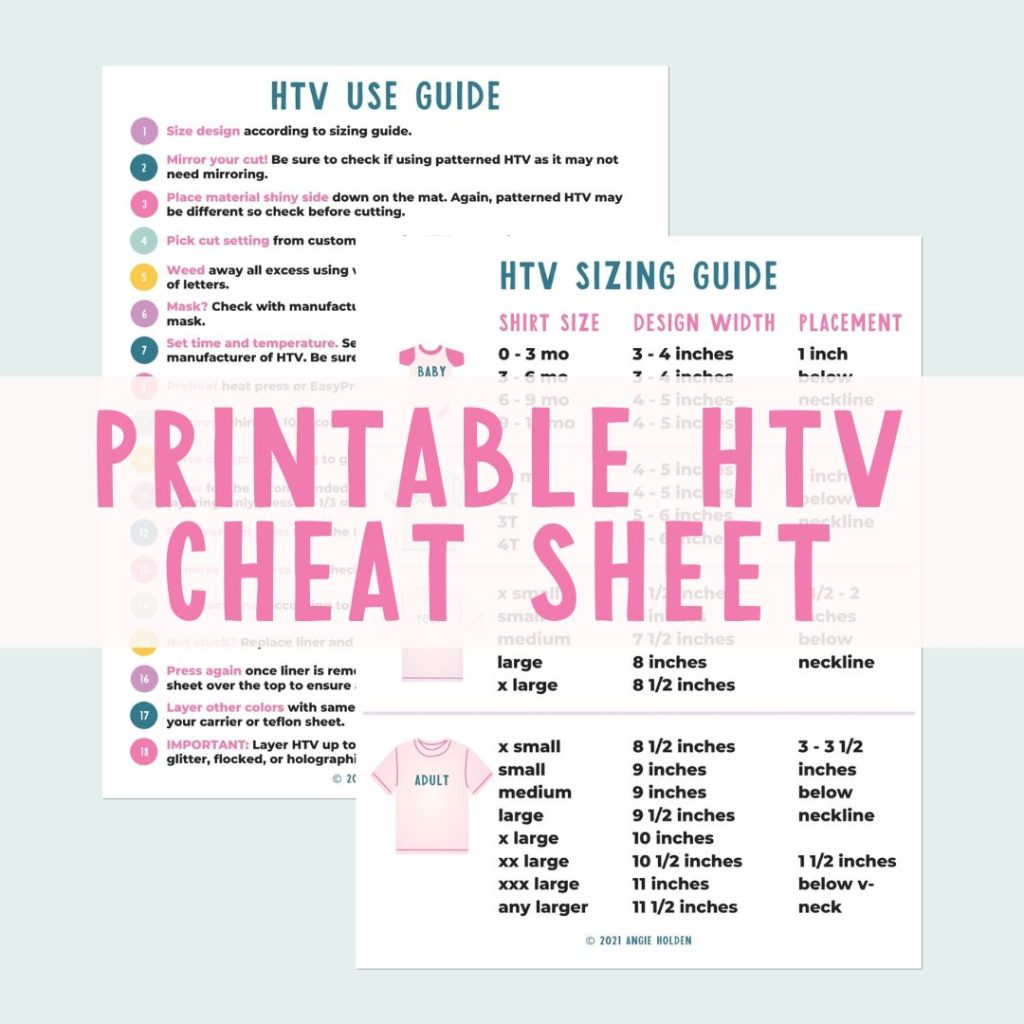
Get your FREE Printable HTV Cheat Sheet now! This guide has sizing and position recommendations for infant through adult shirts as well as a handy HTV use guide. Print this double sided guide and put it by any heat press you own!
How to Weed HTV
To weed the design you’ll need a weeding tool. First, use a pair of scissors to trim around the design.
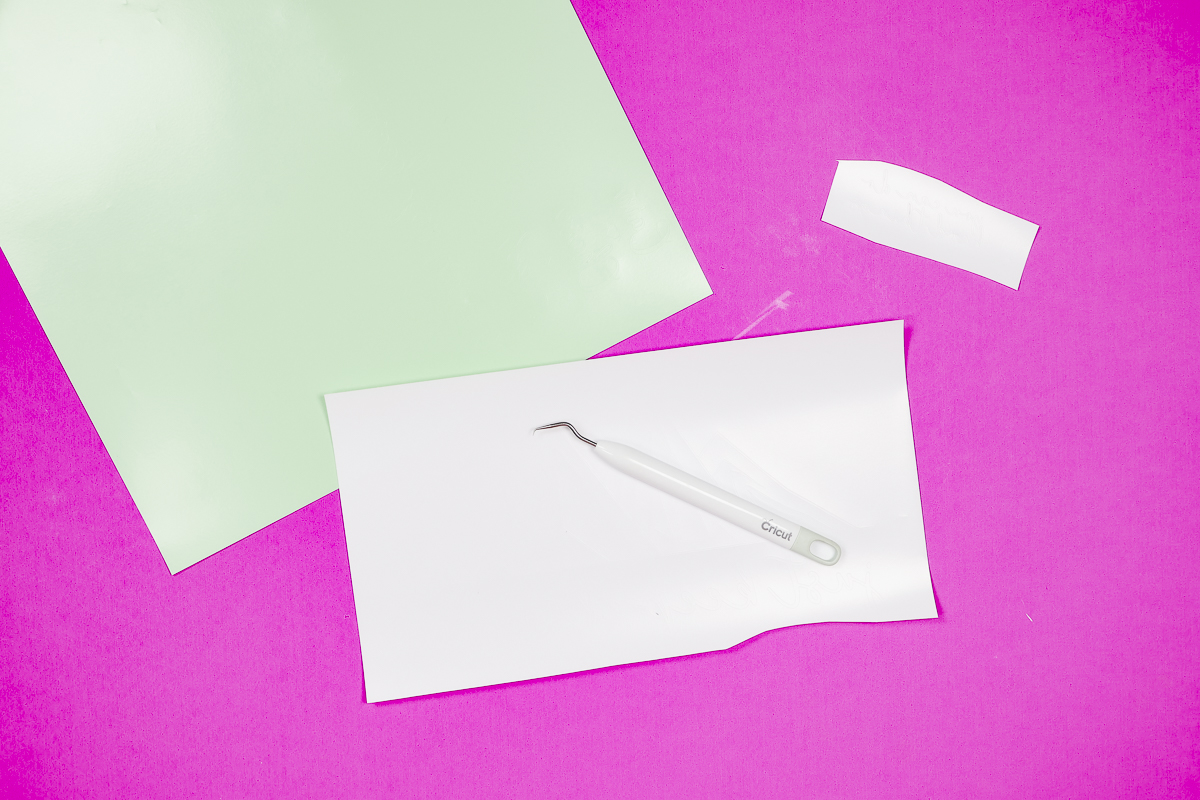
Make sure you weed out the insides of all the letters and other design elements.
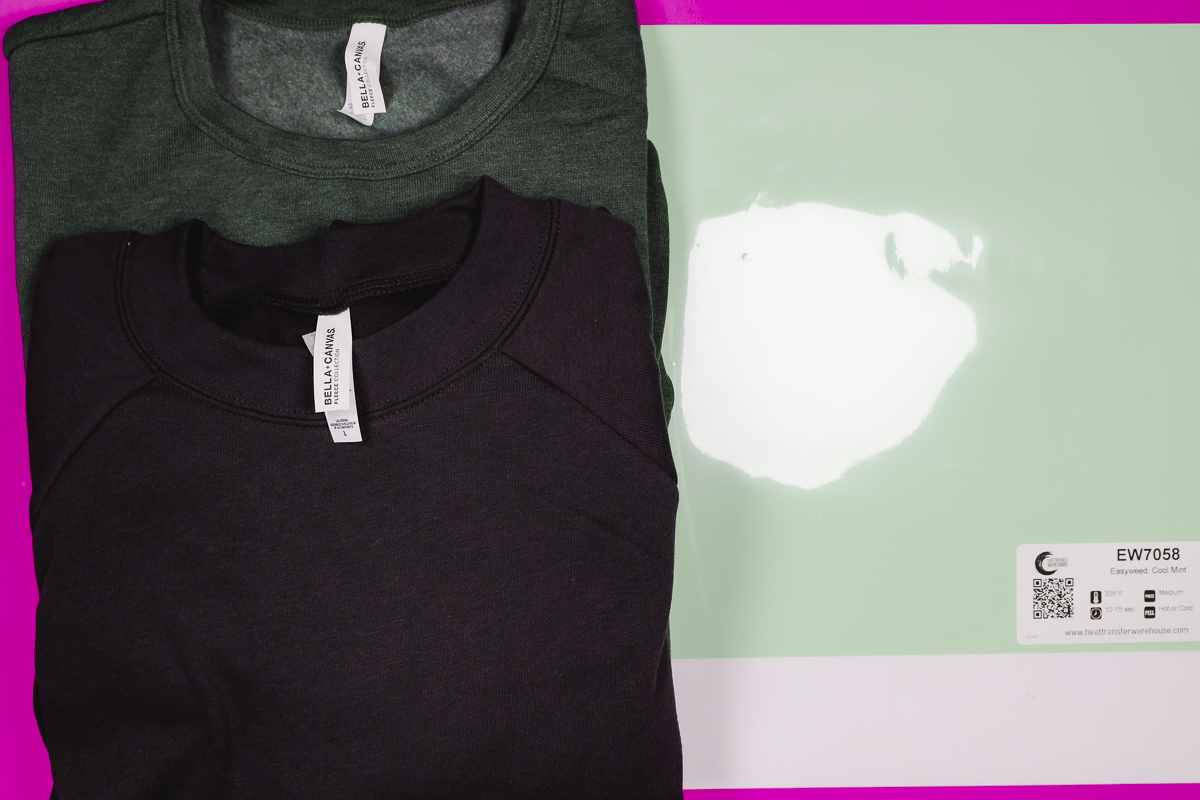
I’ve weeded the designs for both shirts. I am using both mint green and white HTV for my sweatshirts today.
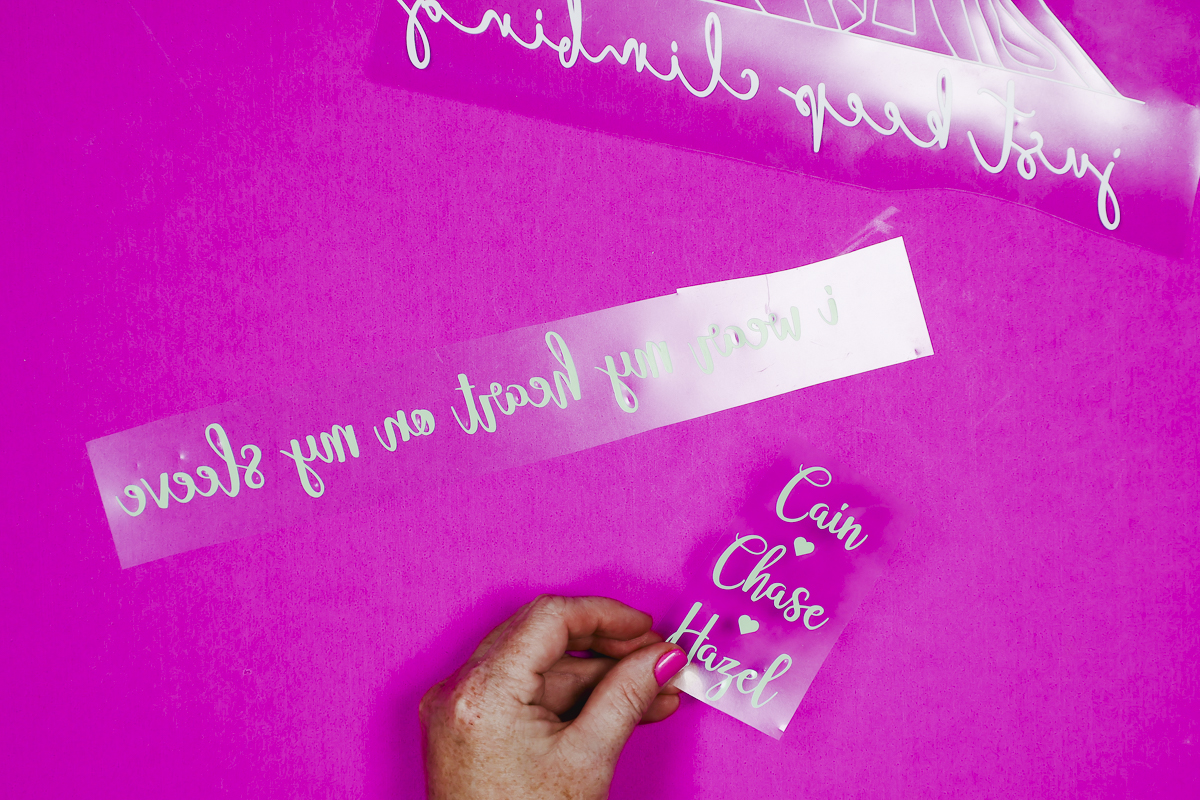
Now that everything is weeded it’s time to prepare the sweatshirts.
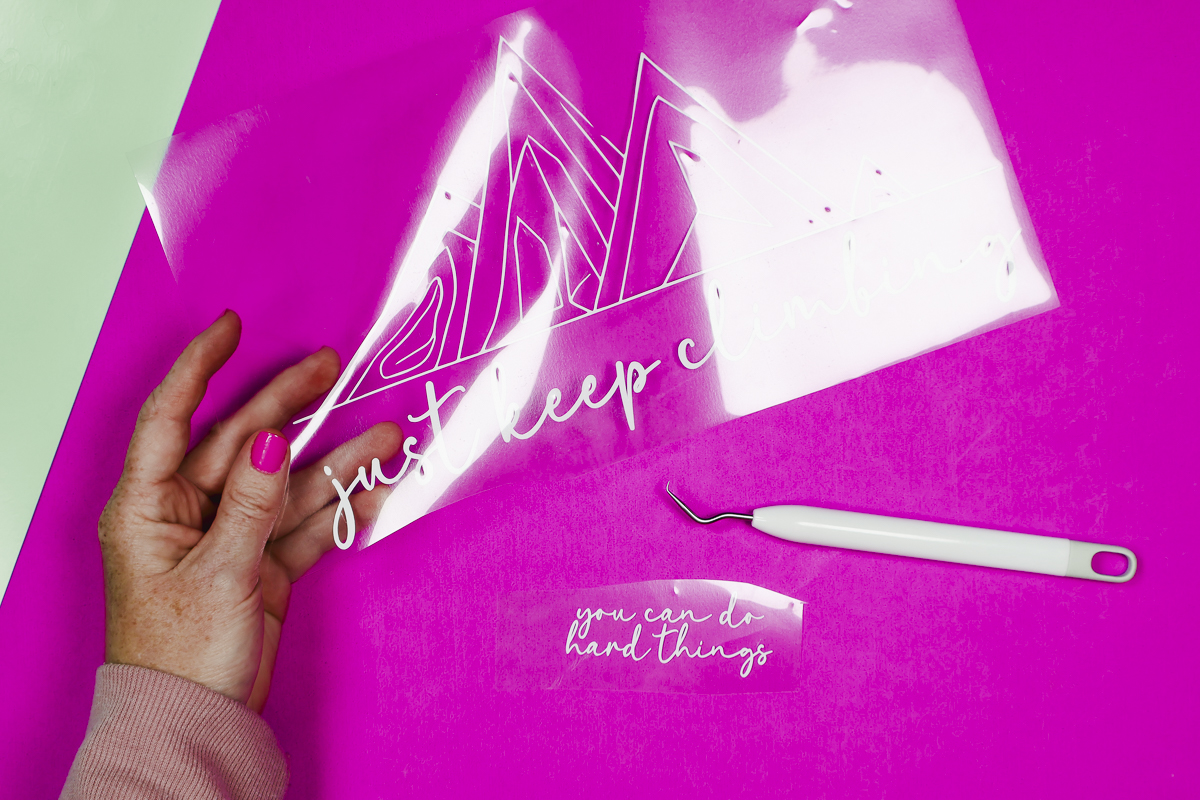
Prepare Sweatshirts for HTV
I am using my EasyPress to make these Cricut sweatshirts. You can also use the Autopress or a different Heat Press.
Before locating the design you need to prepare the fabric for HTV. First, we need to preheat the fabric to remove moisture and wrinkles. I am using Siser Easyweed so I have my EasyPress set to 305 degrees and the time set to 15 seconds.
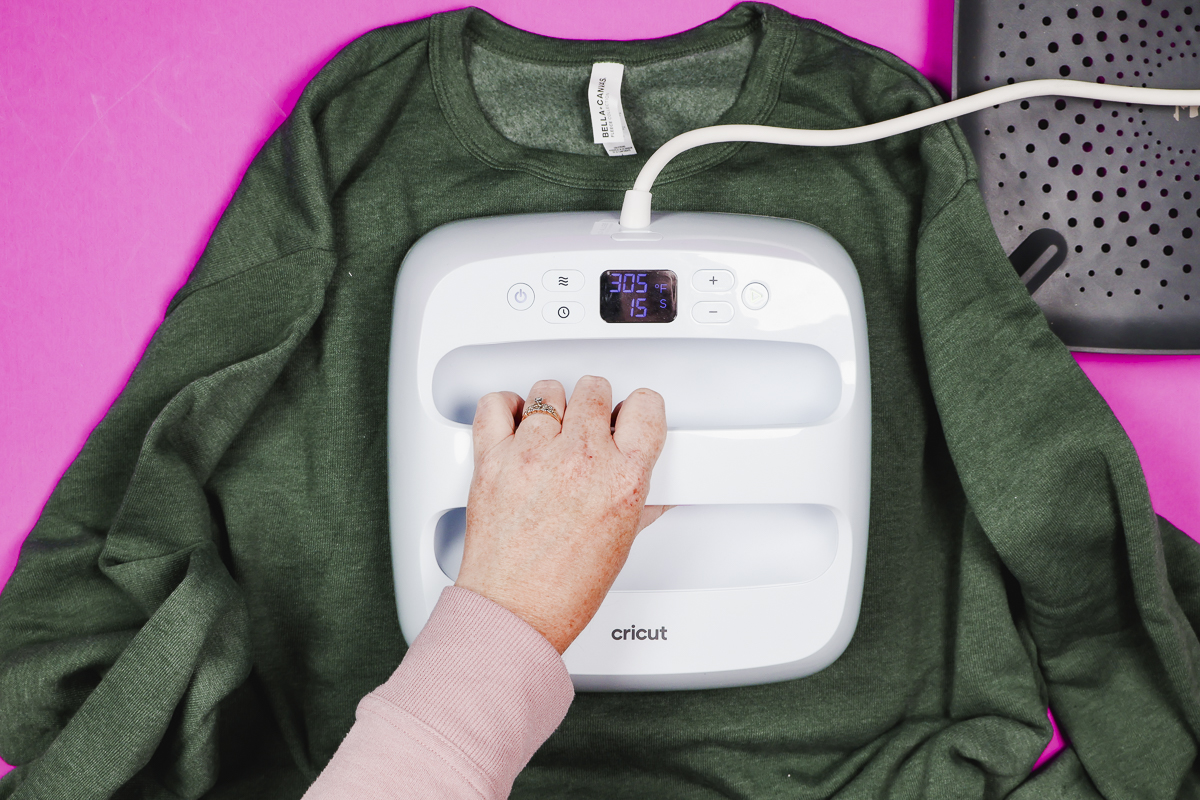
Place the sweatshirt onto the EasyPress Mat and press for a few seconds to remove moisture. After preheating, use a lint roller to remove any lint, hair, dust, or other debris.
Locate Designs Onto Sweatshirts
Now that the sweatshirt is ready it’s time to locate the designs. I like to place the HTV right across the middle of the chest. I find it’s helpful to crease the carrier sheet right in the middle to help make sure it’s centered.
Press the whole design for the full-time. My design is just over 10 inches and the EasyPress I’m using is 9 inches. I had to press my design in two parts. Press each section for the full-time called for by your material.
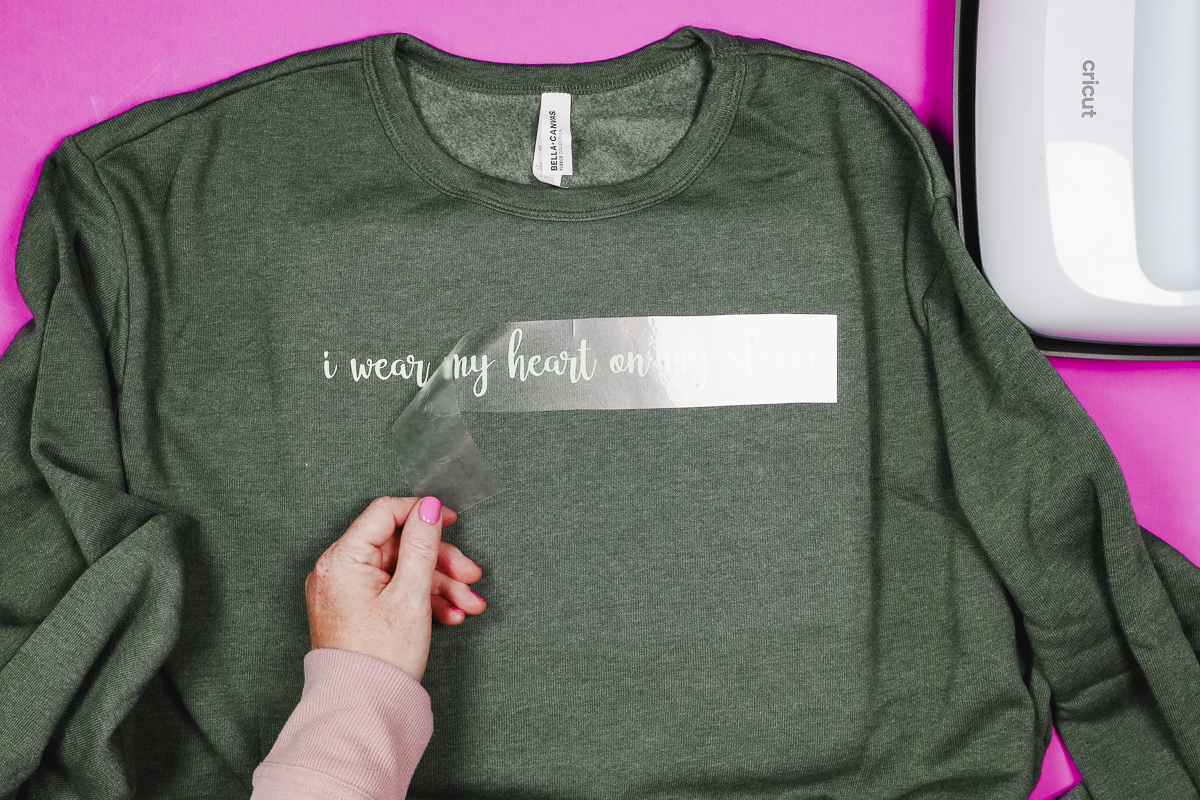
This HTV is a warm or cool peel material. Allow it to cool for a few seconds and then peel back the carrier sheet. With the carrier sheet removed, this portion of our Cricut sweatshirt is done.
How to Locate Sleeve Designs
With that part of the sweatshirt finished, it’s time to locate the design for the sleeve.
How your design is located will depend on the design itself. Do you want the design to be more personal, just for you or do you want it to be readable to others?
For this design, I wanted the names to be readable to others so I have located them that way.
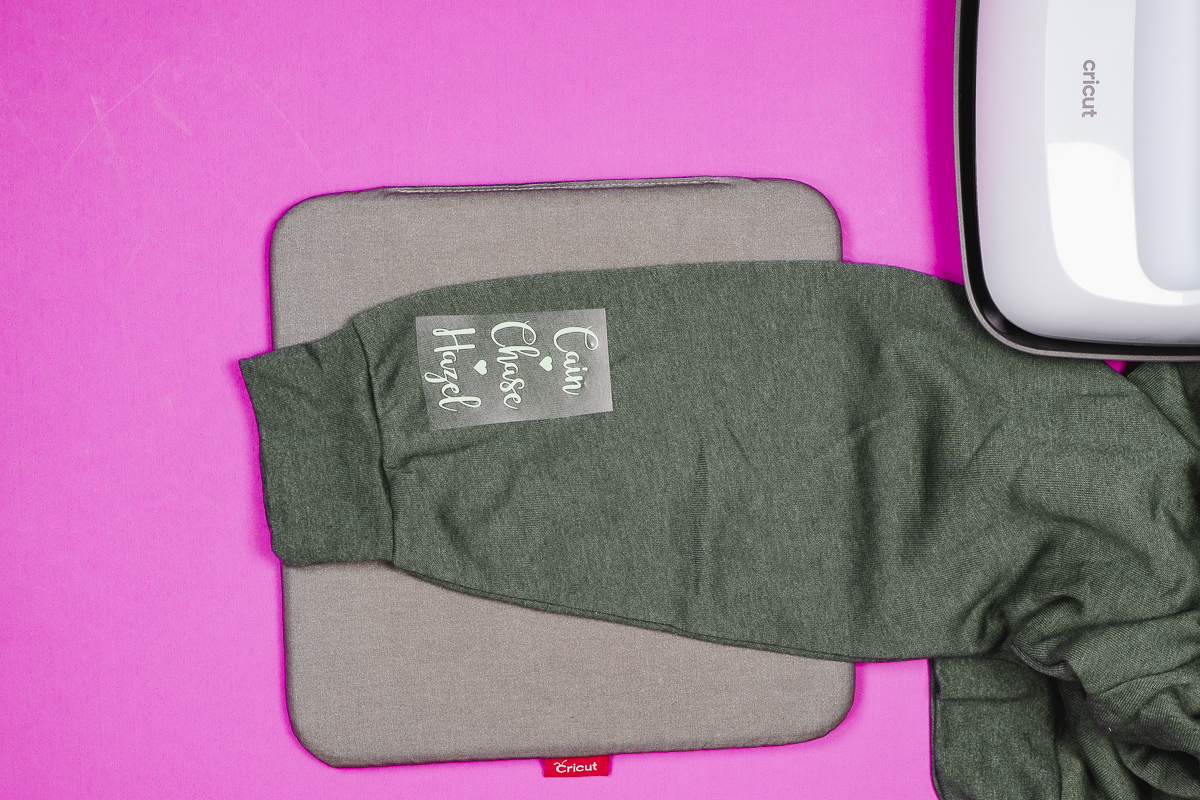
Press the Sleeve Design onto the Fabric
Using the EasyPress and EasyPress Mat press the design onto the sleeve just like we did before. You’ll find the design adheres best if you avoid hitting seams with the press. Seams can prevent the heat plate from coming into consistent contact with the HTV. When possible, place the seams outside of the heat area.
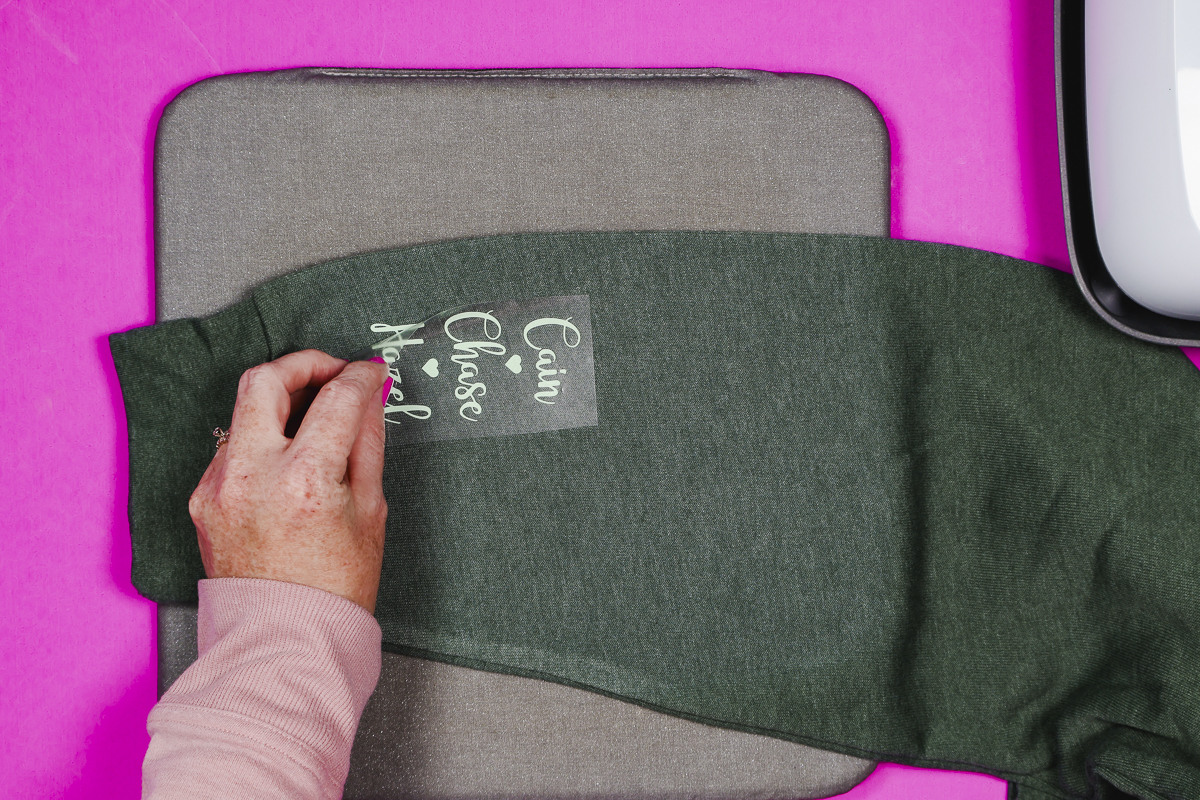
Press for the full-time and then allow the material to cool slightly before removing the carrier sheet.
Close Up of Finished Cricut Sweatshirts
Let’s look at those finished Cricut sweatshirts. On this sweatshirt, I located my sleeve design facing out so the names can be read by others easily.
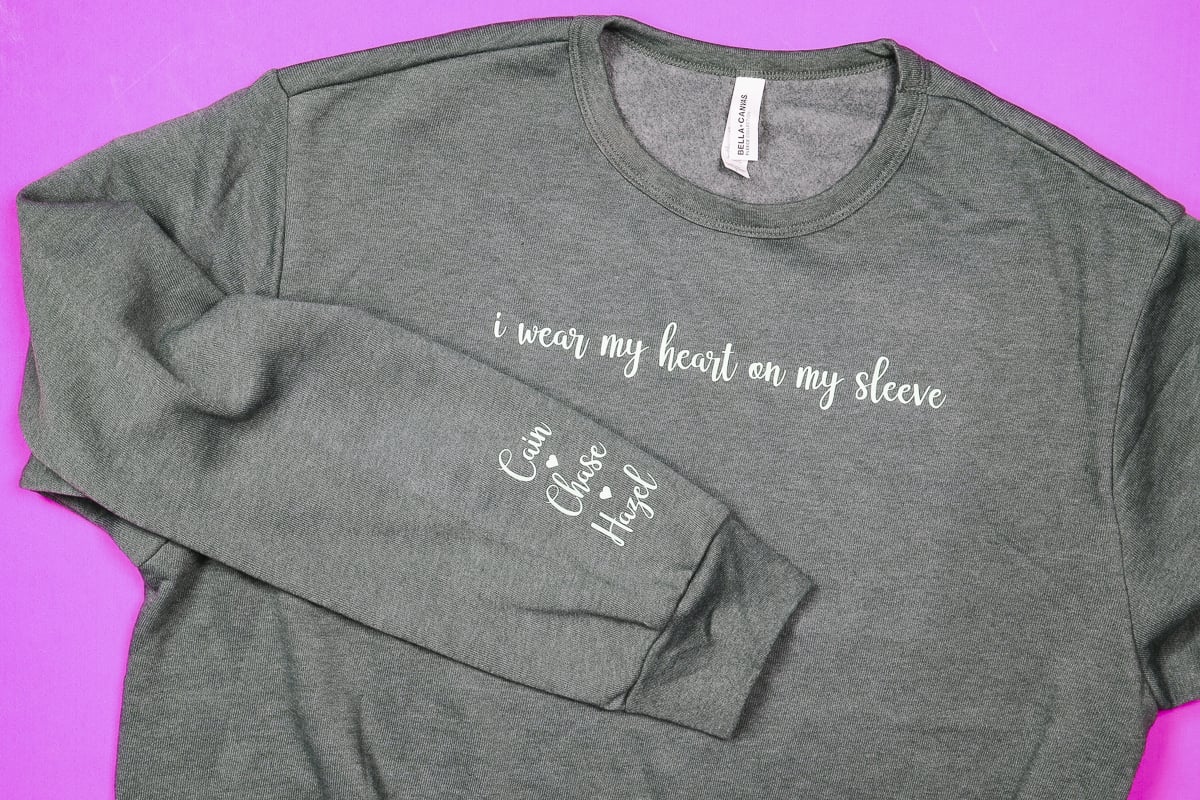
With my grandkids’ names on the sleeve, I really am wearing my heart on my sleeve.
This is the free design you can get at the link above.
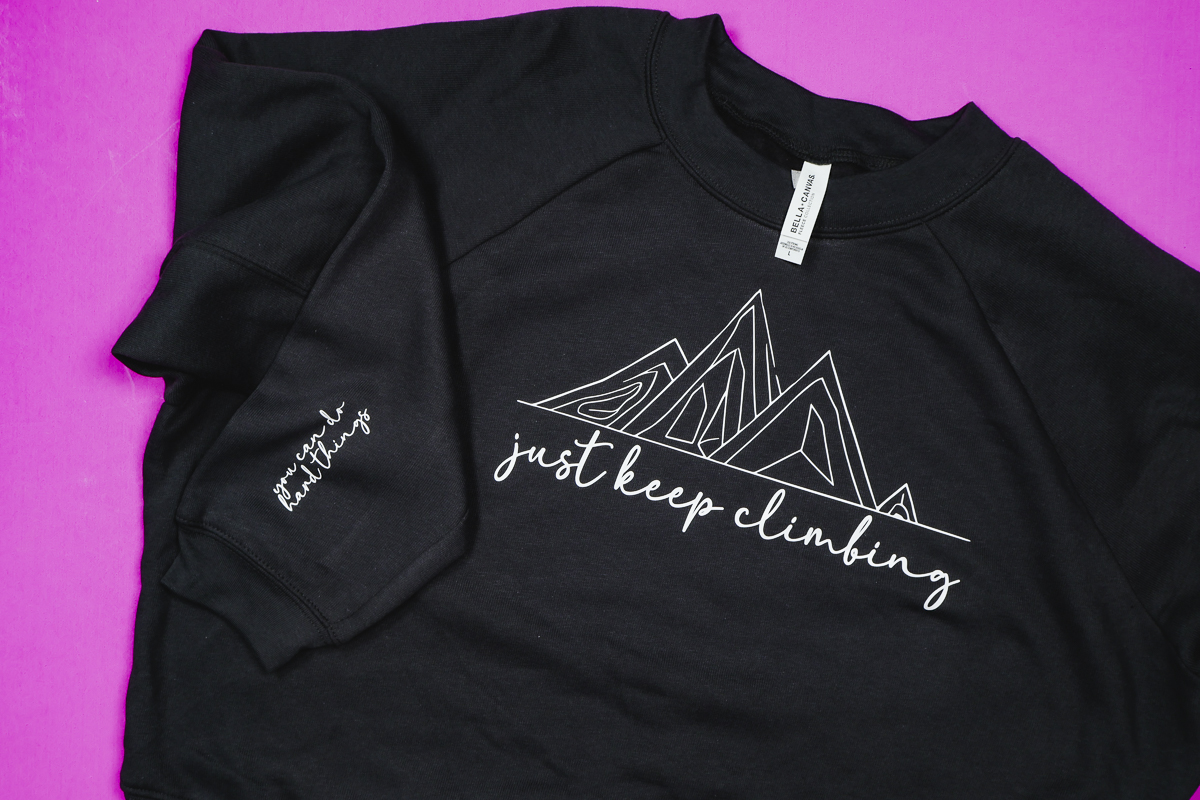
For the sleeve design on this sweatshirt, I placed it sideways right at the wrist so I can read it as I’m wearing the sweatshirt.
The options for these Cricut sweatshirts are endless. From family names to inspirational quotes, you can add anything you want to the sweatshirt.
Final Thoughts on Making Cricut Sweatshirts
I hope these two Cricut sweatshirt ideas have given you some ideas for creating your own. I’m already thinking of how fun it would be to create these for different sports teams and holidays. When I said the ideas are endless, I wasn’t joking.
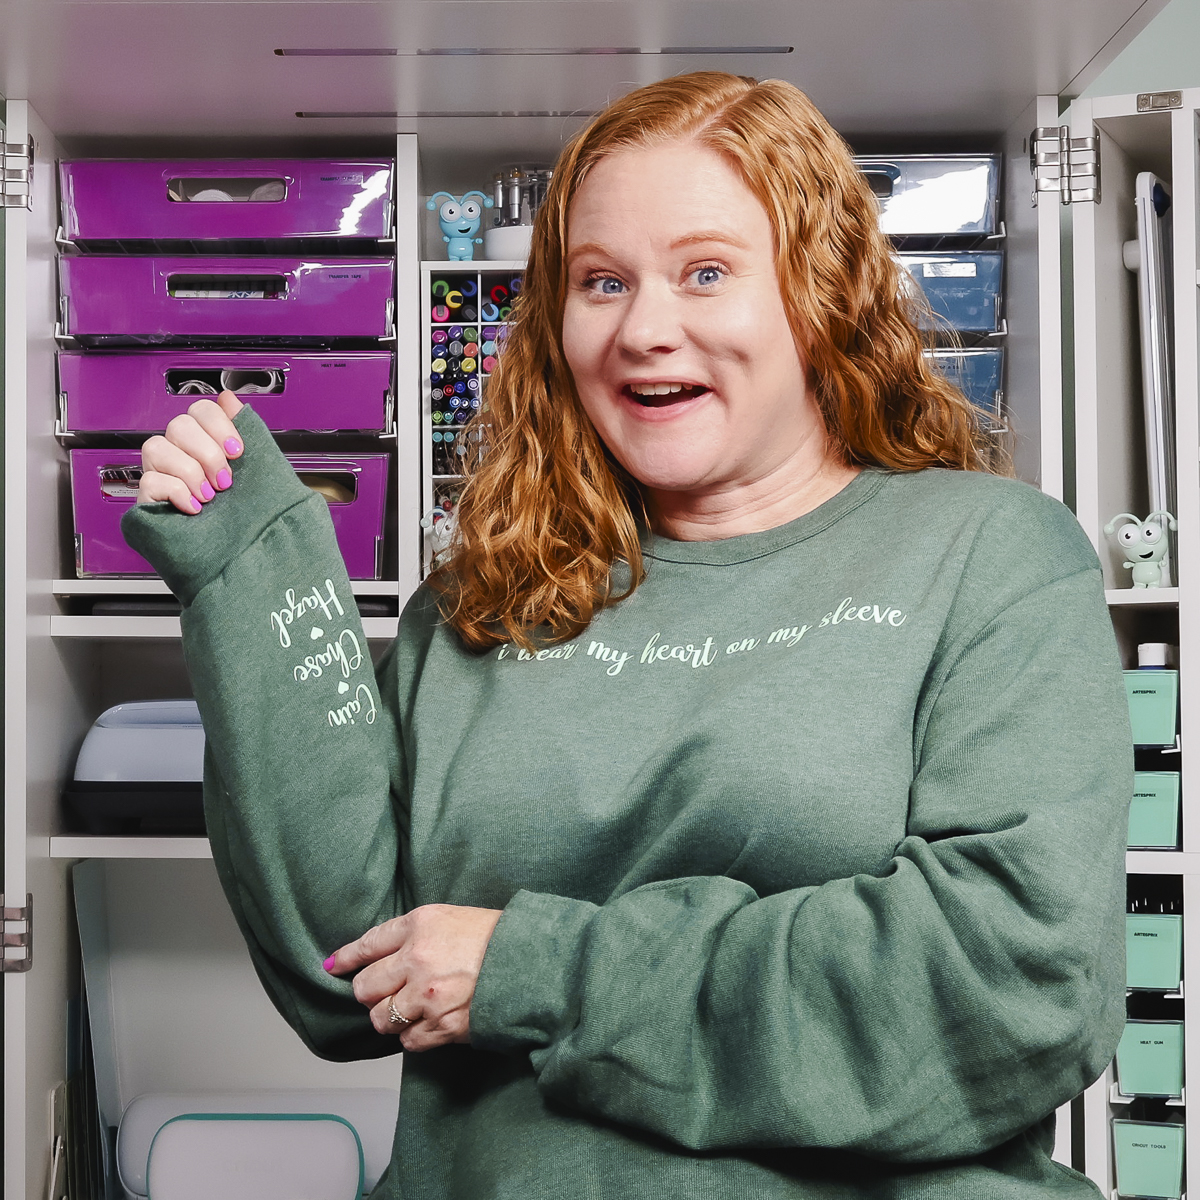
If you’re ready to make your own, don’t forget to check out the different BELLA+CANVAS sweatshirt options. From cropped to oversized and traditional to trendy and even kid’s sizes, there are options for everyone.
If you have any questions about creating your own Cricut sweatshirts leave them in the comments and I’ll be happy to answer them for you.
Equipment
- EasyPress
Supplies
- Free SVG file
- BELLA+CANVAS Sweatshirts
- Siser Easyweed
Instructions
How to Make Cricut Sweatshirts
- To begin we need to decide on our design. You can create a design right in Design Space using fonts in the program or upload your own design.
How to Upload a Design in Design Space
- From the Design Space canvas click Upload and then from the next screen click Upload again. Locate the design on your computer and select it. Upload it as a cut file into Design Space and add it to the canvas.
- You can then resize the image to fit your sweatshirt.
How to Create a Design in Design Space
- I am using the Annie Leu font in Design Space for the I Wear My Heart On My Sleeve design.
- My text across the chest is just under 10.5 inches wide and just over an inch tall.
- For the names on the sleeve, the size will depend on the length of the names you’re adding. Just make sure they’re not too large or too small.
- I adjusted mine and added hearts between each name and then attached them all. Once they’re attached you can resize the whole thing to fit the sleeve. Because they’re attached they will cut out together.
How to Cut HTV with a Cricut
- HTV can be cut on any Cricut machine. I am using my Explore 3 today. Before you select the material don’t forget to mirror your design.
- Add the HTV to the cutting mat shiny side down.
- Choose the correct material within Design Space and load the mat into the machine.
- Press Go and allow the machine to cut out the design.
- When it’s finished, unload the mat and remove the material from the mat.
How to Weed HTV
- To weed the design you’ll need a weeding tool
- First, use a pair of scissors to trim around the design.
- Make sure you weed out the insides of all the letters and other design elements.
- I’ve weeded the designs for both shirts. I am using both mint green and white HTV for my sweatshirts today.
- Now that everything is weeded it’s time to prepare the sweatshirts.
Prepare Sweatshirts for HTV
- I am using my EasyPress to make these Cricut sweatshirts. You can also use the Autopress or a different Heat Press.
- Before locating the design you need to prepare the fabric for HTV.
- First, we need to preheat the fabric to remove moisture and wrinkles. I am using Siser Easyweed so I have my EasyPress set to 305 degrees and the time set to 15 seconds.
- Place the sweatshirt onto the EasyPress Mat and press for a few seconds to remove moisture.
- After preheating, use a lint roller to remove any lint, hair, dust, or other debris.
Locate Designs Onto Sweatshirts
- Now that the sweatshirt is ready it’s time to locate the designs.
- I like to place the HTV right across the middle of the chest. I find it’s helpful to crease the carrier sheet right in the middle to help make sure it’s centered.
- Press the whole design for the full-time. My design is just over 10 inches and the EasyPress I’m using is 9 inches.
- I had to press my design in two parts. Press each section for the full-time called for by your material.
- This HTV is a warm or cool peel material. Allow it to cool for a few seconds and then peel back the carrier sheet.
- With the carrier sheet removed this portion of our Cricut sweatshirt is done.
How to Locate Sleeve Designs
- With that part of the sweatshirt finished it’s time to locate the design for the sleeve.
- How your design is located will depend on the design itself.
- Do you want the design to be more personal, just for you or do you want it to be readable to others?
- For this design, I wanted the names to be readable to others so I have located them that way.
Press the Sleeve Design onto the Fabric
- Using the EasyPress and EasyPress Mat press the design onto the sleeve just like we did before.
- You’ll find the design adheres best if you avoid hitting seams with the press.
- Seams can prevent the heat plate from coming into consistent contact with the HTV. When possible, place the seams outside of the heat area.
- Press for the full-time and then allow the material to cool slightly before removing the carrier sheet.


