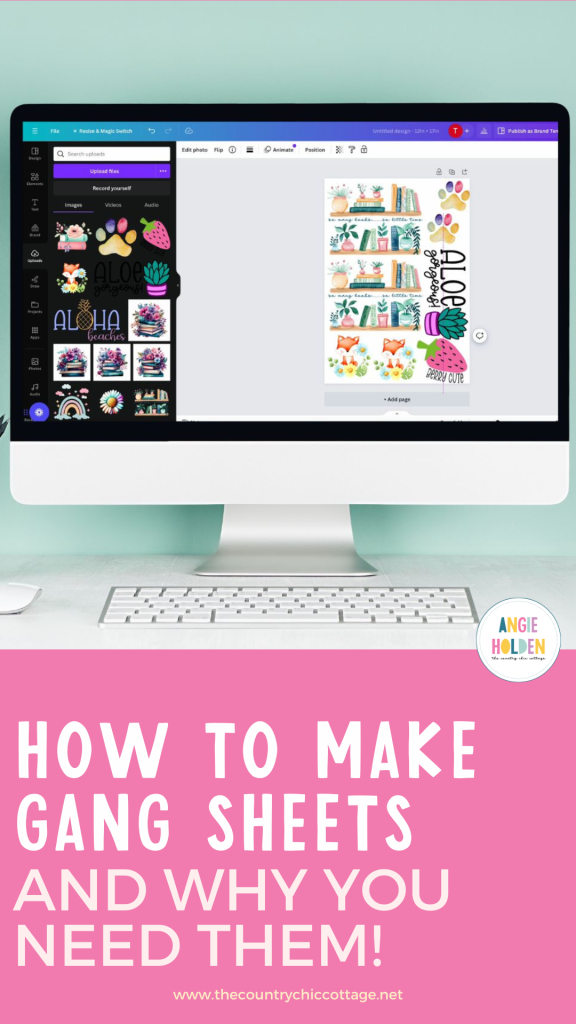
Have you ever been frustrated wasting sublimation paper? Gang Sheets can help! Do you need to order DTF prints or UV DTF stickers and want to get the most bang for your buck? Gang Sheets can help!
Today I’m going to show you what a gang sheet is and why they’re helpful. Whether you’re printing at home or ordering prints for your crafts, gang sheets can help you save paper and print more efficiently. .
If you’re new to sublimation or DTF printing, check out my comparison post to learn more about both options.
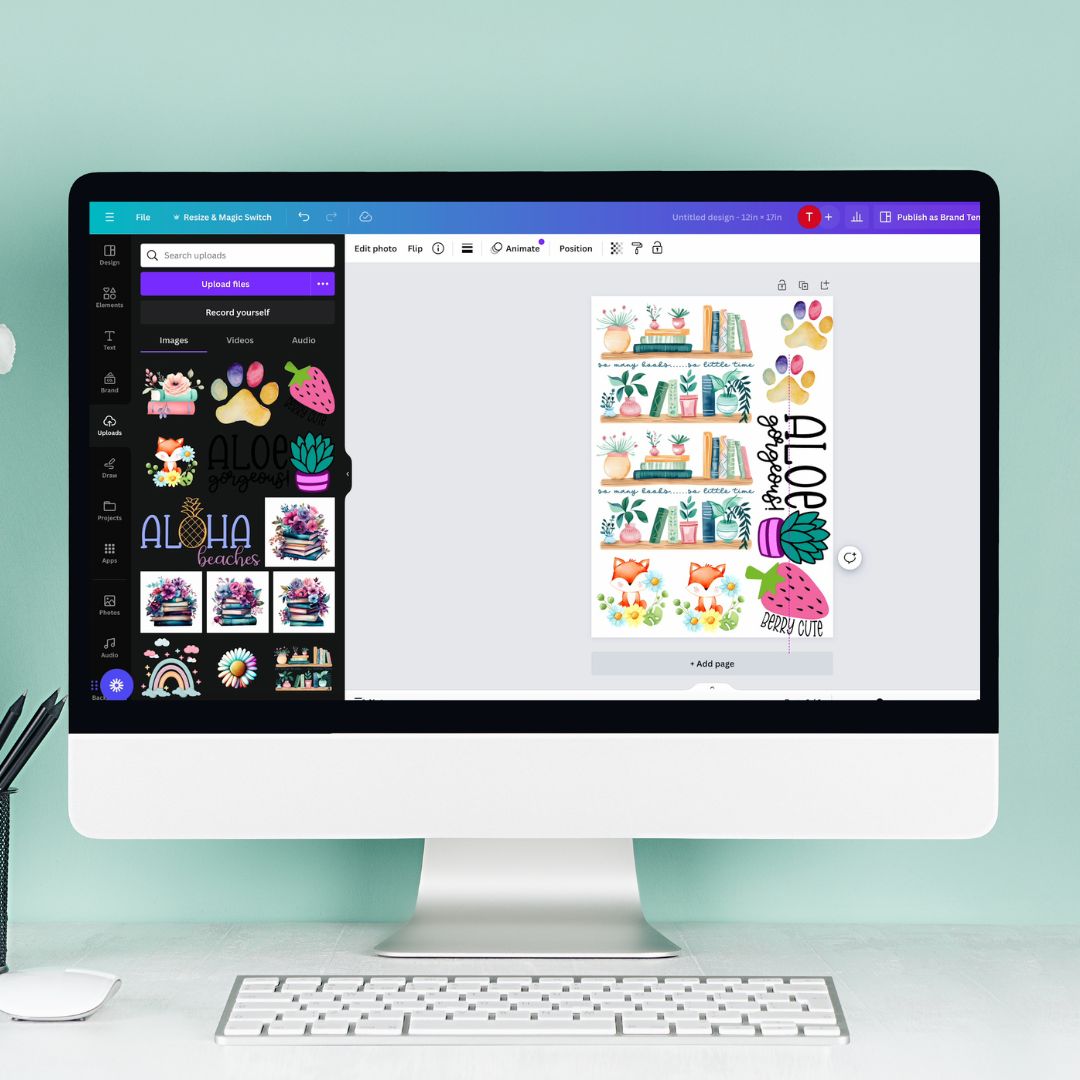
You can watch my whole process for creating a gang sheet from start to finish by pressing play on the video below.
What is a Gang Sheet?
If you’ve ever gone to order DTF prints or UV DTF stickers, you may have seen the term gang sheet used. A gang sheet is a term from the printing industry and it is taking a bunch of images you want to print and combining them onto one sheet to utilize the entire sheet of paper or film.
When Would You Use a Gang Sheet?
I would use a gang sheet anytime I’m printing to prevent wasting materials. If you can add additional designs to a sublimation print to use the whole sheet of paper, do it.
Ordering DTF and UV DTF prints can get expensive if you order one design at a time, especially when you add in shipping costs. Utilizing a gang sheet will allow you to order a wide variety of designs at once and save money in the process.
What Do You Need to Make a Gang Sheet?
To make a gang sheet you will need the size of the gang sheet you’re ordering. You will also need either the size of designs you need for each blank or a general idea of the blanks you have to help fill the whole sheet.
Then you will need a program to create the gang sheet and, of course, you’ll need the designs you want to use.
What Programs Can You Use?
Today I will be using the free version of Canva but you can also use other programs like Photoshop if you have those.
Regardless of what program you use, you need to make sure the files you’re using to print are high quality. You will want the resolution of the files to be 300 DPI.
After you group them all together into one sheet, when you download it, make sure you keep the 300 DPI resolution.
How Do You Design a Gang Sheet?
Let’s cover the steps to making a gang sheet on your computer for printing at home or uploading to a place that sells prints.
Step 1: Set Your Sheet Size
To make a gang sheet the first thing you need to do is set your canvas to match the size that is offered by the company you’re ordering from.
If you’re using your printer at home, make your canvas the same size as your paper.
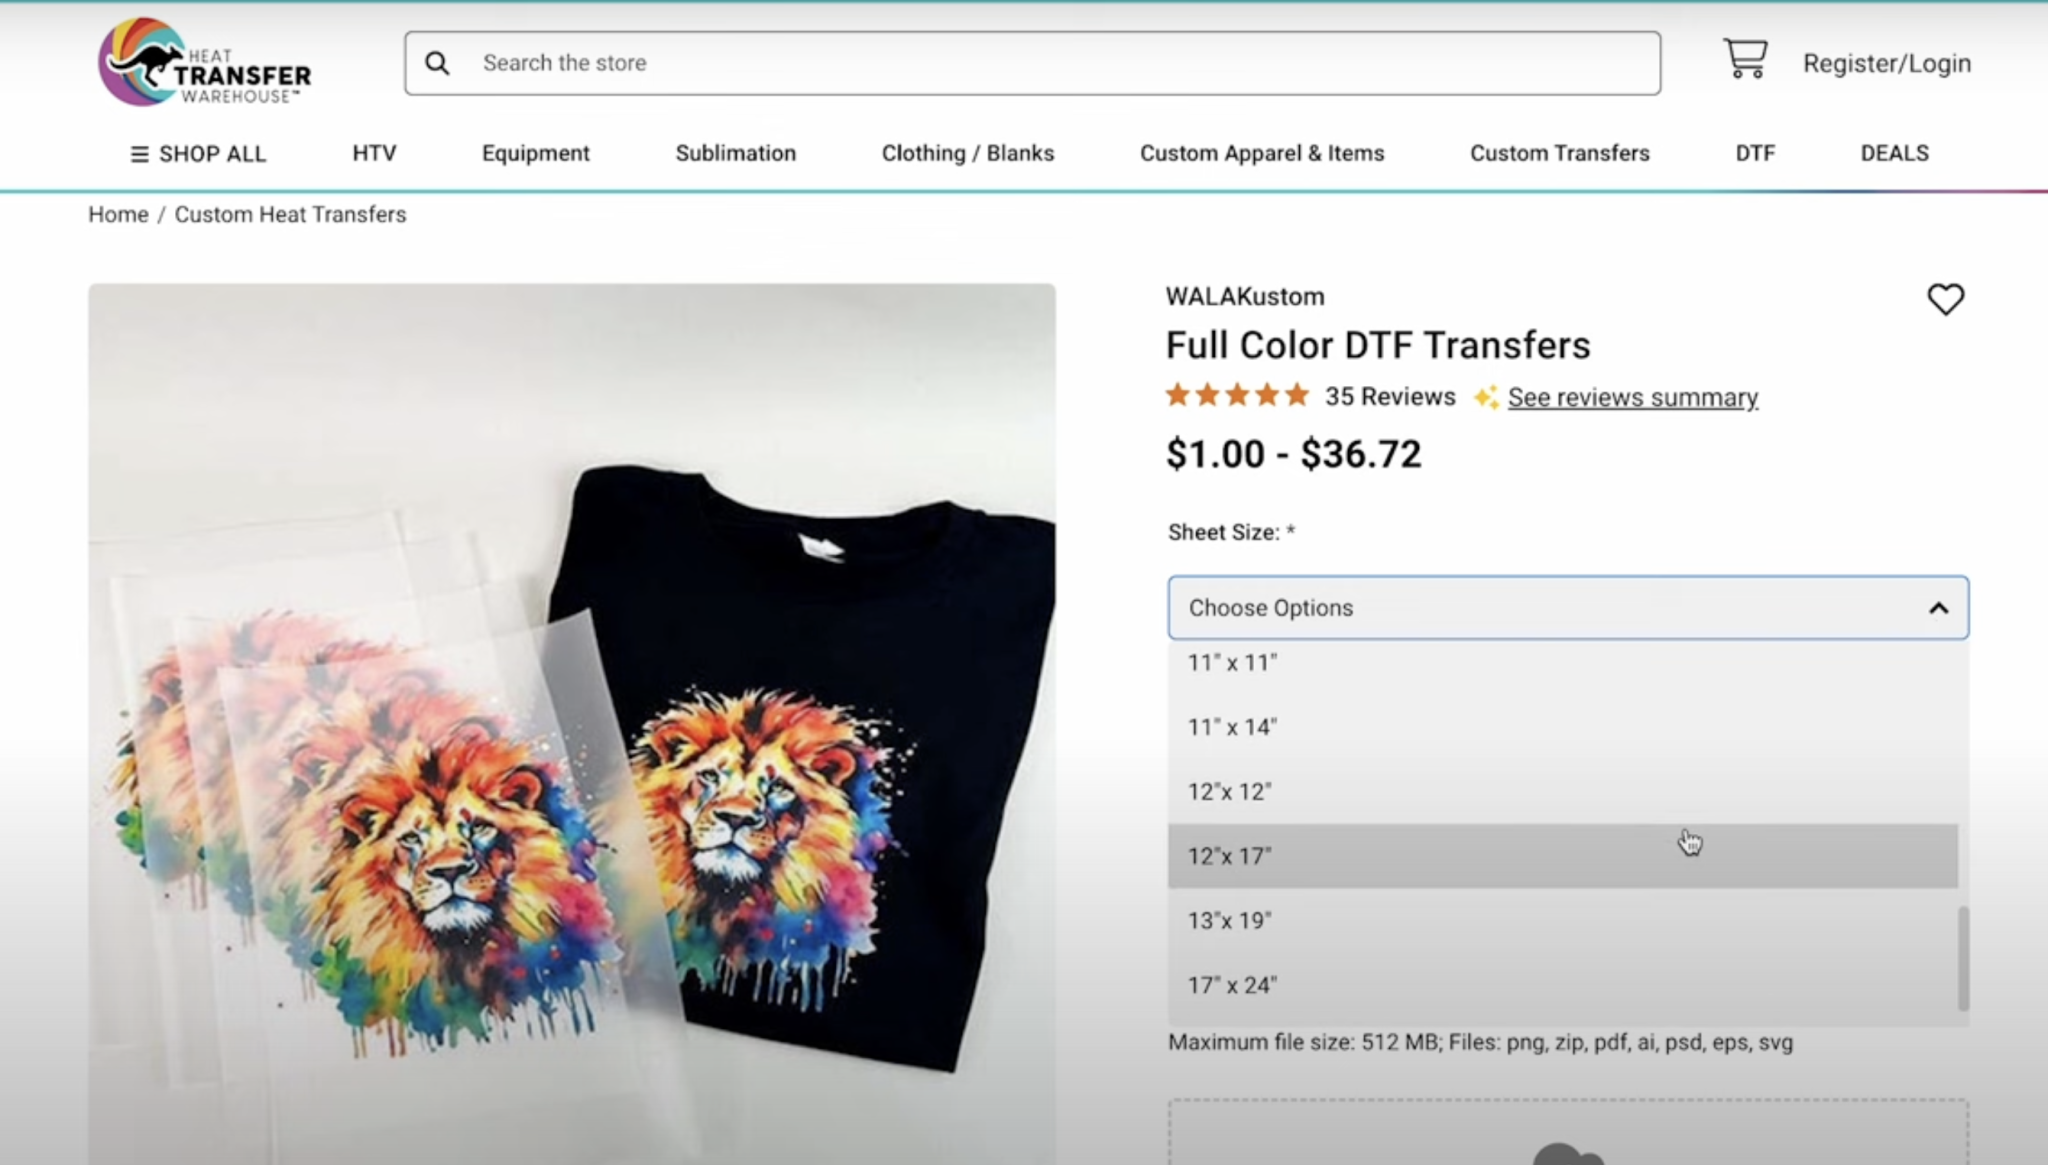
I’m using Heat Transfer Warehouse as an example. They have a lot of different film sizes that you can choose from. For this example, I am using the 12″ x 17″ size.
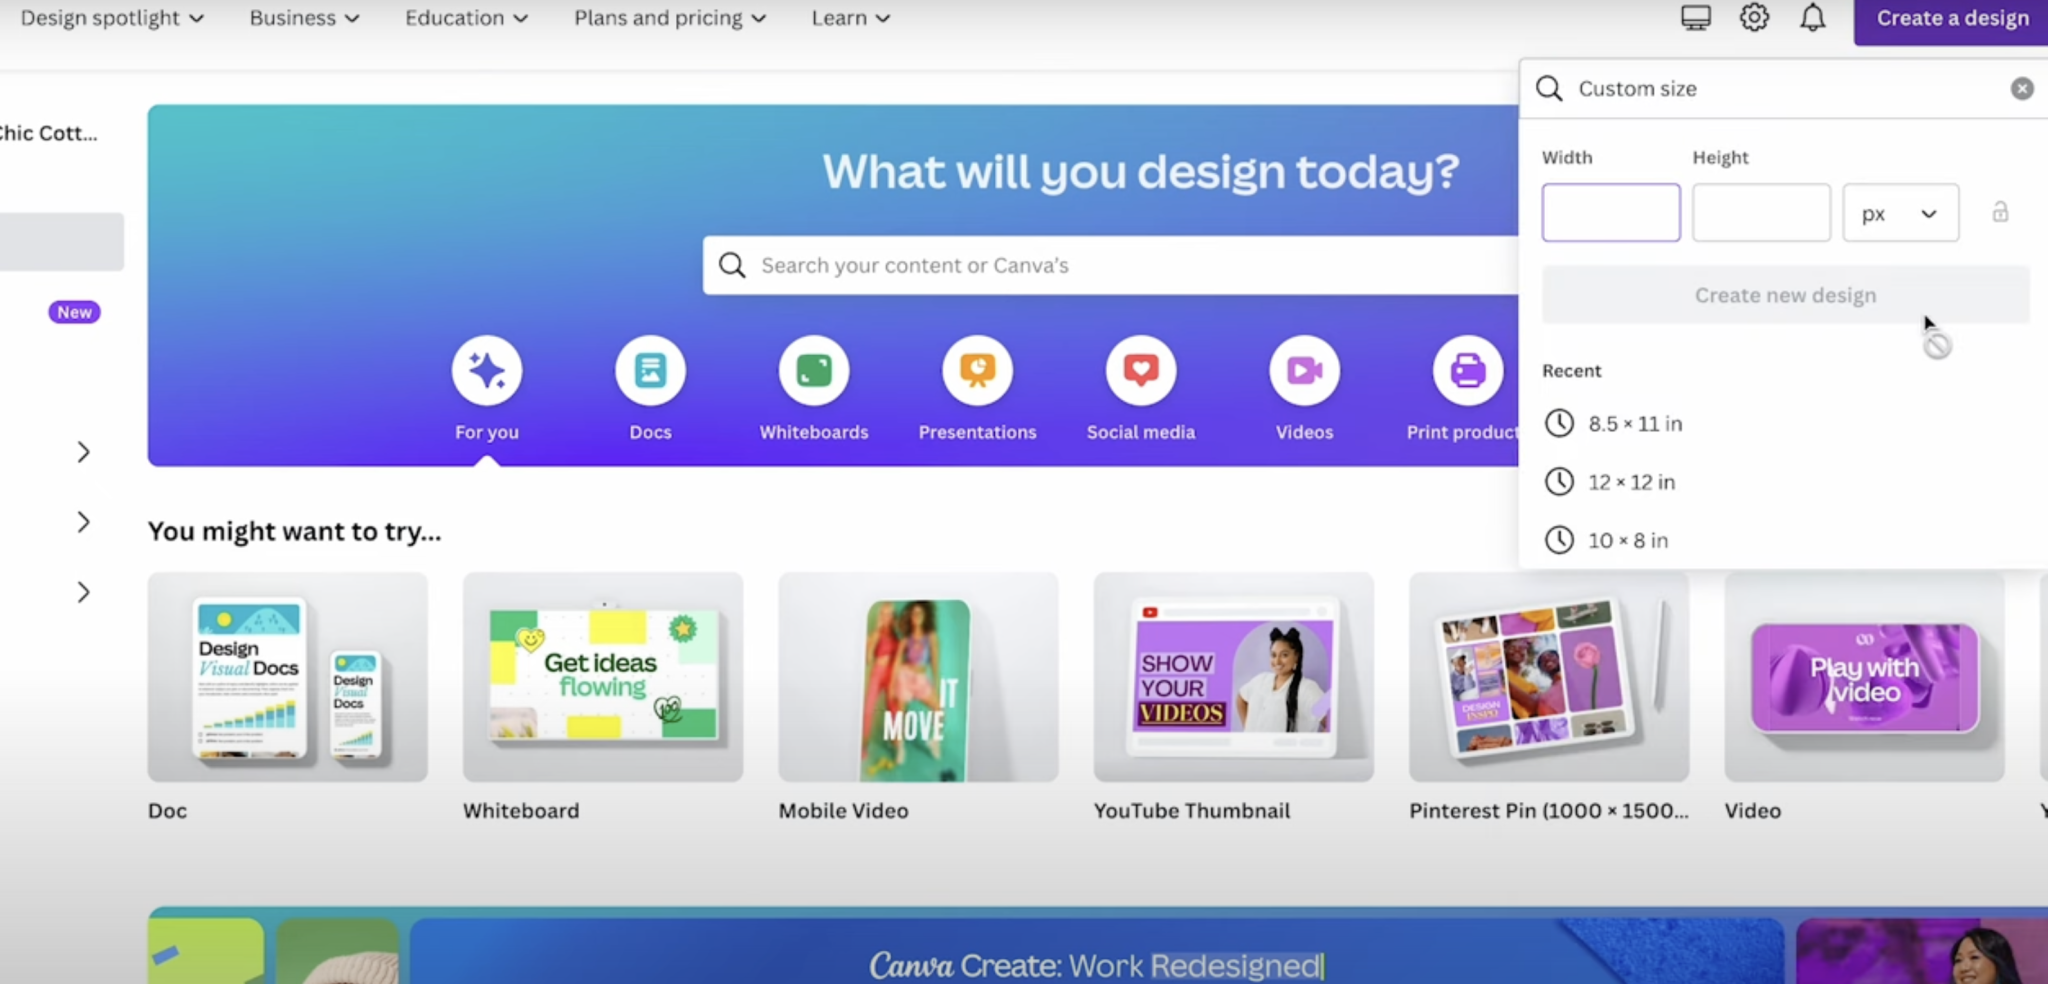
In Canva, I am going to click Create a Design and then choose Custom Size. From there I can set the height and width to exactly the size I need it to be. In this case it is 12″ wide and 17″ high.
Step 2: Add and Resize Designs to Fit on Canvas
Next, I am going to add my designs to the canvas. If you haven’t already uploaded the designs, do that now and then select the design and add it to the canvas.
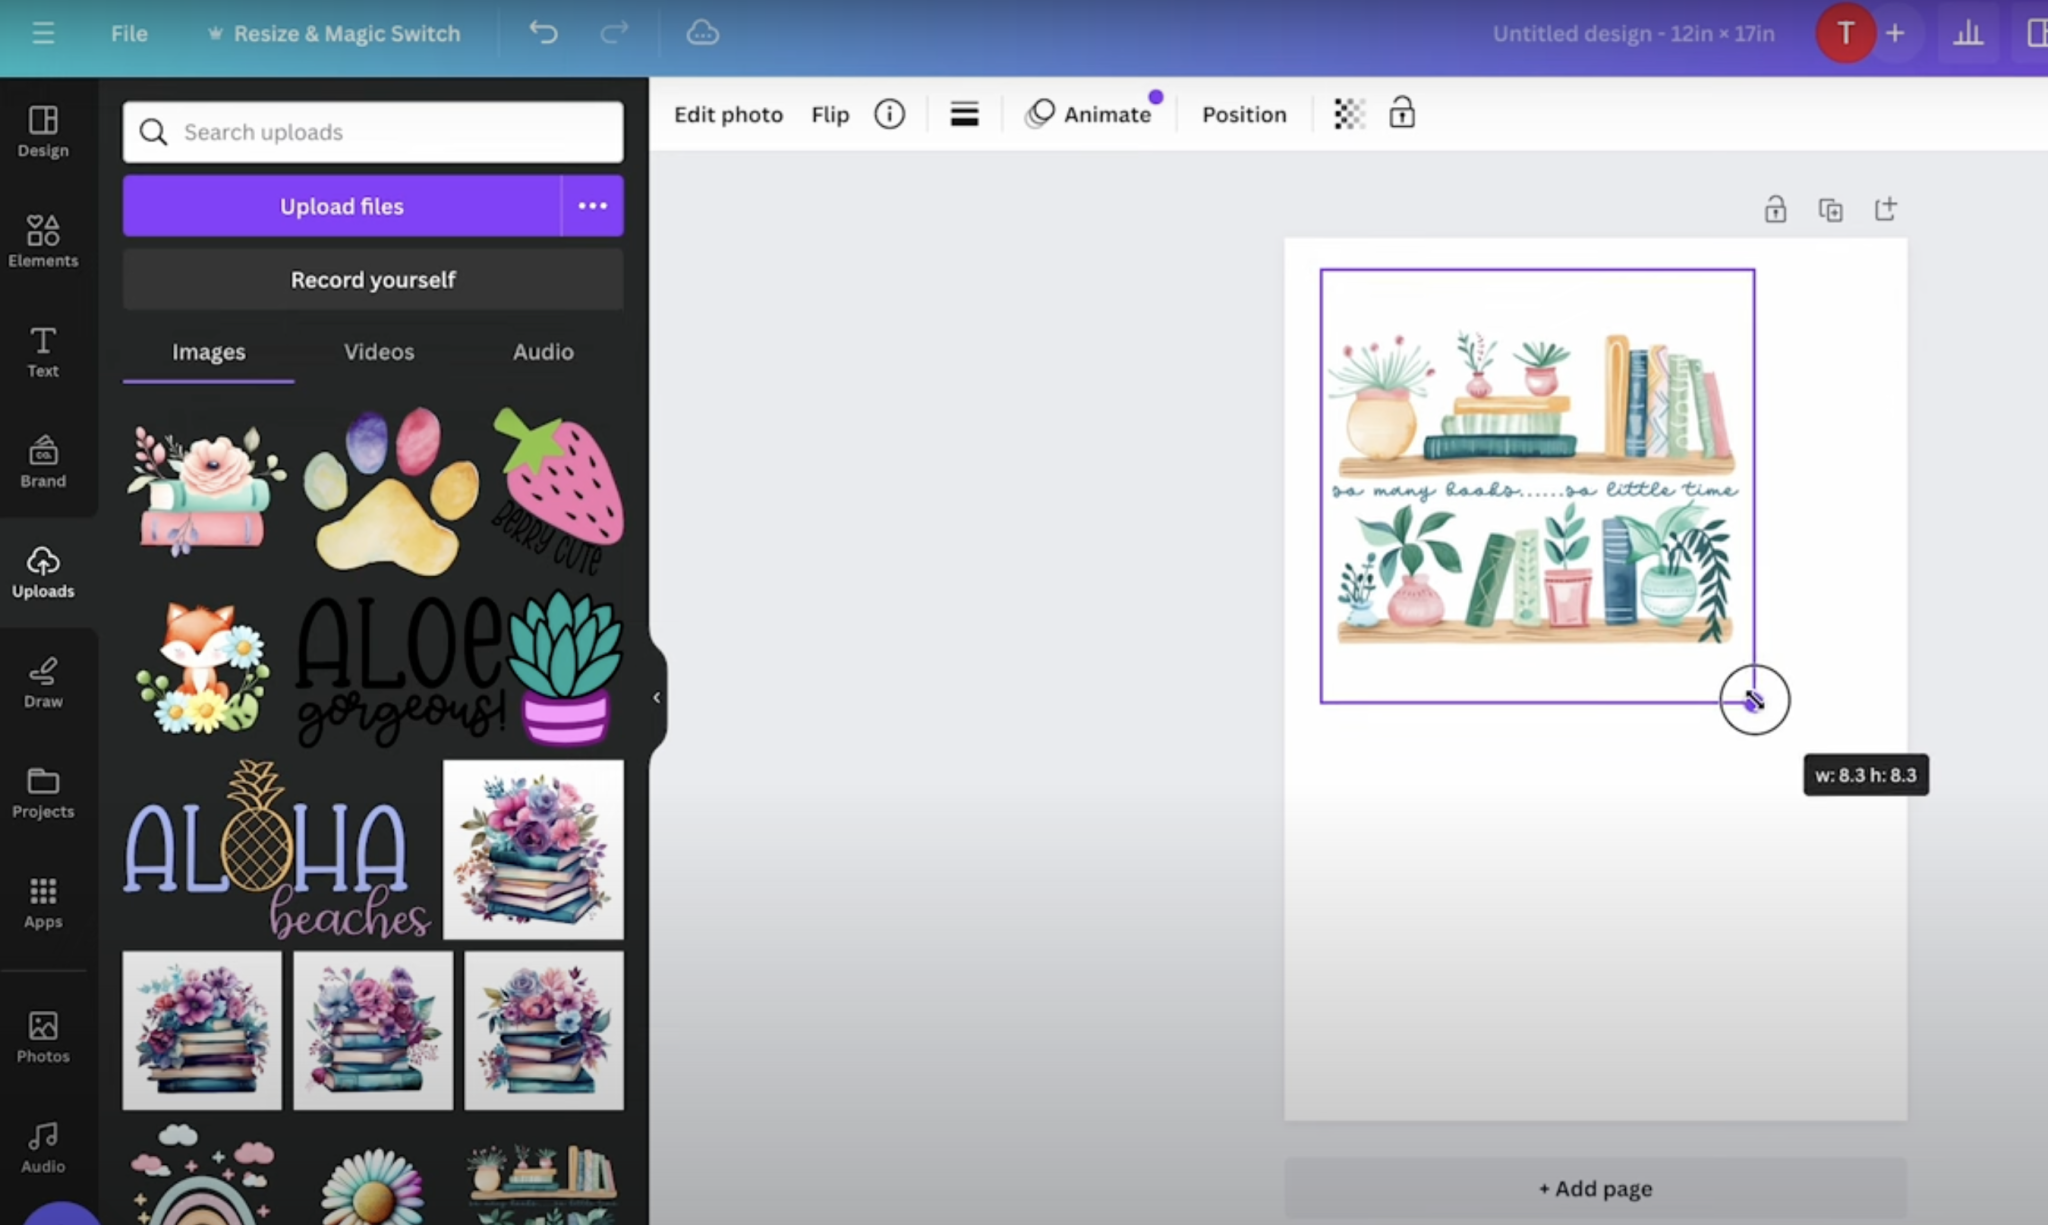
With the design on the canvas, you can resize the image to whatever size you want it to be.
Note: The size shown for each design includes the area inside the bounding box. As you can see in the example above that includes quite a bit of white area around the design. Use the handles on each side of the bounding box to pull those sides in so the size reflects the design itself.
Step 3: Fill Sheet with Designs
Continue to add designs to fill the whole canvas. If you know exactly what blanks you’re going to put the designs on you can set the size for each design.
If you’re filling the extra space you can use general sizes for different blanks. As an example, the dog prints in the photo below are sized for hats, the bookshelf designs are sized for shirts, the foxes and “berry cute” are sized for baby onesies, and ALOE gorgeous could be used on a variety of different blanks.
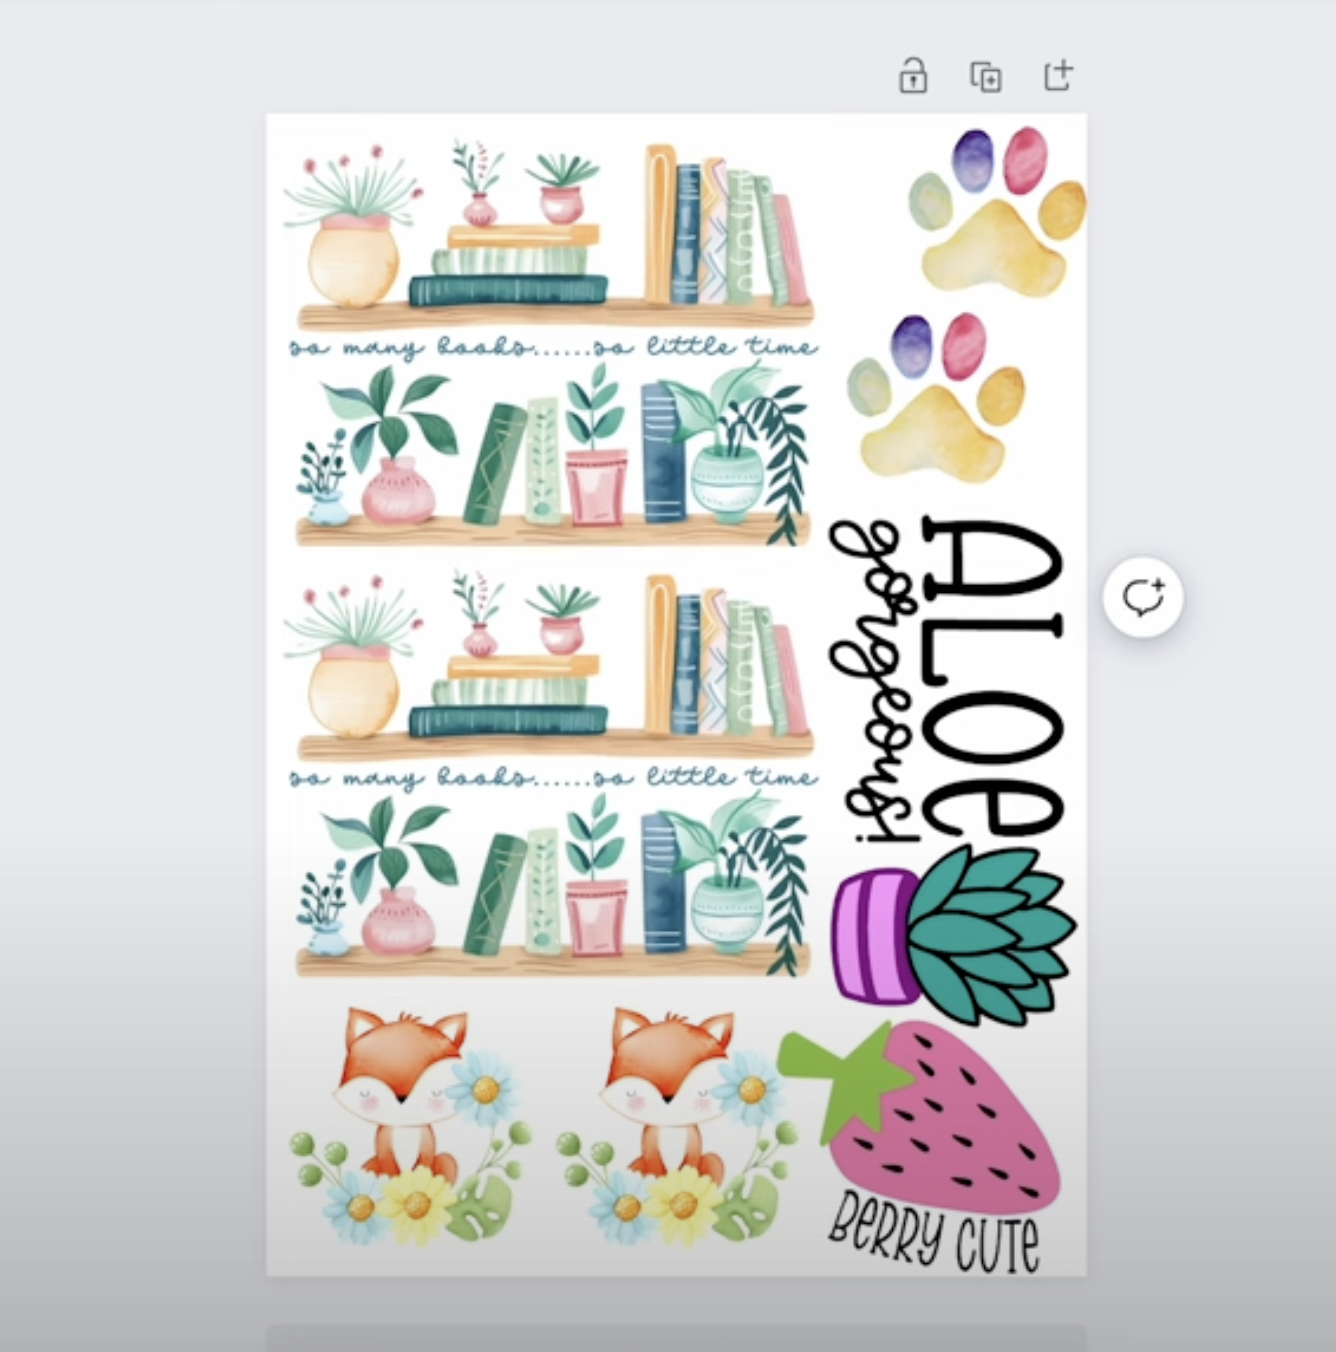
How many designs you can fit on one canvas will depend on the size of each design and what size print you’re ordering.
IMPORTANT: Make sure there is space between the designs so they are easily cut apart. Don’t get any of the designs too close to the edges. DTF and UV DTF prints can print edge-to-edge but you don’t want to run the risk of the designs printing off the edges.
How Do You Print a Gang Sheet?
To print a Gang Sheet from Canva you will need to download it. Click Share and then Download.
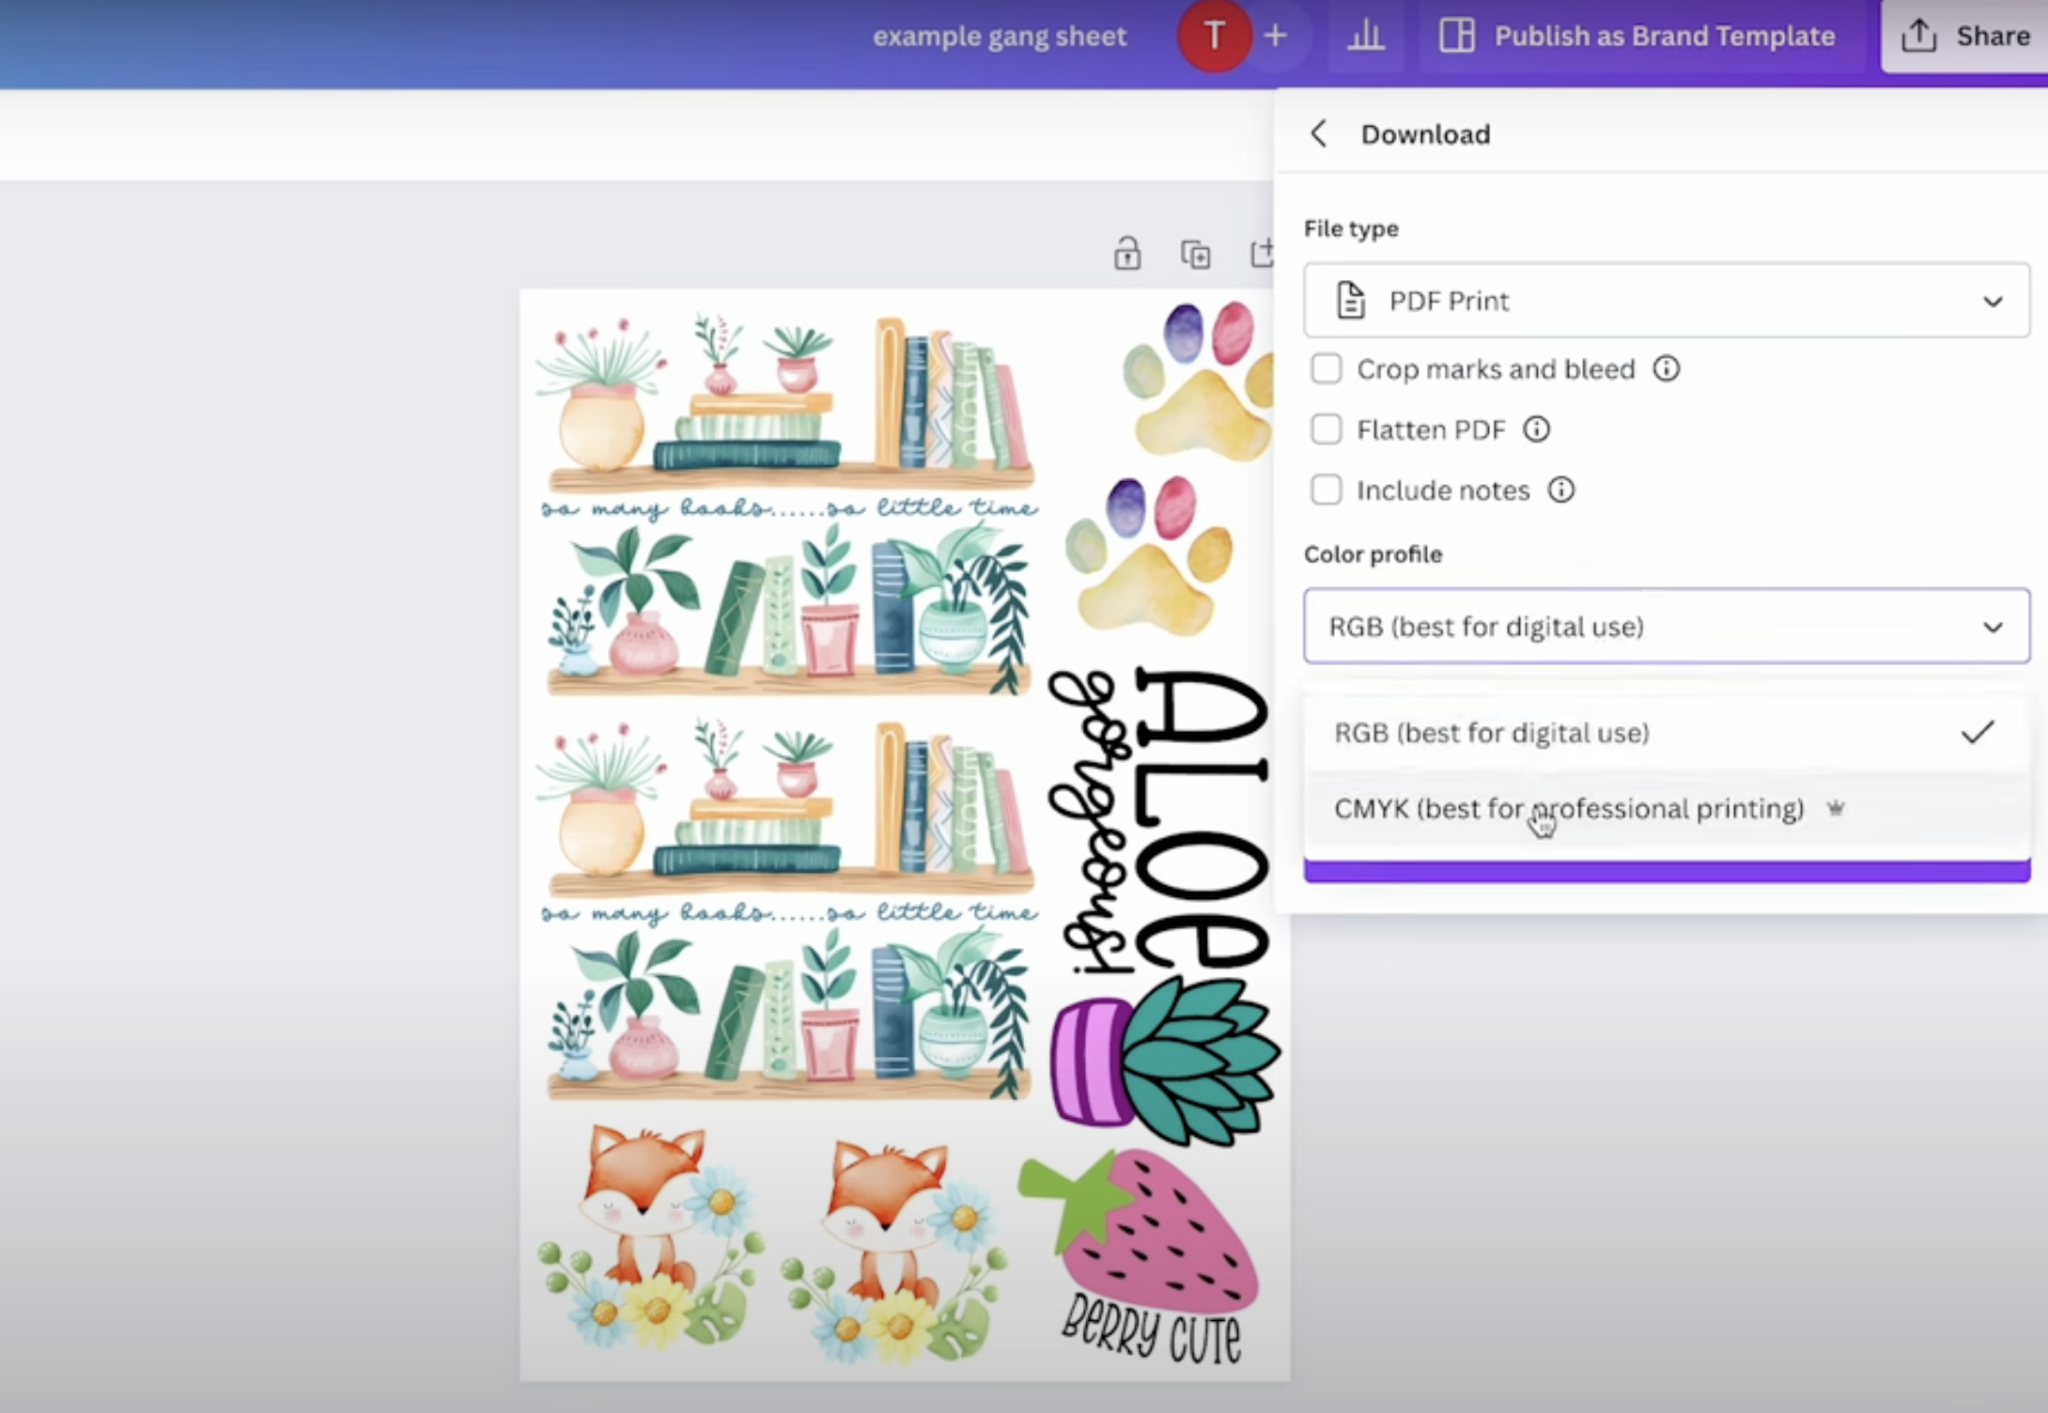
In Canva, in order to get the DPI required for most printing you’ll want to download as a PDF Print. Choose CMYK as the color profile because it’s the best for printing and then click Download.
If you’re using a different program you can save it to your computer as you would normally. Make sure to use the settings that will get you the 300 DPI resolution.
If you’re creating a Gang Sheet to print on your sublimation printer make sure you set up the design within the margins of your printer.
Upload Gang Sheet
With the Gang Sheet file saved to your computer, you can upload it to the website you’re using. Upload the file and then fill out the form to order your prints.
This is a great way to better utilize those sheets when ordering prints from various websites.
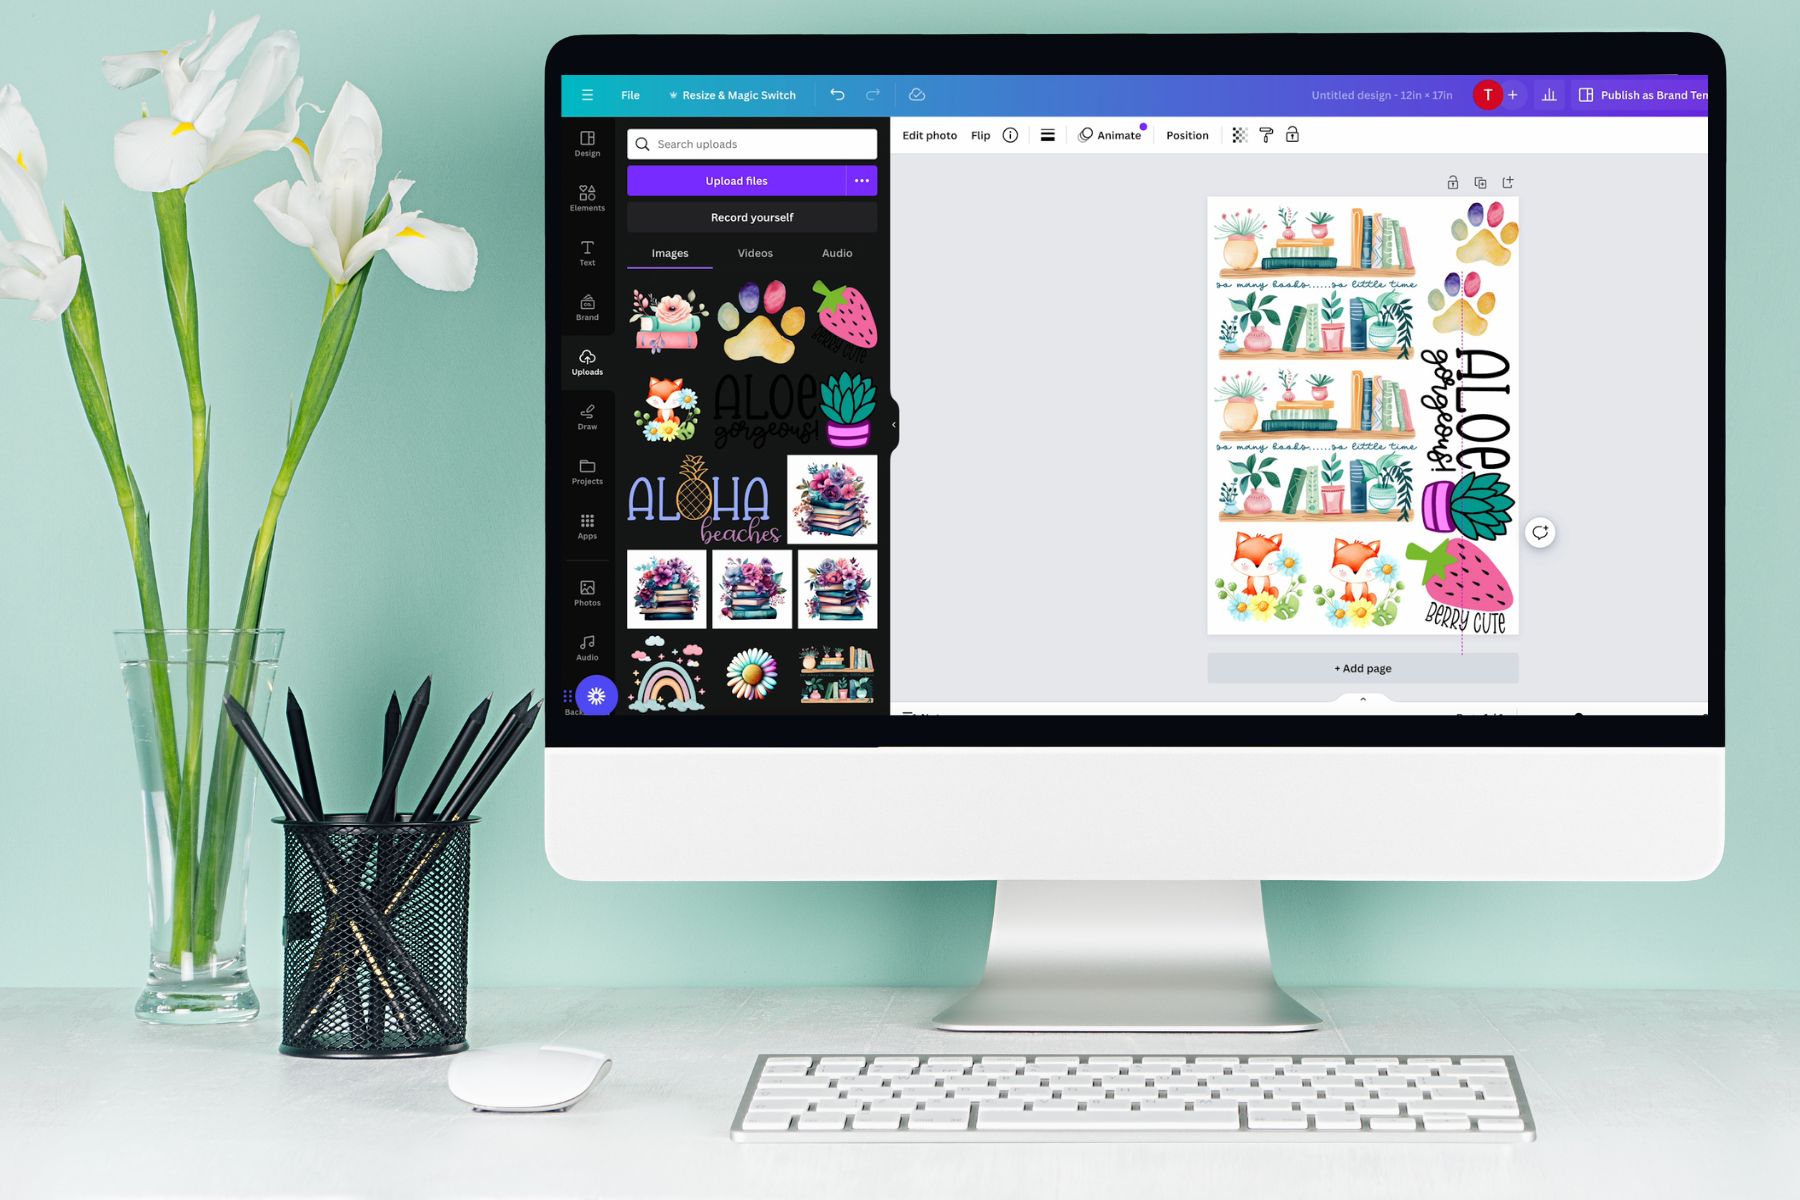
I hope I’ve shown you how useful this process is for any type of printing process. If you’re like me, you don’t like wasting materials. Gang sheets are a great way to get the most use out of your sublimation paper and DTF film.
Creating a gang sheet is a simple process and can save you quite a bit of money. If you were to compare ordering each design individually vs. ordering a gang sheet, there is definitely a price difference.
If you have any questions about making a gang sheet, I’ll be happy to answer them for you in the comments.
