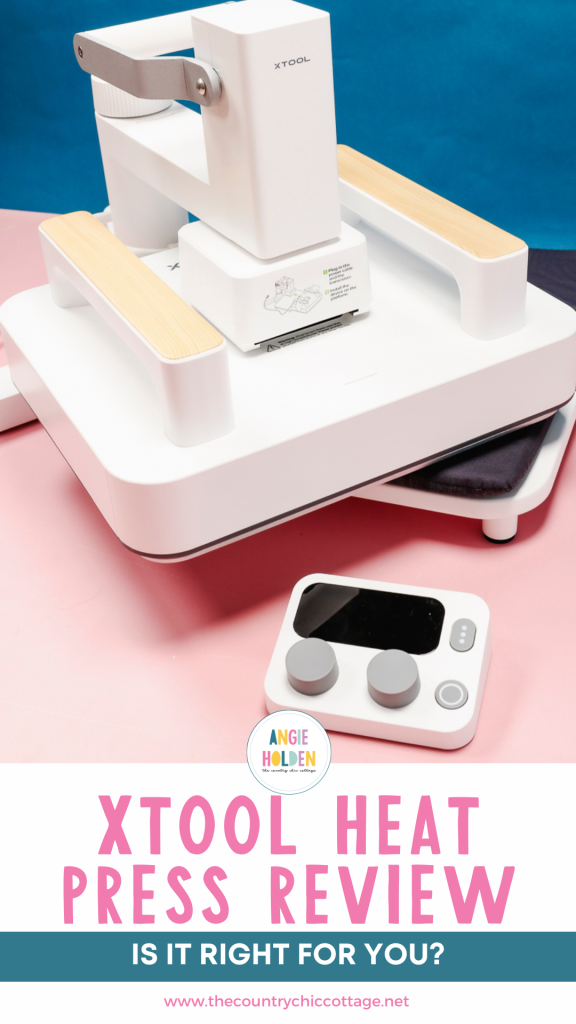
Are you looking for a heat press to add to your craft room? Today I’m going to introduce you to the xTool Heat Press all in one kit. The xTool Smart Press is a new type of heat press that gives you the option of using it like an EasyPress or a swing-away press.
The all-in-one kit includes the heat press itself, the stand, and a mini-press. I’ll show you how each of these tools works so you know if this is the right press for you.
You can watch me set the press up and make the project by pressing play on the video below.
xTool Heat Press
Let’s dive in and look at the different options you have with the xTool Heat Press All-in-One kit.
What Comes With the xTool Heat Press All-in-One Kit?
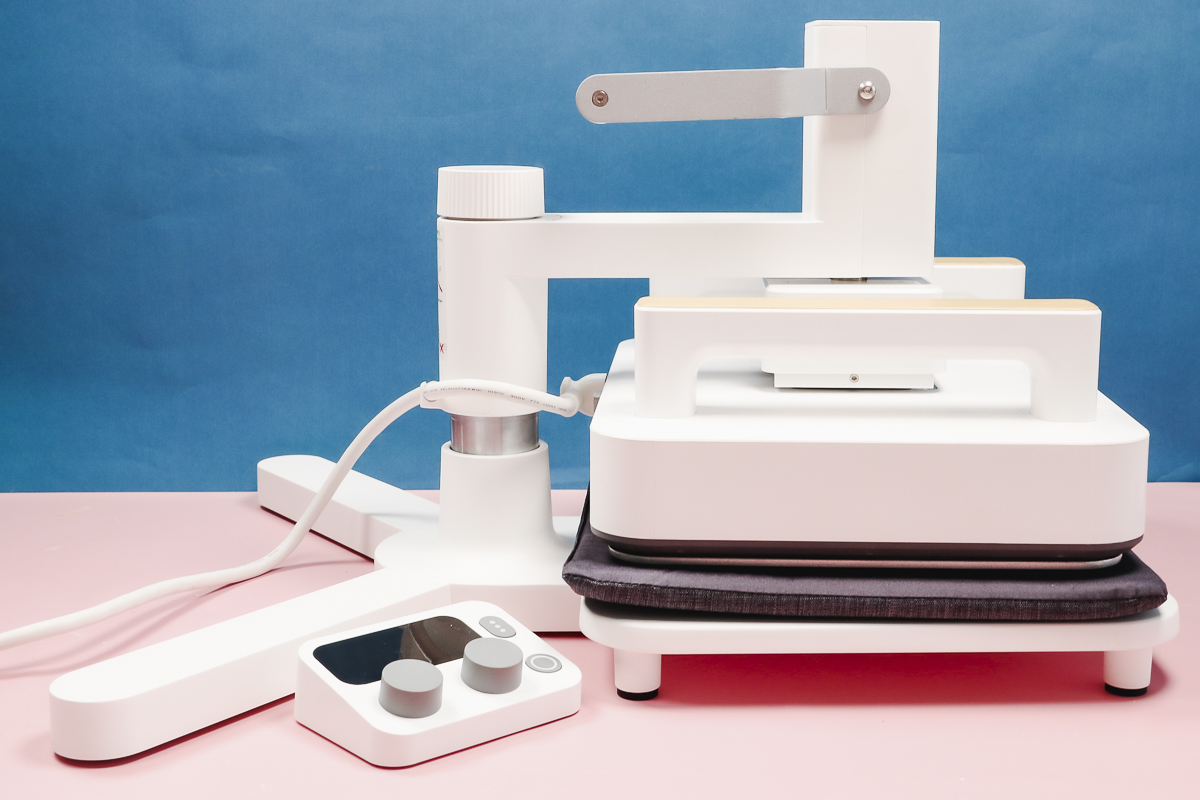
If you purchase the all-in-one kit, you’ll receive the xTool Smart Press, the press base, the press stand, the control panel, and the mini press. The kit also includes a heat-resistant mat and an instruction booklet.
I’m going to show you how to use the Smart Press on its own and with the stand and show you how to use the mini-press.
You can purchase the Smart Press, stand, and mini press separately. You’ll get a much better deal if you purchase them together in the all-in-one kit.
The xTool Smart Press is 10 inches by 12 inches which is perfect for most at-home crafters. The mat that comes with it is slightly larger than the press. It is also firmer than the Cricut EasyPress mat but not quite as firm as my Artisprix mat. I think it works really well.
xTool Smart Press Set Up
The xTool Smart Press is similar to the Cricut EasyPress. The main difference is the external control panel and it has two handles.
This press requires you to manually apply pressure like the EasyPress. There is no control panel on the press itself and no settings or buttons to press.
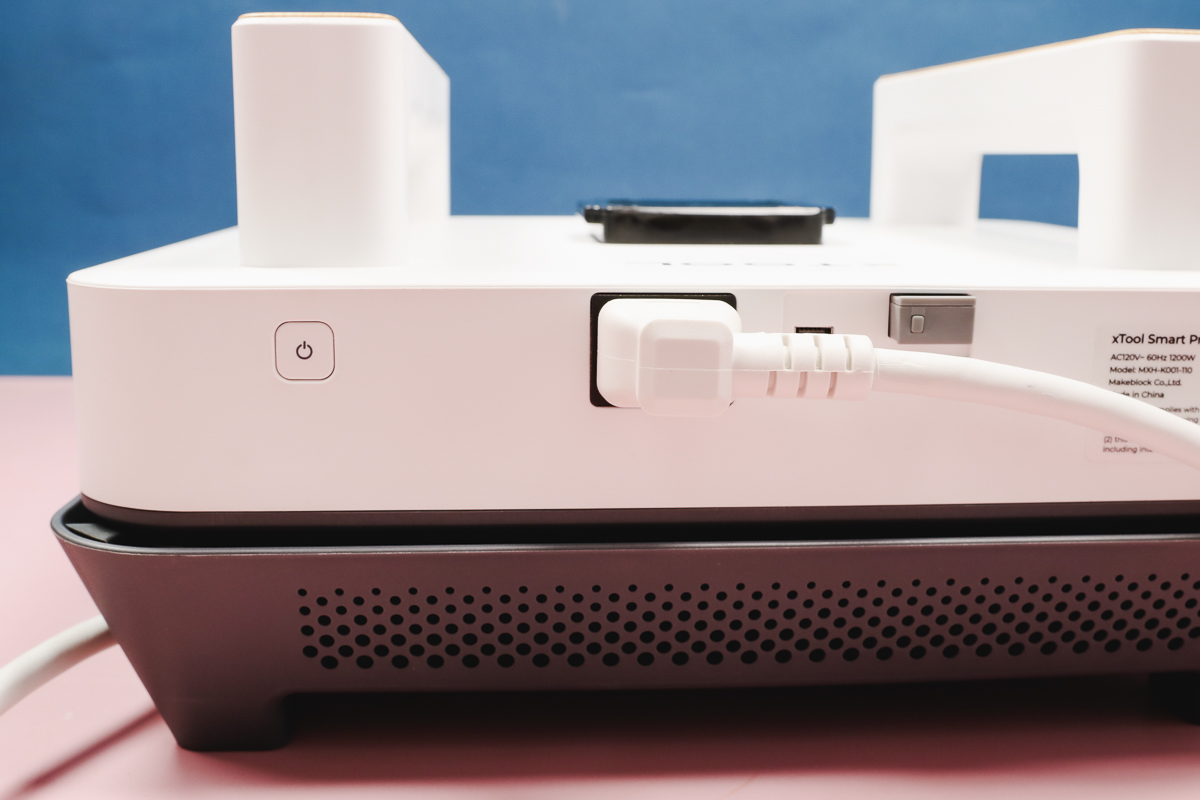
On the back of the press, you’ll see where to attach the power cord and there is a spot to add the receiver.
This receiver wirelessly connects the control panel to the Smart Press.
How to Pair the Receiver
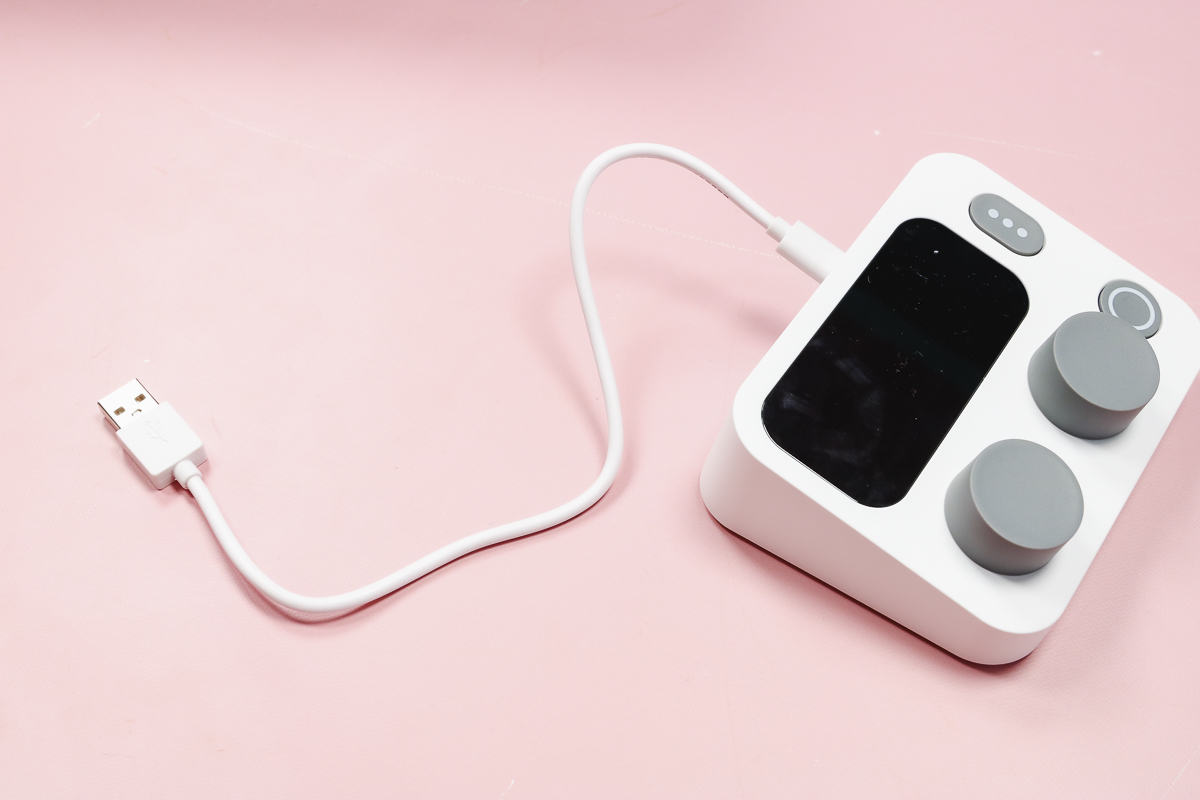
The xTool heat press control panel runs off batteries. You will need to plug it in to charge it and make sure it is charged before beginning any project.
Plug in the heat press and power it on with the button in the back. The receiver on the back of the press should have a solid blue light.
Next, turn on the control panel using the switch on the back.
Hold down the button on the back of the receiver on the press for about three seconds until the light starts blinking. Hold down the button on the bottom right of the control panel for three seconds and the indicator light in the corner should stop blinking when it is connected.
When the control panel is connected to the receiver, the control panel light should not be blinking at all and the receiver light should be blinking slowly.
Adjust Time and Temperature
Adjusting the time and temperature is easy to do. Turn the knobs to increase or decrease the settings.
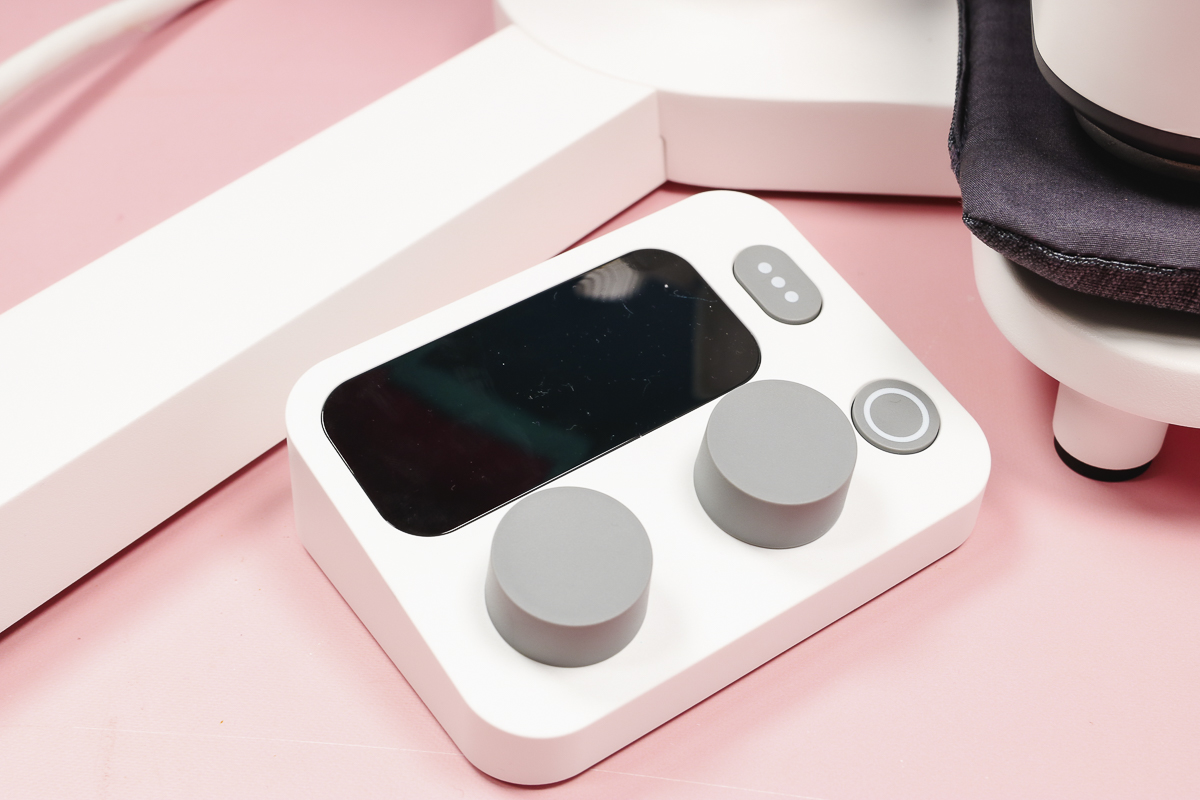
There are also four presets that you can use. To use the presets, get the time and temperature where you want them and then hold the button down for three seconds to set the preset.
You can change the presets at any time if you find you’re using a different material more often.
How to Use xTool Heat Press
I’m going to make a variety of different projects with this heat press including DTF, HTV, and sublimation to see how it performs with each different material.
Supplies Used
- Free Sweet Summertime File
- Free Daisy Print File
- Get the Reading File
- xTool Smart Press
- Canvas Bag
- BELLA+CANVAS Shirts
- Sublimation Earrings
- Sublimation Shirt
- Coasters
- Can Koozies
- Brother Sublimation Printer
- Sublimation Paper
- Lint Roller
- Heat Resistant Tape
- Heat-resistant Gloves
- Tape Dispenser
- Protective Paper
- HTV
- DTF Print
- DTF Cooling Block
How to Use as a Handheld Press
I am going to use the xTool Smart Press by itself for this first project. Using a DTF transfer I’m going to create a custom tote bag.
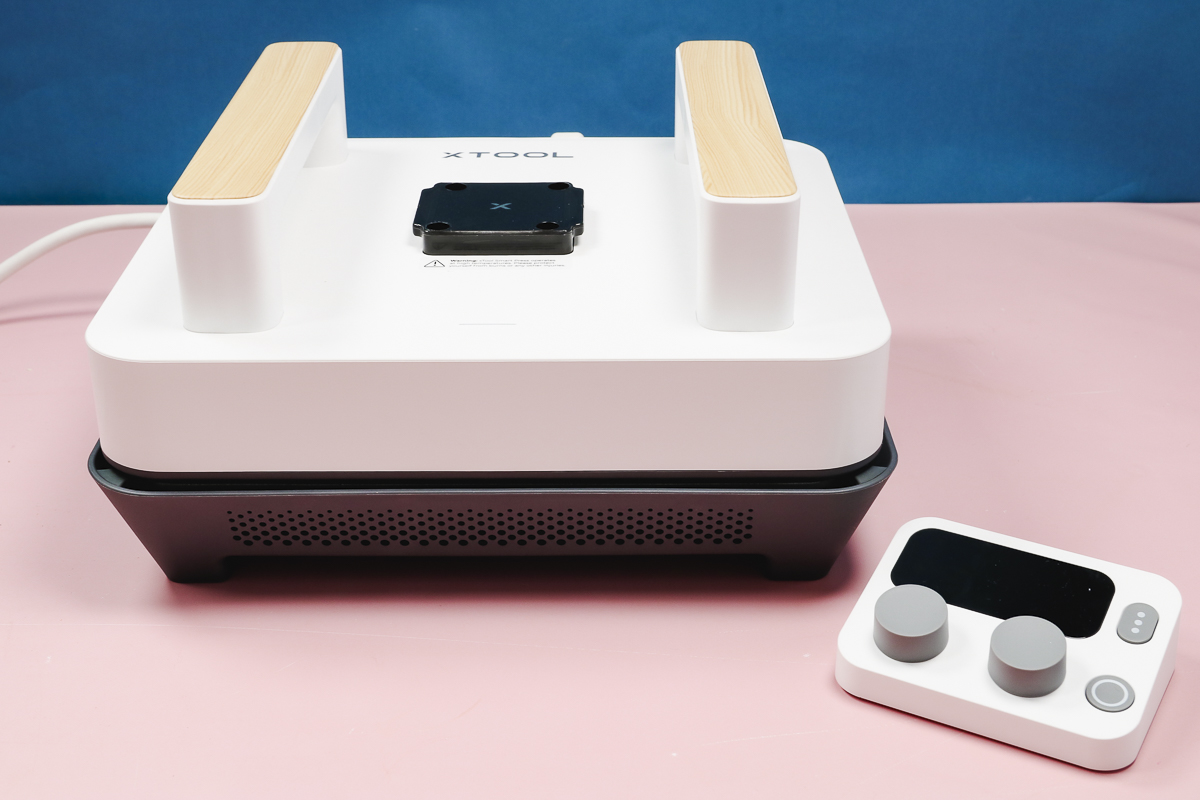
Step 1: Set the Time and Temperature
First, set the time and temperature for the materials I’m using. My DTF transfer calls for a temperature of 425 degrees for 15 seconds.
With the time and temperature set on the control panel, press the power button to preheat the press.
As the press is heating up, the light will be orange. When the light turns green and you hear the beep the press is to the temperature you set and you’re ready to press.
Step 2: Prepare the Blank
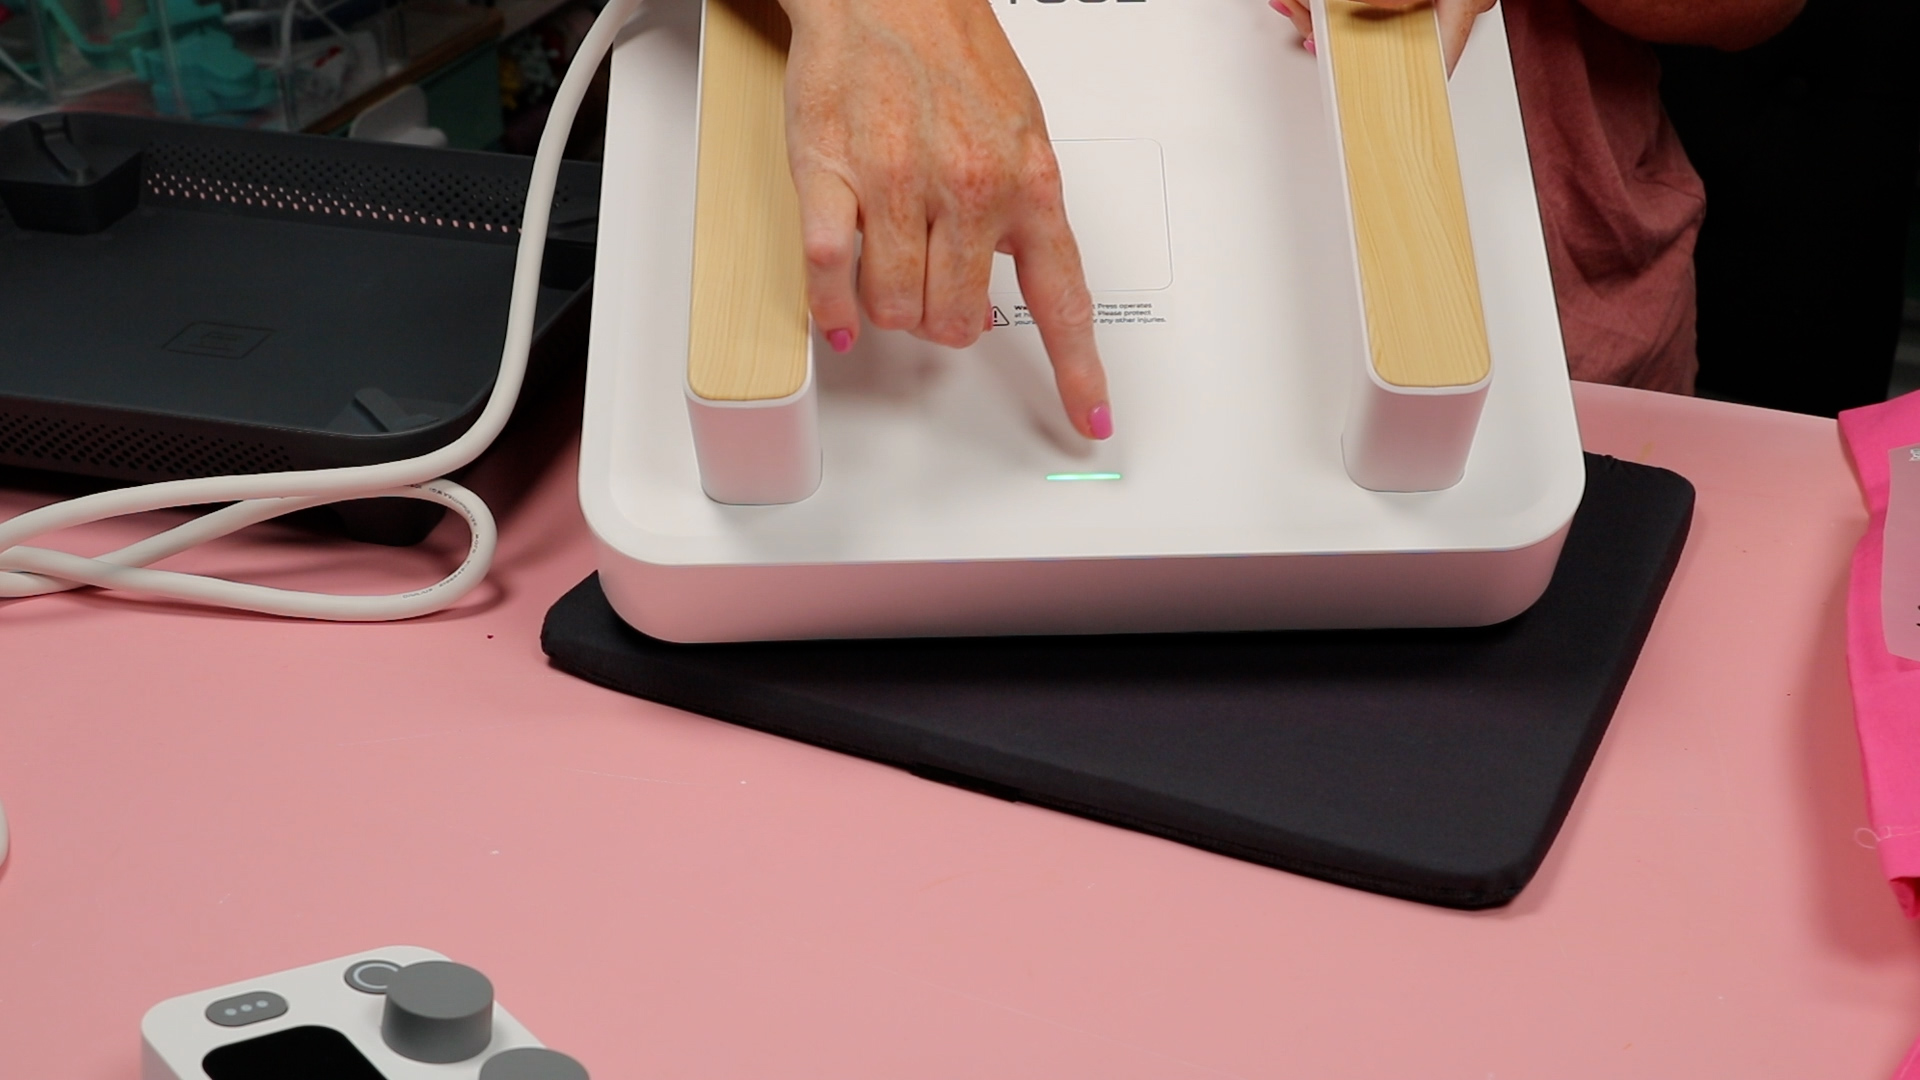
First, I need to preheat the tote bag I am using. Place the heat-resistant mat on a flat, firm surface and lay the tote on the mat.
Preheat for a few seconds to remove any moisture or wrinkles and then remove the heat press.
Lint roll if needed and now our tote is ready to add the DTF print.
Step 3: Press the DTF Design Onto the Blank
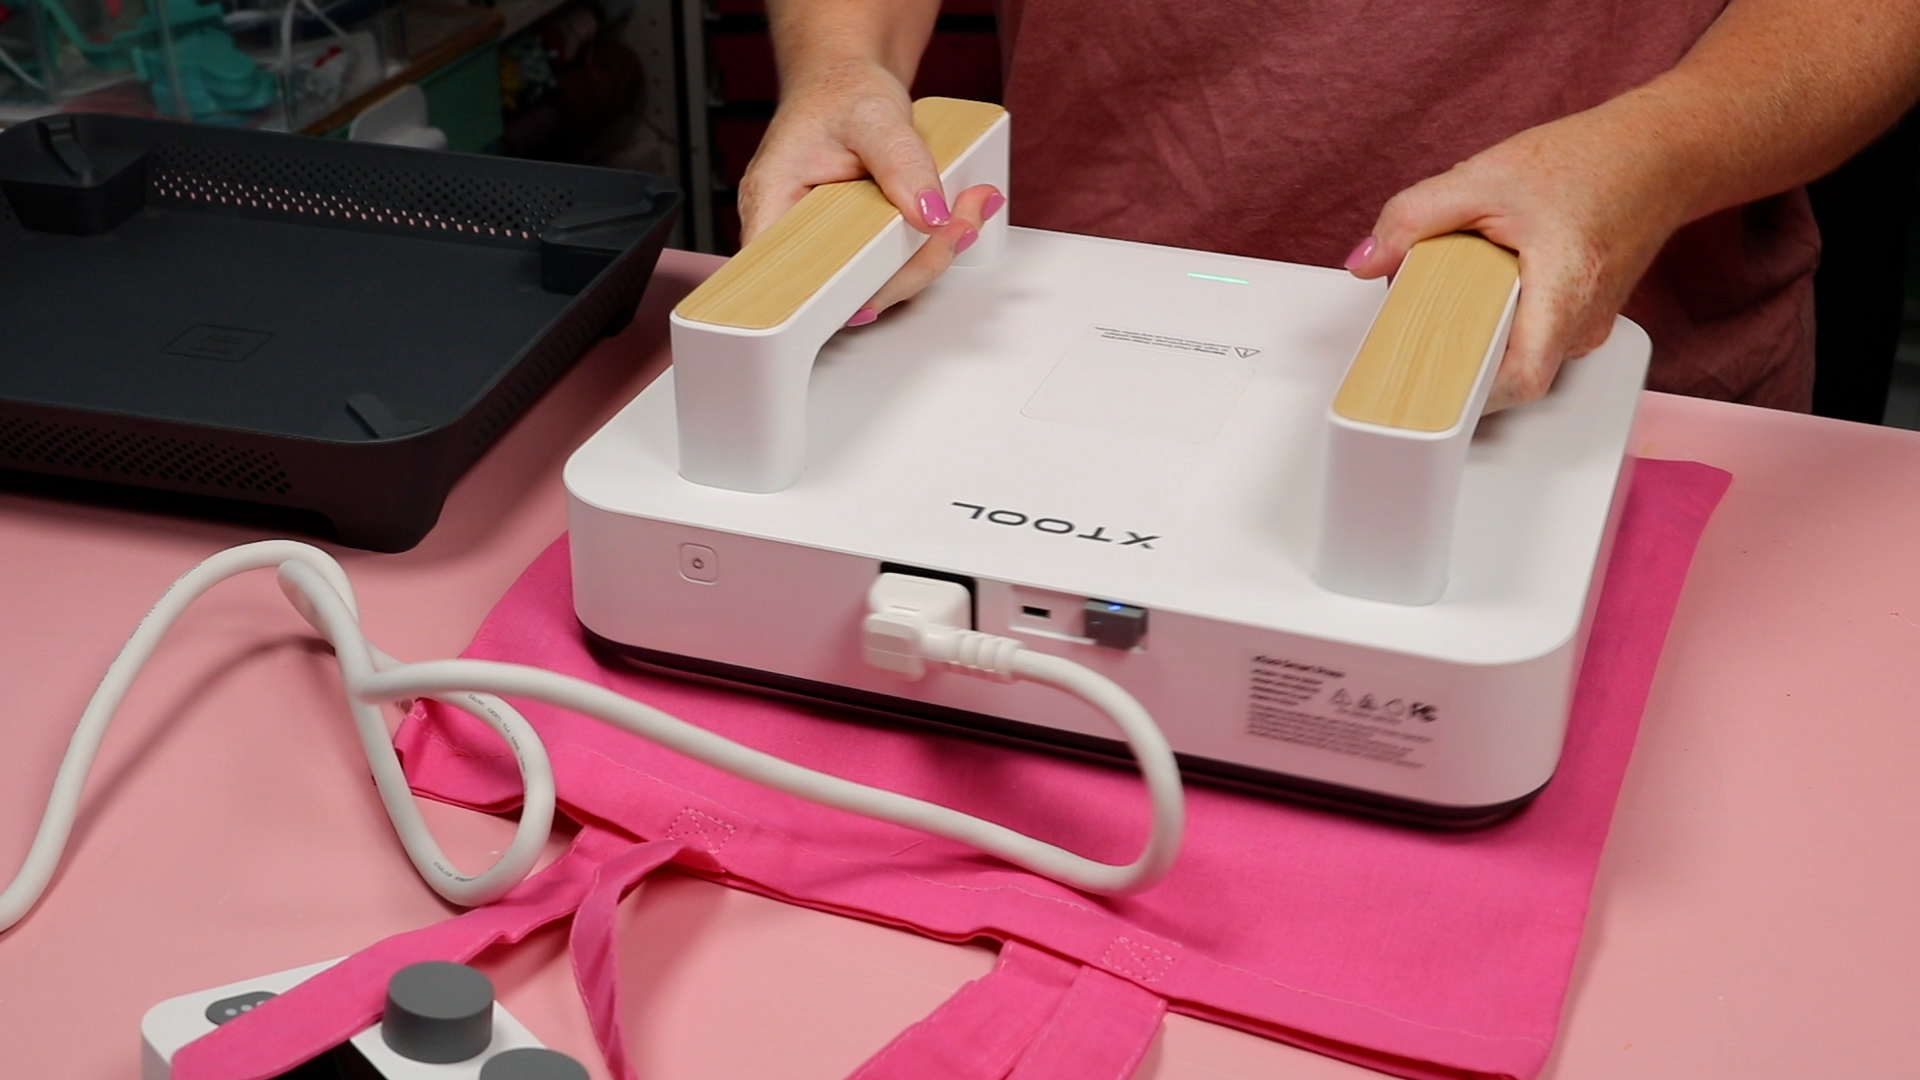
Next, I am going to locate the DTF print exactly where I want it.
Place the heat press on top of the design and click the button on the control panel to start the timer.
Press down on the handles for the entire time and when the time is up lift the press and place it back on the base.
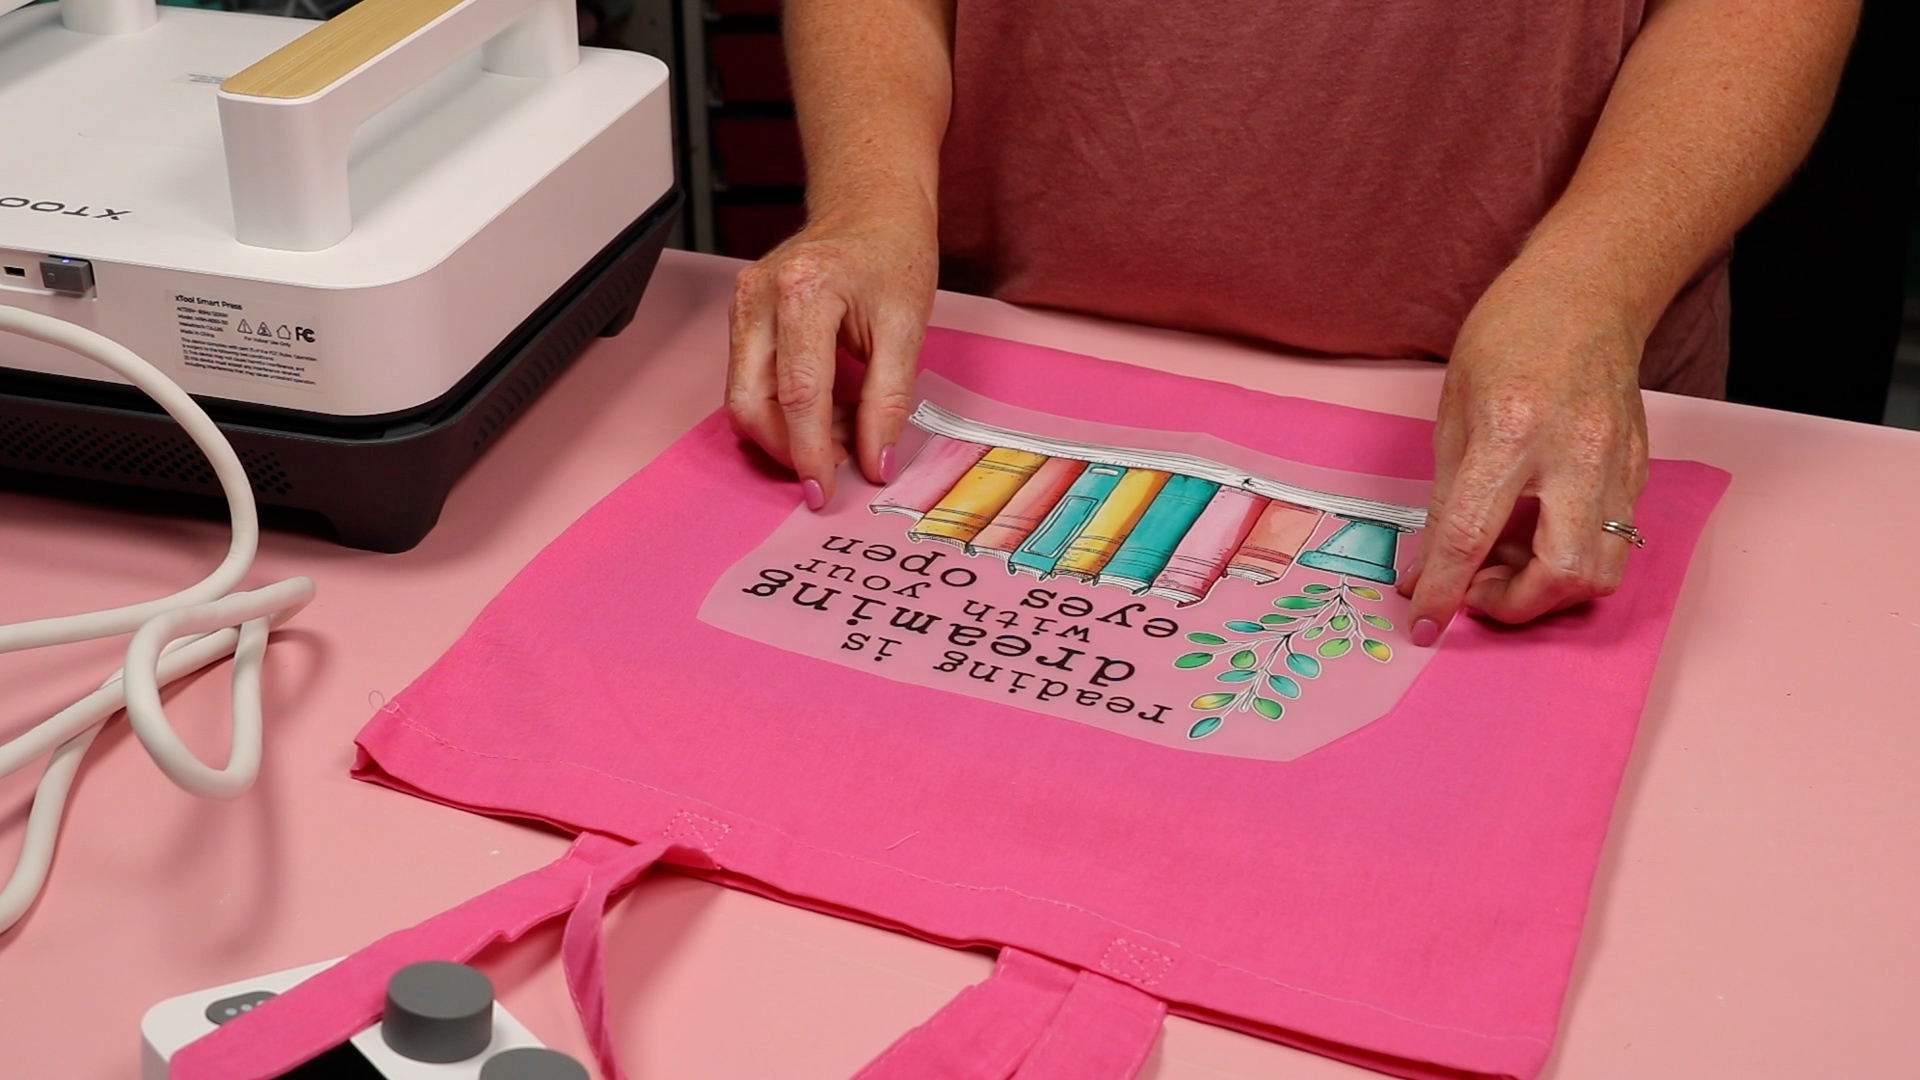
Step 4: Remove the Carrier Sheet and Post Press
I like to peel my DTF prints cool. Use a DTF cooling block to cool down the print and then peel back the carrier sheet.
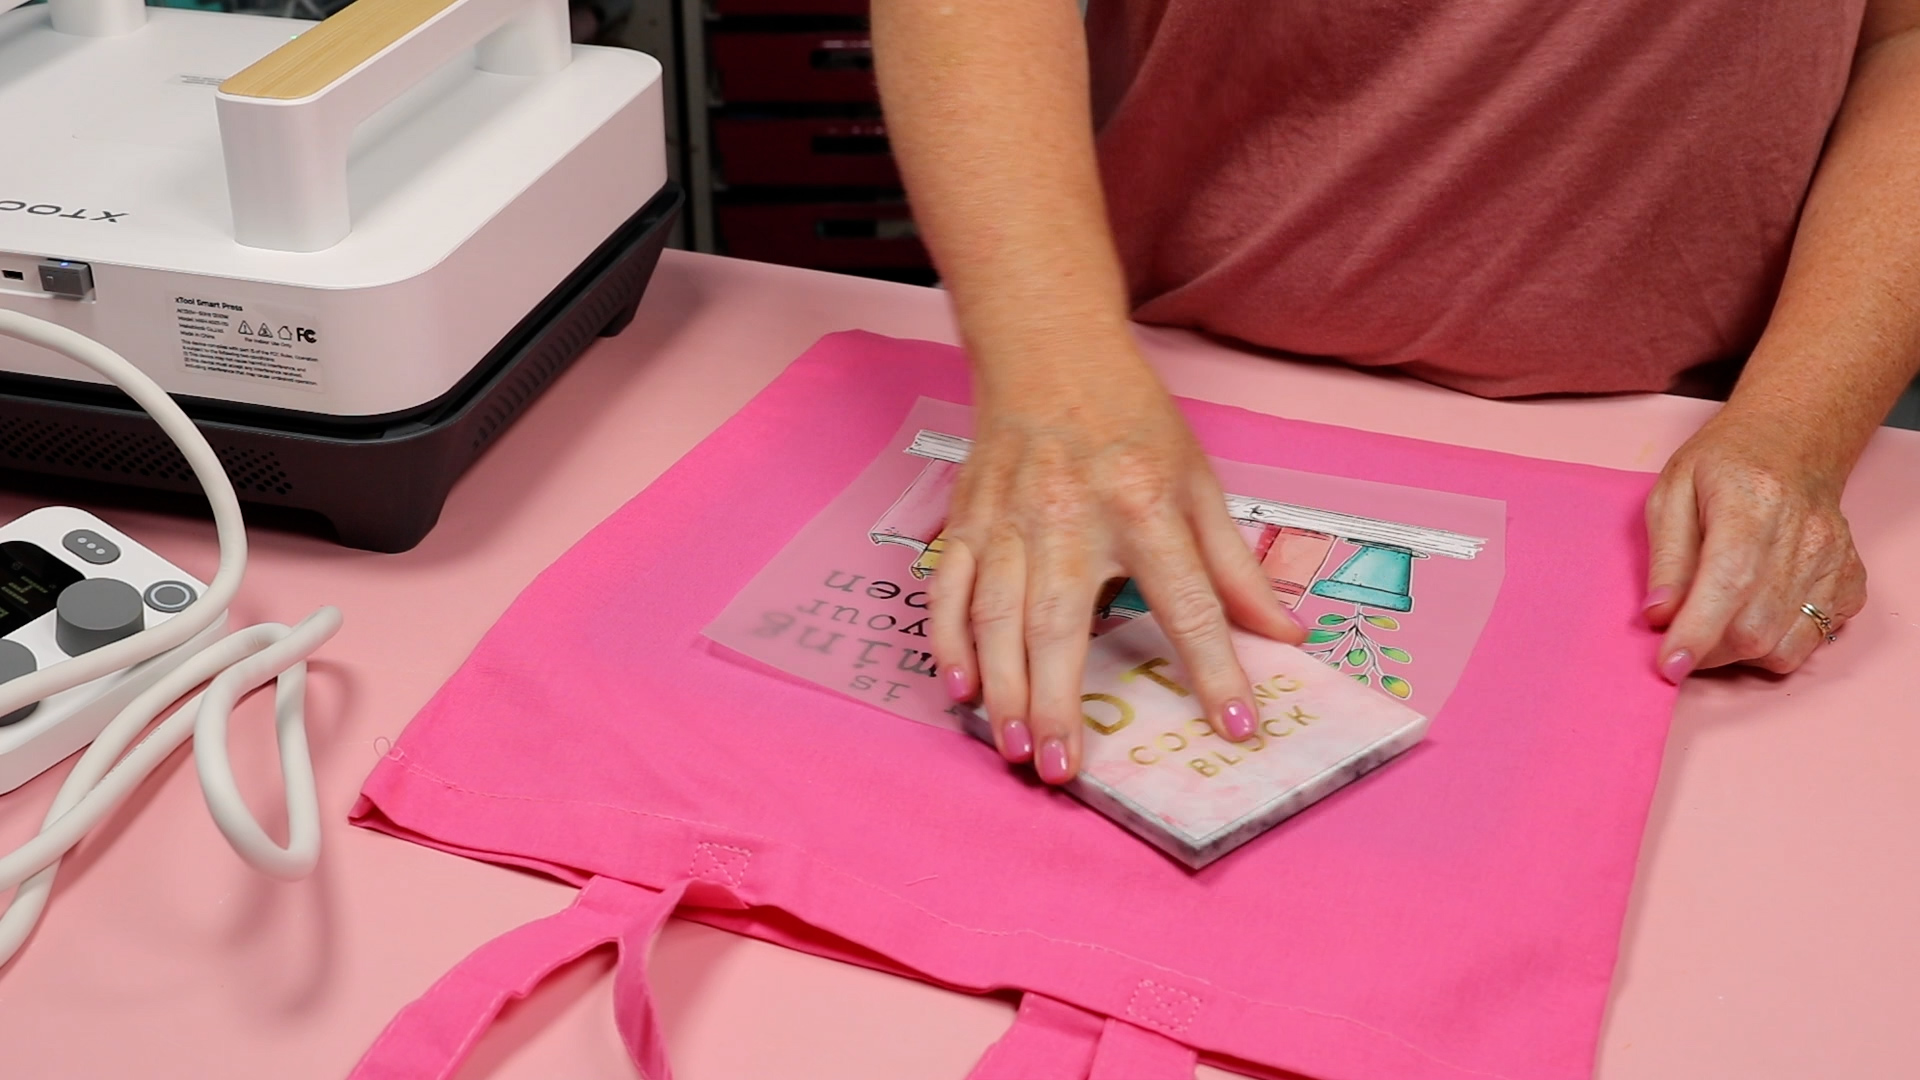
My print looks great. DTF recommends a post-press after you remove the carrier sheet. Add a piece of thin fabric over the top and press again for 5-10 seconds.
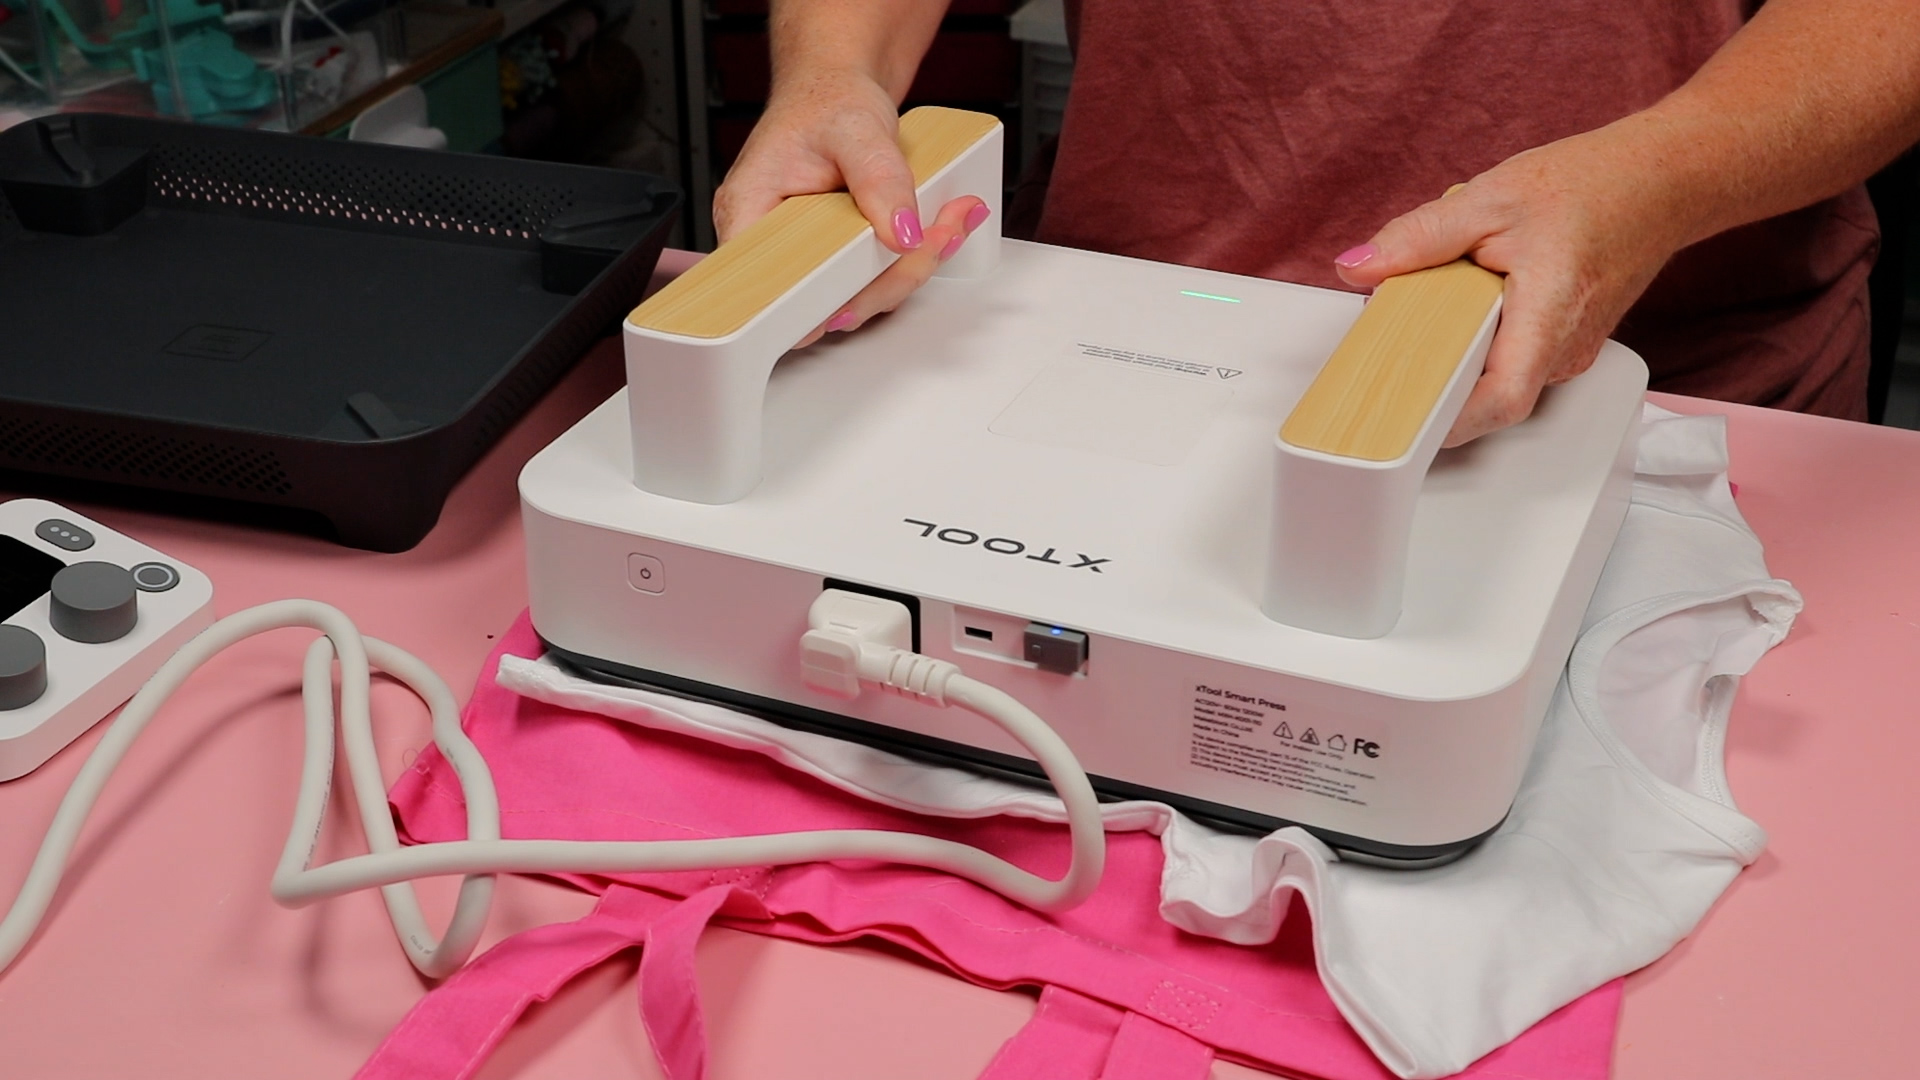
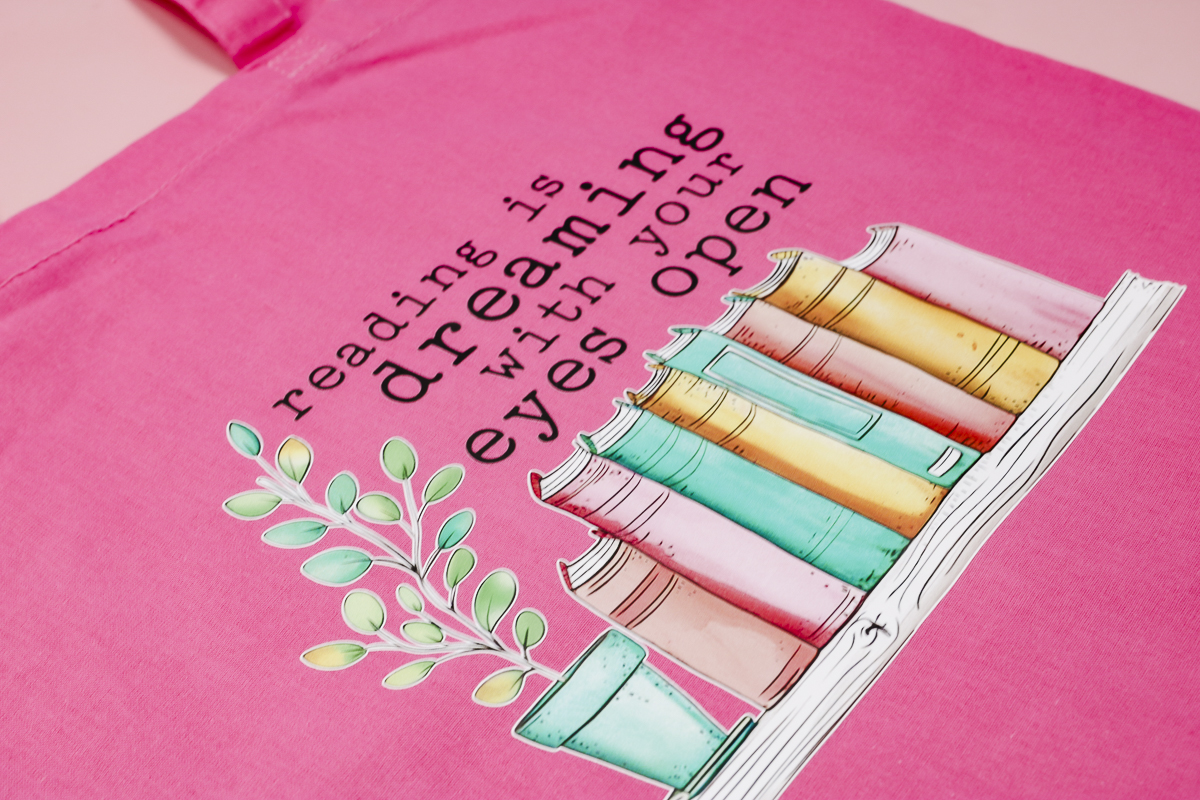
Remove the fabric and the DTF tote bag is complete.
How to Use the xTool Heat Press Mini Press
The xTool Mini Press is different than other mini presses because you can use the buttons on the front to set a low, medium, or high-temperature setting or you can use the control panel that you use for the Smart Press.
With the control panel, you can set an exact time and temperature. I really like this feature, I haven’t found it in other mini presses.
This mini is also a little bit larger than the Cricut EasyPress Mini. I think it’s a great versatile small press to add to your craft room.
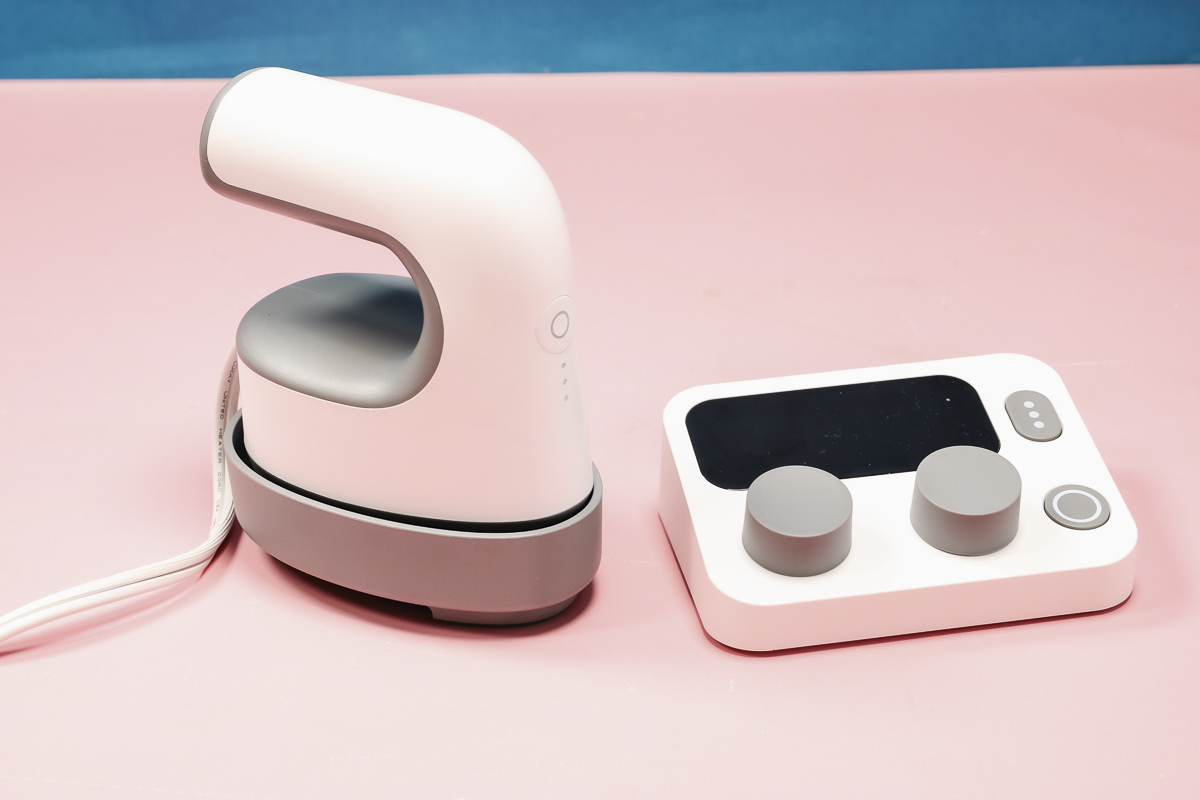
Using the buttons on the front of the press is easy. Press the button once for the lowest setting, twice for the medium setting, and three times for the highest setting. To turn it off, press the button one more time.
The indicator will light up to what you have selected and the press will beep when it has reached the appropriate temperature.
Step 1: Use the Control Panel with the Mini Press
To set an exact time and temperature on the Mini press you will need to use the control panel. Insert the receiver into the handle of the Mini Press.
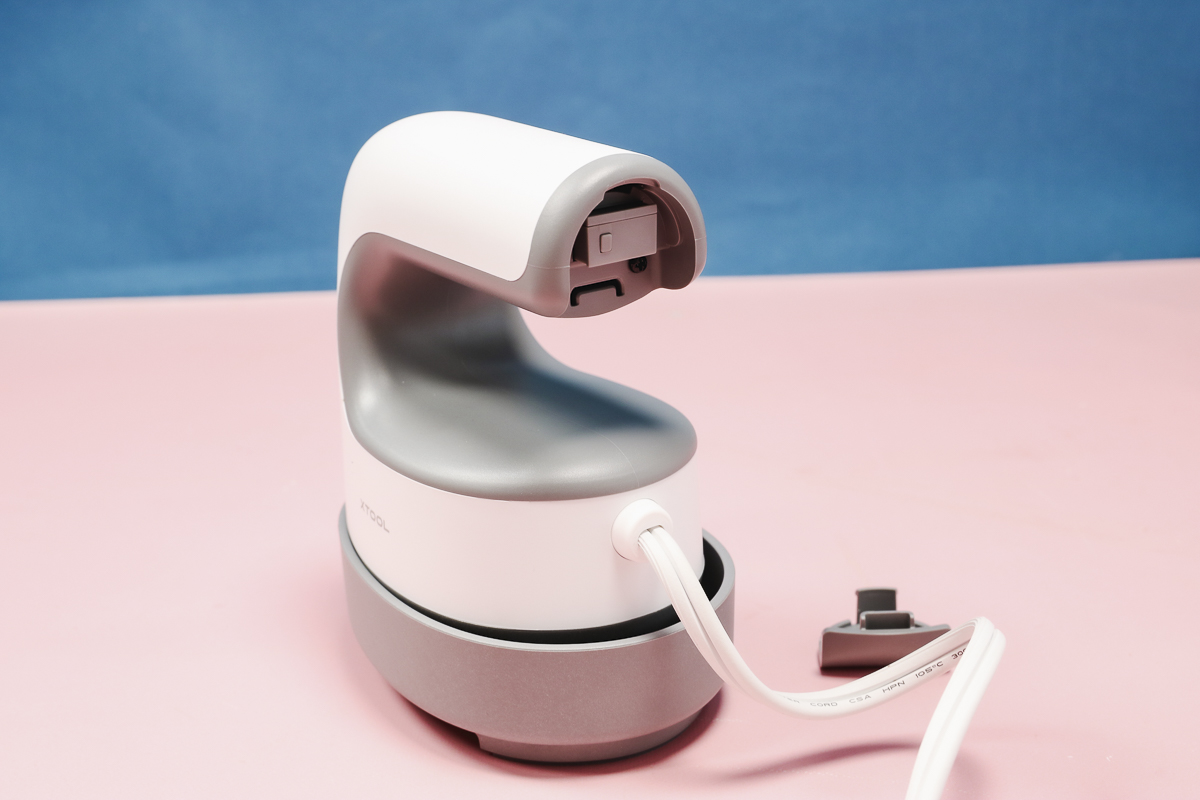
With the receiver in place, you should see a solid blue light on the top.
Turn the control panel on and press the button on the receiver for three seconds. The light should begin flashing blue.
Next, hold down the button on the control panel for three seconds and you will see the light flash in the corner. When it’s connected, the light on the controller will be solid and the light on the receiver will blink slowly.
With the controller and Mini press connected we can use the control panel to set the exact time and temperature.
Step 3: Prep Sublimation Earring Blanks
I am going to use the xTool Mini Press to make a pair of sublimation earrings.
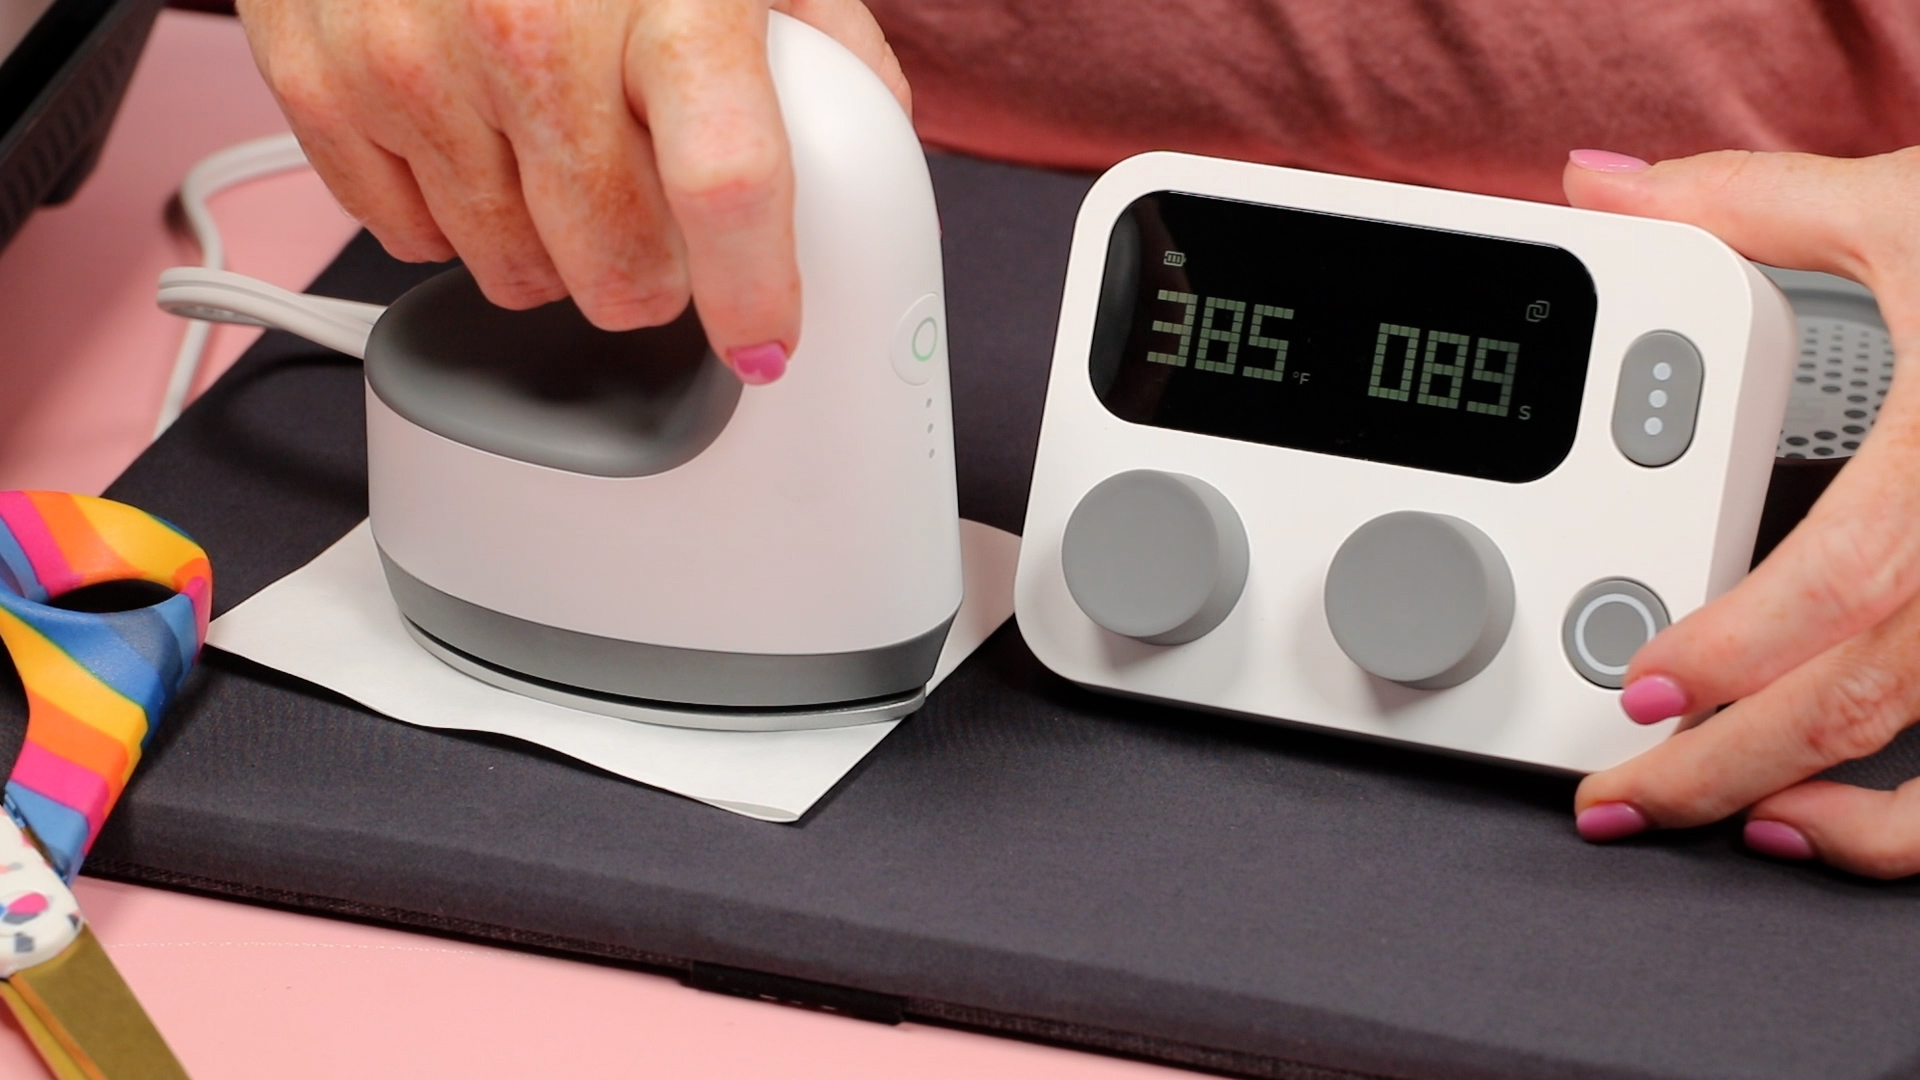
Set the control panel to 385 degrees for 90 seconds.
Remove the protective coating from both sides of the earring and clean them well with a lint roller.
You can sublimate both sides of these earrings, I am only sublimating one side today.
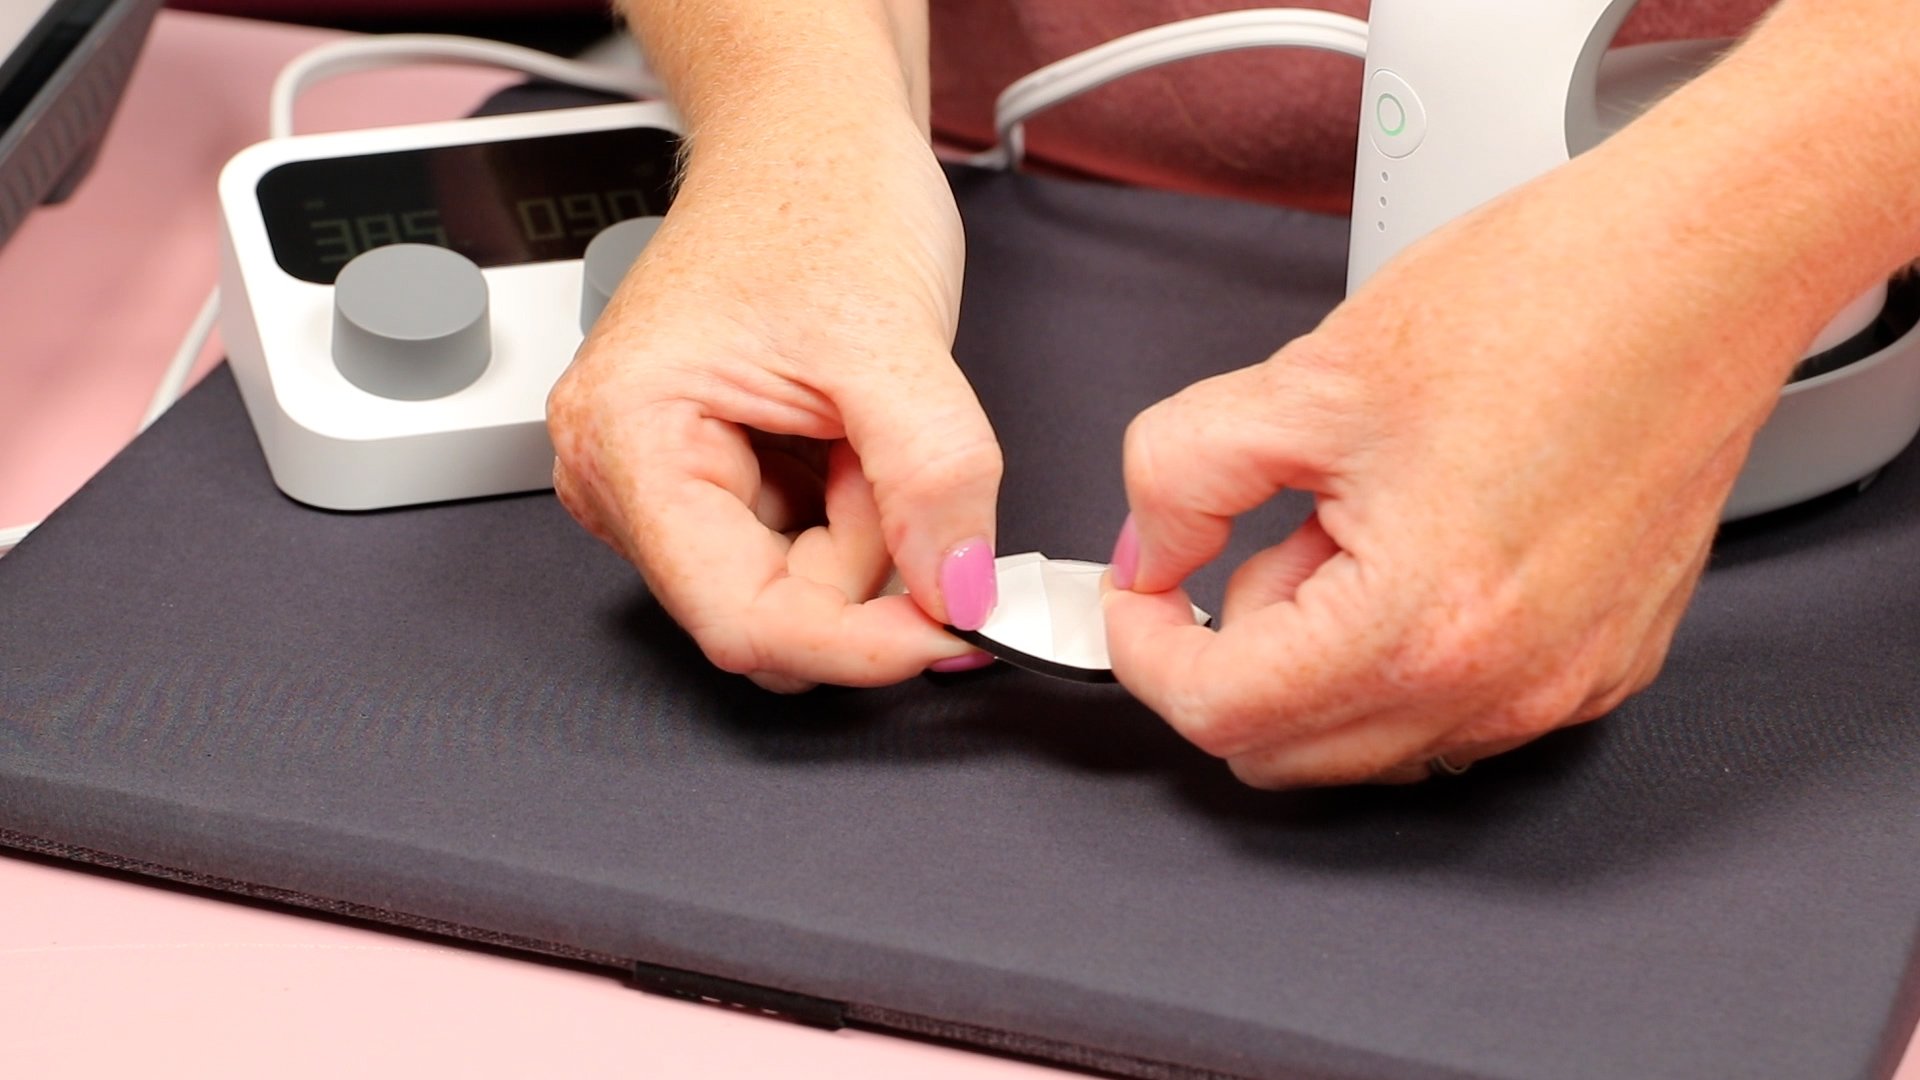
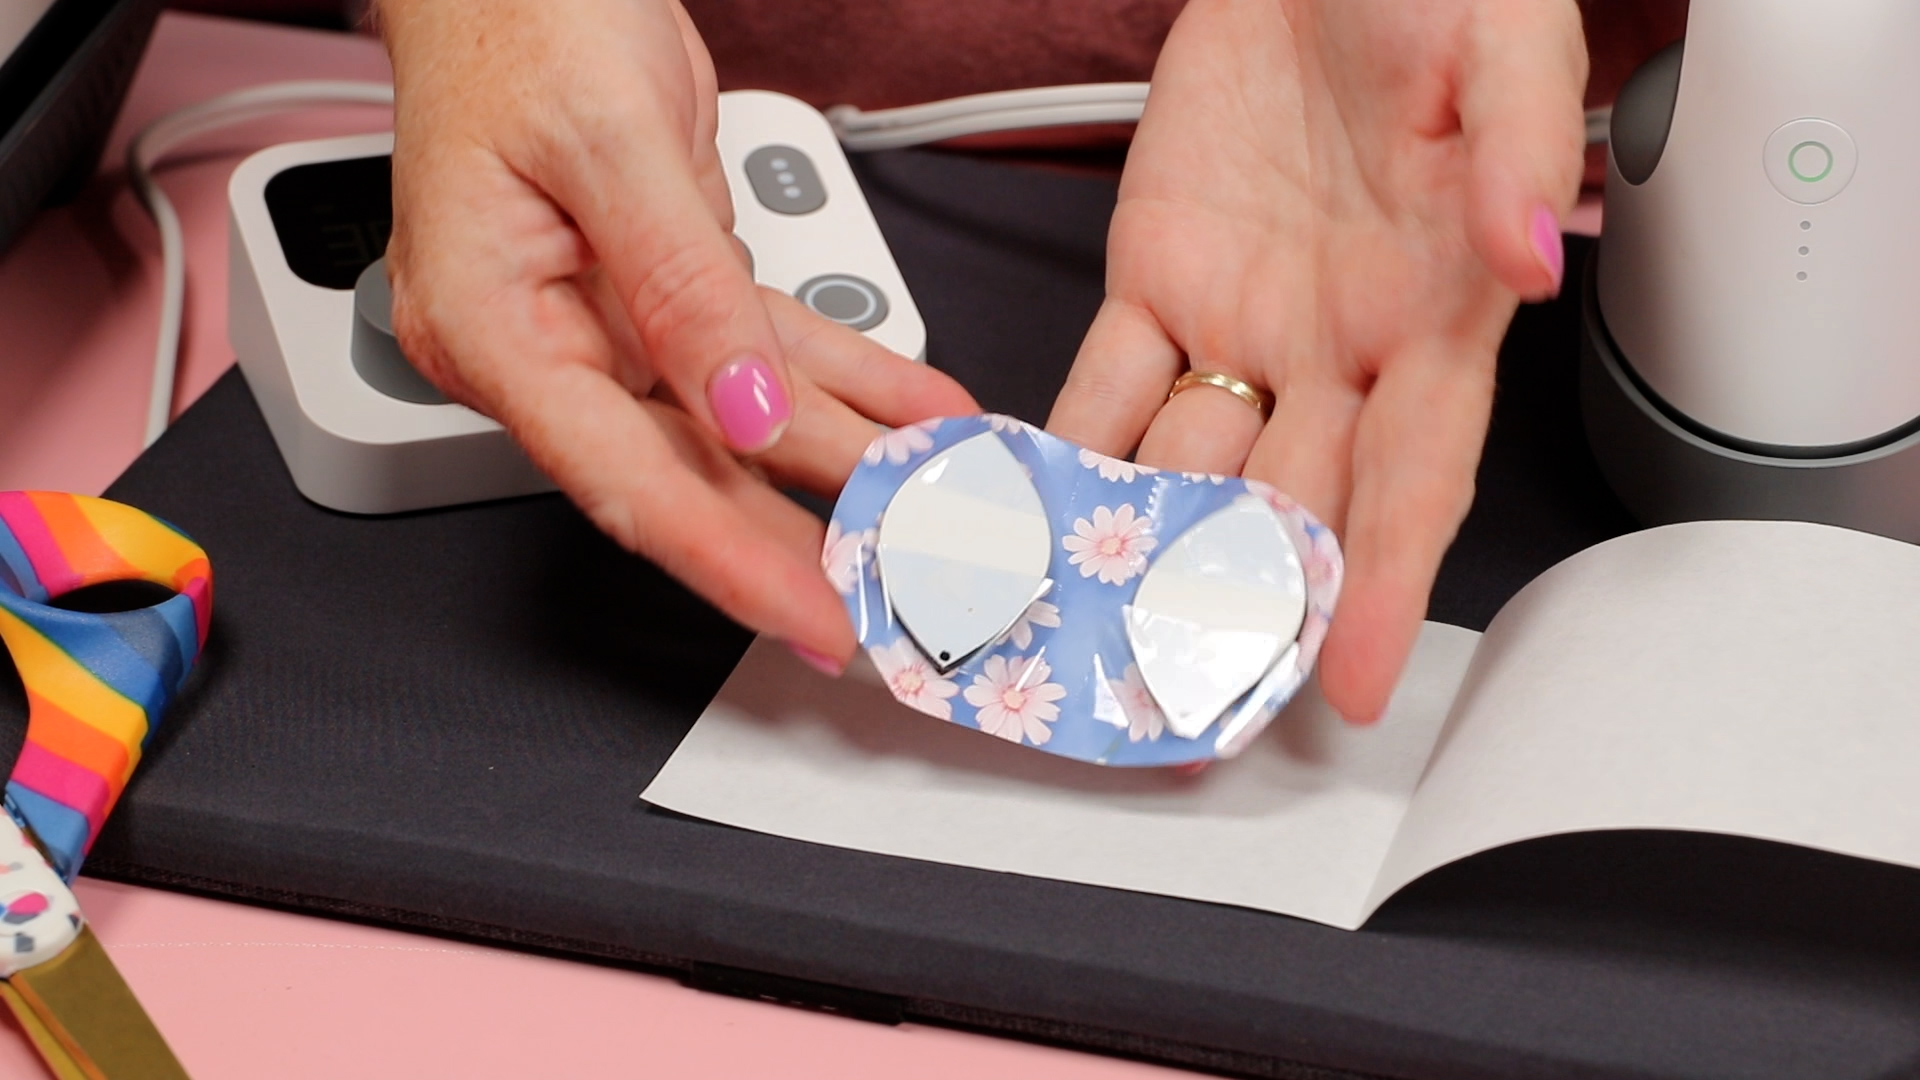
Locate the sublimation print, which is sublimation ink printed onto sublimation paper from a sublimation printer, onto the blank. Use heat-resistant tape to hold it in place.
Step 4: Press the Earrings with the Mini Press
Add protective paper to the top and bottom of the project and press.
Both of these earrings fit under the Mini press so I can press them at the same time. Make sure that the entire design is under the heat plate when pressing.
Like the other press, you need to apply the pressure when using the Mini press. When the time is up the press will beep and then you can remove it from the blank.
Step 5: Finish the Earrings
I recommend using heat-resistant gloves to start peeling back the sublimation print. Peel the print back slowly to make sure it transferred if it didn’t, lay it back down, and press again.
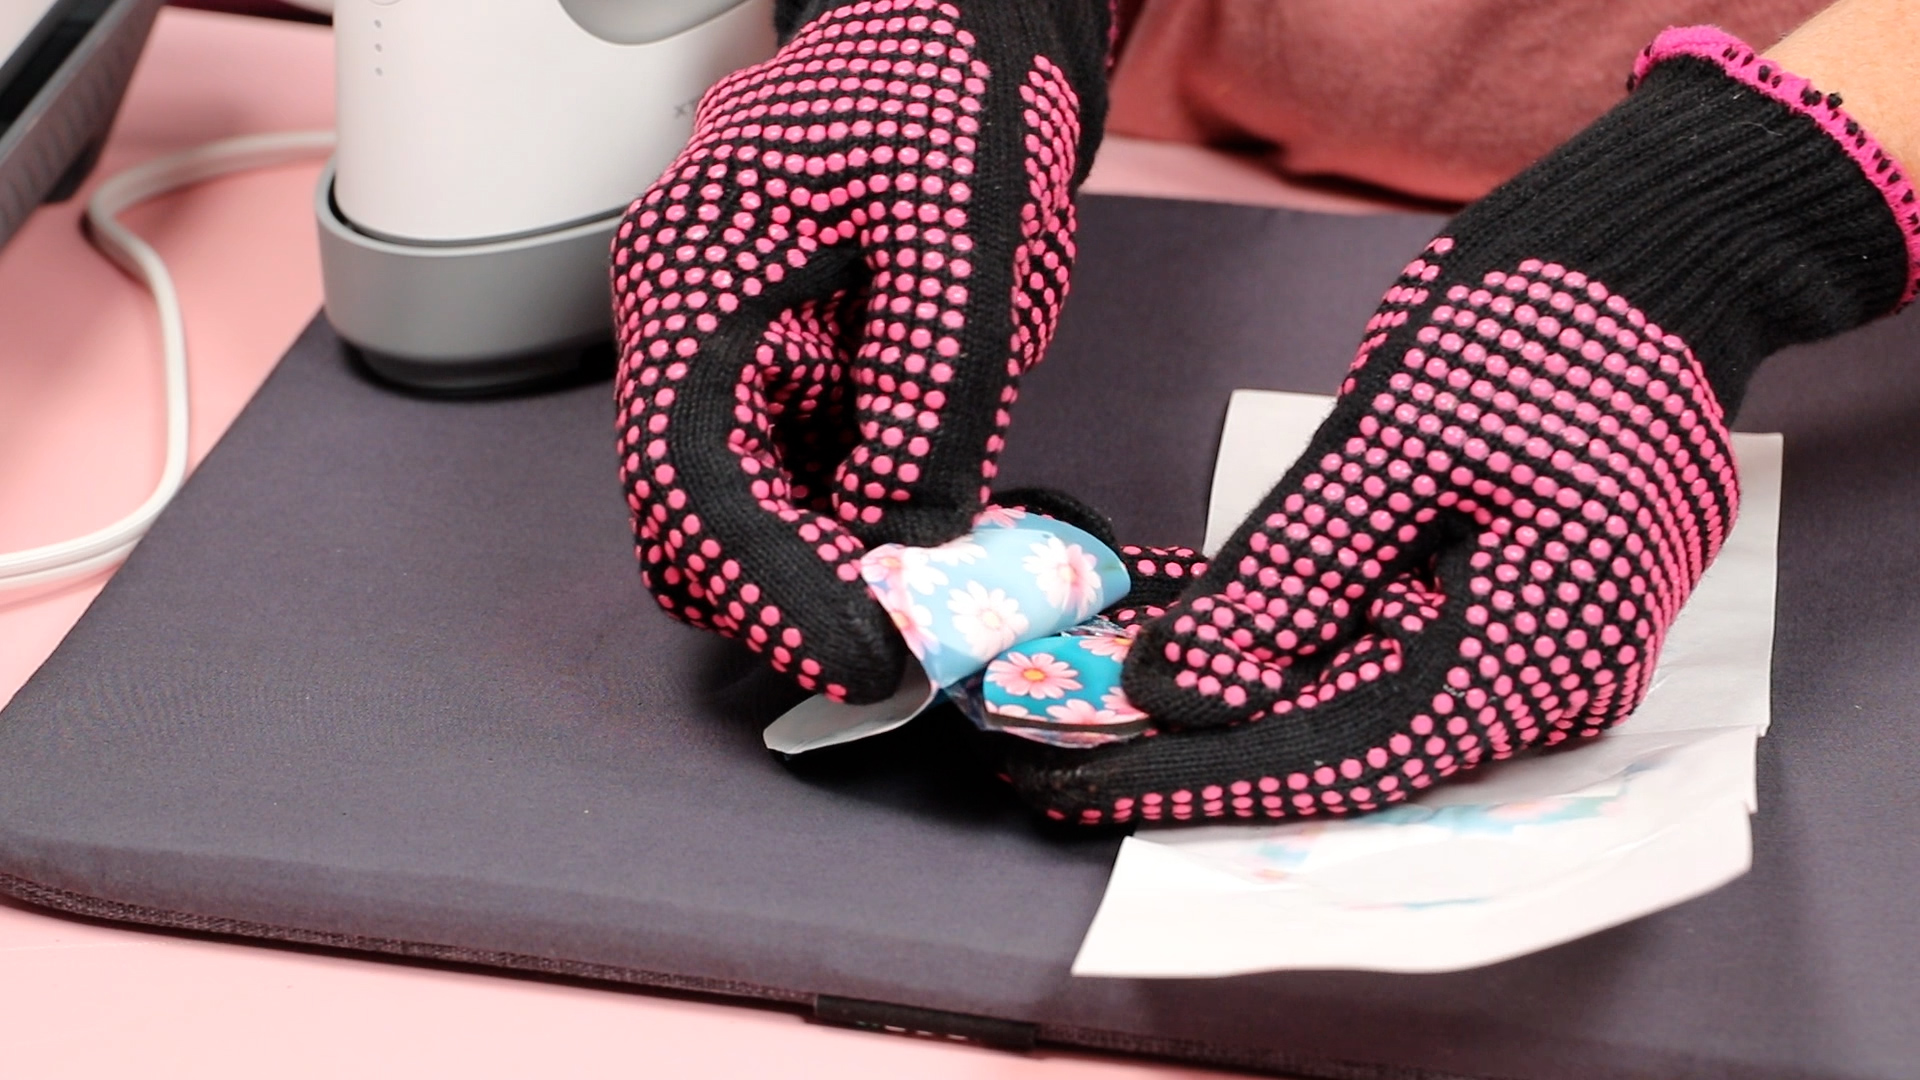
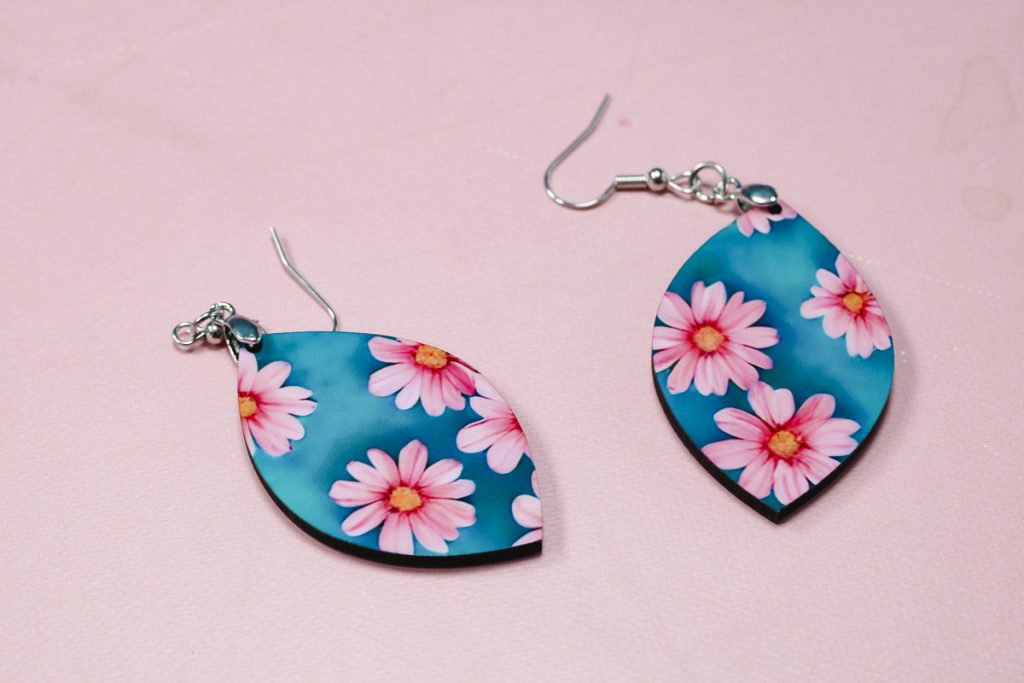
My sublimation print transferred beautifully. this press worked really for these small blanks.
How to Use the xTool Smart Press Heat Press with the Stand
You can also use the press with the stand to keep your hands free when pressing.
Step 1: Assemble Press to Stand
First, you need to assemble the stand. Follow the instructions that come with the kit. The stand assembly is very easy.
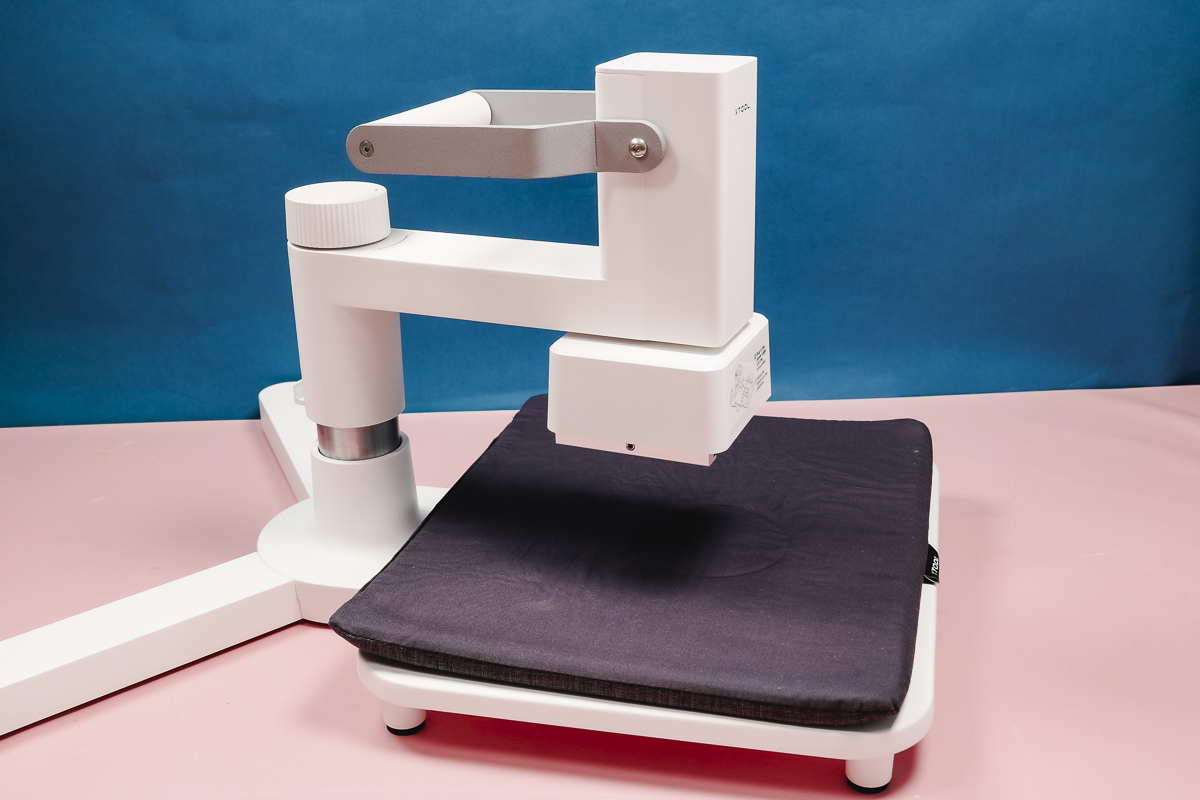
With the stand assembled, it’s time to add the attachment to the Smart Press. On the top of the press, there is a little box, press down in one corner and remove that panel.
Add the attachment piece and screw into place with four screws.
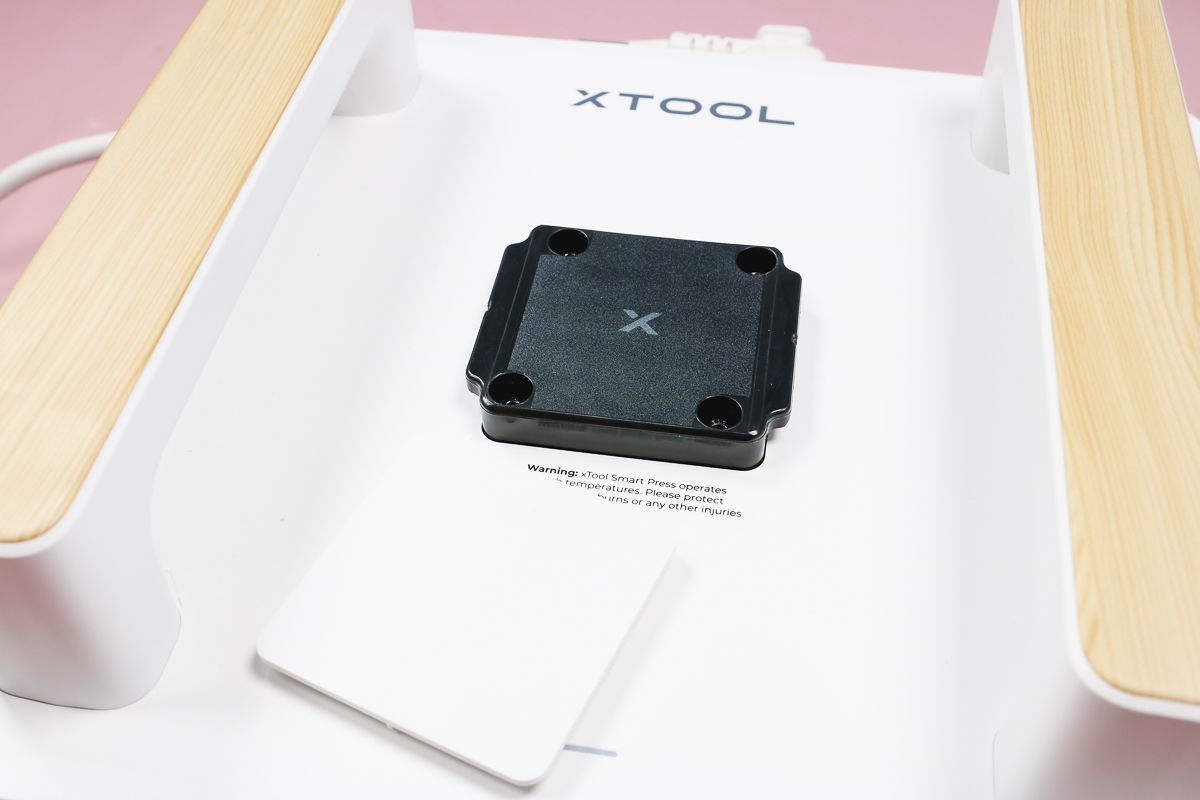
Follow the instructions on the stand to attach the heat press.
The bracket aligns with slots on the stand, line those up and slide it into place. When it’s all the way in place you’ll hear a little click and that’s it. We’re ready to use the press with the stand.
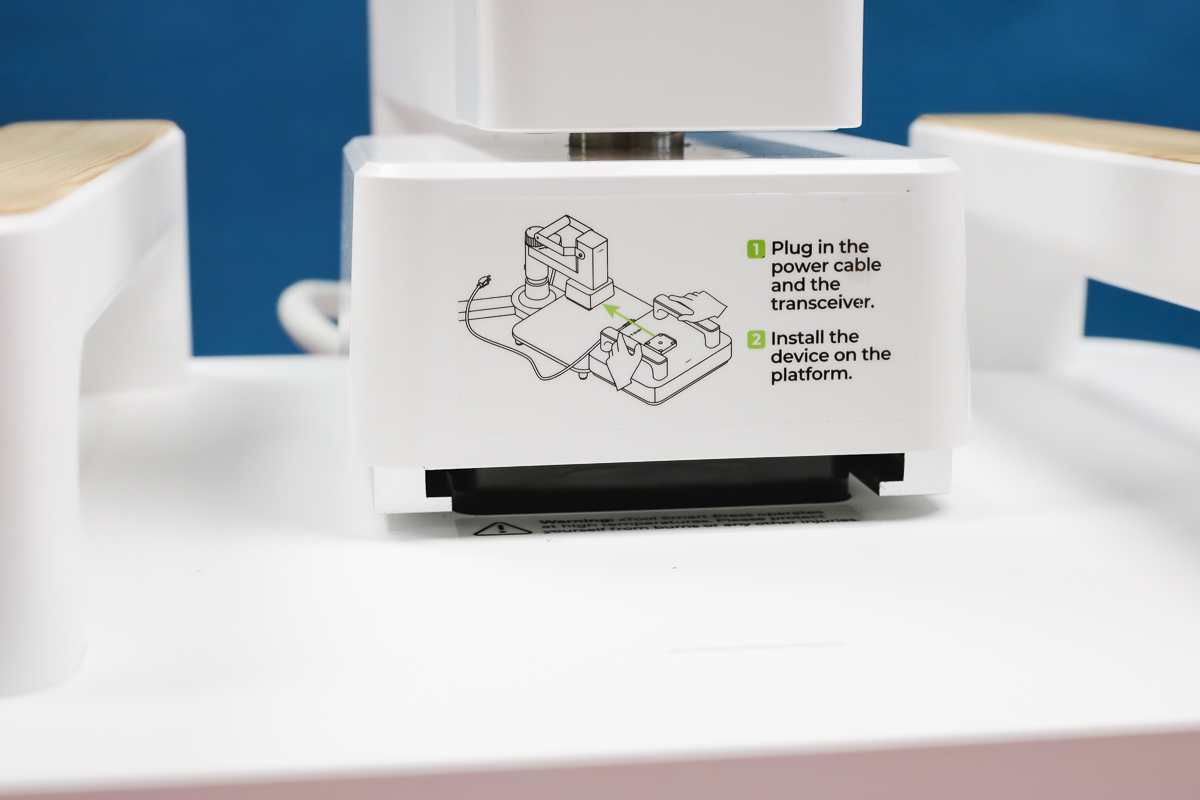
Add the heat-resistant mat to the bottom of the stand and wrap the cord around the stand so it’s secure in the cord loop.
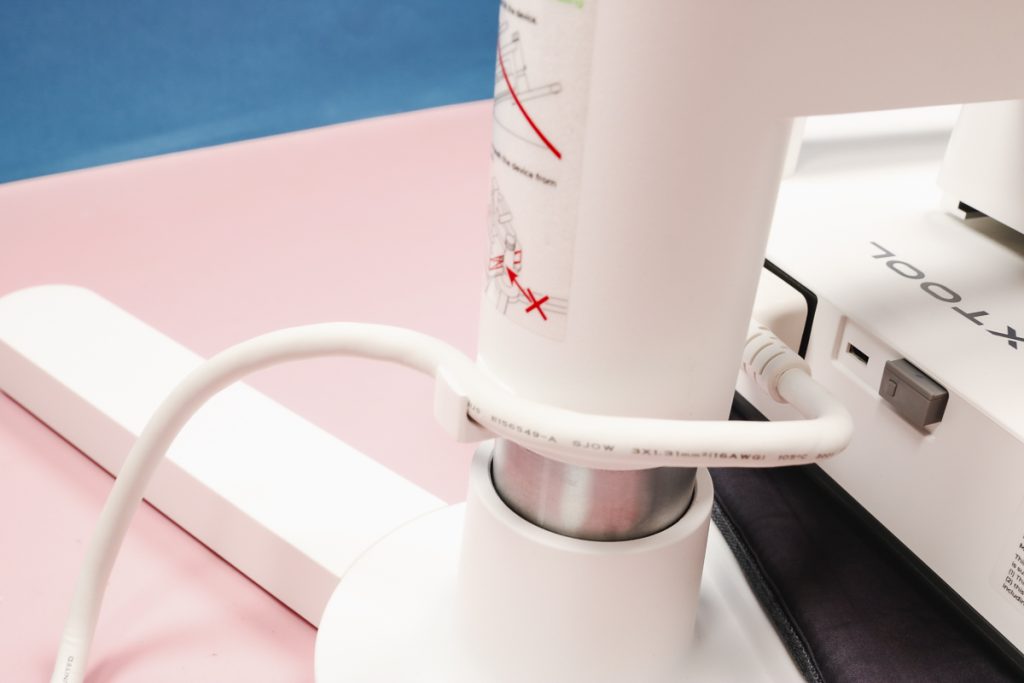
Make sure you have the cord in the loop really well, it can come out while pressing and get in the way.
The Smart Press will continue to work the same. You will use the control panel to set the time and temperature. However, you don’t have to manually apply pressure when you use the stand.
This is a swing-away press. You can swing the heating element to either side of the base of the stand. You will need to make sure you have room on either side of the press to move it so you can add and remove your blank from the stand.
Step 2: Adjust the Pressure on the xTool Heat Press All-in-One
You can adjust the pressure when you use the stand with the Smart Press. To adjust the pressure, turn the knob to either lower or raise the press.
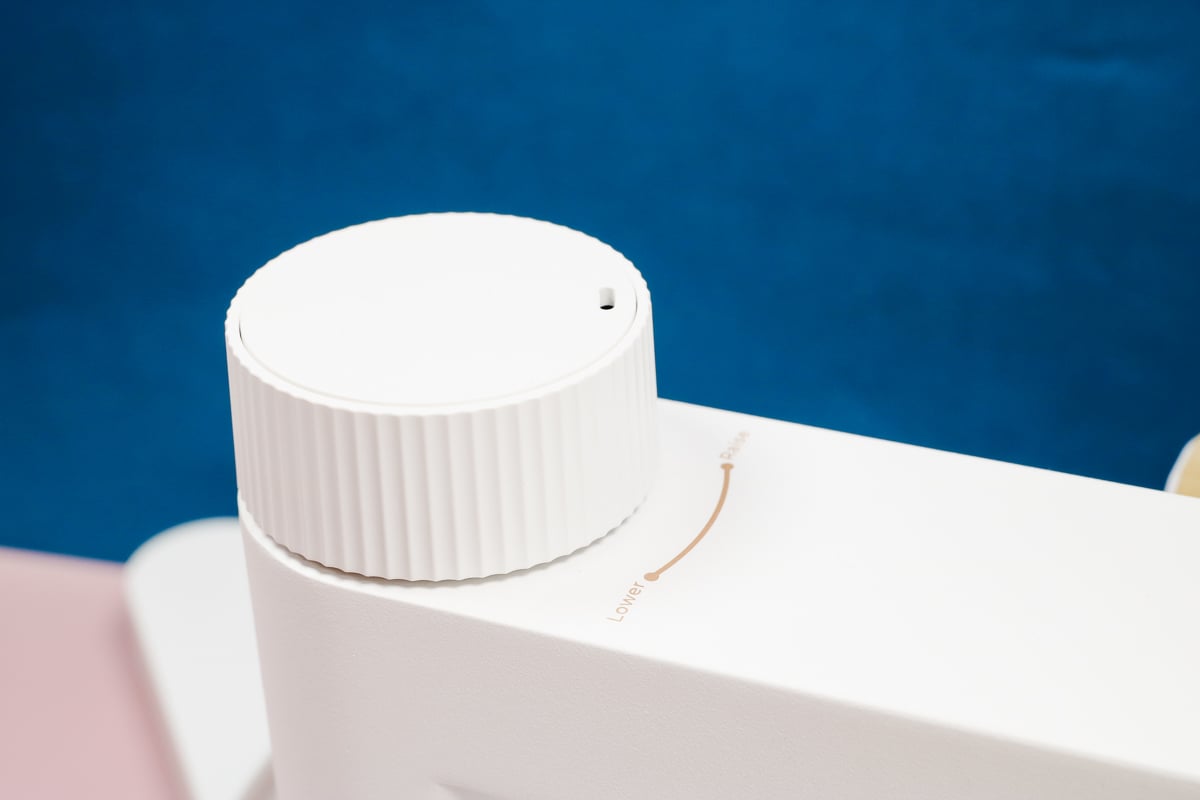
How much pressure you need to apply will depend on the thickness of your blank and the material you’re pressing.
Step 3: Press HTV to a Shirt
Now we’re ready to make a few projects with the heat press attached to the stand. Preheat the press as needed and add your blank to the base.
I laid my shirt flat on the base. The top of the base is close to the stand which would make it hard to thread a shirt on the base. I would also recommend using caution if pressing something bulky like a hoodie. Make sure your press can open and close correctly before adding your design.
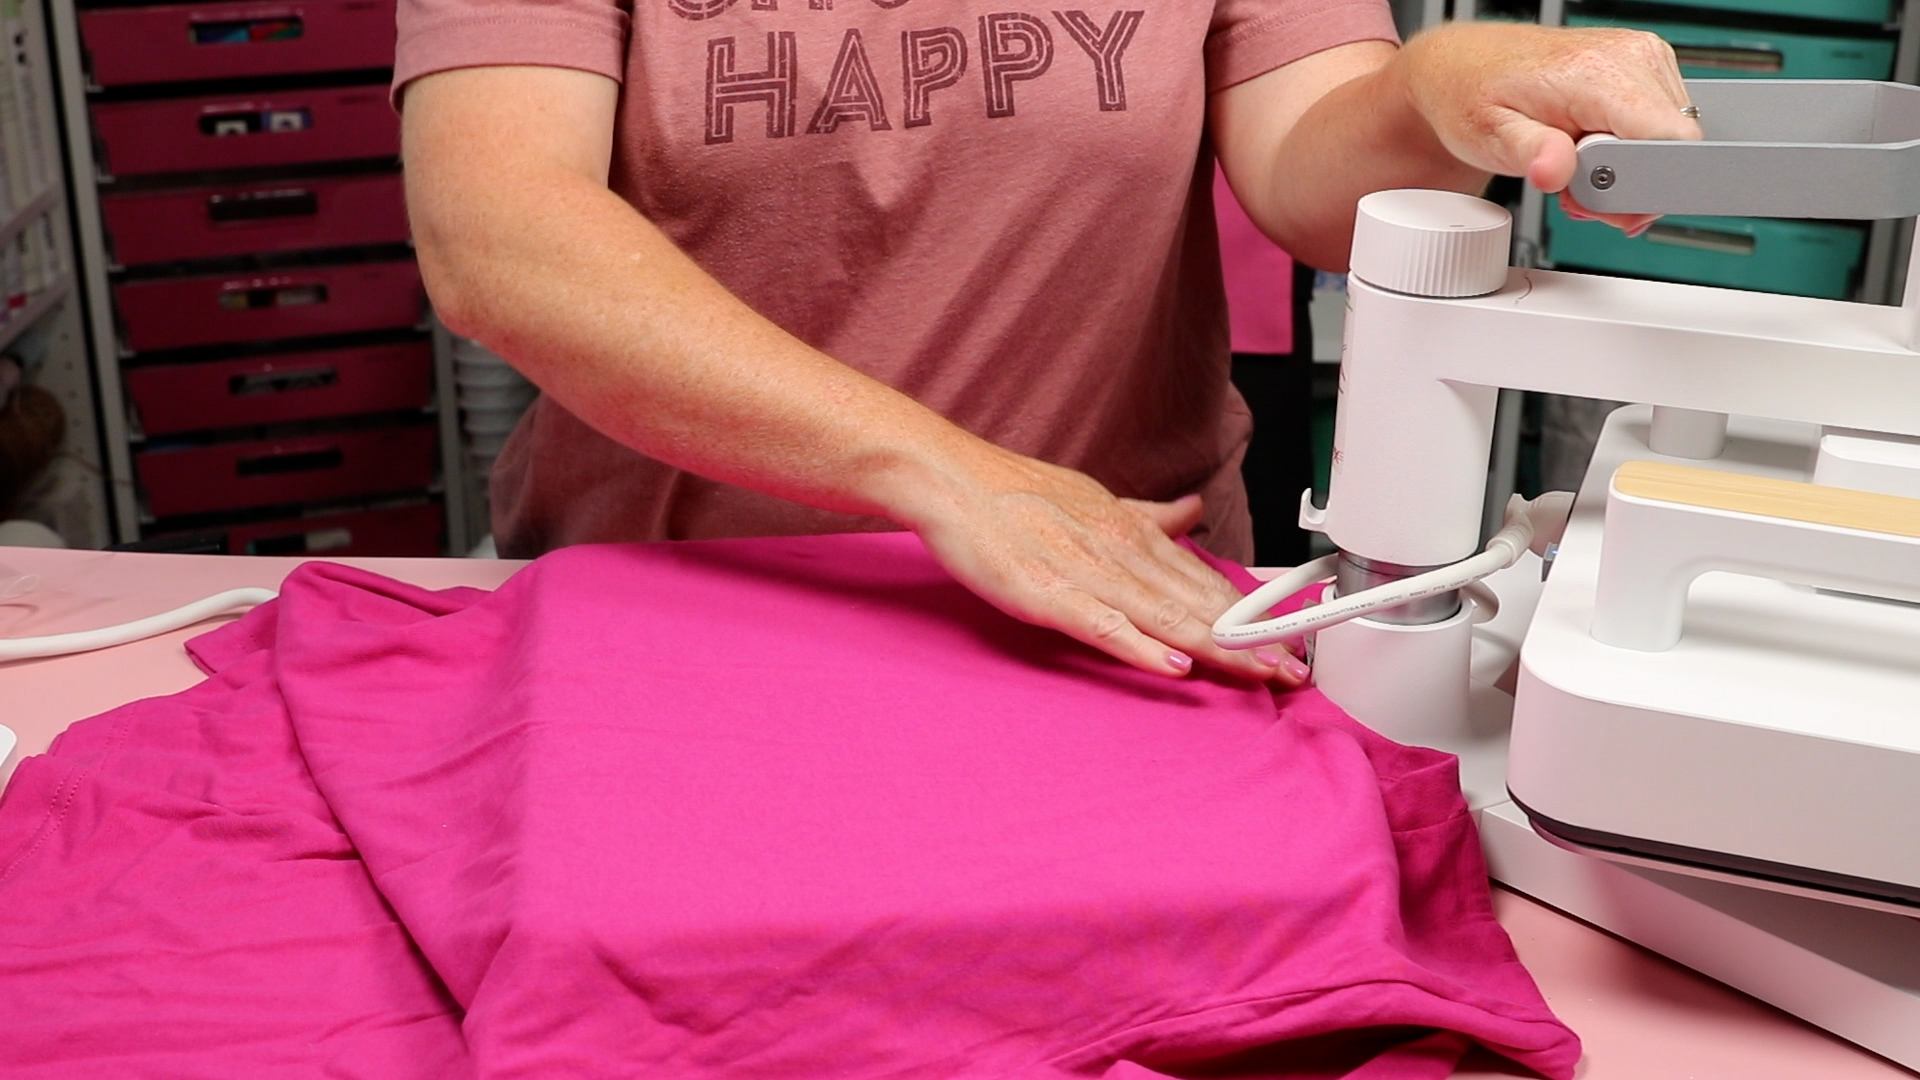
Using this press is similar to any other press. Preheat the fabric for a few seconds to remove any moisture or wrinkles.
Note: The timer does not automatically start when you close the press. You need to press the button on the control panel for the timer to start.
Locate the HTV in place and close the press.
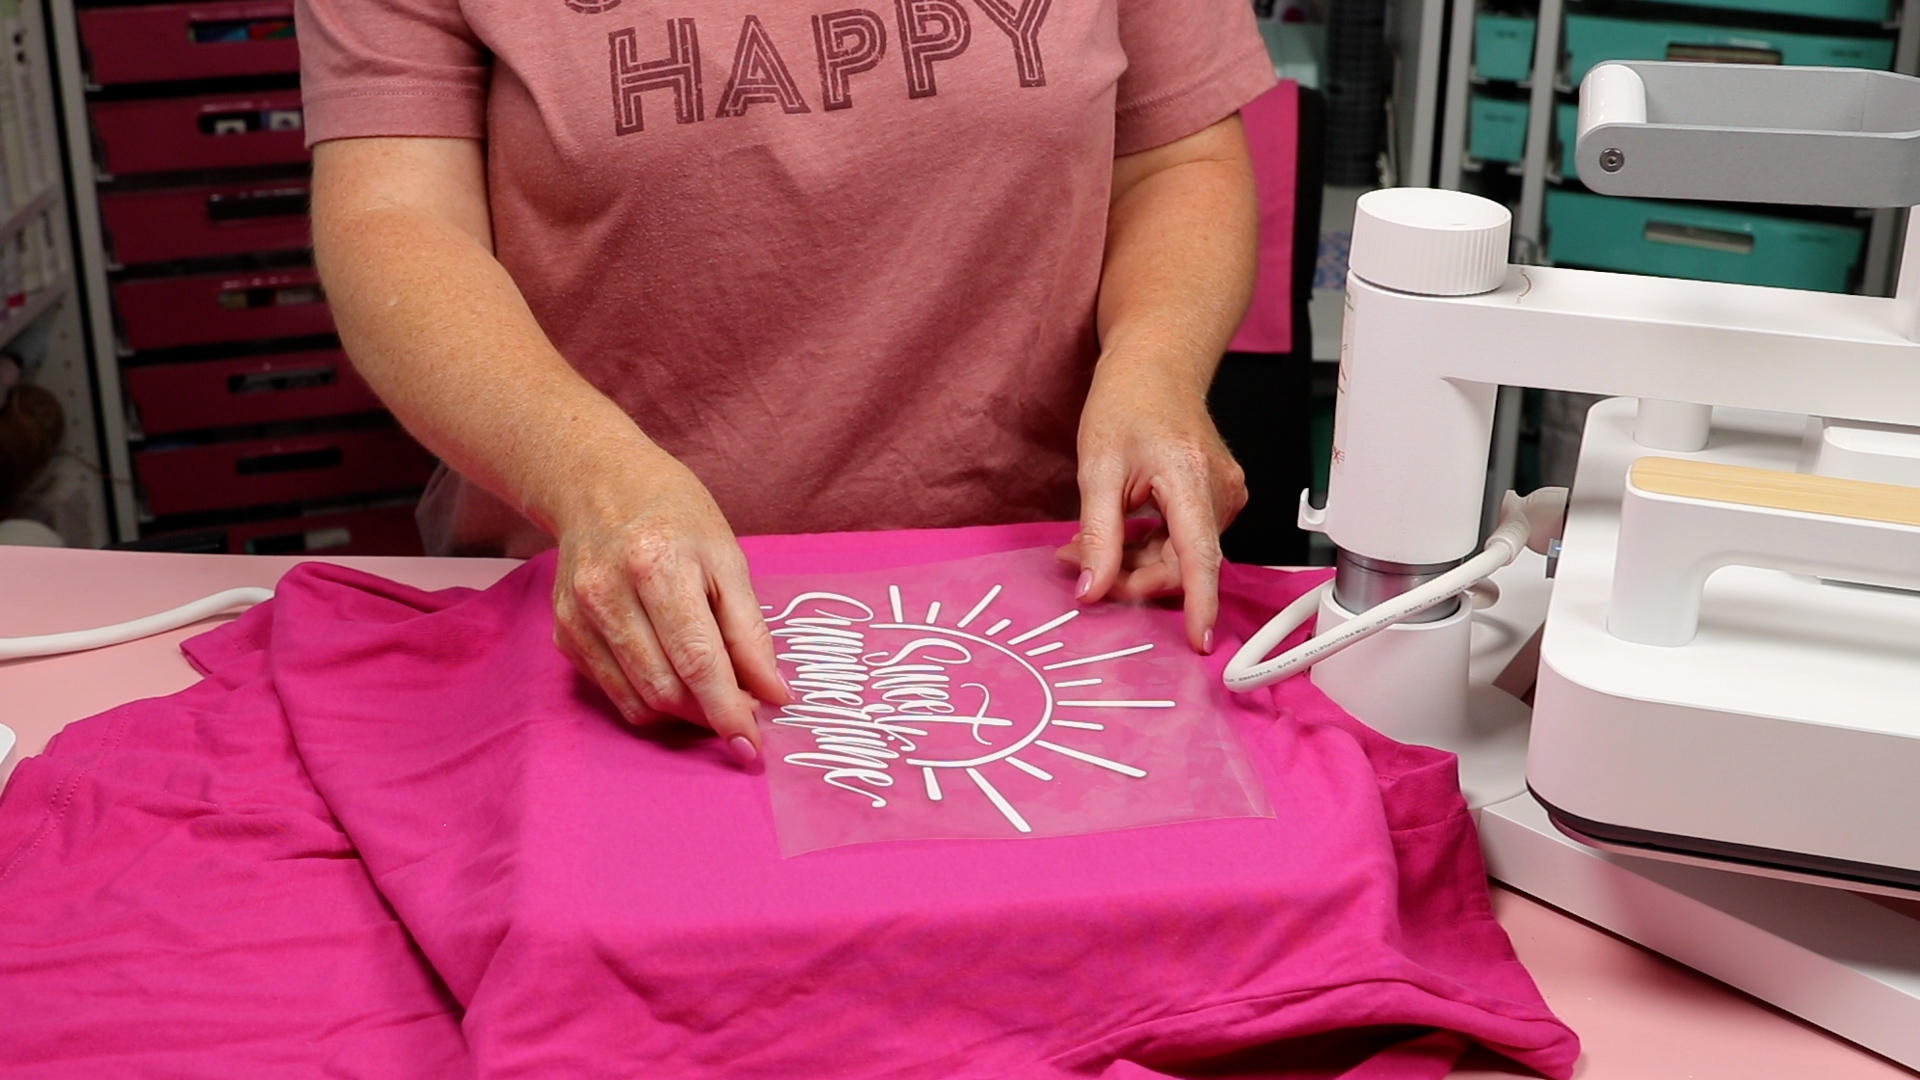
Press the button on the control panel and the timer will start.
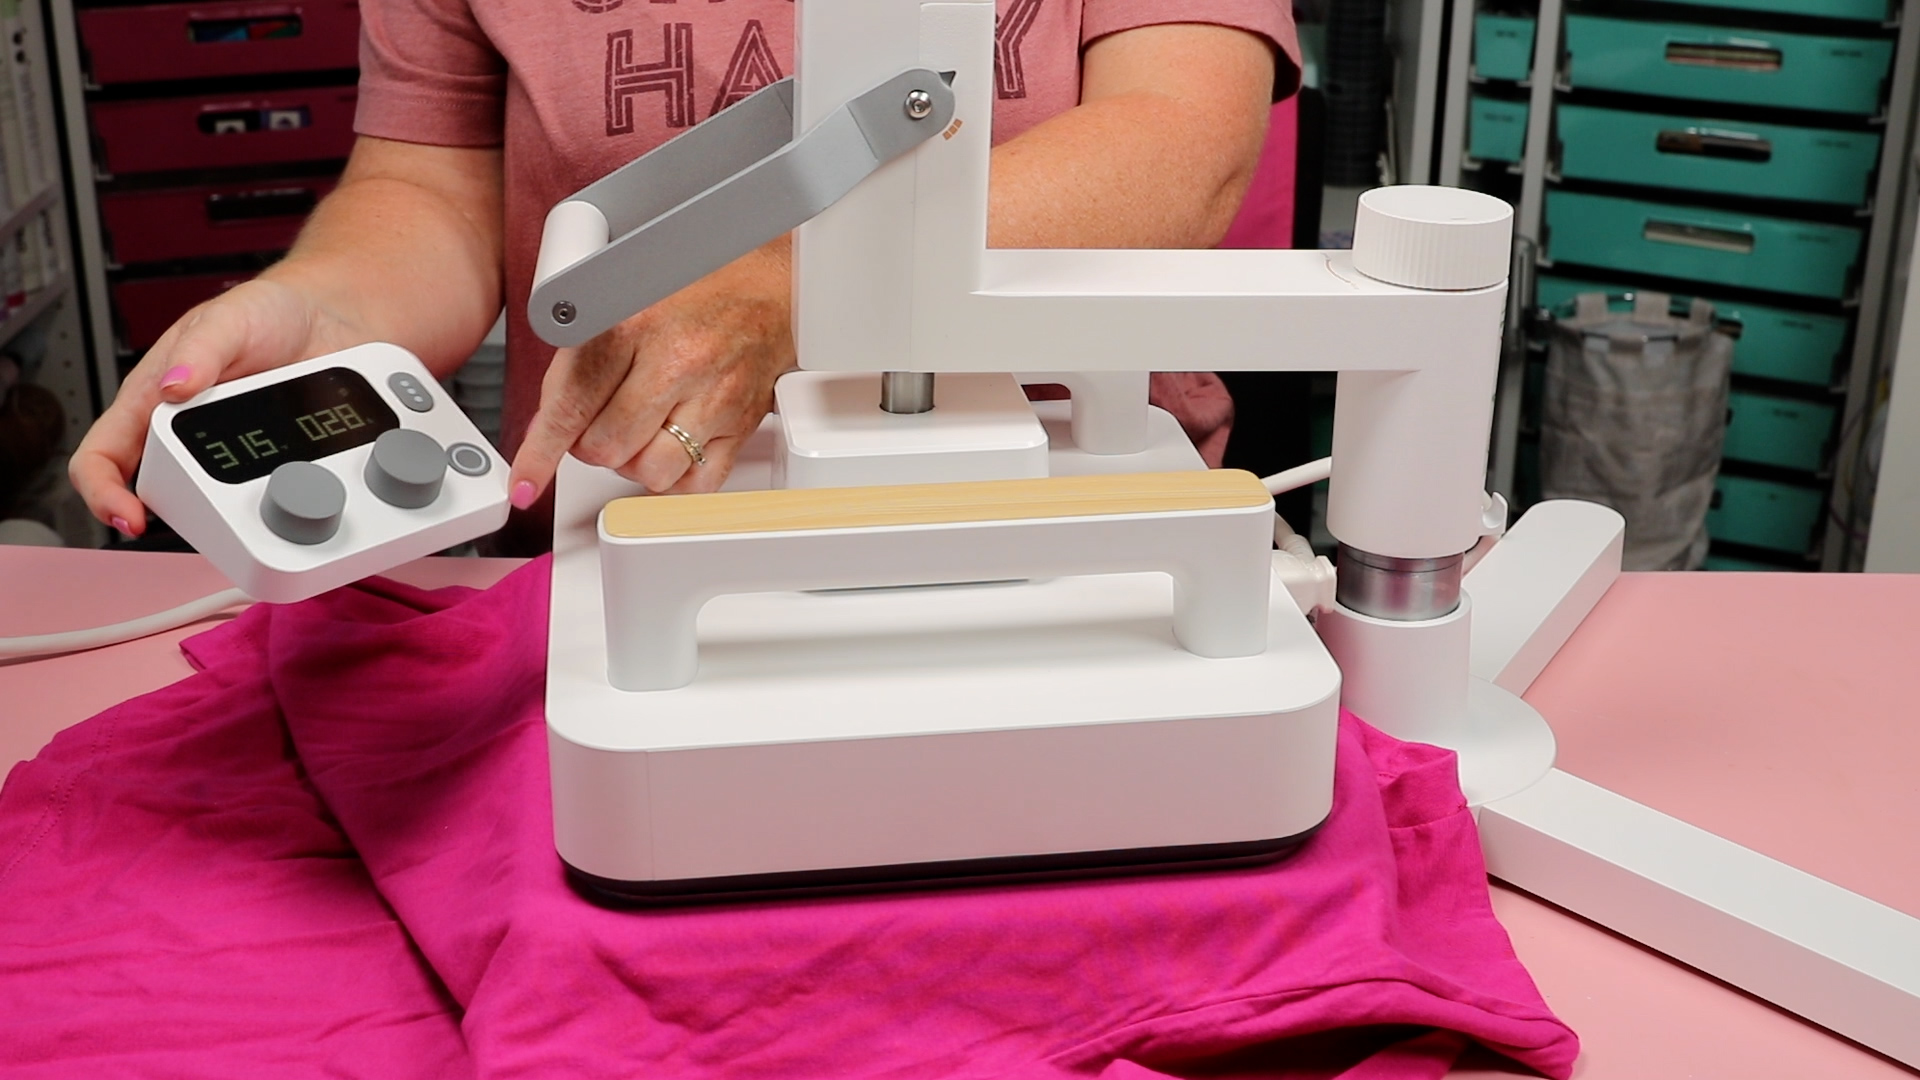
When the time is up, the press will beep. Open the press and remove the blank from the base.
This is a cold peel HTV so I used a DTF cooling block to cool it down. Make sure you follow the instructions for the material you’re using. If your HTV calls for a press from the back, do that before you remove the carrier sheet.
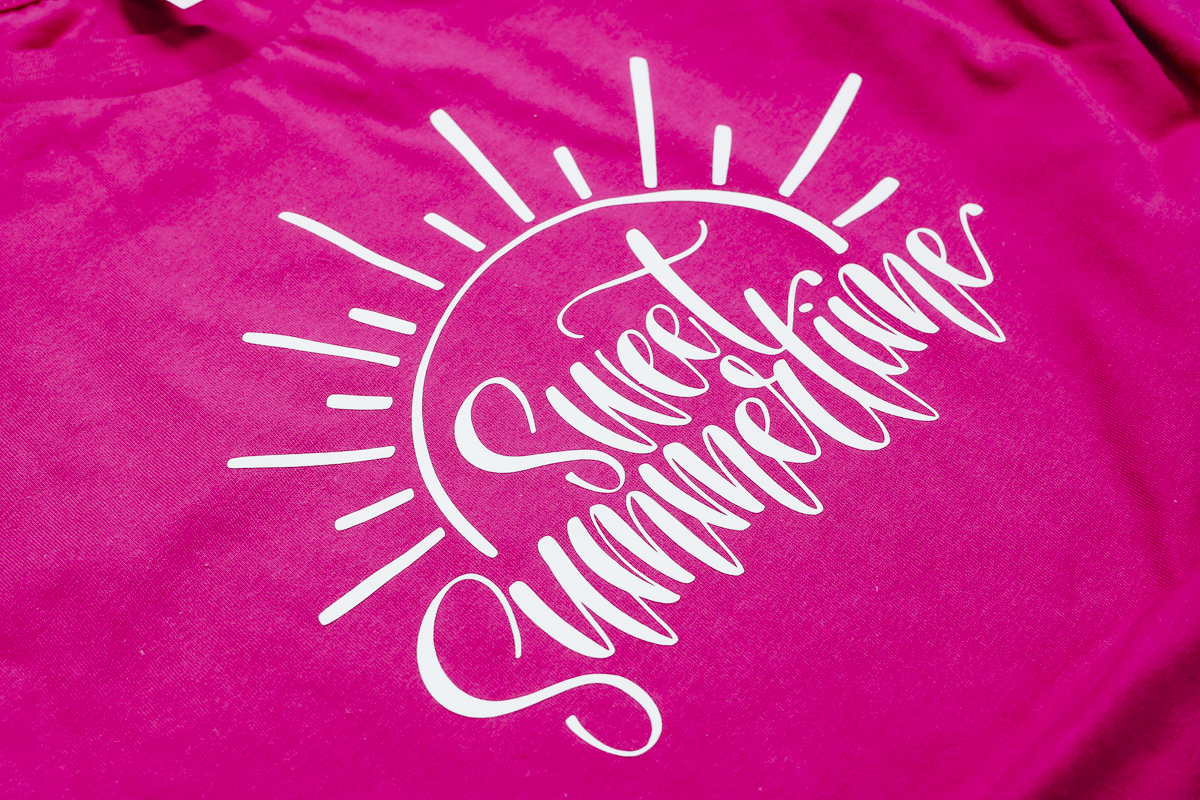
When the shirt is cool, peel back the carrier sheet to reveal your finished project.
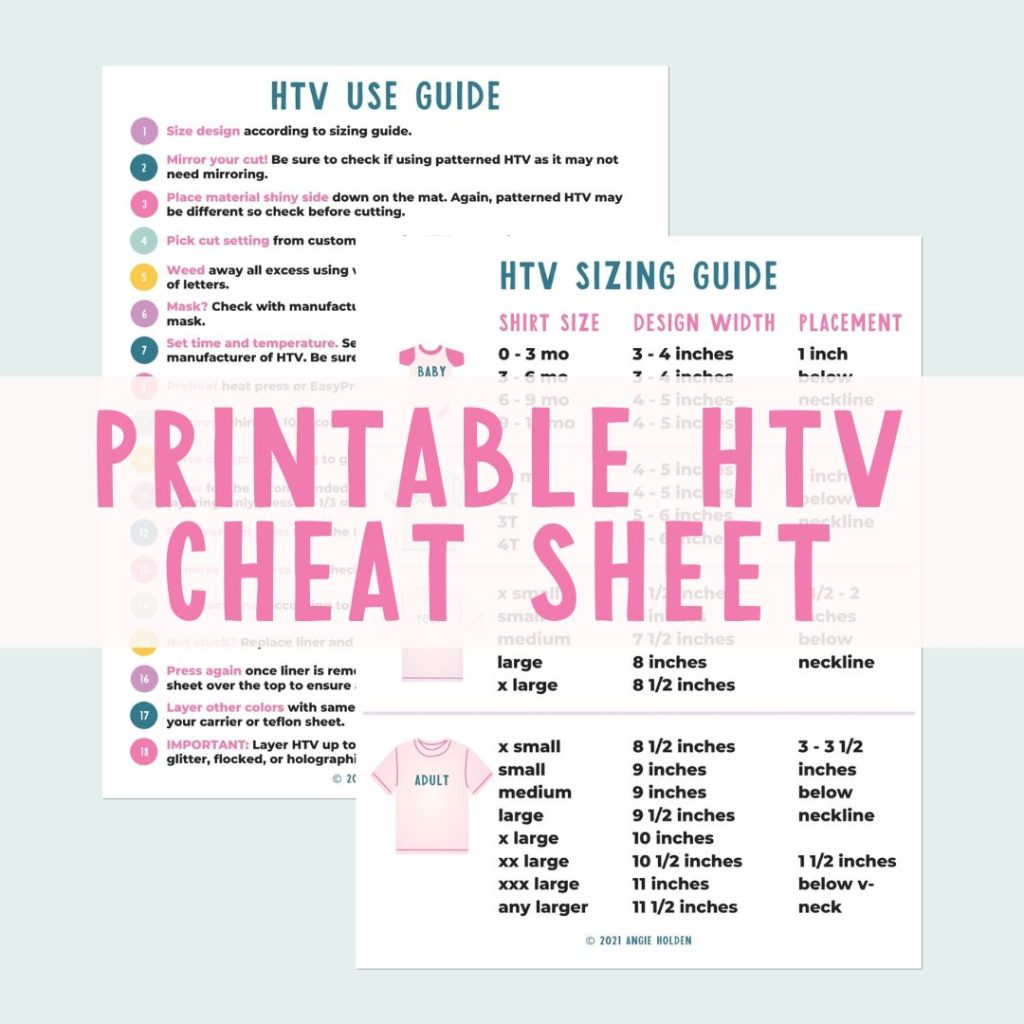
Free HTV Cheat Sheet
Get your FREE Printable HTV Cheat Sheet now! This guide has sizing and position recommendations for infant through adult shirts as well as a handy HTV use guide. Print this double sided guide and put it by any heat press you own!
Step 5: Make a Sublimation Shirt with the xTool Heat Press
If you’ve ever made a sublimation shirt, the process is going to be the same.
First, we need to preheat the shirt to remove any moisture. Lint roll the shirt to remove any dust, lint, or other debris that may impact your finished design.
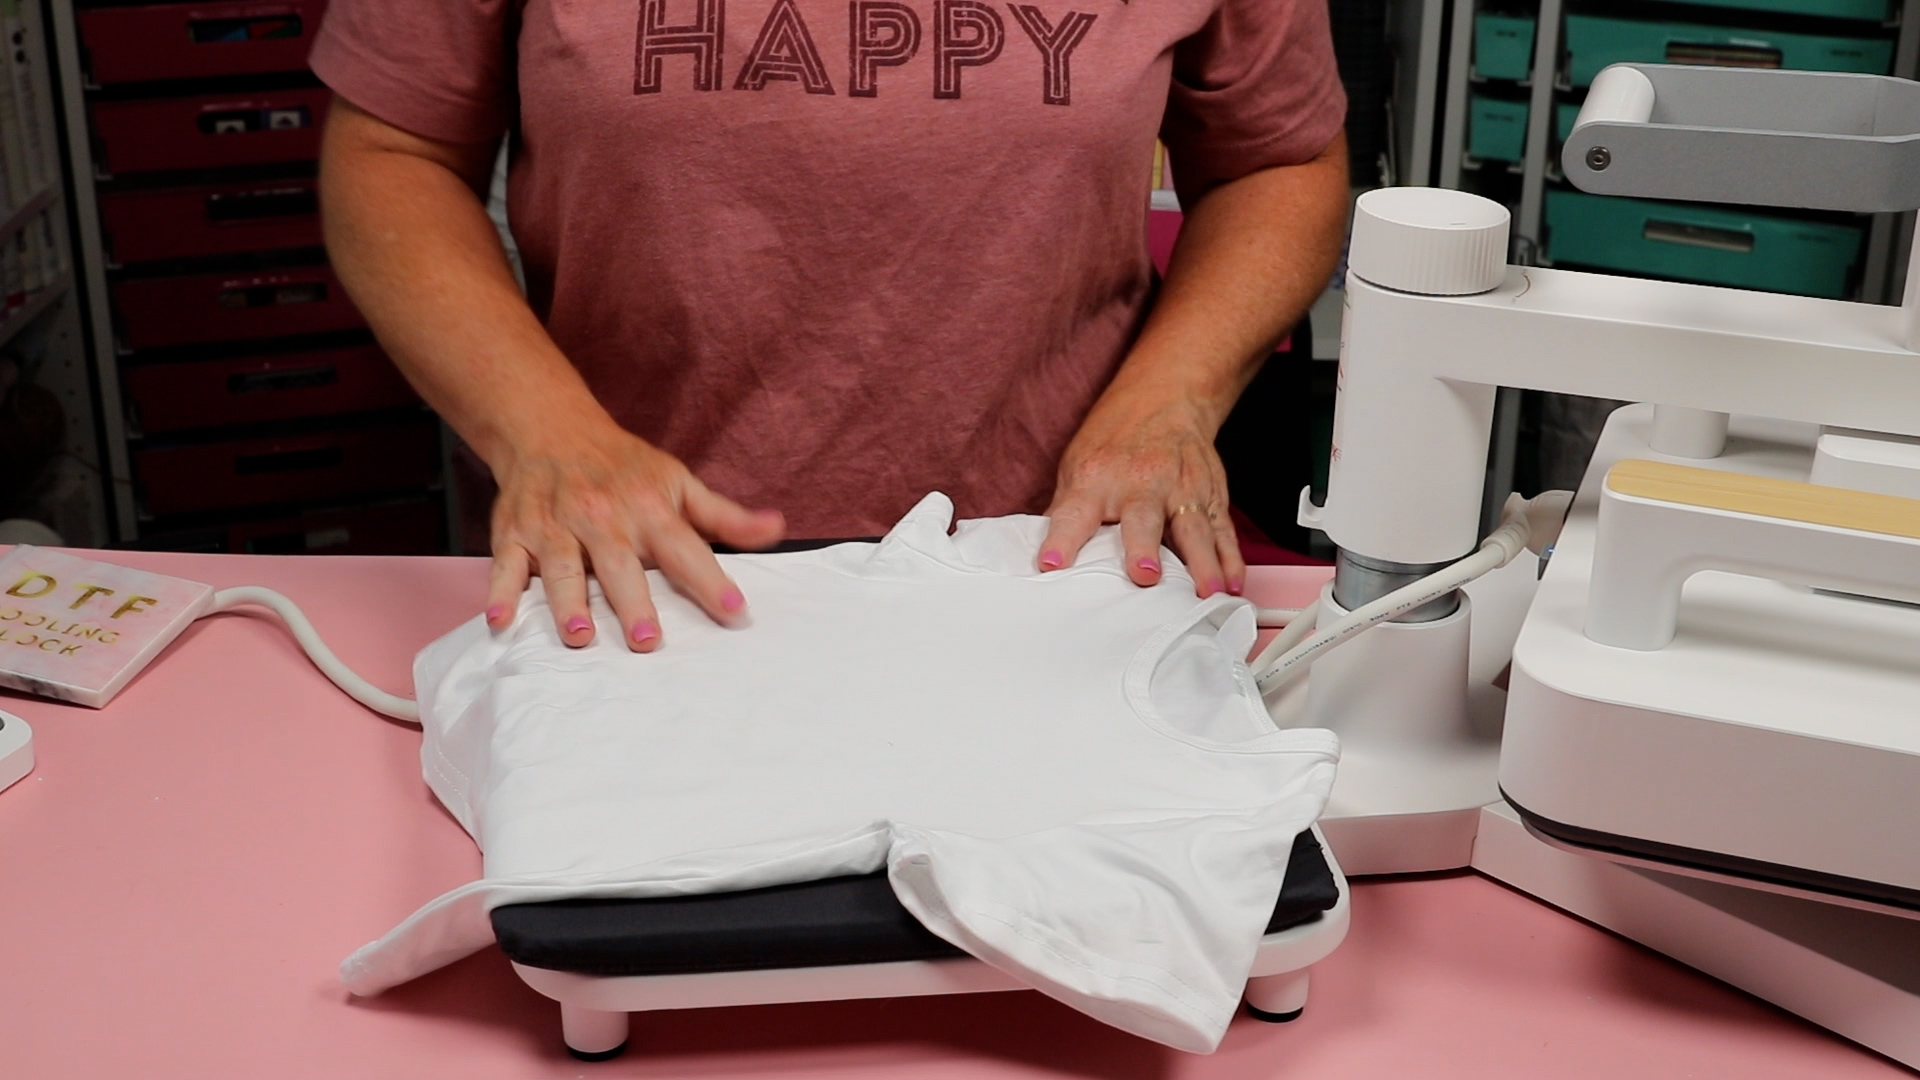
Add a piece of protective paper to the inside of the shirt to prevent any ink bleed through. Locate the sublimation print onto the shirt, and hold it in place with heat-resistant tape.
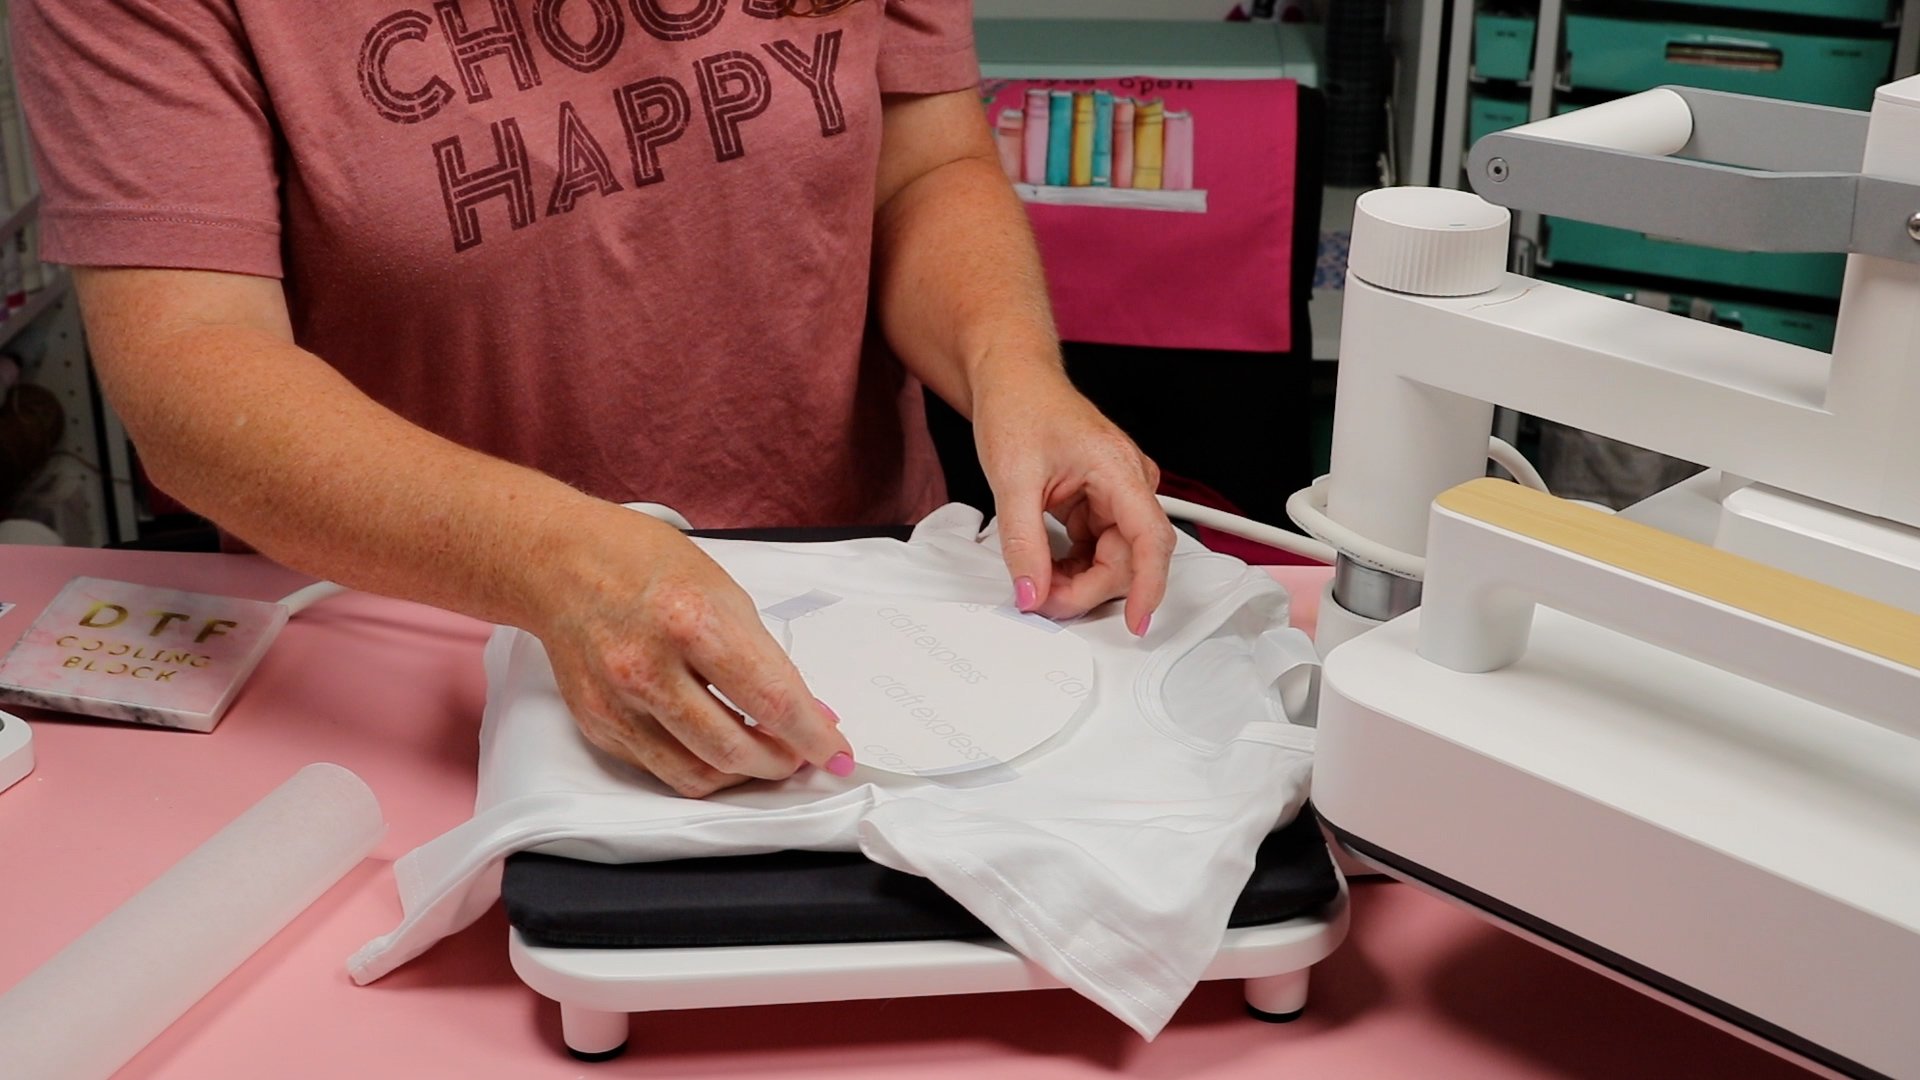
Add another piece of protective paper to the top and make sure your press is adjusted correctly for the bulk of multiple layers.
Swing the press back into location and press for the full-time. I am using a temperature of 385 degrees for 55 seconds.
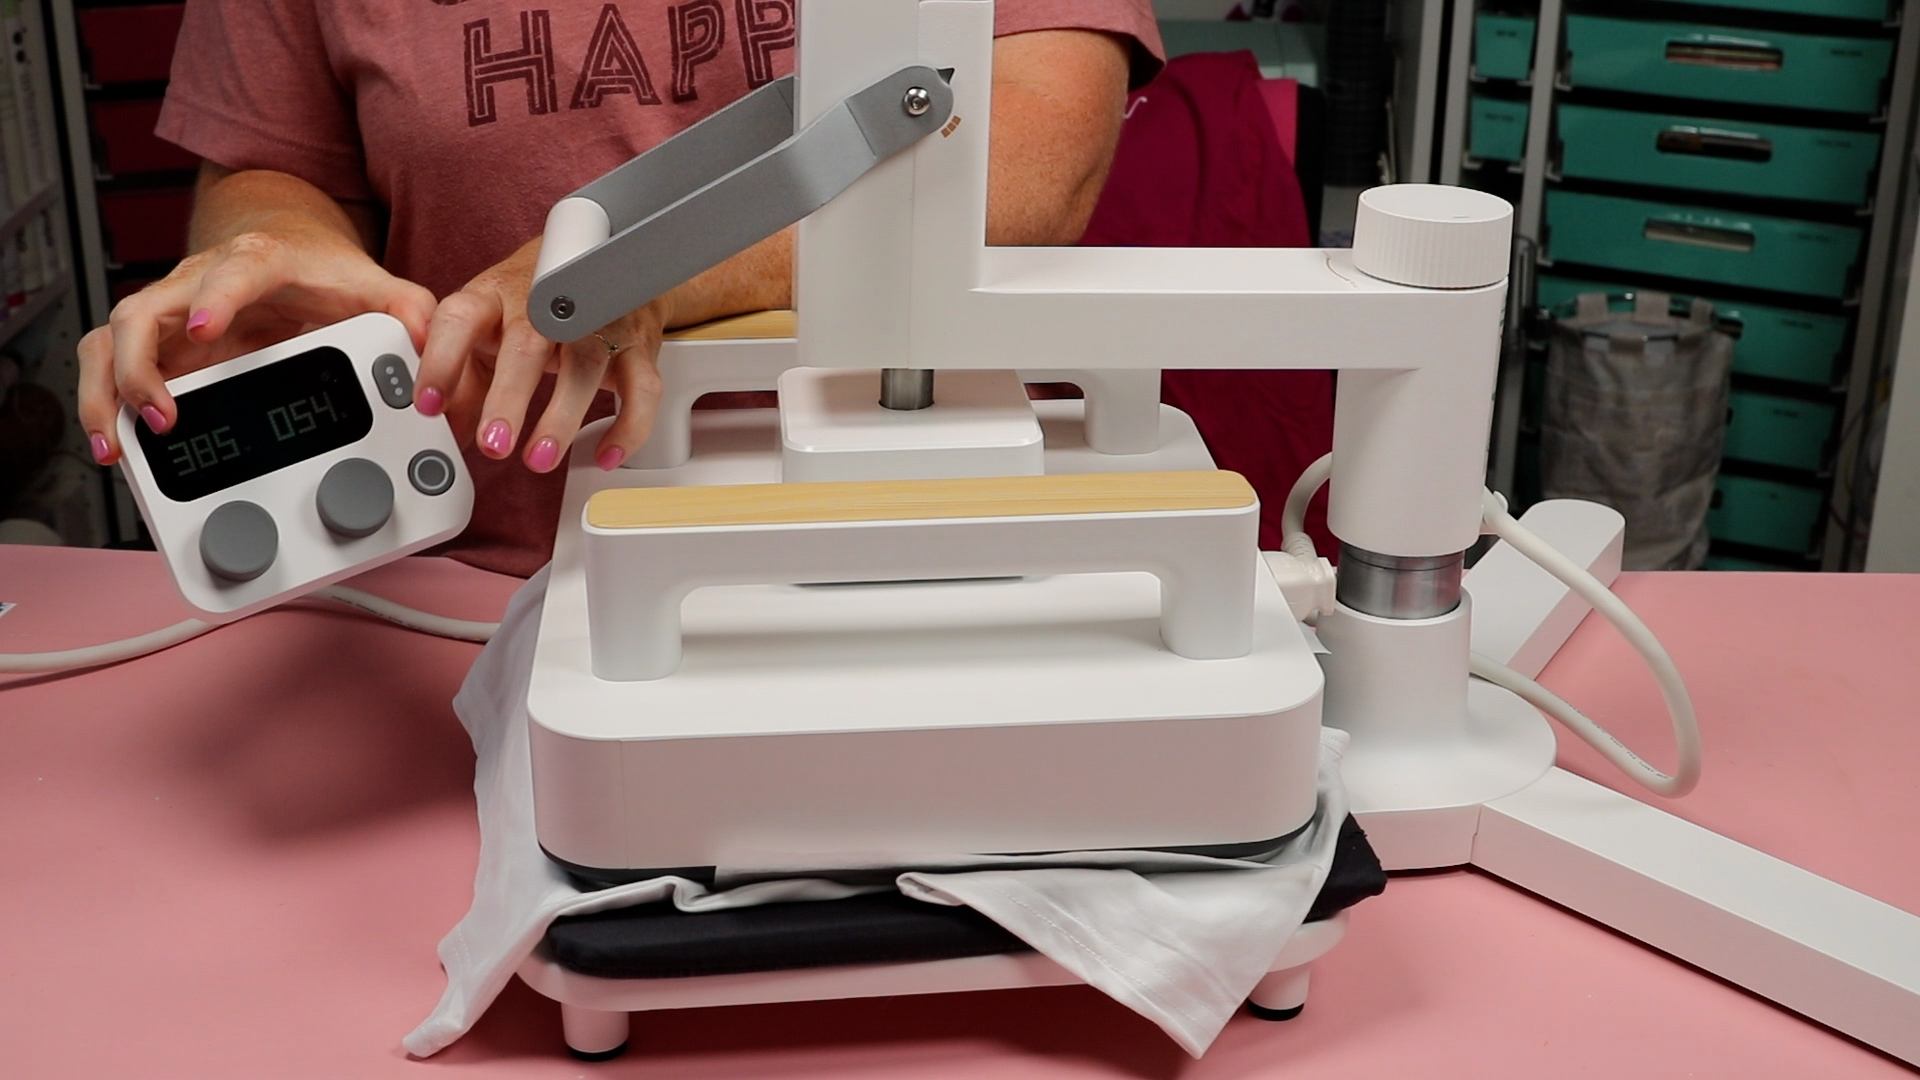
When the time is up the press will beep. Open the press and swing the heat element out of the way.
Use heat-resistant gloves to peel back the sublimation print to reveal your finished project.
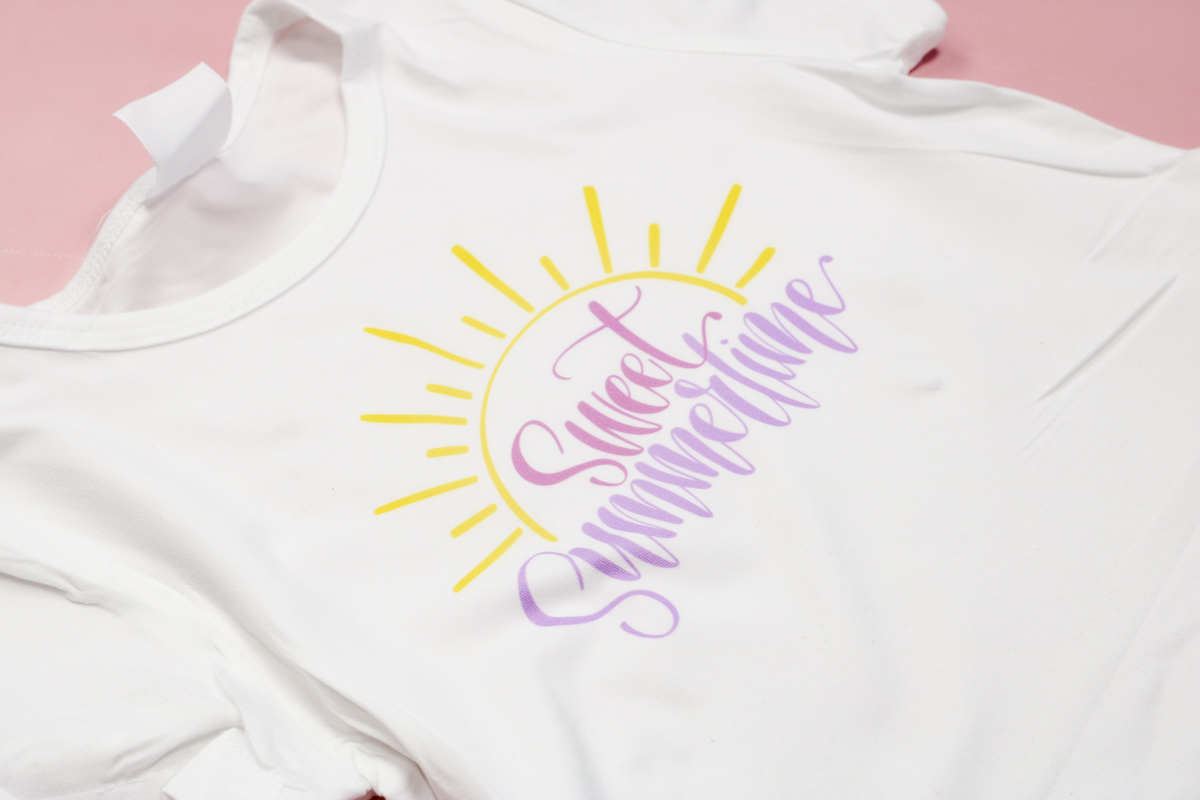
Results from Projects Made with the xTool Heat Press
We’ve already looked at the sublimation earrings, DTF tote bag, HTV shirt, and sublimation shirt. All of these projects turned out perfectly. I have no complaints about how well the designs transferred.
I wanted to test a few other blanks to see how it did with different materials and thicknesses.
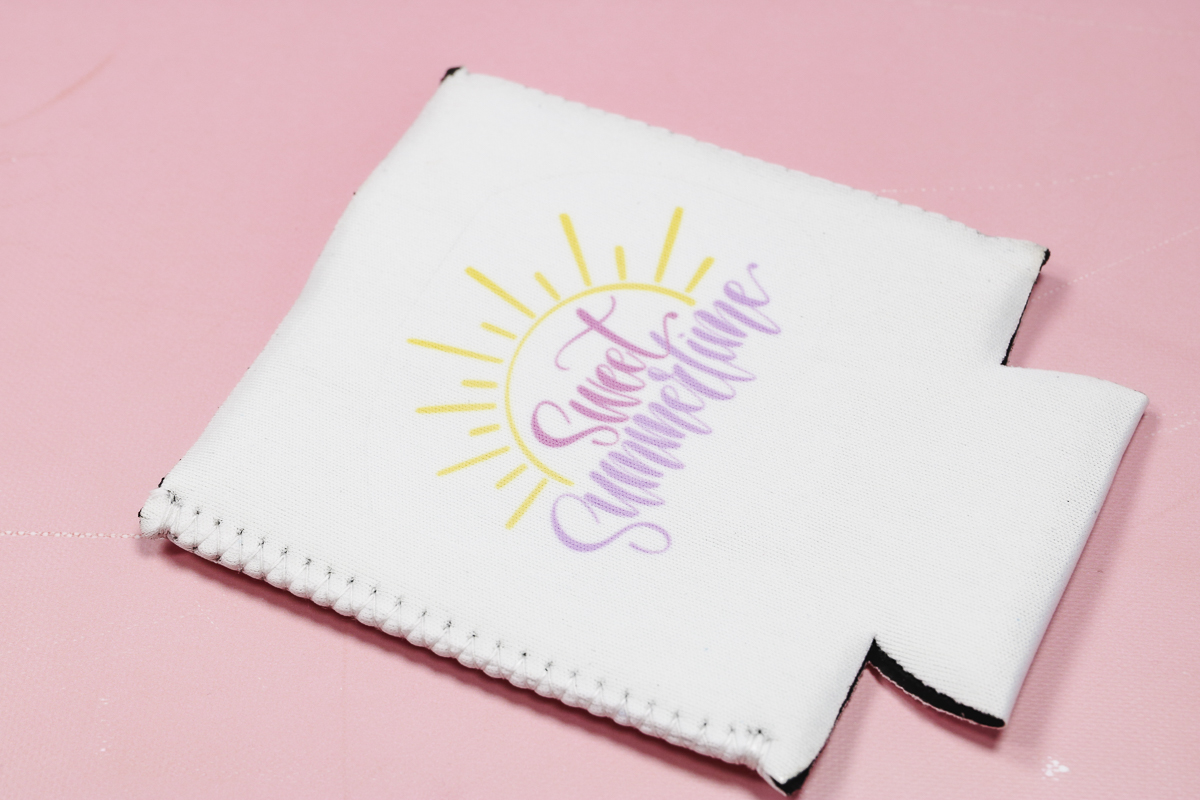
First, I made a sublimation can koozie. This is a smaller blank and the press did a great job. You can see the design transferred perfectly.
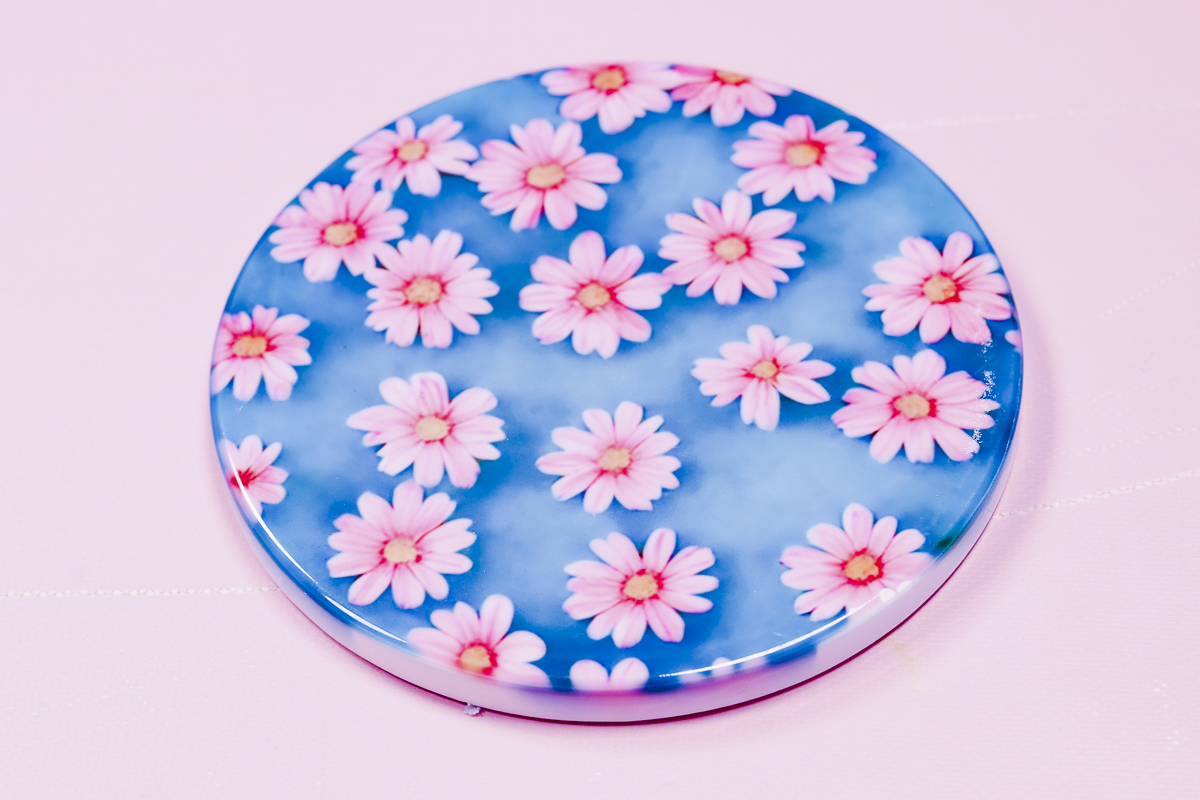
For a thicker project, I tested a sublimation ceramic coaster. This project also turned out perfectly. The colors are vibrant and the design transferred beautifully.
The last project I wanted to test was a material that calls for heavy pressure. I added puff HTV to a small zipper pouch and no matter what adjustments I made I could not get the pressure heavy enough to get a true puff.
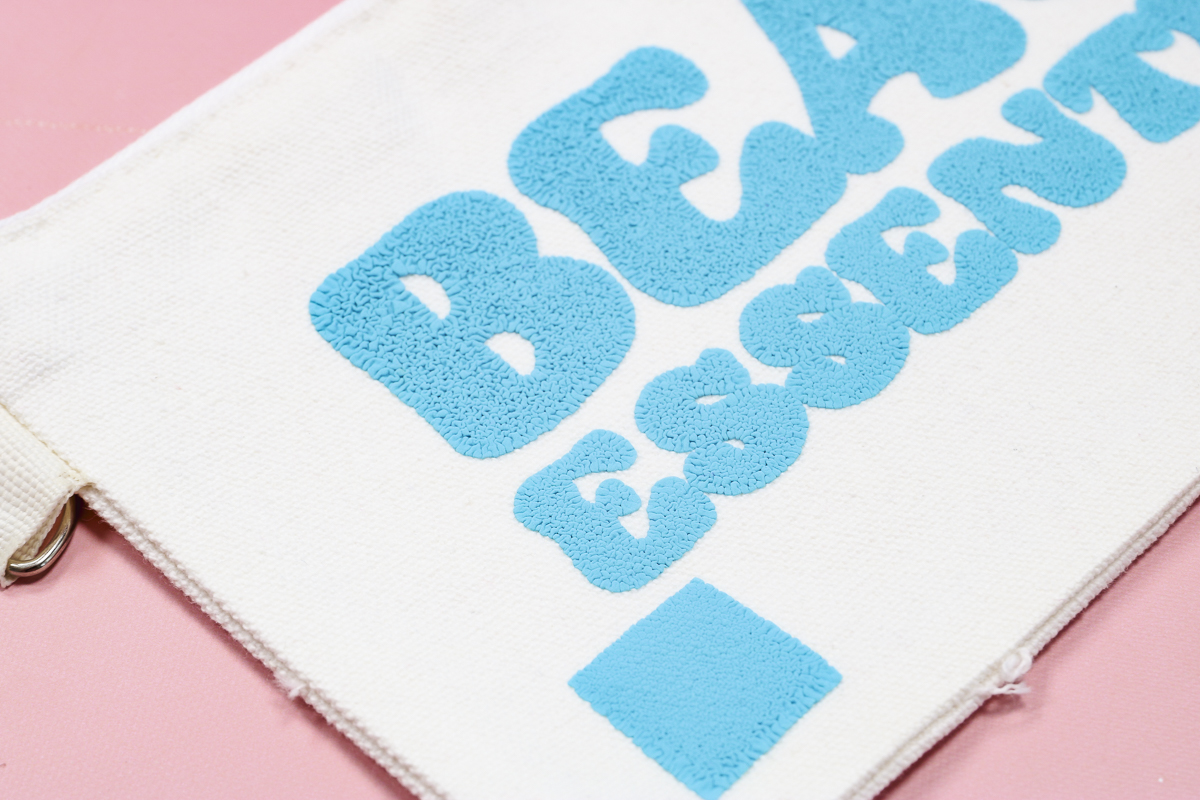
I would not recommend this press for materials that need heavy pressure, even with the stand.
xTool Heat Press Pros and Cons
Now that we’ve made a variety of projects let’s talk about the pros and cons of this heat press.
xTool Heat Press Pros
- The ability to use the heat press with the stand allows you to free up your hands while you’re pressing. This is definitely a pro, especially for projects with a longer press time like sublimation. You can be doing other things, like preparing another blank while your project is being pressed.
- I am a fan of the external control panel. It is easy to use and I like that I can use it with both the Smart Press and the Mini Press.
- The ability to set an exact time and temperature for the Mini press is another big pro for me, that is not something you find with most mini presses.
- If you’re using the Smart Press without the stand, I like the two handles. I think it allows you to get good, even pressure across the whole heat plate.
- The heat-resistant mat is another positive. I like how firm it is and that you can use it with the stand and without the stand.
xTool Heat Press Cons
- Even with the stand I could not get enough pressure for materials that call for heavy pressure. If you want to make things with puff HTV, slate, and other materials this is probably not the right press for you.
- Because this is a swing-away press it takes up more space than a clamshell press which may be a con if your craft space is small.
- I wish there was something that held the heat-resistant mat in place on the stand base. I felt like it moved pretty easily while I was working around it and I didn’t like that.
- The cord can come loose from the cord loop and when that happens it gets in the way, make sure you have it in there nice and tight.
- Because the control panel is wireless you will need to make sure it is charged before you start a project. I am not a fan of how short the charging cord is. It works for the controller but it would be nice if it was longer making it easier to plug it in.
My Review of the xTool Heat Press All-in-One
I found this press really easy to use and the instructions included were perfect for the setup process.
With the stand, the pressure is easy to adjust, and even with it set to heavy pressure I was able to open and close it easily.
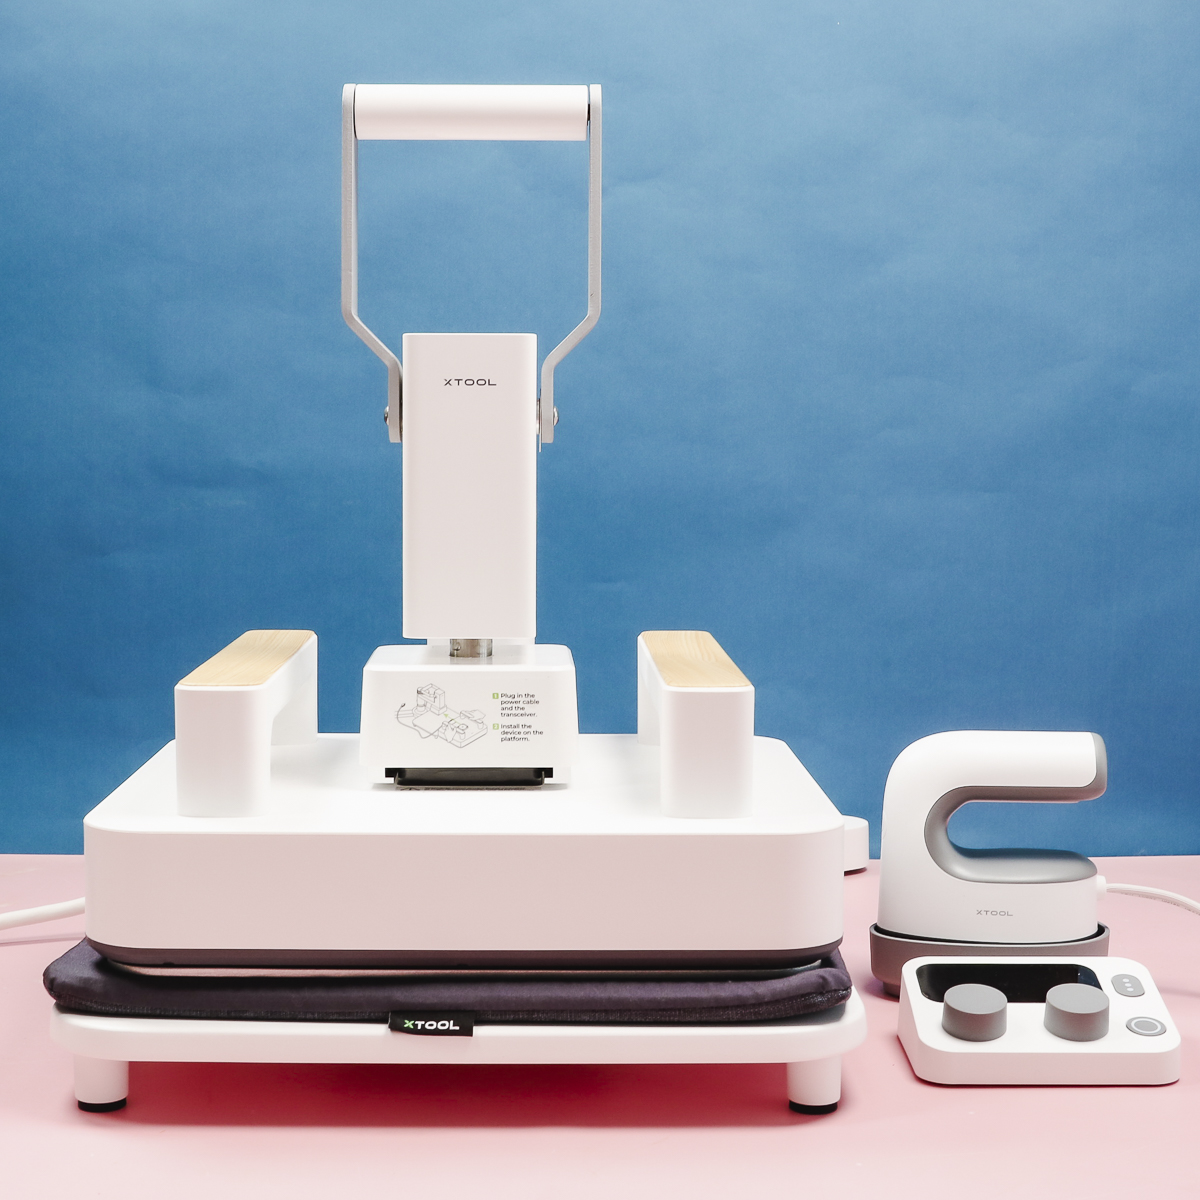
I think this could be a great press for a lot of crafters. Make sure you read through the pros and cons to ensure it will work well with the projects you intend to make.
Another thing to consider when purchasing this press is whether or not you want just the Smart Press or you want the whole bundle. I would recommend the bundle because with it you get the stand and the Mini Press and I’m a fan of both of those.
I hope I’ve answered any questions you have about the xTool Heat Press All in One, if you have any additional questions feel free to leave them in the comments and I’ll be happy to answer them for you.
