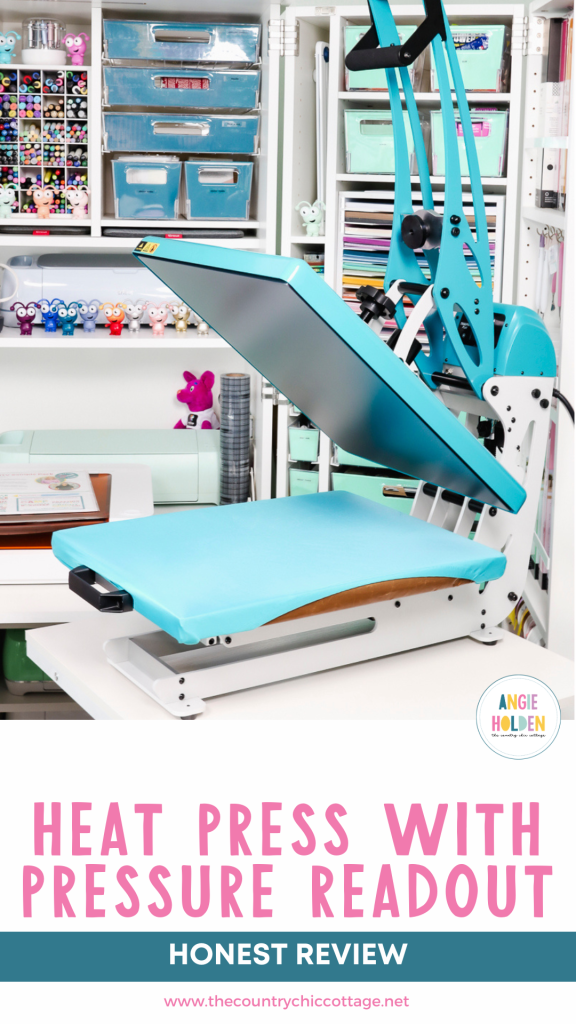
If you’re in the market for a new heat press, I may have just what you’re looking for. The Proworld Semi Auto heat press with a pressure display is one you should look into.
I like the large size and the pressure readout is a feature I think is really helpful, especially if you press a variety of blanks.
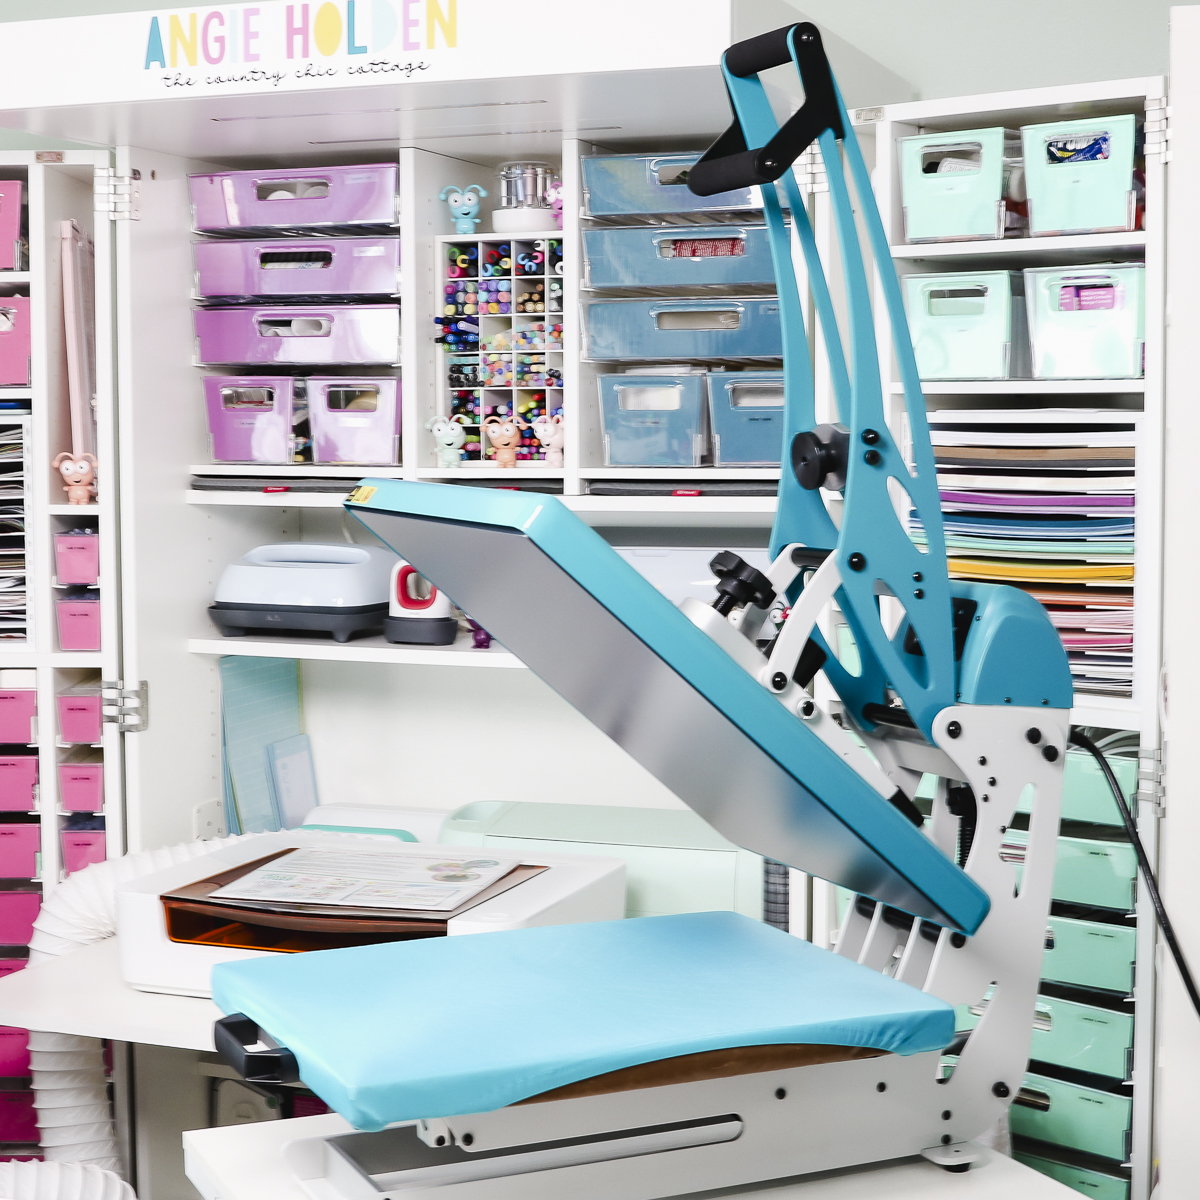
If you’ve ever used blanks that call for light pressure, medium pressure, or heavy pressure, you might wonder what that means. With the pressure display on the Proworld Semi Auto heat press, you’ll never have to wonder if you have the pressure right again.
You can watch me set up the press and test it on a variety of different blanks by pressing play on the video below.
Semi Auto Heat Press with Auto Display
How is this heat press different than others? There are a few features that I really like and the main one is the pressure display.
What’s Included
Included with the press is a heat-resistant glove and a Teflon sheet. These are both accessories you’ll find helpful with heat press projects.
Semi Auto Press Setup
The setup is very simple. Attach two cords to the control panel. Push the cords into the panel and screw them into place with the nut that is attached to each cord.
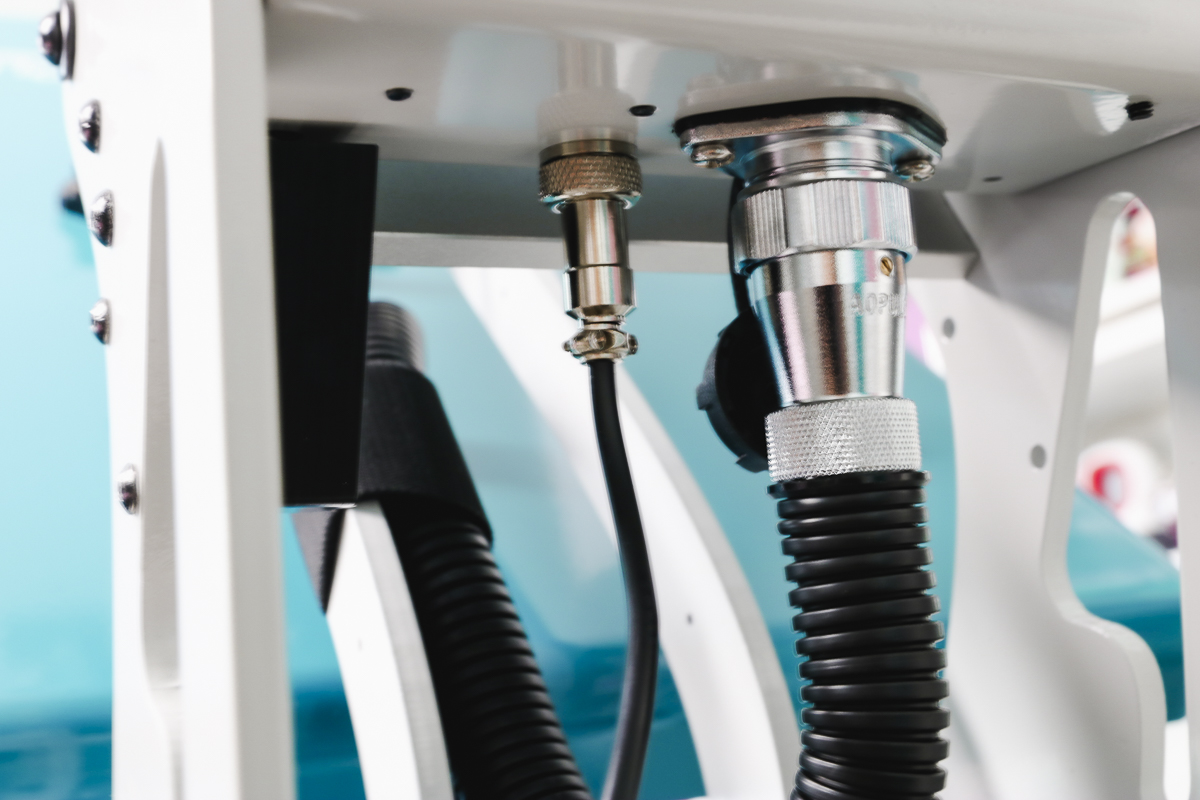
Connect the two white connectors and then add the control panel to the back and attach it with four screws.
Add the power cable to the back and then attach the handle to the front of the drawer slide.
Press Features
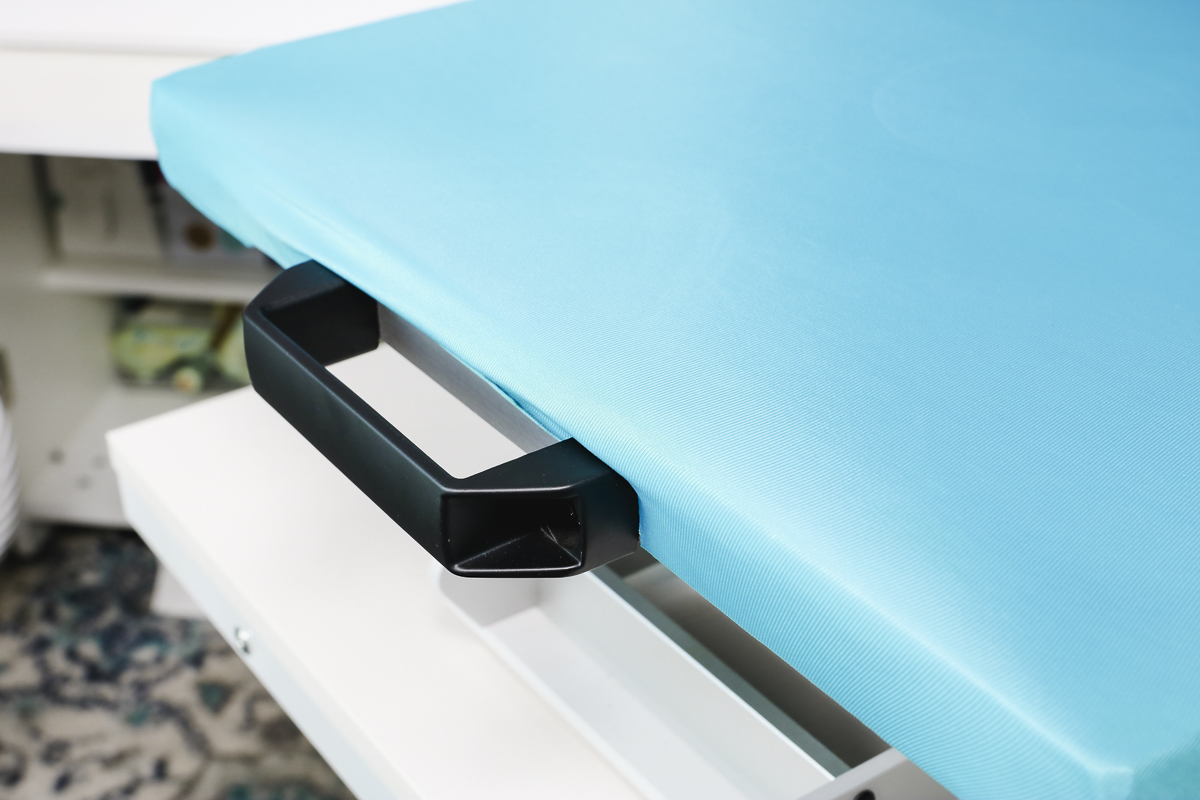
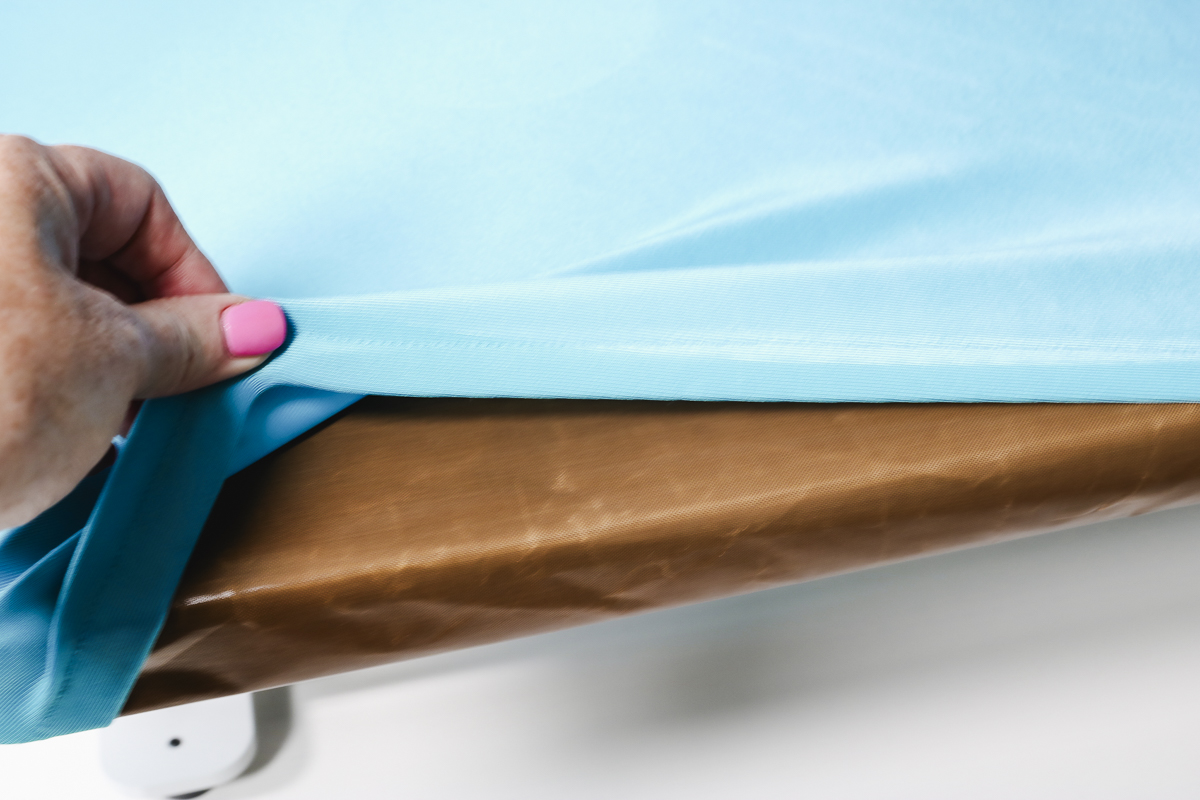
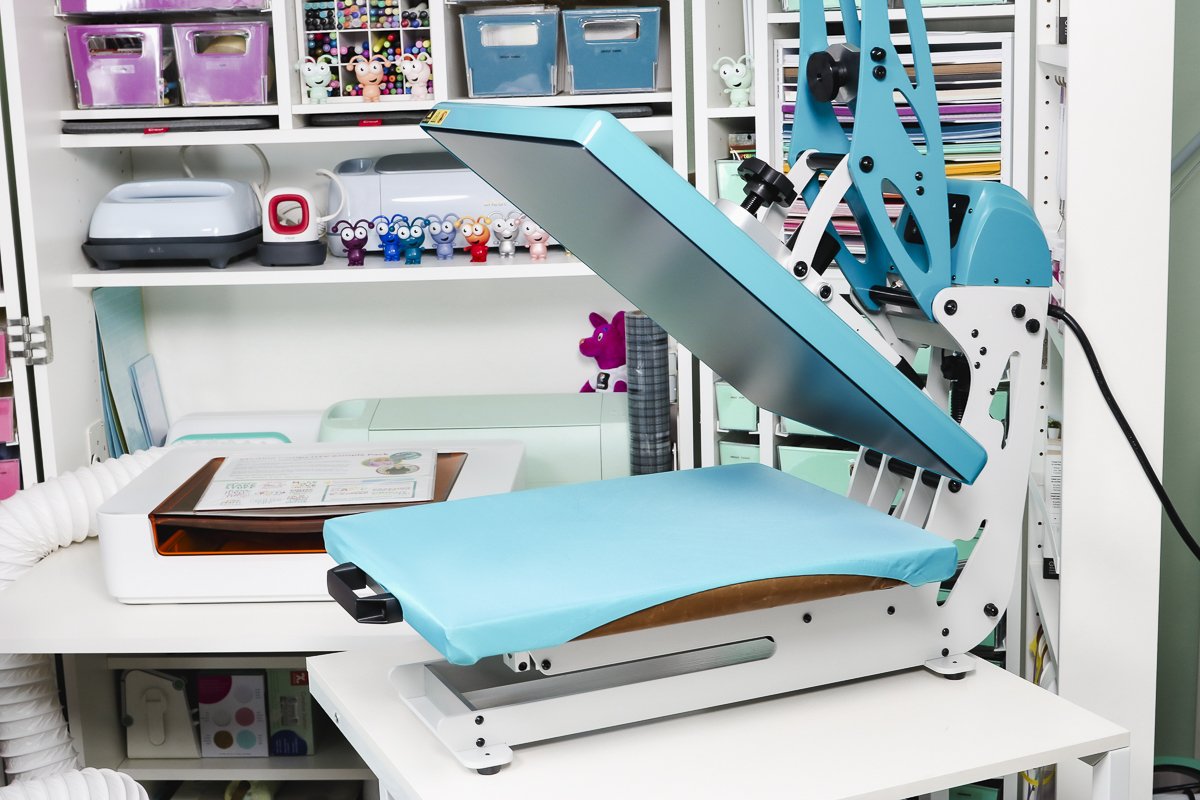
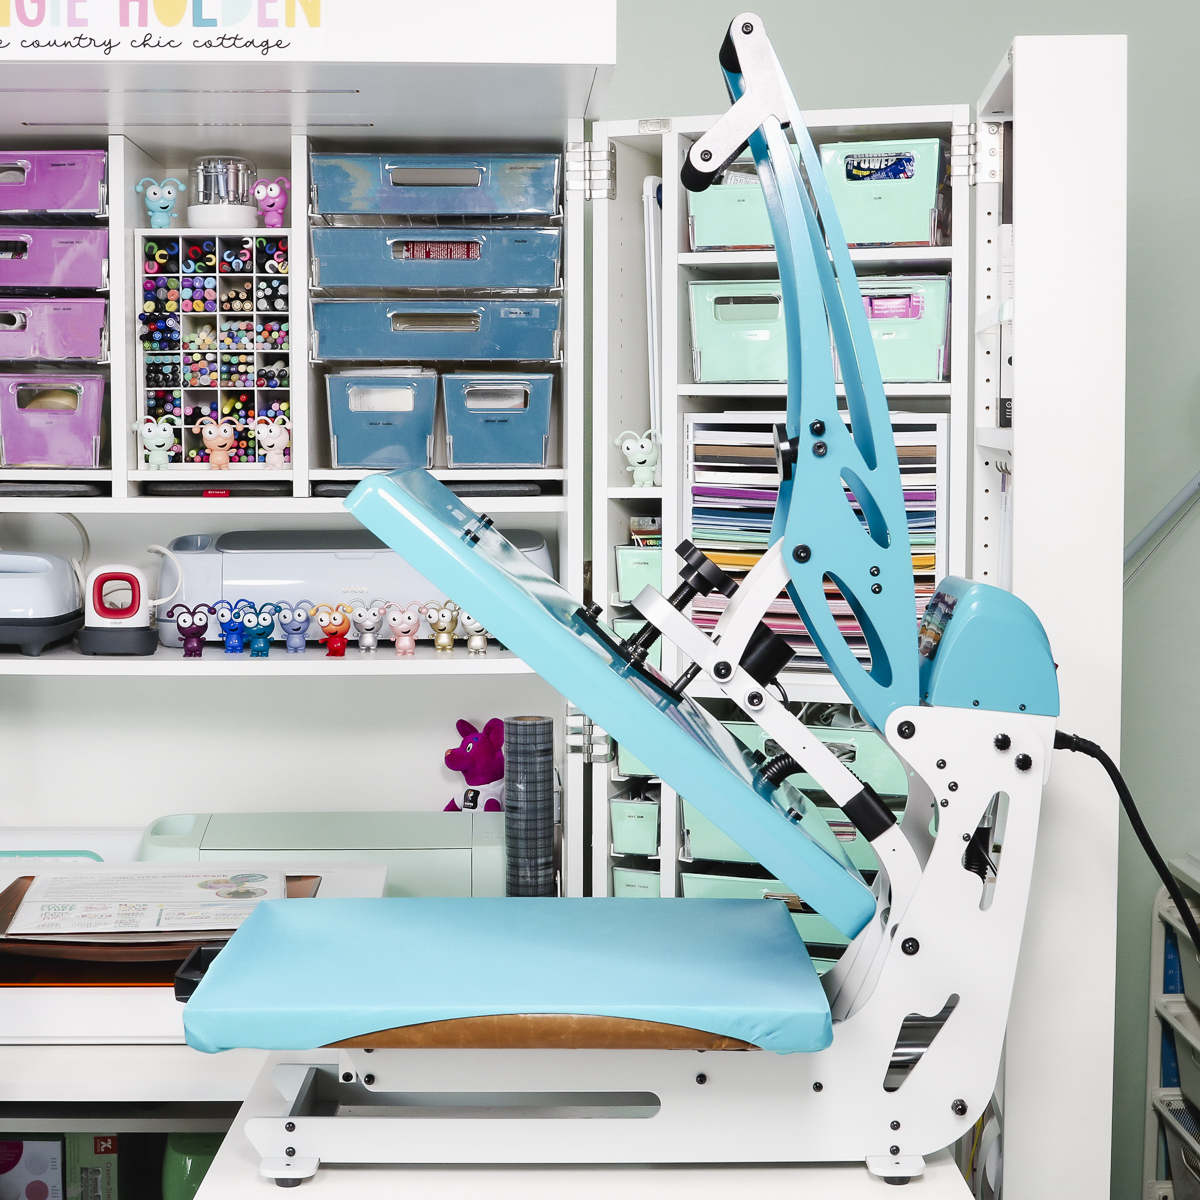
The bottom pad is covered with Teflon and then a piece of cloth which makes the cover very smooth. The bottom of the press is a pullout drawer which allows you to work on the surface while keeping your hands away from the heat plate.
There is a double handle on top which I like because sometimes it’s easier to grab one handle than it is to grab the other.
There is an emergency open button on the side of the control panel. Even if the press is in semi auto mode, when you press the button it will open.
There is a slight delay after pressing the button. Because you have to reach over the heat press to press the button I recommend holding onto the handle so it doesn’t pop up and hit you.
Semi Auto Feature
This can be a semi-auto press or a manual press.
To change the press from semi-auto to manual there is a piece on the handle that you will flip. When the black piece is down the press is in the semi-automatic mode. This will cause the press to open automatically when the time is up.
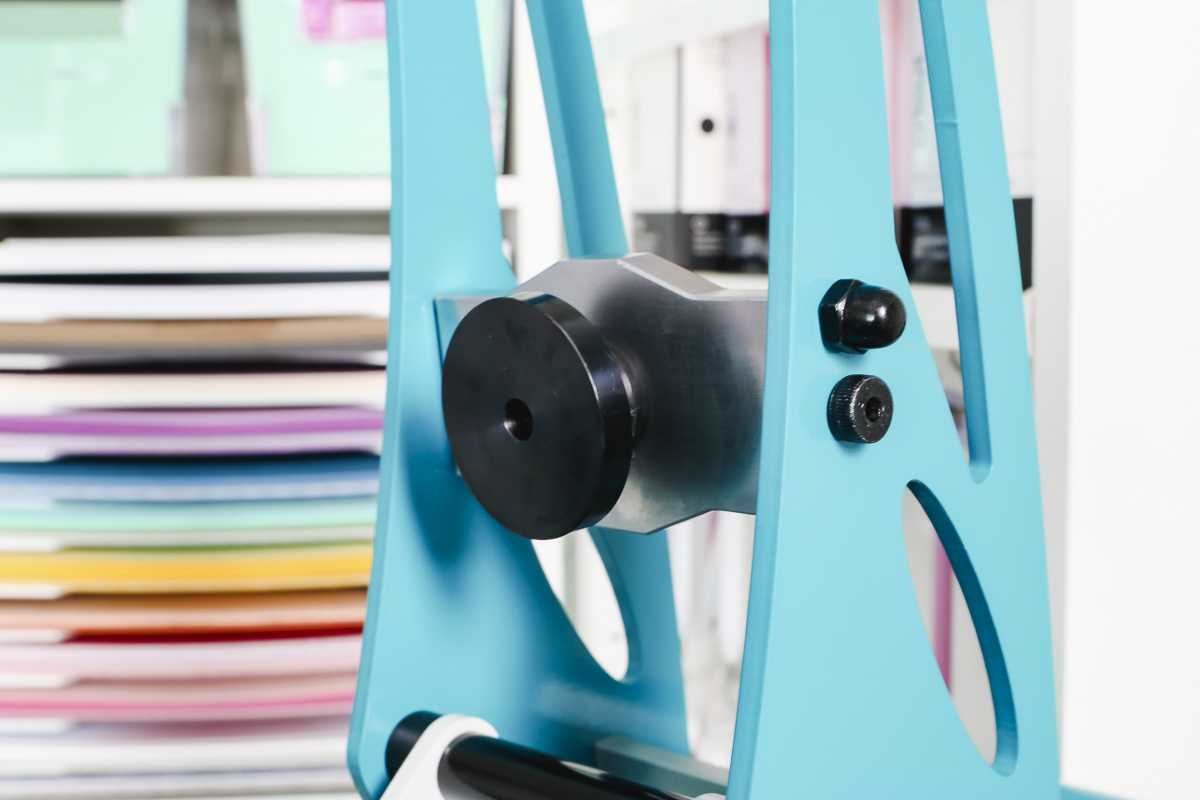
If you want to use the press in manual mode, flip it so the black piece is facing up. In manual mode, you will open and close the press on your own.
Changeable Platens
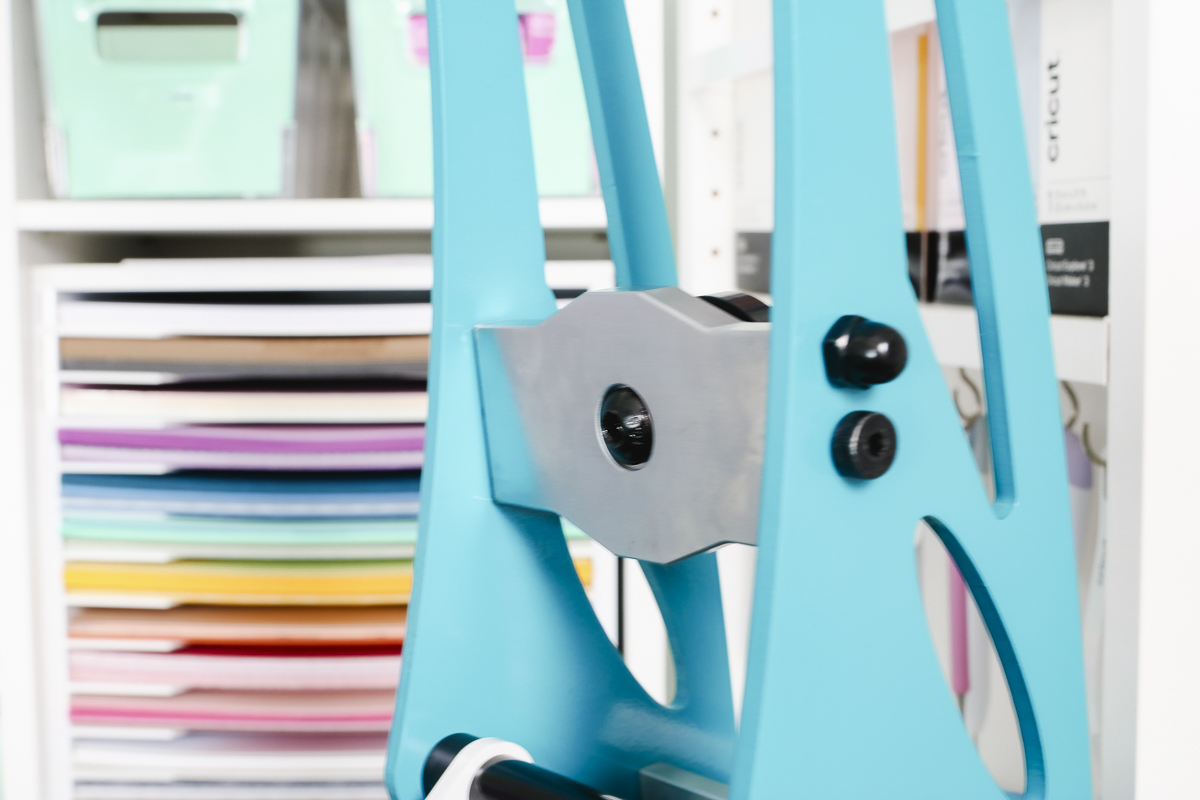
This press has a changeable bottom platen. My press came with a 16 x 20-inch platen which is the same size as the heating element.
The other platen sizes are 4×4, 6×10, 6×20, 8×10, and even 11×15.
To change the platen, flip the quick swap lock below the platen and lift it off. Add a new platen and lock it into place.
The quick swap feature makes it very easy to swap these out. The different-sized platens are a separate purchase so you can choose whichever sizes work best for you.
Setting Time and Temperature
Turn the press on and you’ll see the display light up.
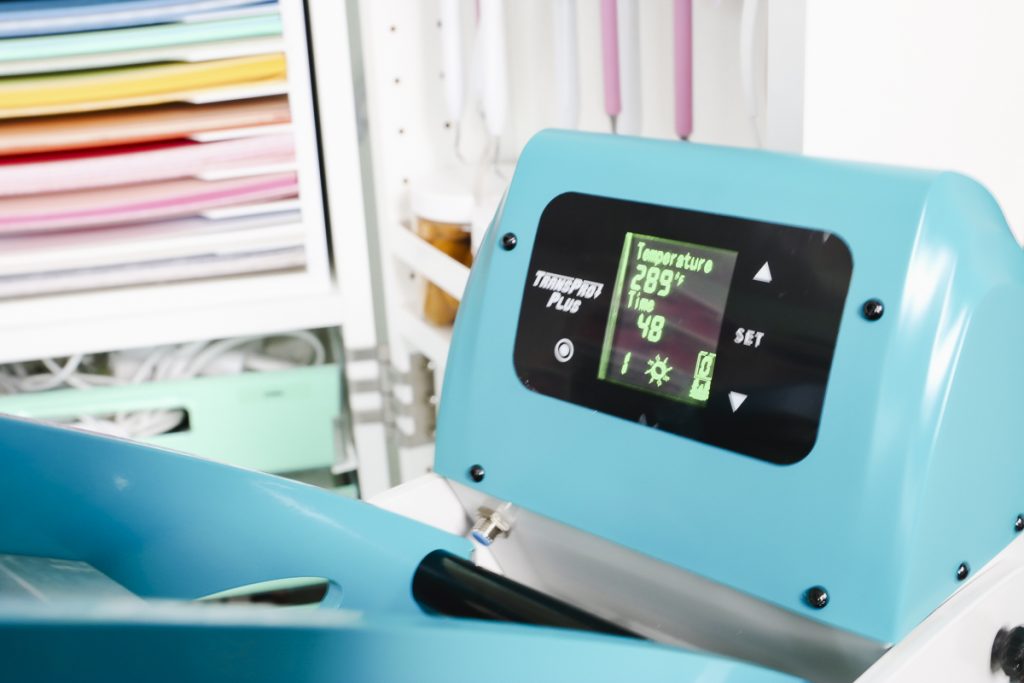
When the temperature is flashing use the arrow buttons to increase or decrease the temperature. Press Set to set that temperature and the press will start heating up.
With the time flashing use the arrows to set the time. Press Set to set that time.
Press Set again and you’ll see a counter. The counter will count how many pieces you’re making. You can also reset the counter.
Click Set one more time and you’ll see that nothing is flashing.
Pressure Display
The benefit of a pressure display is that you no longer have to guess if you’re applying too much or too little pressure.
With some blanks and materials, having the right amount of pressure is really important. The pressure readout on this press will help you get exactly the right pressure every time.
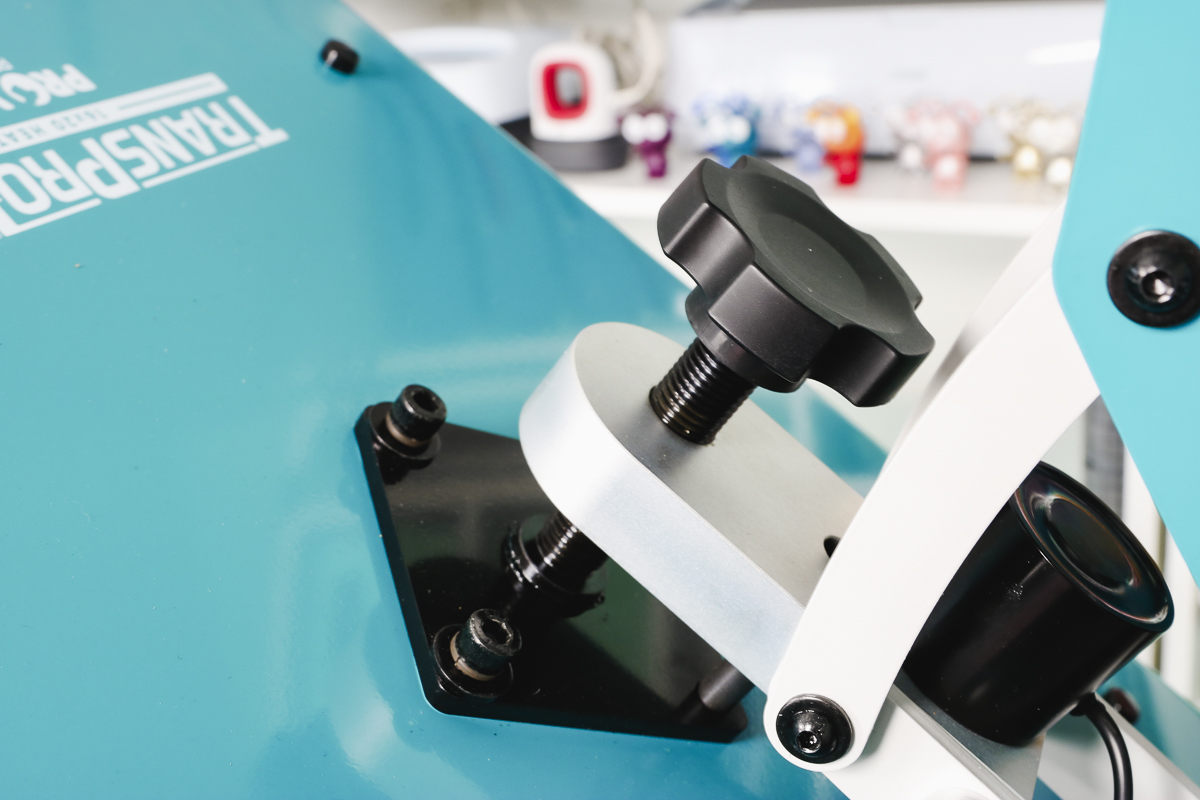
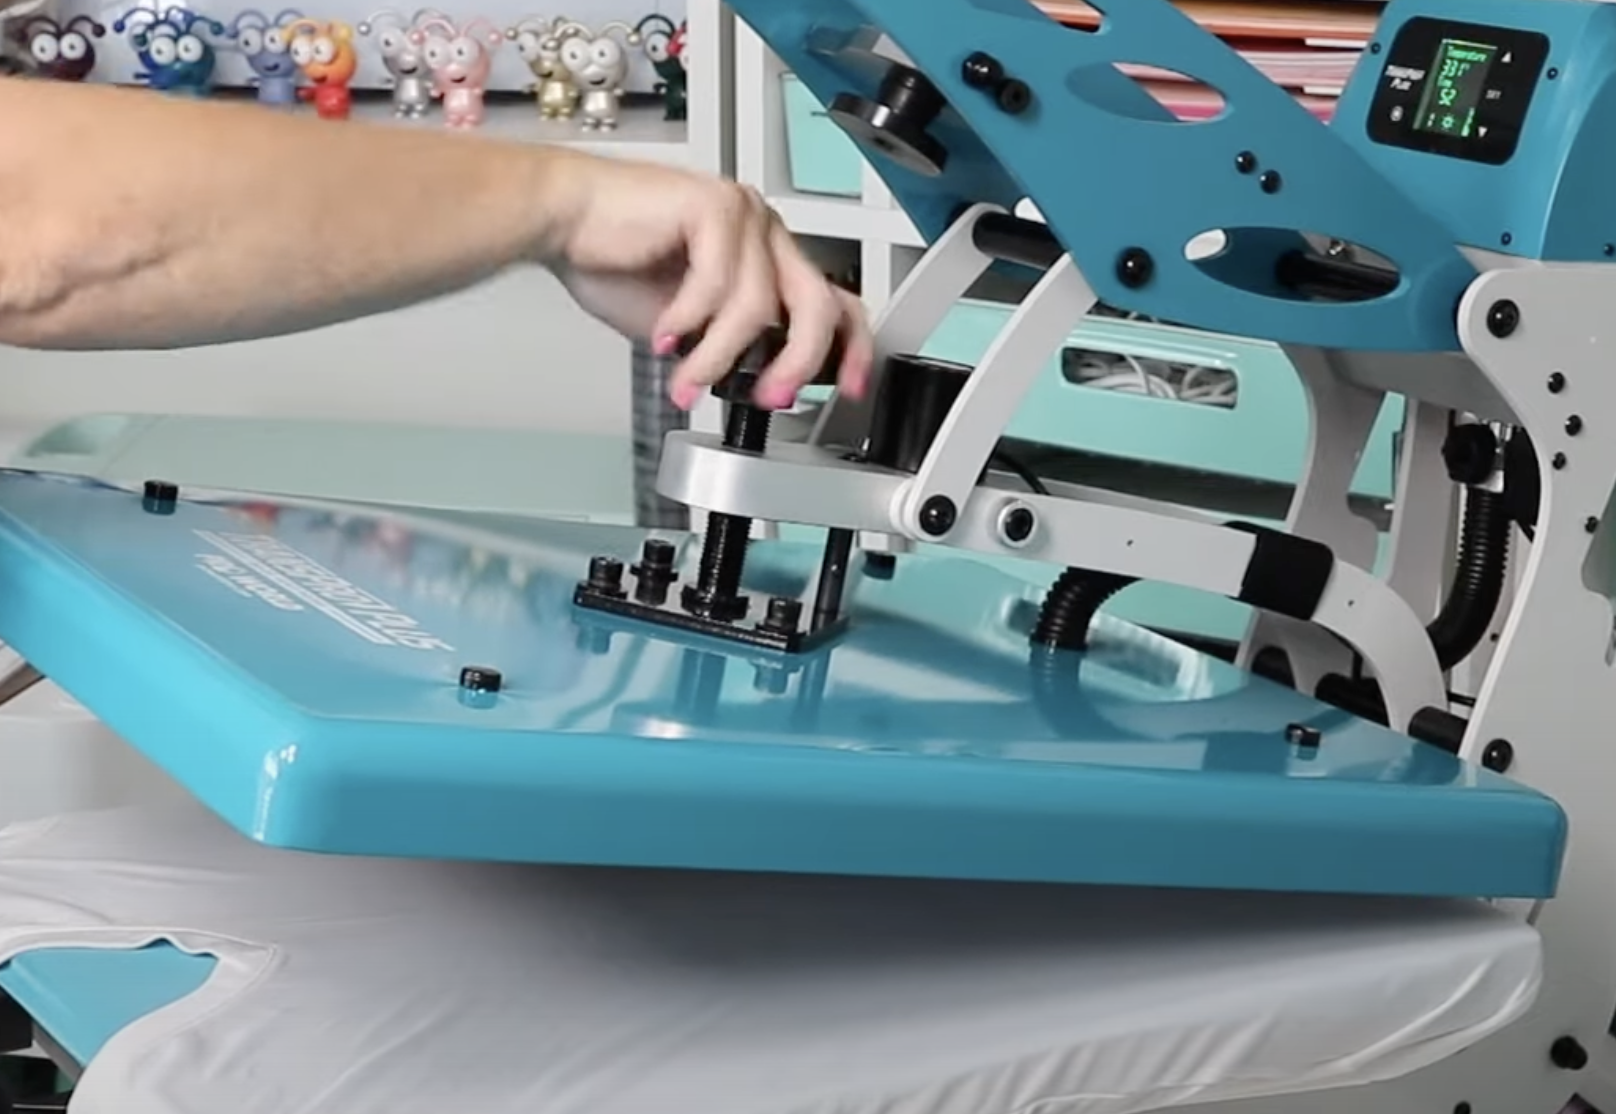
To adjust the pressure you rotate the knob in one direction or the other. This will either raise or lower the top platen.
How to Use the Pressure Display
The readout in the lower right corner of the display is the pressure. One to three is a light pressure setting. Four to seven is medium pressure. Eight and nine is heavy pressure.
You’ll want to check the pressure with the blank inside. Your heat press might read light pressure with nothing in it but when you add a blank like a coaster that pressure readout could change to heavy.
It’s very easy to tell what the pressure is with the display. Make sure the pressure matches what you need for your blank.
Presets
On the panel, there is a round button that will show you the presets. You can switch between presets by holding the button down for three seconds.
The time and temperature for the presets are listed in the manual. You can also change the presets to the settings you most commonly use.
Temperature Calibration
Another great feature of this heat press is that you can calibrate the temperature. The manual that comes with the machine tells you how to calibrate the temperature.
If you ever feel like your press temperature is off, either too hot or too cold you can check the temperature and then calibrate the press so the temperature display is correct for what the temperature actually is.
I believe you can expect to use this press for a long time, even if the temperature gets off you can adjust it instead of struggling with it being wrong.
Free HTV Cheat Sheet
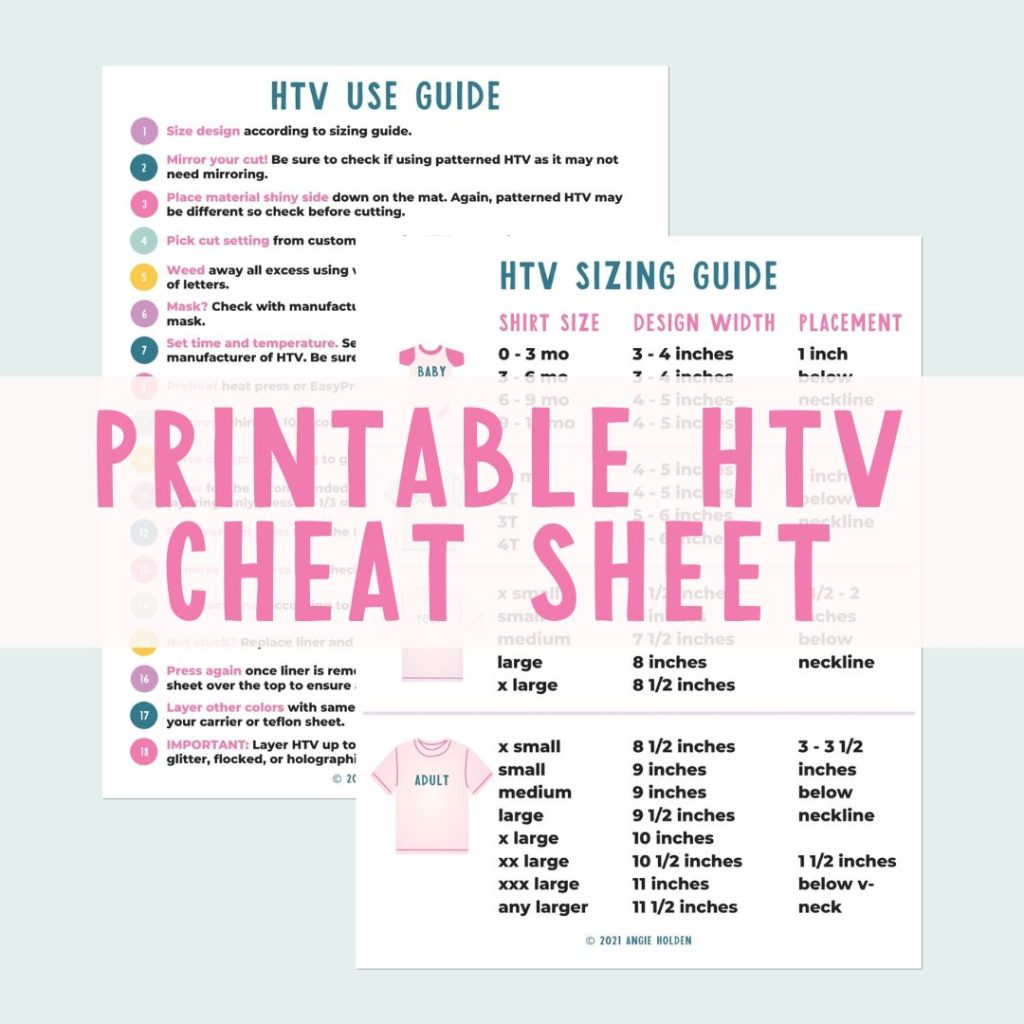
Get your FREE Printable HTV Cheat Sheet now! This guide has sizing and position recommendations for infant through adult shirts as well as a handy HTV use guide. Print this double sided guide and put it by any heat press you own!
How to Use the Semi Auto Heat Press
I put this press to the test by using it to make a few projects.
Supplies Used
- Free Aloe Gorgeous File
- ProWorld Transpro Plus 16×20 Semi Auto Heat Press
- 4×4 Platen
- BELLA +CANVAS Shirts
- Bag Tag
- Coaster
- Zipper Pouch
- Sublimation Shirt
- Brother Sublimation Printer
- Sublimation Paper
- Lint Roller
- Heat Resistant Tape
- Heat Resistant Gloves
- Tape Dispenser
- Protective Paper
- HTV
- DTF Print
- DTF Cooling Block
Making an HTV Shirt
The first project I’m going to make with this press is a shirt with HTV.
The steps will be the same for other HTV projects. I’m using BFlex Gimme 5 HTV and it has a setting of 285 degrees for 4 seconds. I am going to set my press for 5 seconds for a little extra time.
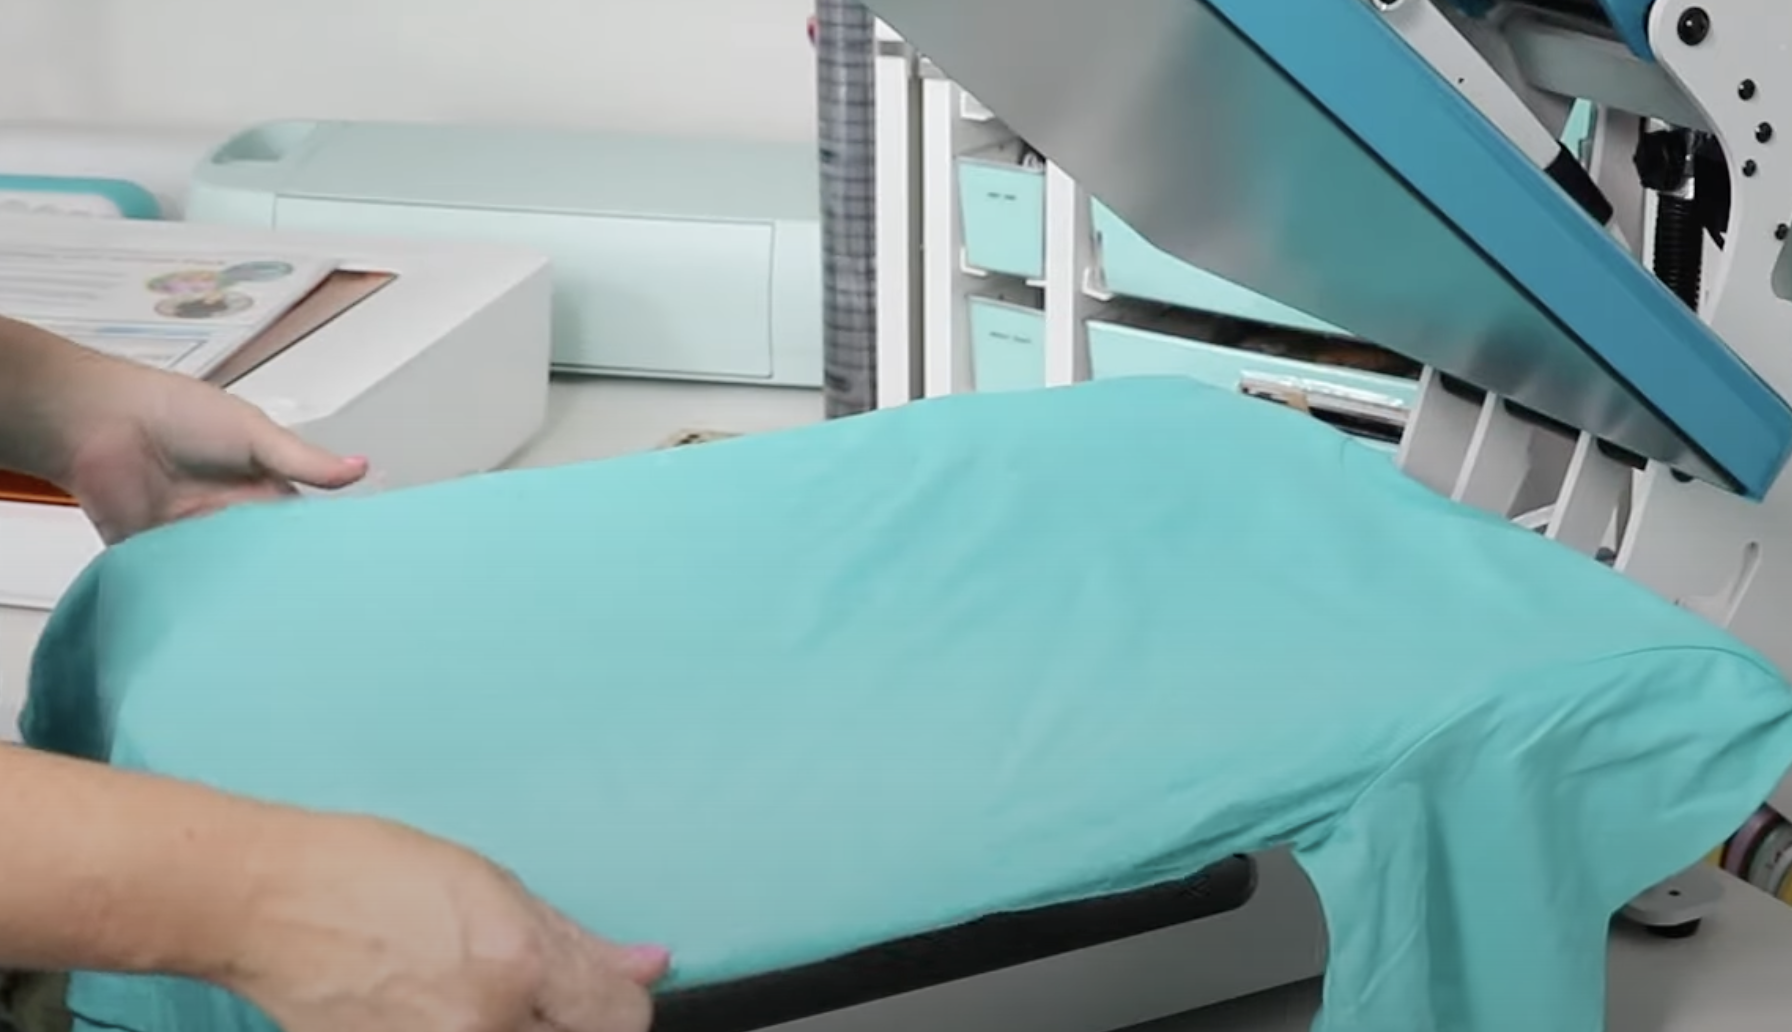
Place the shirt on the bottom platen and preheat for a few seconds to remove moisture and wrinkles.
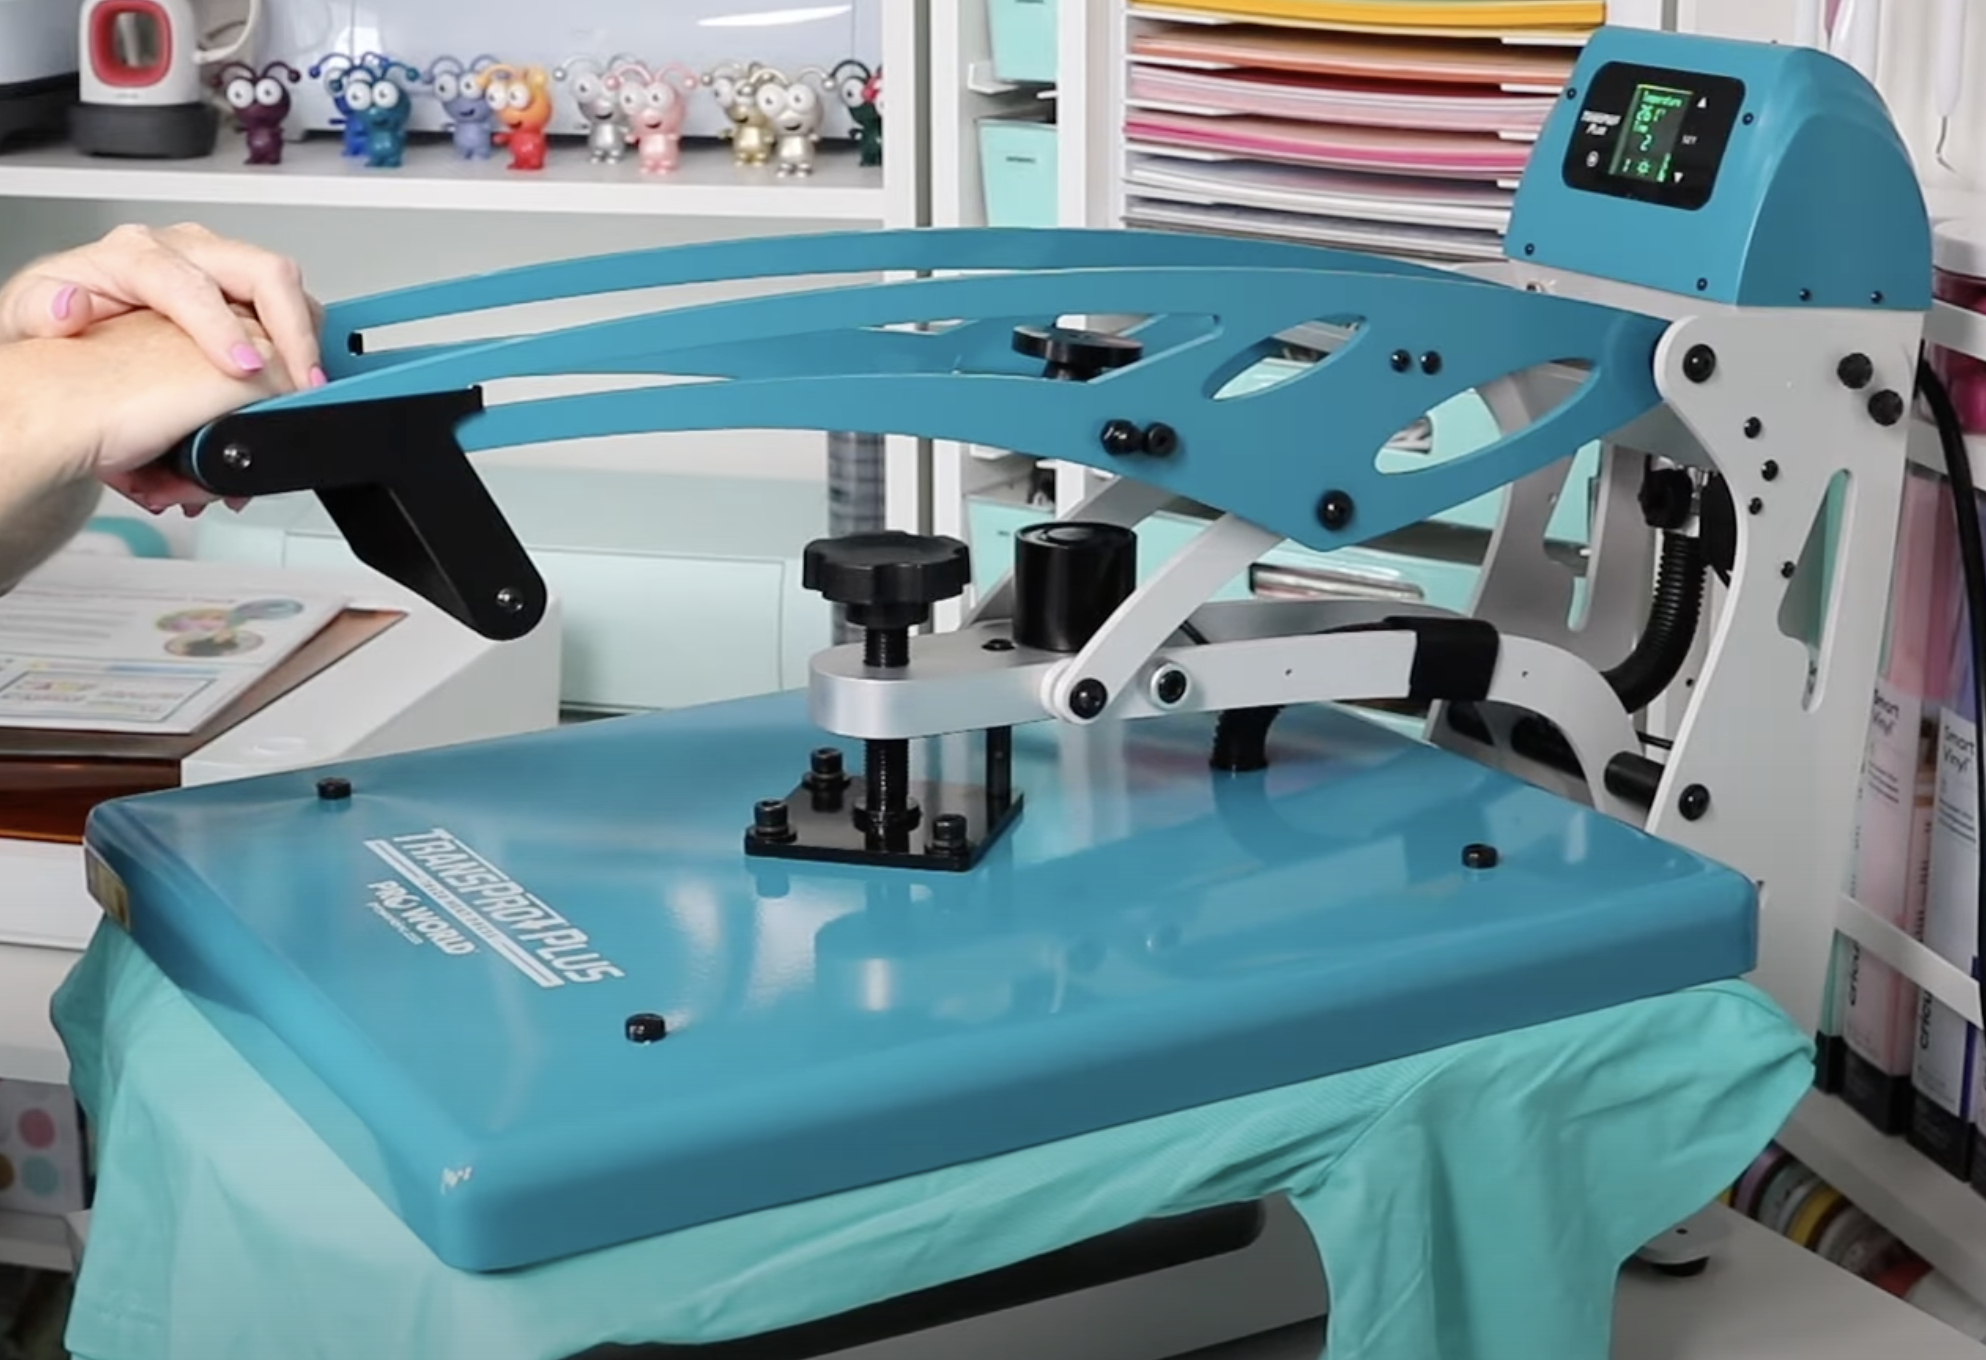
Adjust the pressure on the press to medium pressure and then locate the HTV on the shirt.
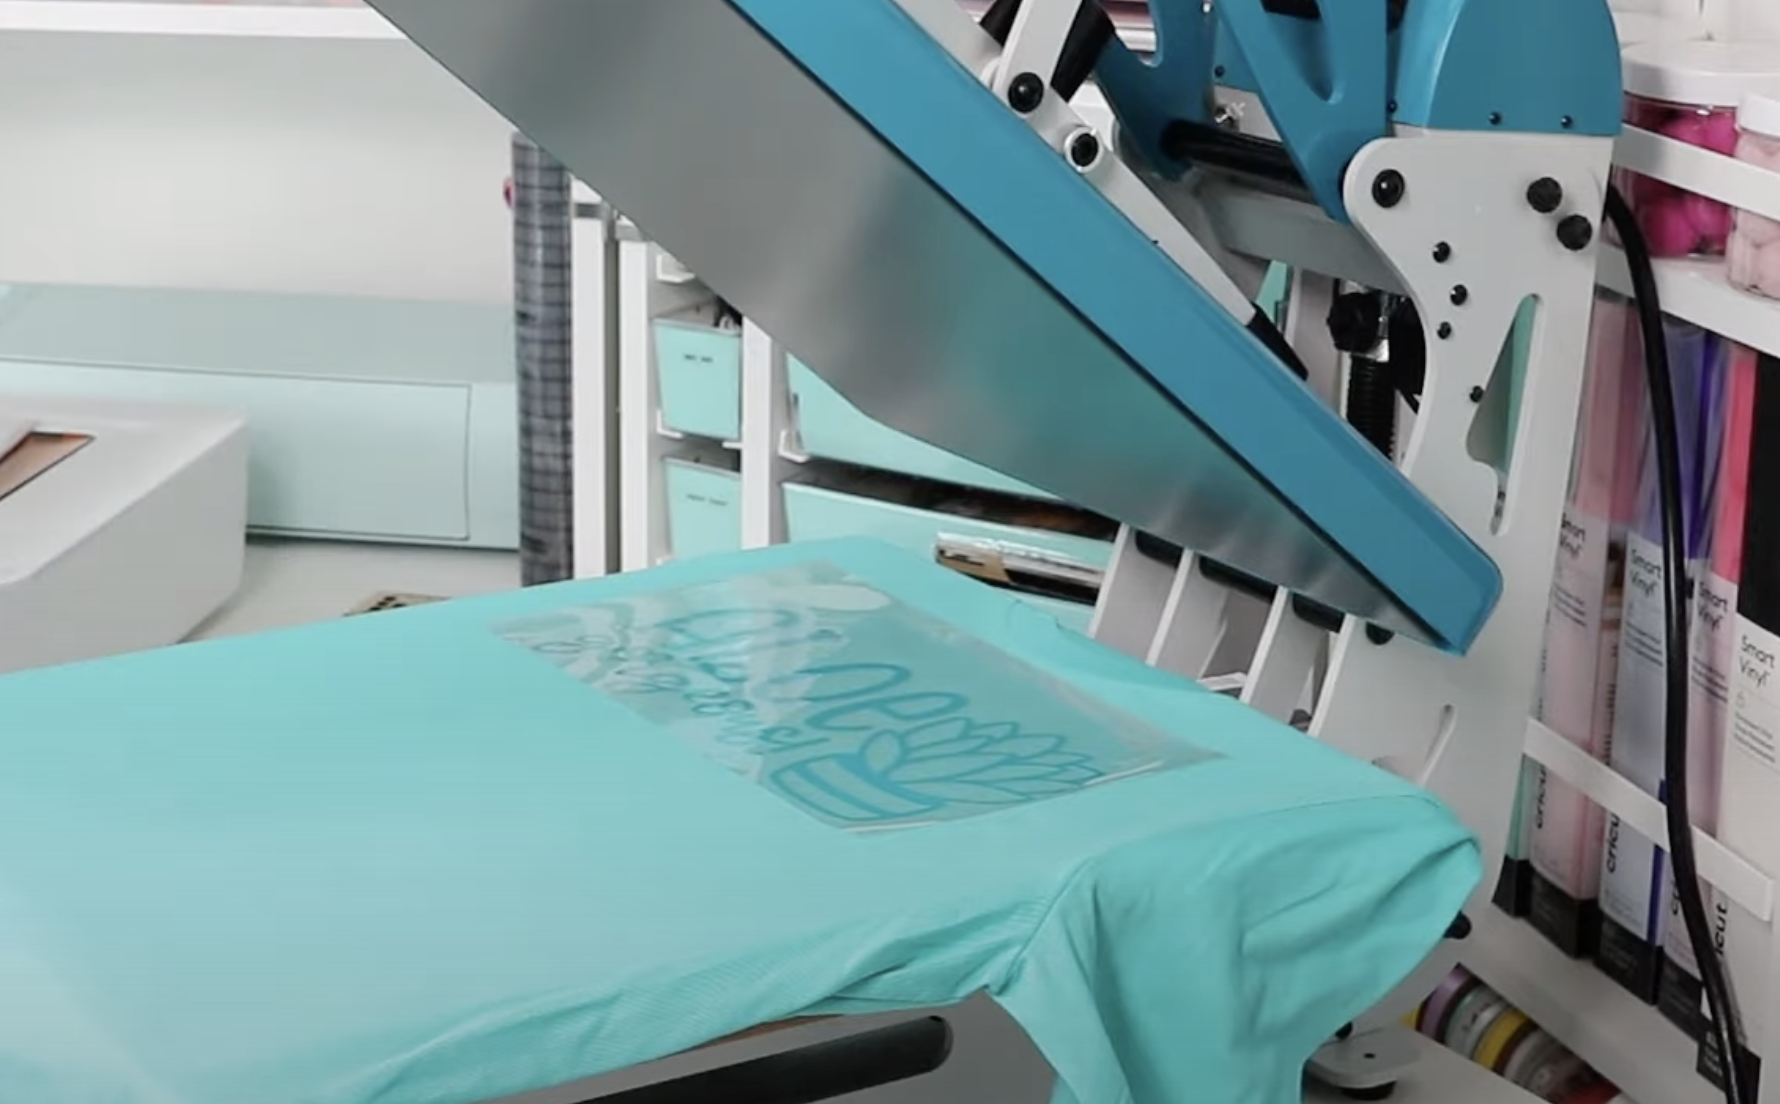
Close the press and allow it to press for the full time. When the time is up the press will automatically open.
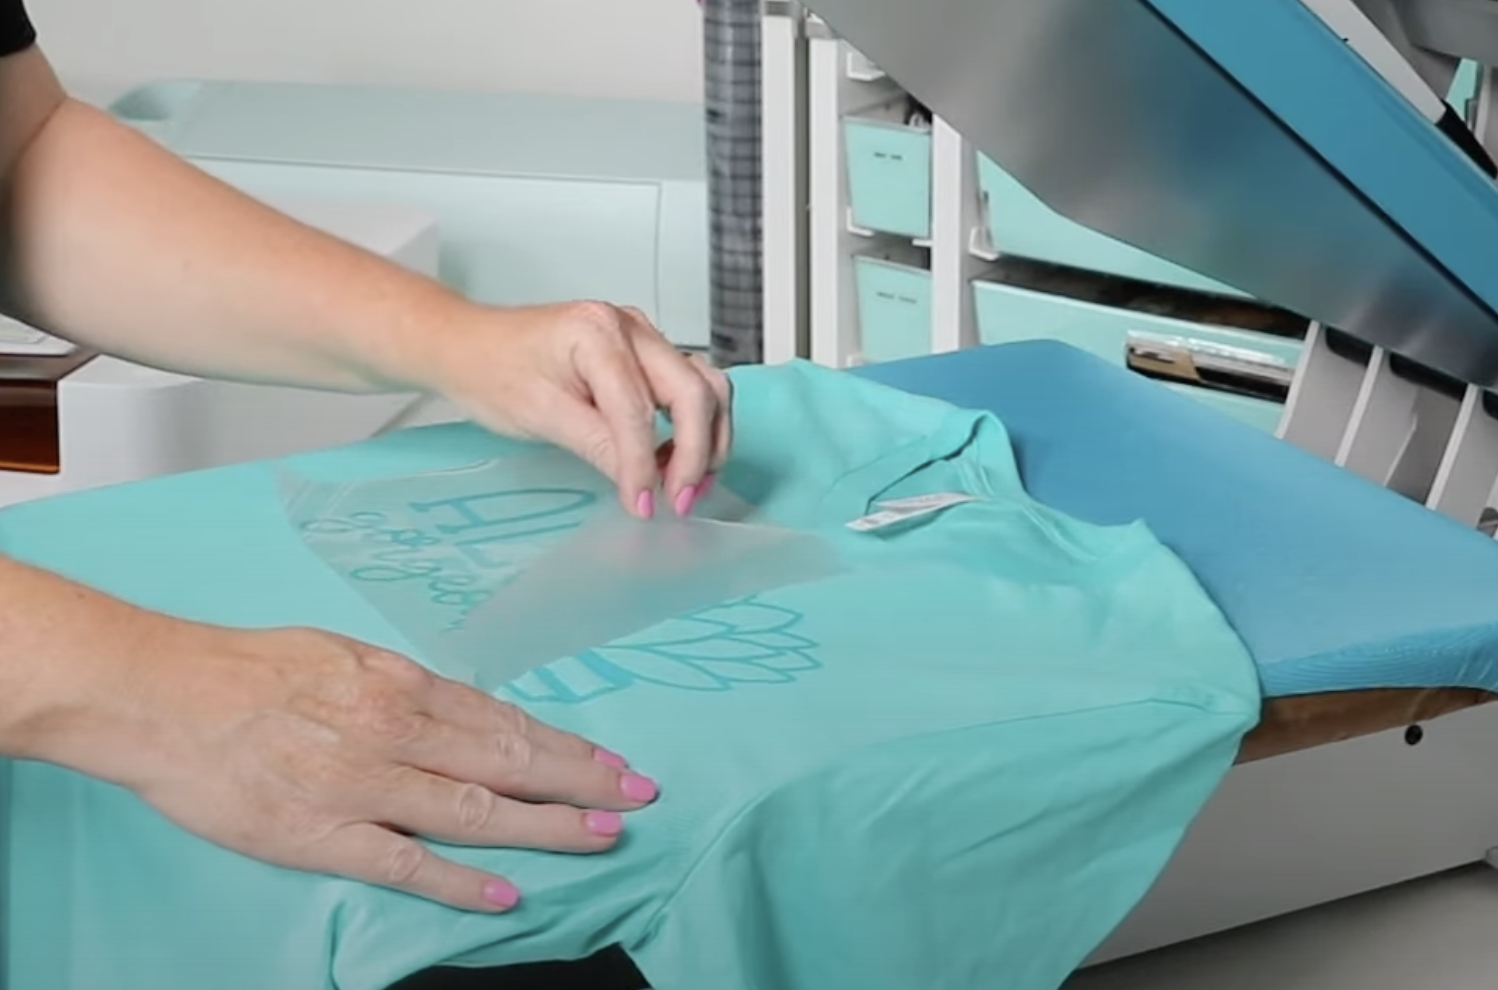
Allow the HTV to cool for a couple of seconds and then peel back the carrier sheet.
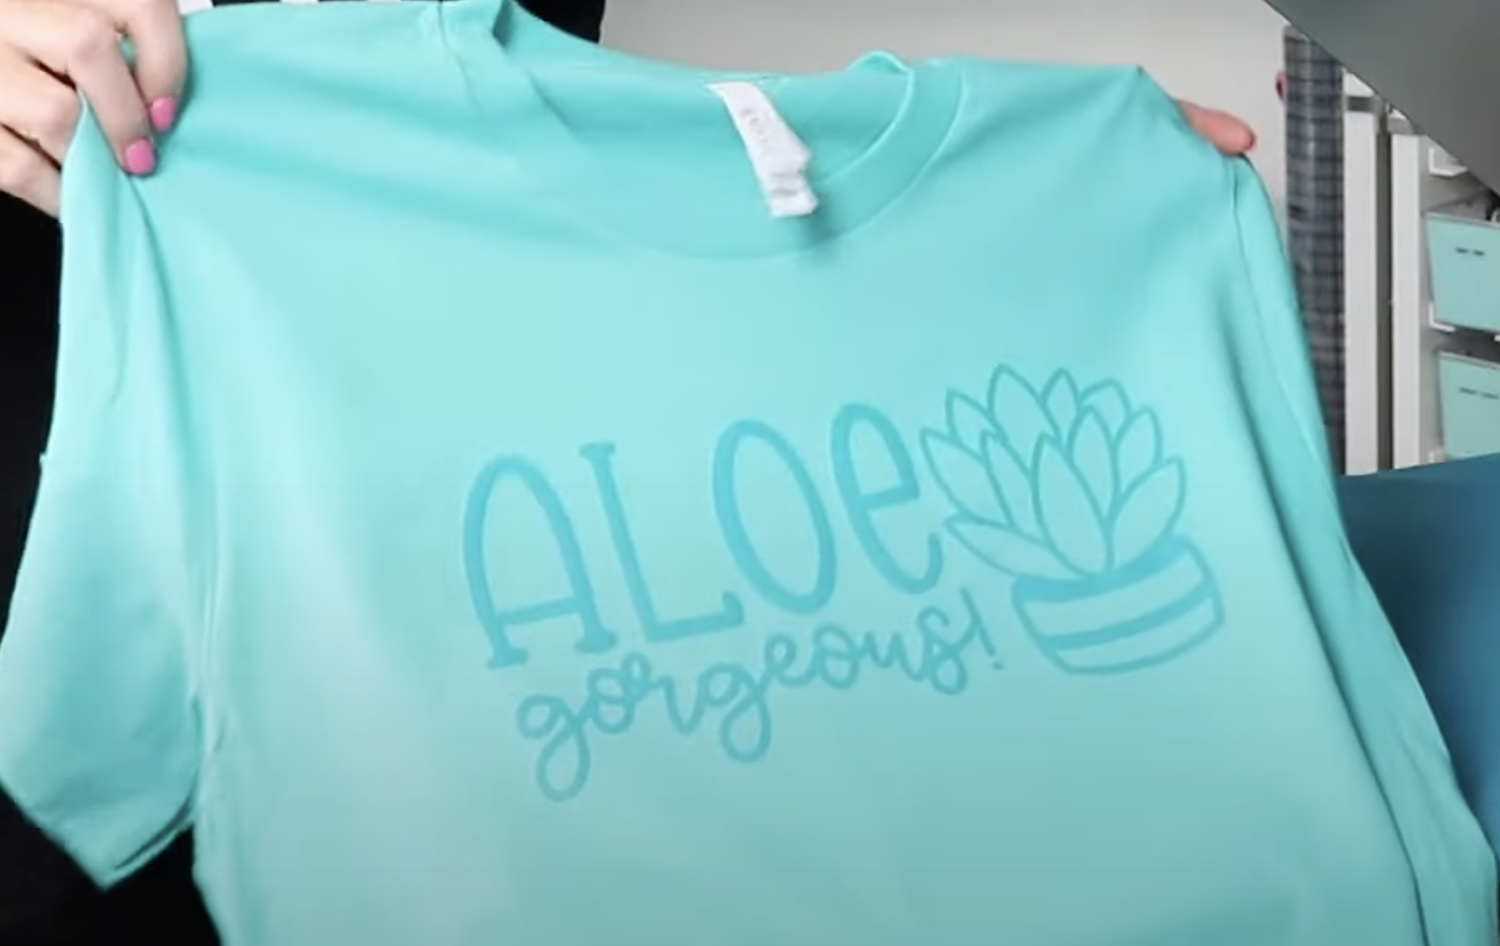
We have now finished our first project with the semi auto heat press with the pressure display. The pressure display comes in handy when you’re using different materials.
Making a DTF Zipper Pouch
The next project we’re going to make is a zipper pouch with a DTF design. My DTF print has a setting of 325 degrees for 15 seconds.
For this project, I need heavy pressure. Adjust the pressure setting with the zipper pouch inside the press. You do want to keep the zipper outside of the press. If the zipper is inside you won’t get an even press and depending on the zipper it can melt.
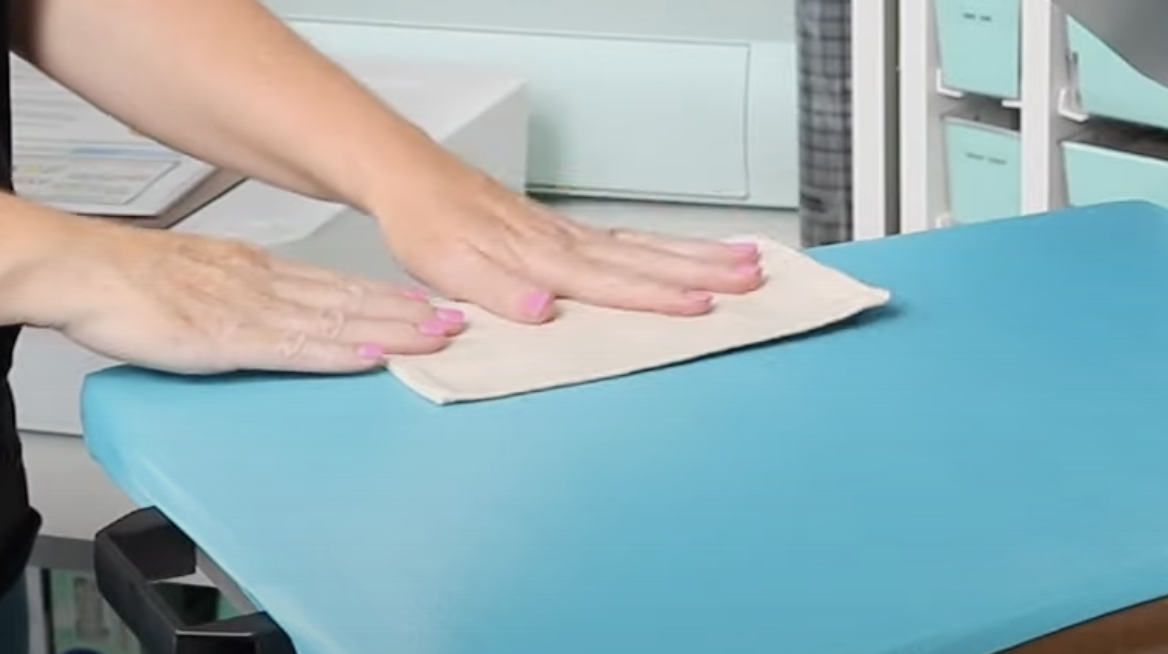
Preheat the zipper pouch to remove any moisture or wrinkles and then locate the design where you want it.
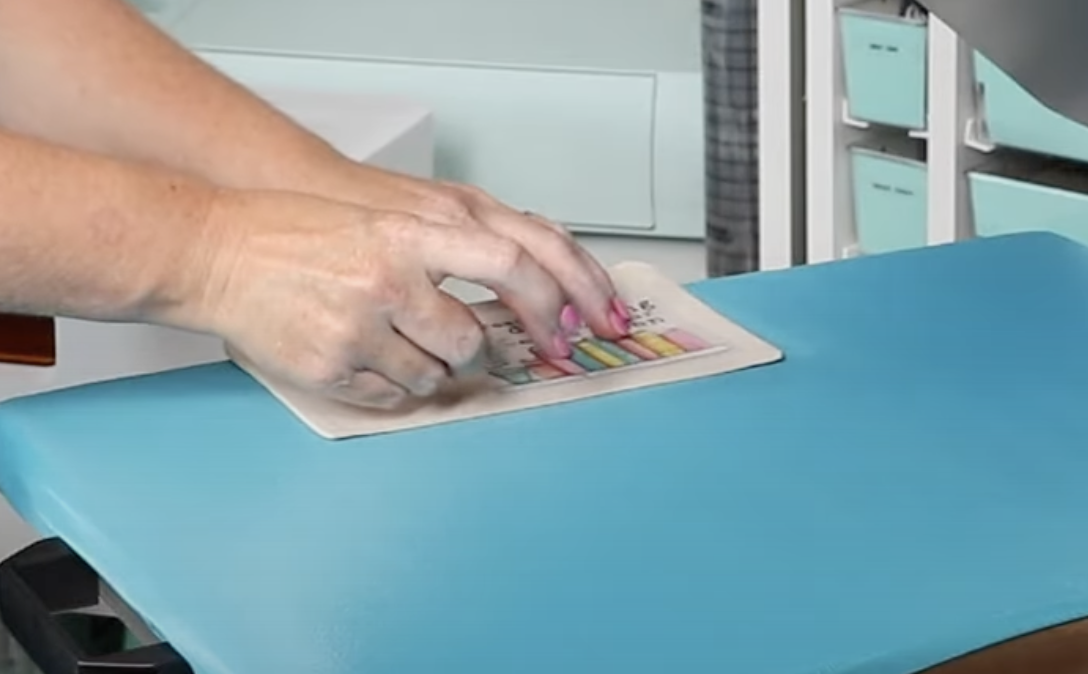
Press for the full-time. When the time is up allow the DTF to cool completely before peeling back the carrier sheet.
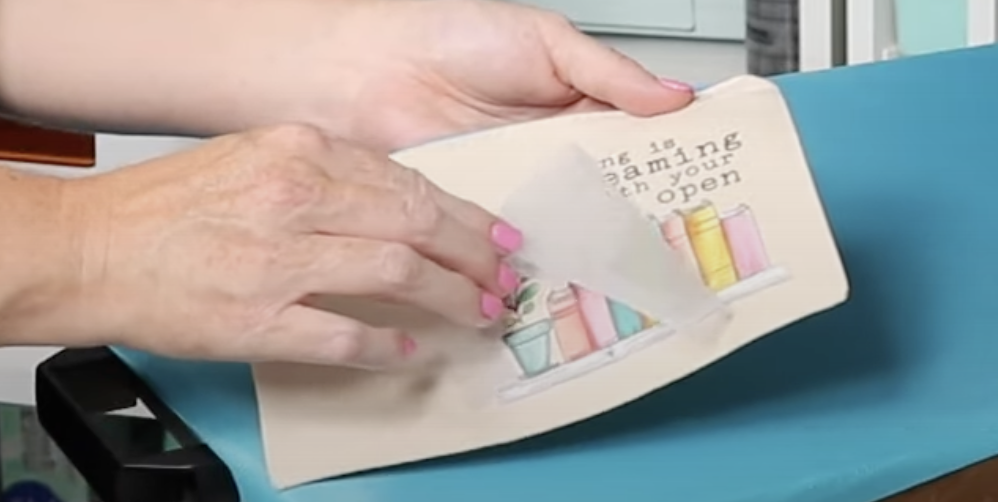
DTF prints should be post-pressed. Follow the settings for your DTF print and then you’re done.
Making a Sublimation Shirt
Next, we’re going to try a few different blanks with sublimation prints.
This press does not change the sublimation process. Thread the shirt onto the bottom platen and place a piece of protective paper between the platen and the shirt.
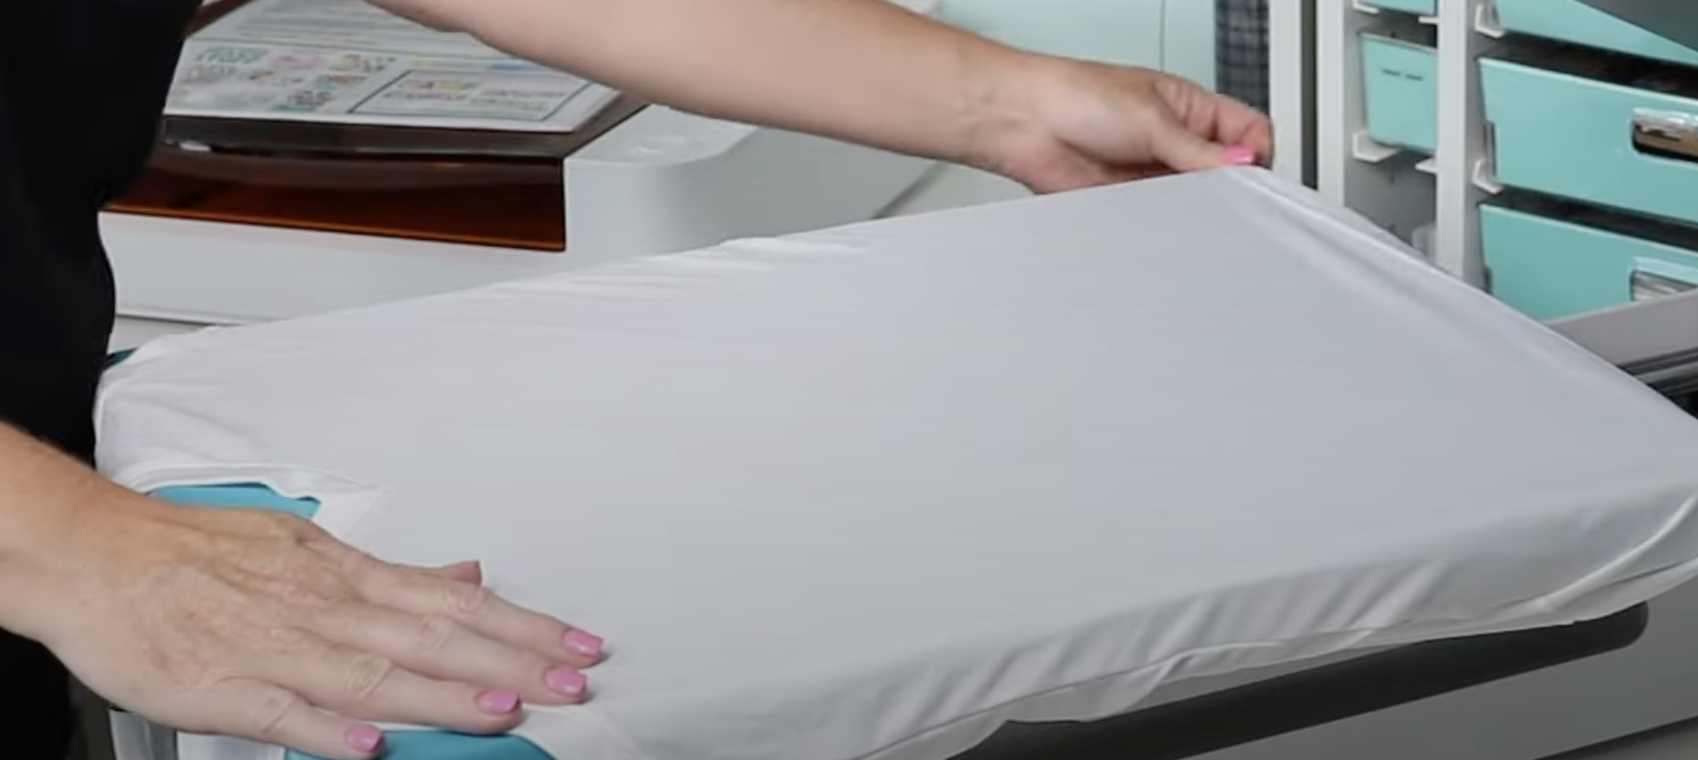
Preheat the shirt to remove moisture and adjust the pressure to medium to light pressure.
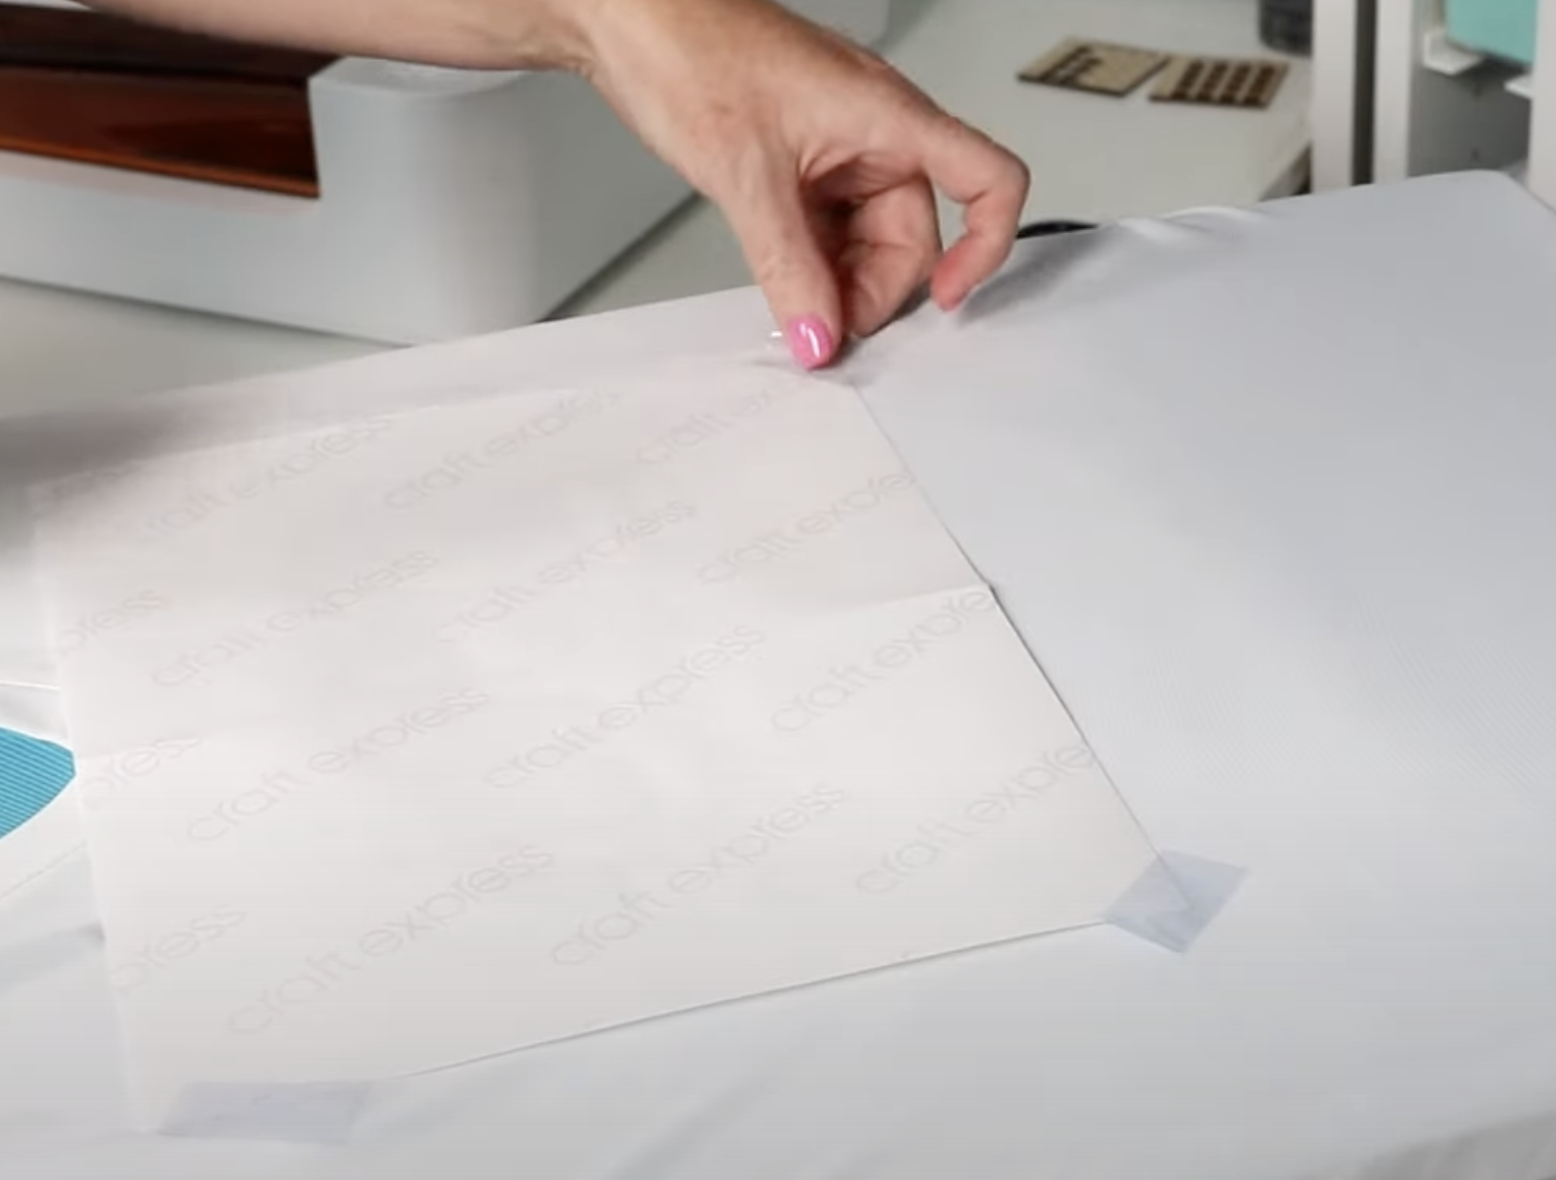
Locate the design on the shirt, making sure you have it turned in the right direction, and tape it into place with heat-resistant tape.
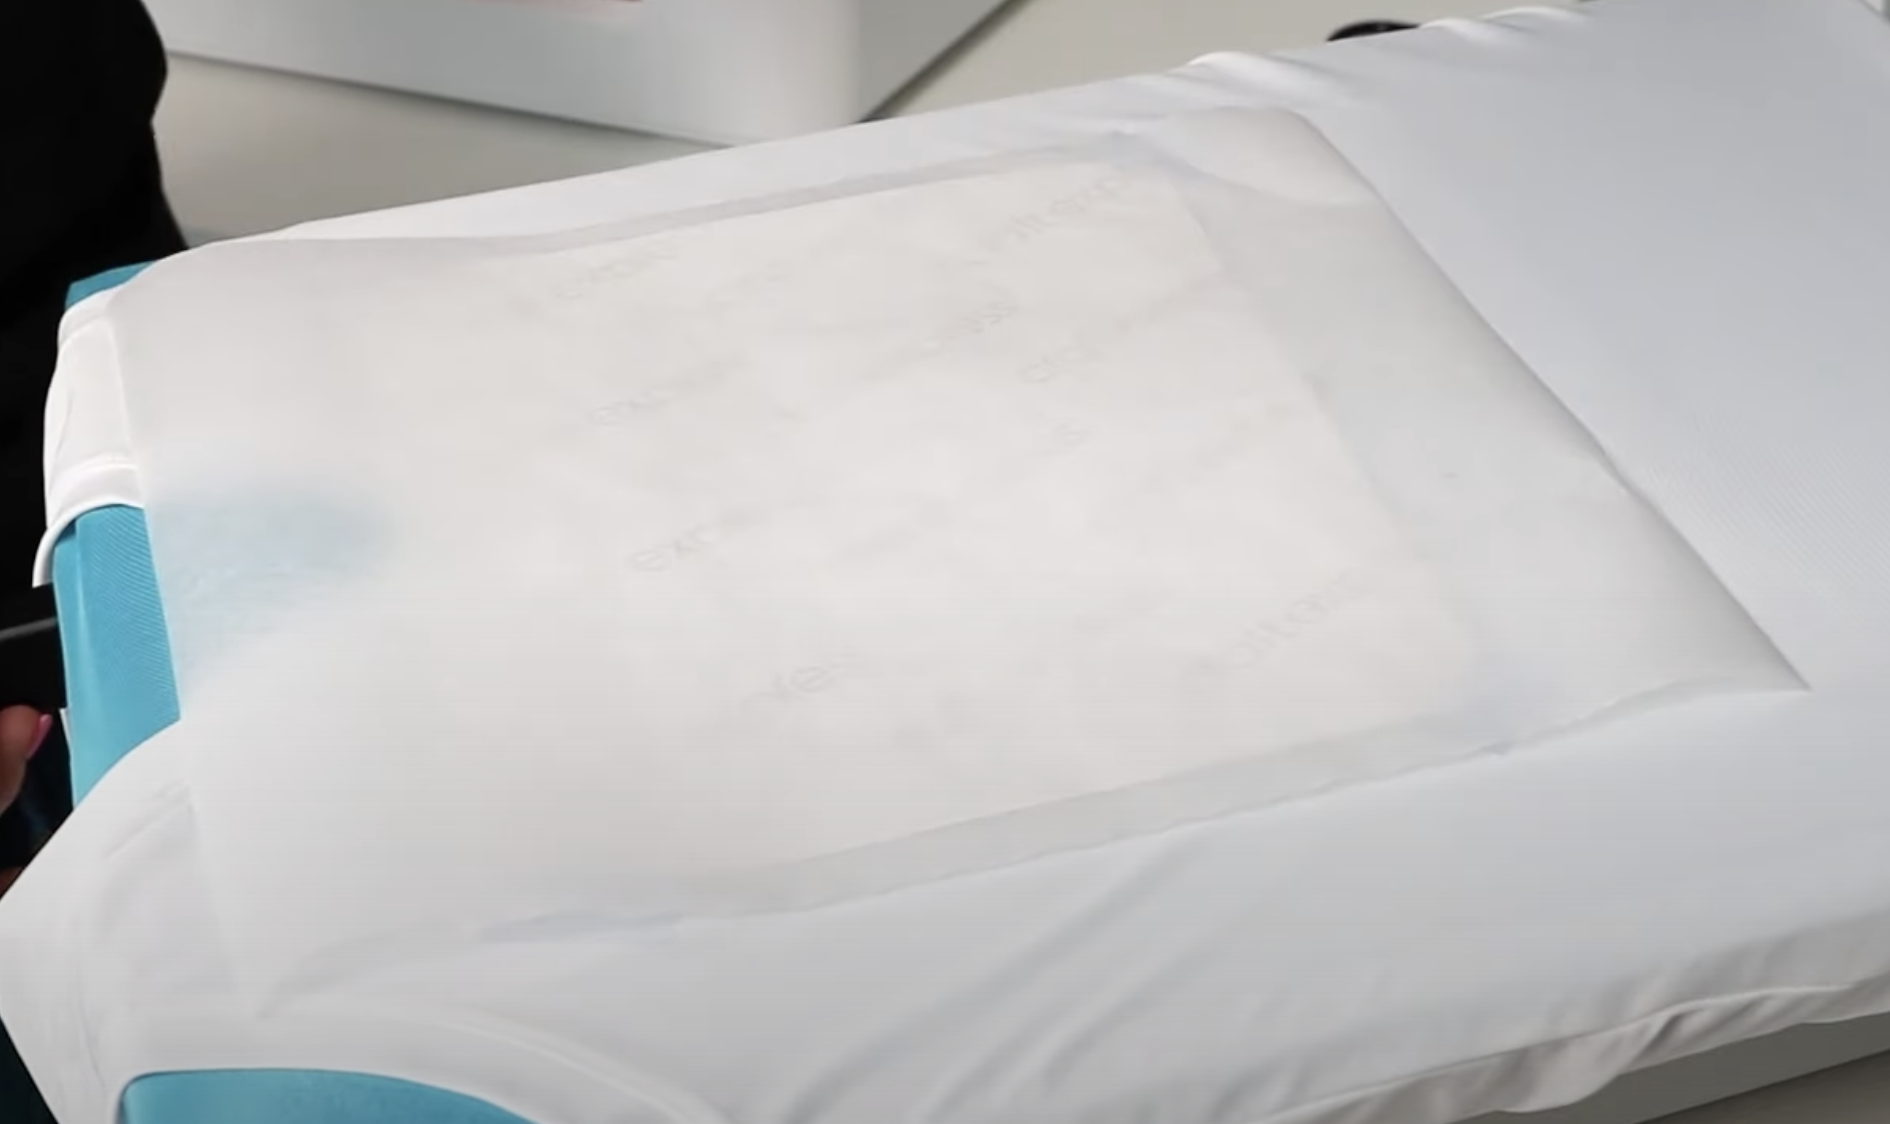
Add protective paper to the top to protect the heat plate and press for the full time.
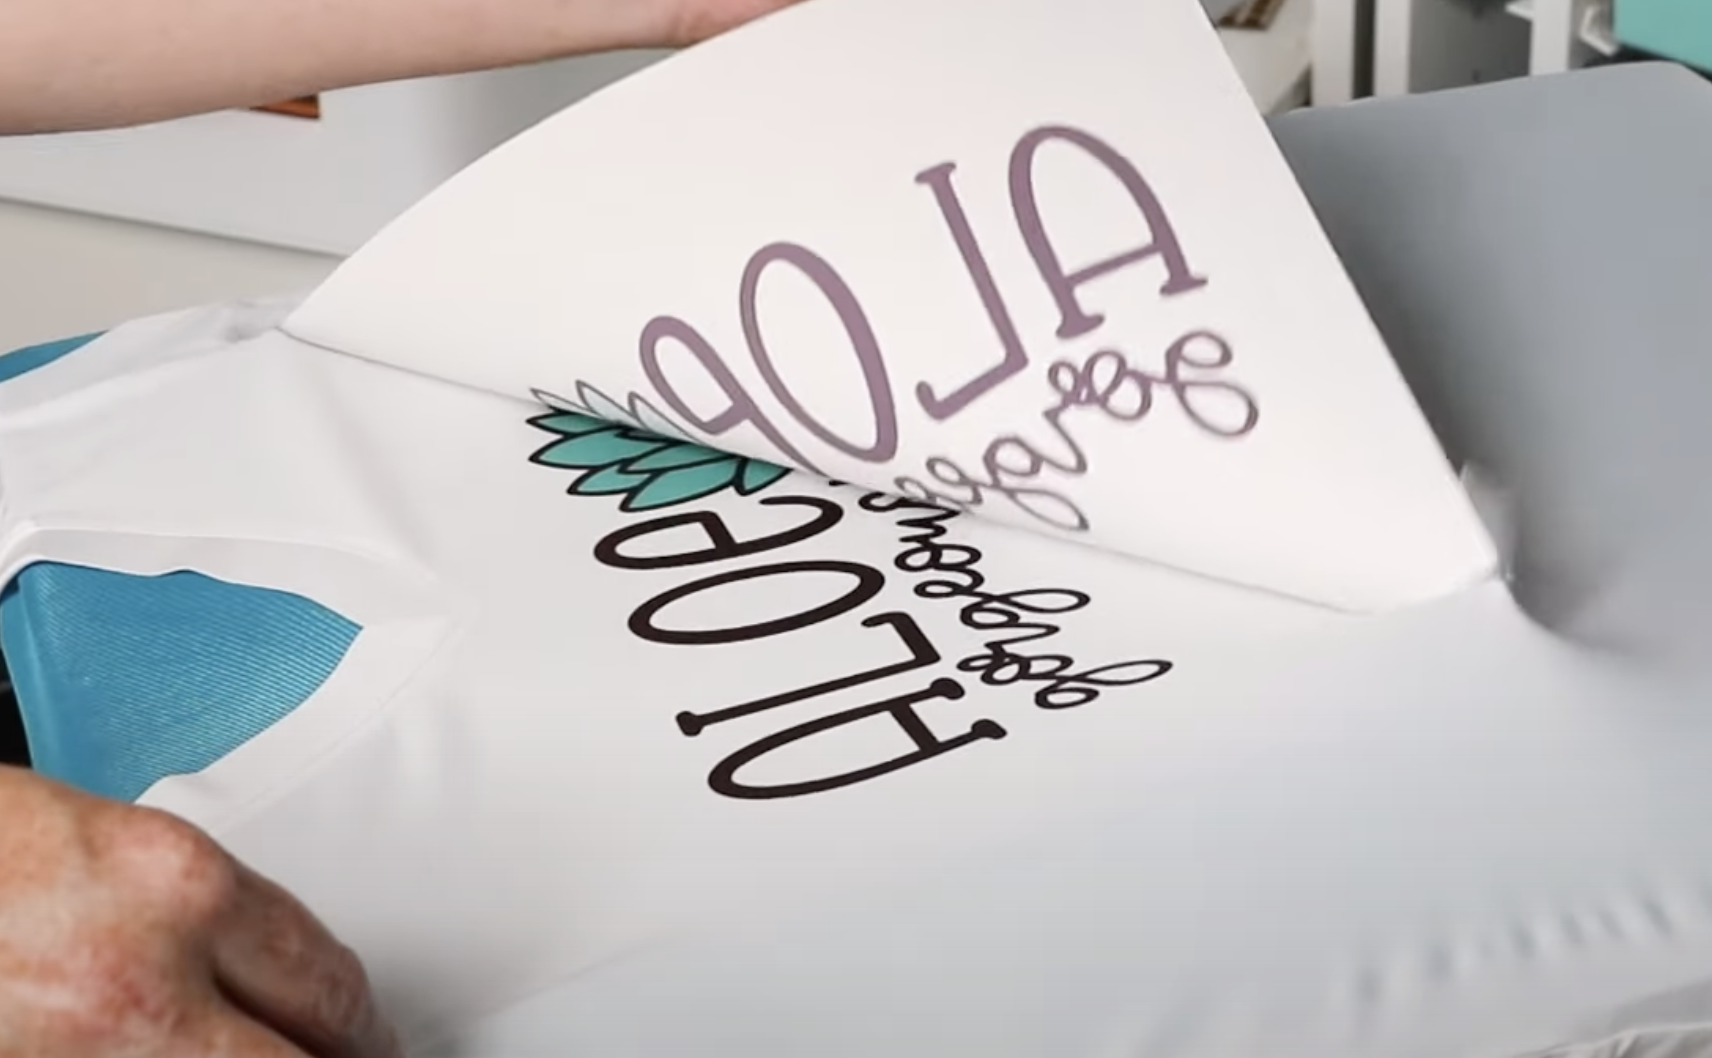
When the time is up, remove the protective paper and the print, and your shirt is finished.
Making a Sublimation Bag Tag
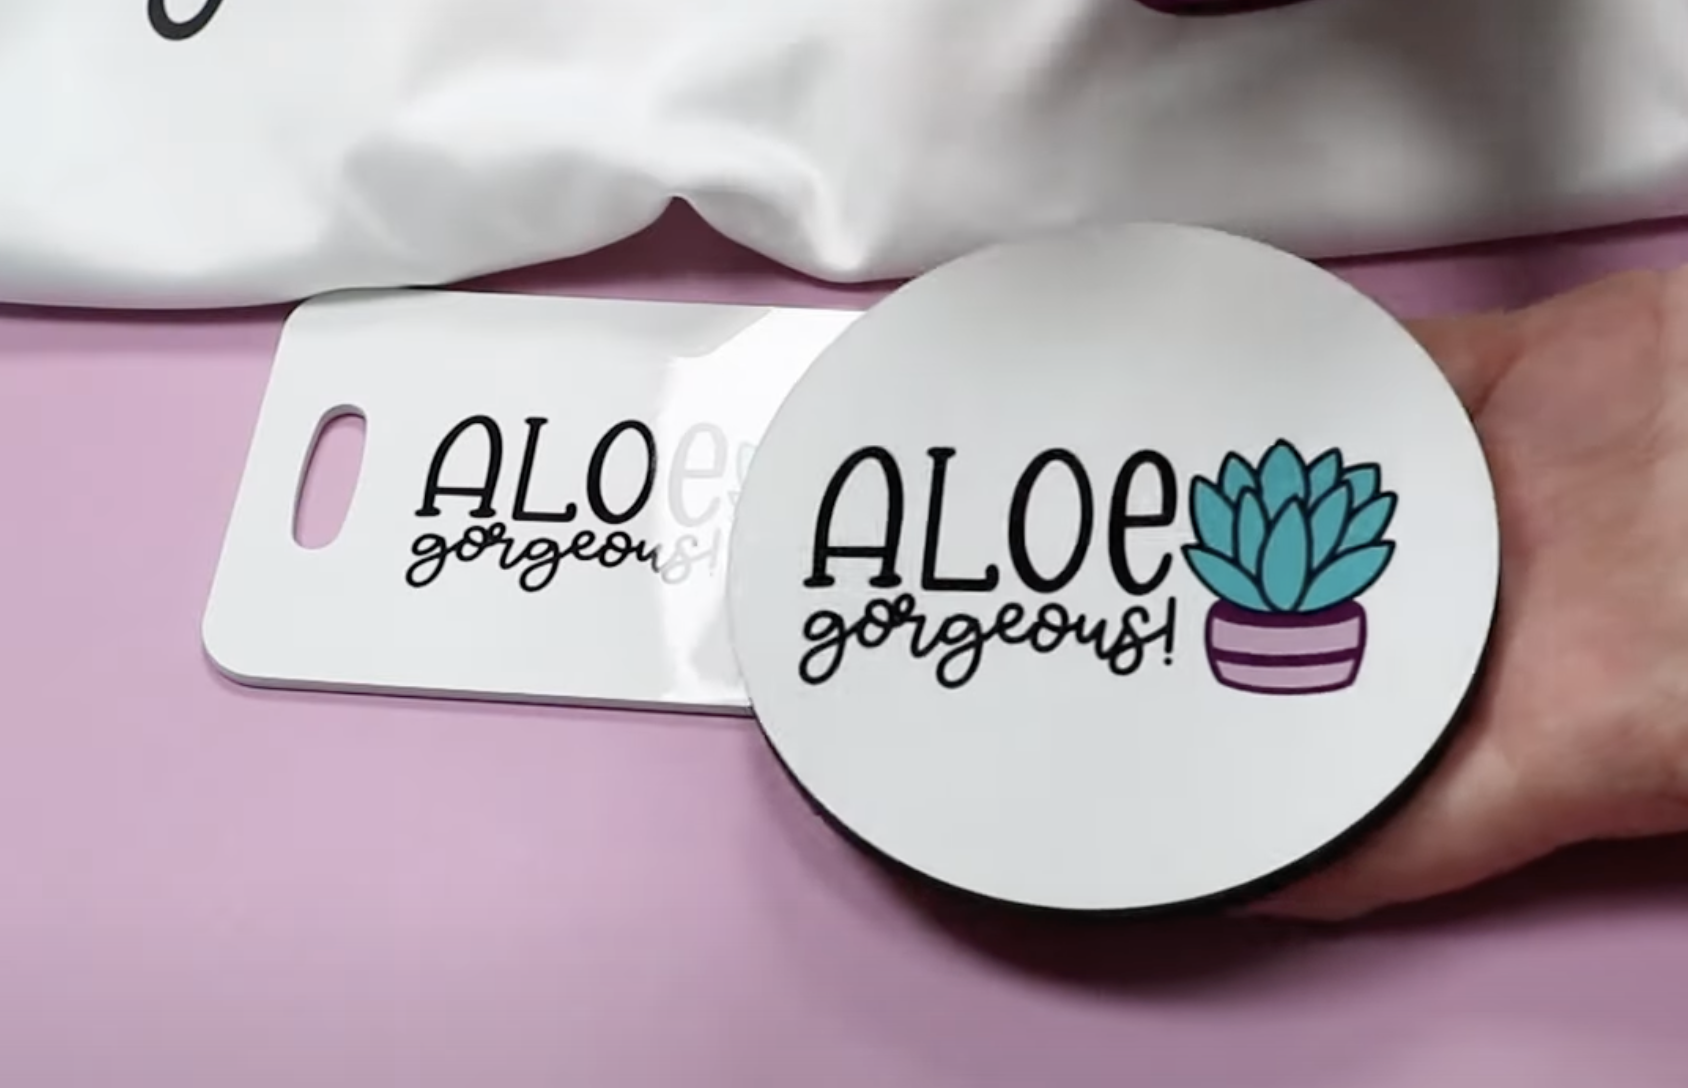
Now I want to try some thicker items. First, I have a sublimation bag tag. This blank calls for light to medium pressure. Adjust the pressure setting to ensure you’re not applying too much pressure when the blank is inside.
Locate the design on the tag and hold it in place with heat-resistant tape.
Add protective paper to the top and bottom of the blank to protect your heat press.
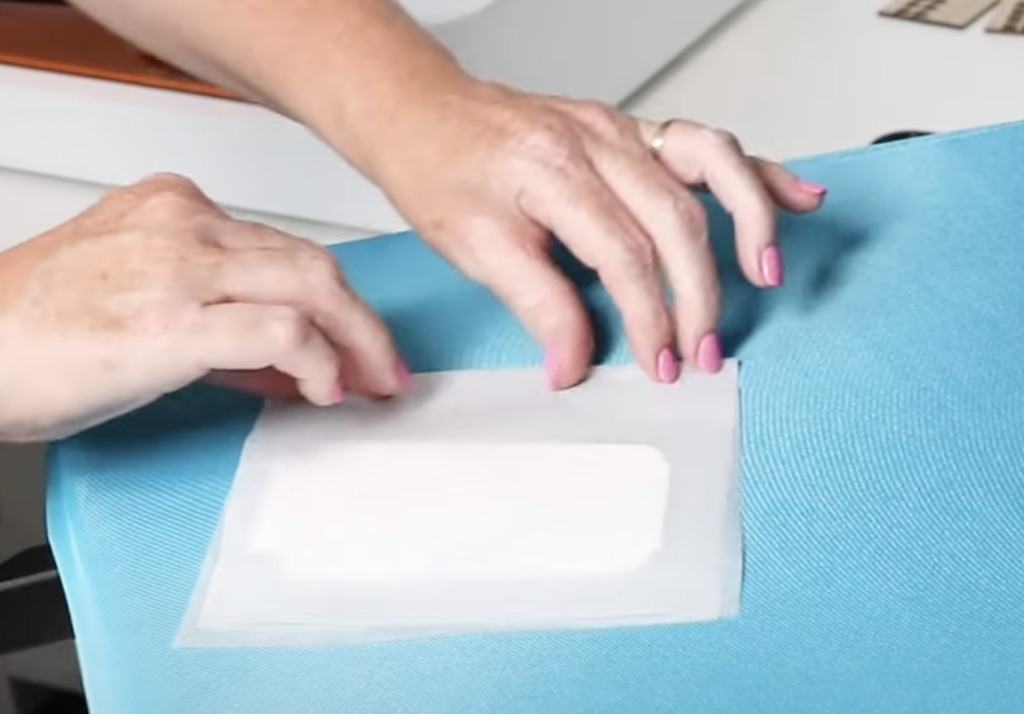
Close the press and press. Because this blank is smaller I am going to place it right in the middle of the press plate.
When the time is up, remove the protective paper and the print and your luggage tag is complete.
Making a Sublimation Coaster
The last sublimation blank I’m going to use today is a coaster. This blank is even thicker than the bag tag so I need to adjust the pressure.
Because of the thickness of this blank, the press doesn’t even close without the coaster in it. When I put the coaster inside it was still a firm pressure. Make sure you get the readout with the blank inside to be what is recommended for your blank.
Add the sublimation design to your blank and hold it in place with heat-resistant tape. Cover the top and bottom with protective paper.
Press for the full-time and then remove the protective paper and sublimation print and your coaster is finished.

Not sure which heat press is for you? Heat Press Roadmap has your answer! This extensive course is designed to guide you on your journey to deciding on the best heat press for your needs, space, and budget.
Join Angie Holden and Cori George as they explore 17 heat presses in 27 videos. Get the details and sign up for Heat Press Roadmap here!
Semi Auto Heat Press with Pressure Display Project Results
Now that we’ve finished our projects let’s look at the results.
The HTV shirt turned out perfectly. I love the slightly darker teal on the lighter teal shirt. The BFlex Gimme 5 did great with this press in just a few seconds.
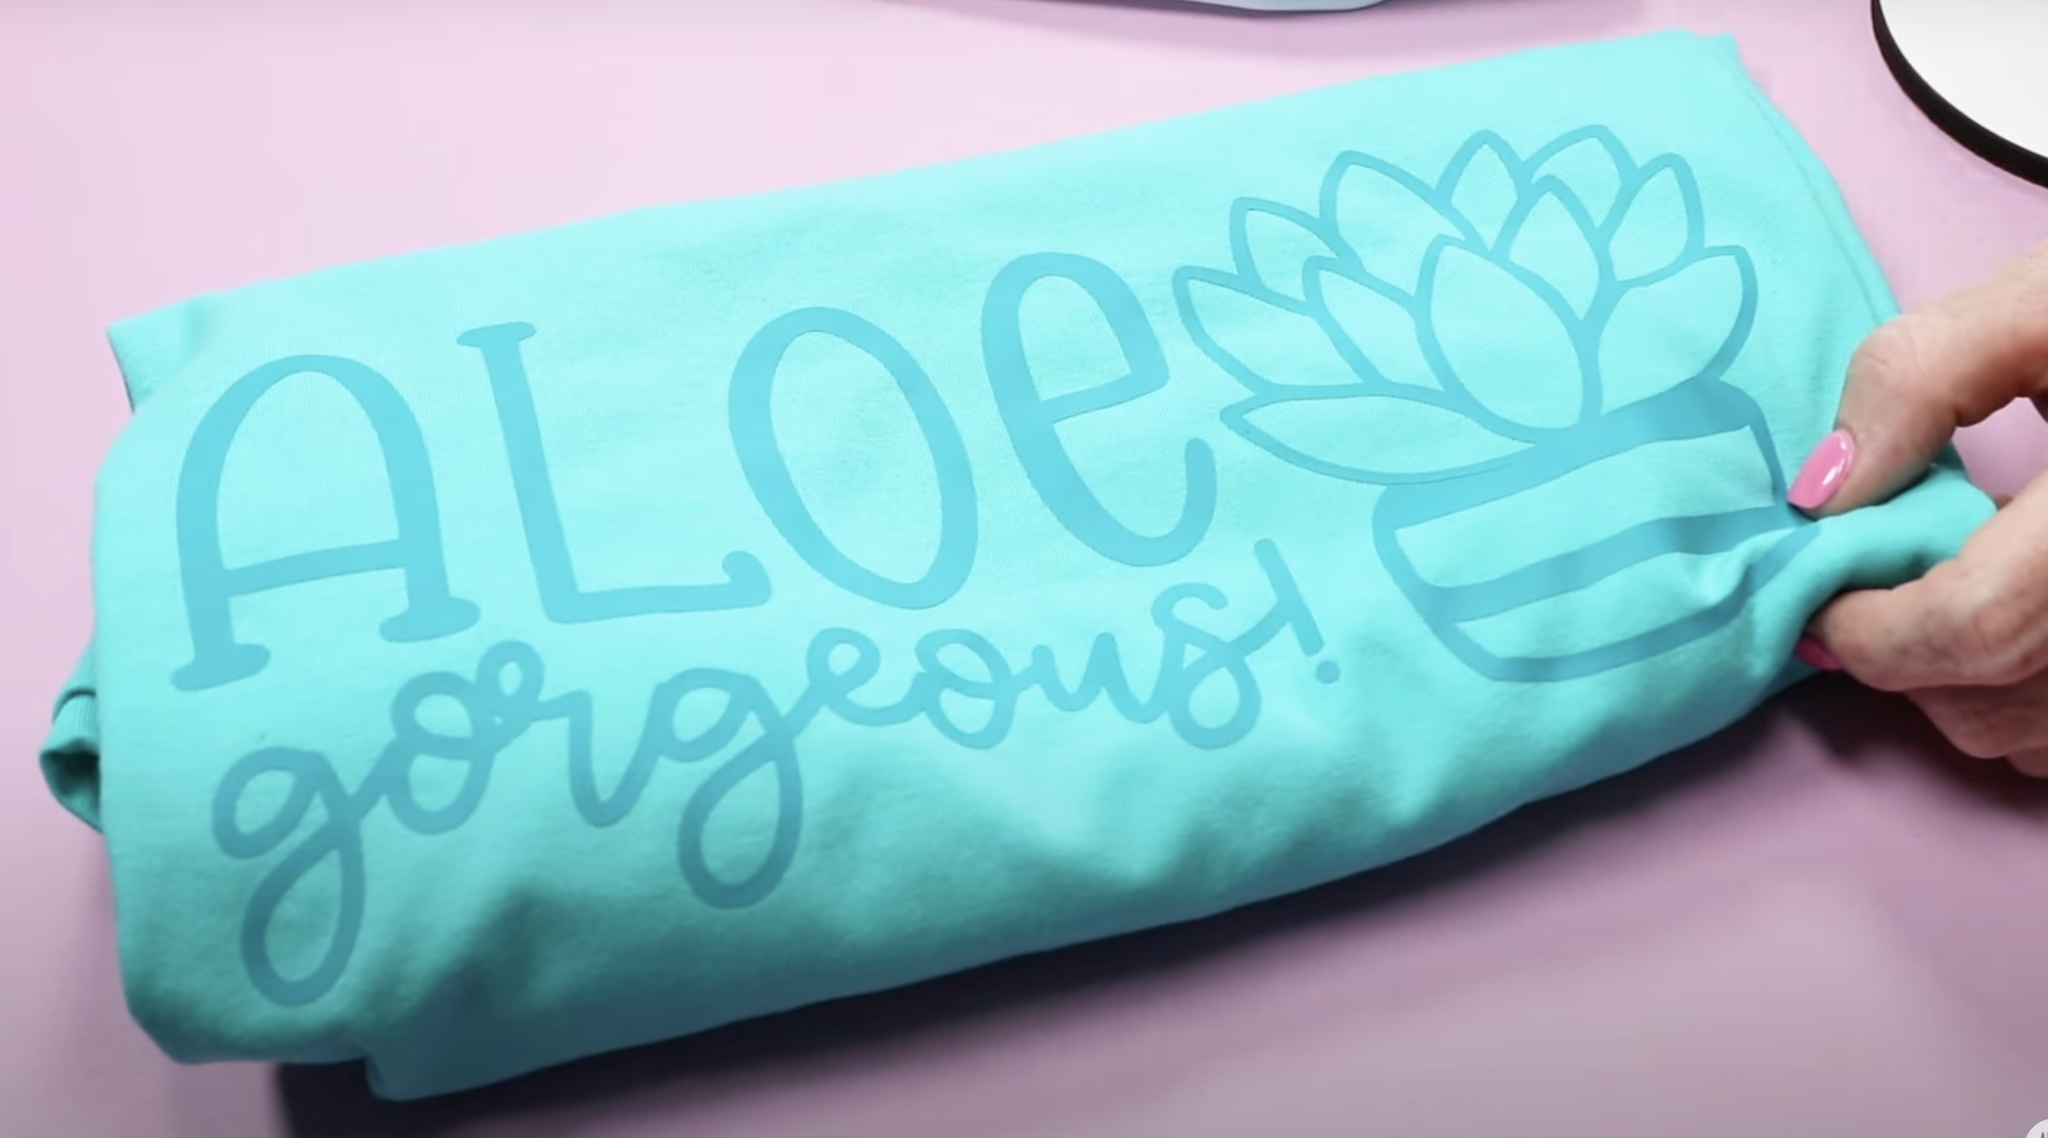
The DTF zipper pouch also turned out perfectly. I love how you can get a full-color design on blanks that aren’t polyester or white with DTF prints.

All of the sublimation projects turned out perfectly. The colors on the shirt are so vibrant and transferred perfectly.

The sublimation bag tag and coaster were the thickest blanks I used and they also turned out perfectly. The thicker blanks worked great, just make sure you adjust the pressure to match what the blank calls for.

ProWorld Heat Press Pros and Cons
Let’s talk about the pros and cons of this heat press.
Semi Auto Heat Press with Pressure Display Pros
- The pressure readout makes project making simpler vs guessing if the pressure is correct.
- The pullout tray is a great safety feature and makes it easier to work on projects.
- The interchangeable platens are another pro. If you’re wondering why someone might want to change a platen it’s definitely a user choice. A lot of people like a smaller platen for smaller projects, if you’re that person the quick swap feature is a game changer because it’s so quick and easy.
- I like that this is a semi-auto press. I love an auto-open feature but the ability to change it to manual when I need to hover over a blank or just need to quickly do a batch of pre-pressing is definitely a pro.
- The press is very easy to set up and use which is always something I’m looking for in craft machines.
Semi Auto Heat Press with Pressure Display Cons
- I think the control panel is in an awkward place. I have to close the press a little bit to adjust the time and temperature if I’m standing in front of it.
- Because of the location of the pressure knob, I have to close the press a bit to adjust it up and down. It isn’t too bad but I do want to call it out.
- The emergency stop button is on the side of the control panel. You need to reach across the press to push the button which means you could get hit by the press if you don’t move out of the way quick enough.
- After pressing the emergency stop button, the press will pause for a few seconds before it pops open. I recommend holding one of the handles so it does not pop up without you being ready.
- The price point may be a con for some people. The price is comparable to the full price of the Cricut Autopress. It is a more expensive press but with all the features that it has and the fact that it’s a very sturdy press I think it’s a good value for the money.
If you want a press that has a pressure display, you’re going to be up in this price range. If you’re looking to upgrade from a smaller press or need something for your craft business this may be the perfect press for you.
My Final Review of the ProWorld Semi Auto Heat Press with Pressure Display
I really like this heat press. I’ve been on the lookout for a heat press that is a semi-auto heat press and has a pressure display. This press checked all those boxes for me and I like how sturdy it is.
Because I use a lot of different blanks having a pressure display makes my crafting easier which is something I am always looking for.
The ability to calibrate the temperature if it gets off over time is another feature that makes this a great press for me.
I hope I’ve answered any questions you have about the ProWorld Semi Auto heat press with pressure display. If you have any additional questions leave them in the comments and I’ll be happy to answer them for you.
