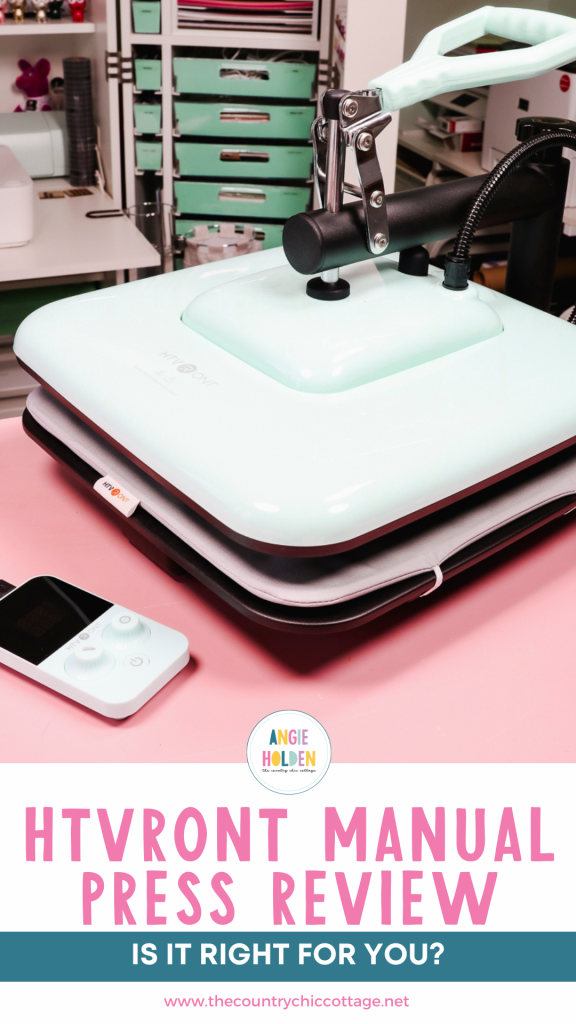
Are you trying to figure out if the HTVront Swing Away heat press is right for you? Today I’m testing this new, manual heat press to see how it performs with various materials.
Different heat transfer materials require different temperatures and pressures. Keep reading to see how this press performs with each material.
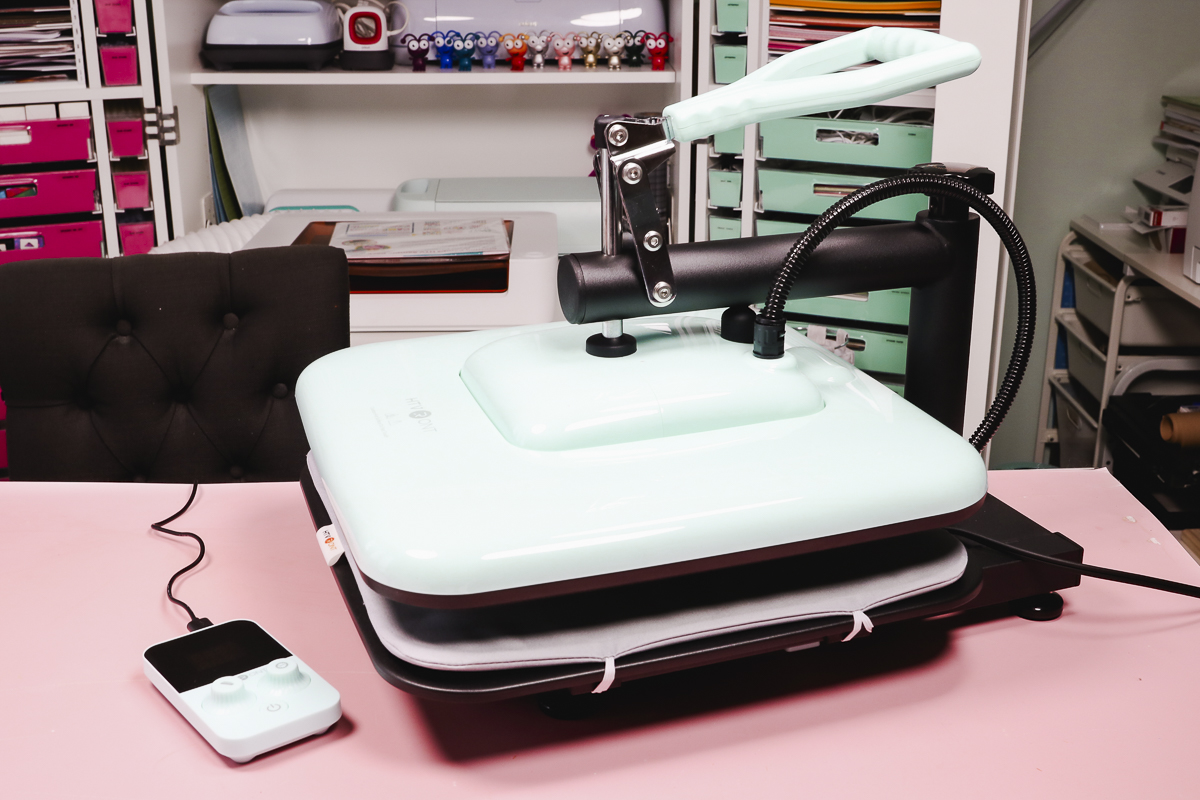
I have heard good things about this press so I wanted to test it out. You can watch me test all these different blanks and see the press in action by pressing play on the video below.
HTVront Swing Away Heat Press
NOTE: Swing away heat presses like this one are not my personal favorite. They take up more room than a clamshell heat press and my craft space doesn’t have a lot of extra room.
Swing Away vs Clamshell Heat Presses
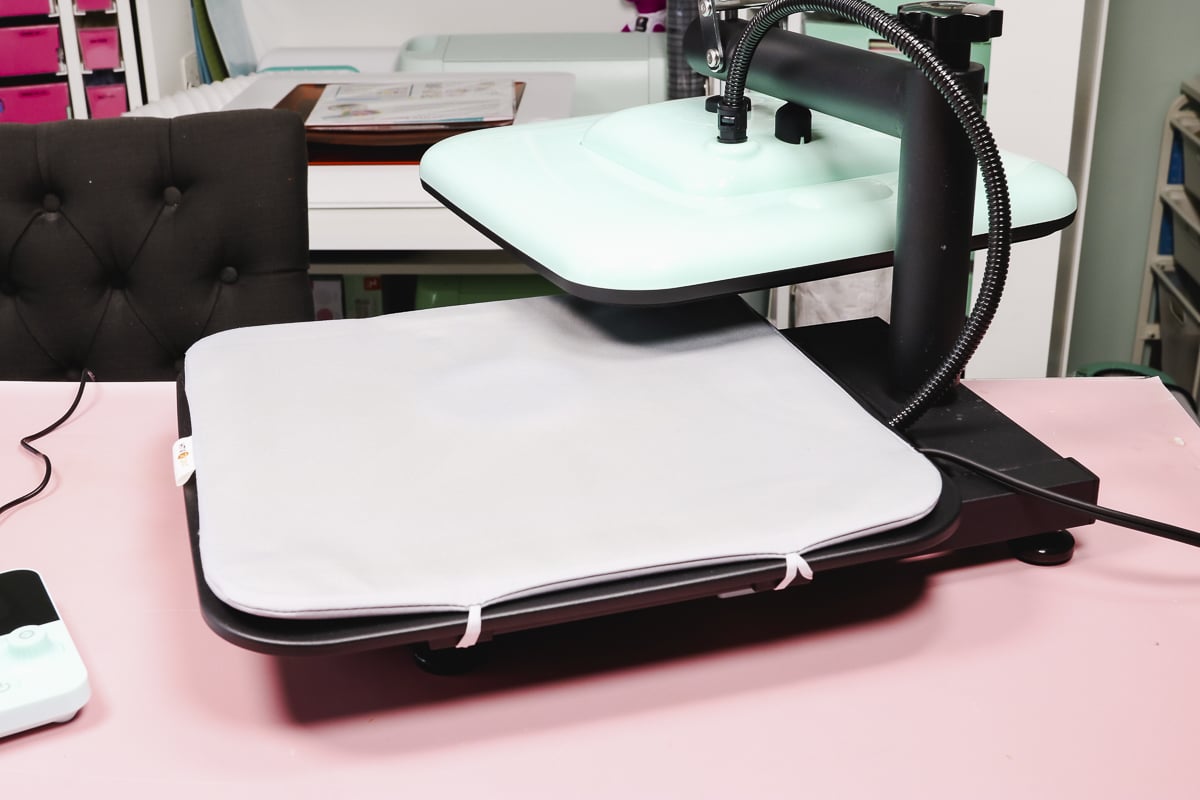
A swing away heat press takes up more room than a clamshell because you have to swing the top heat plate away from the bottom platen. With this press, you will need room around the press that can be exposed to heat.
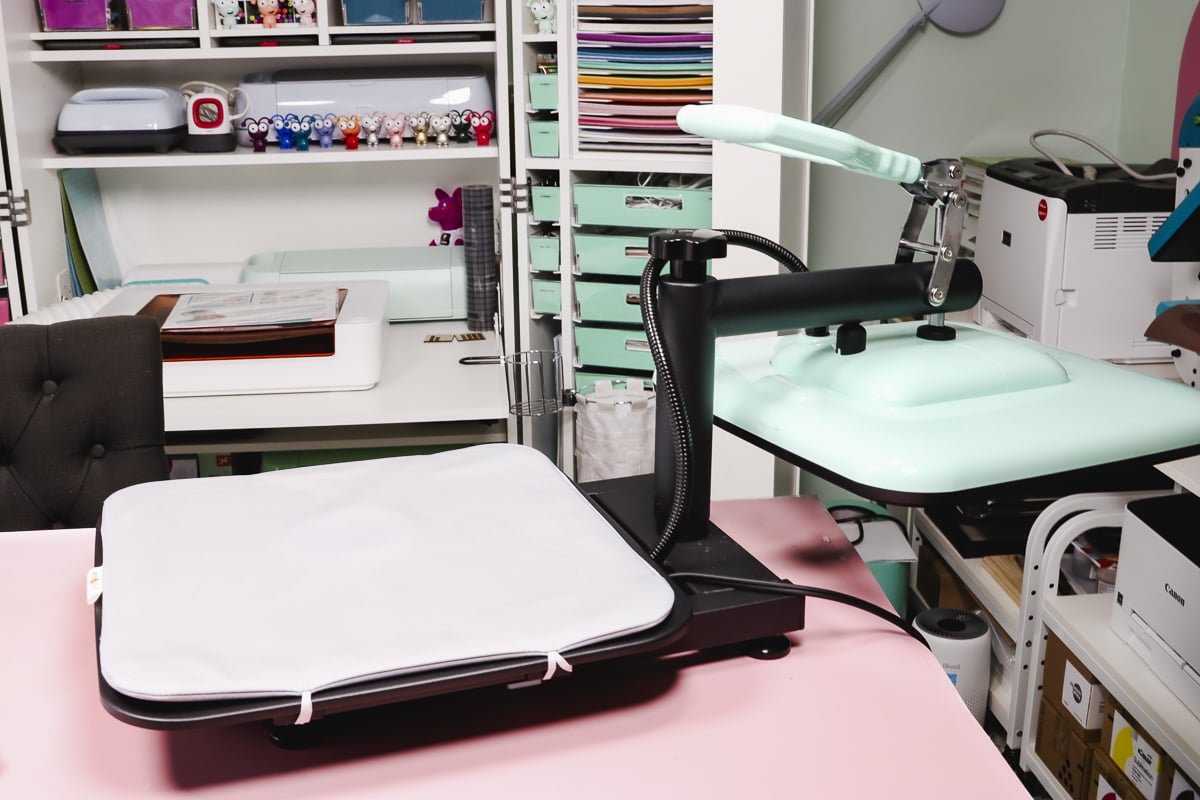
A clamshell press opens straight up and then closes down on top of the bottom platen. If you are limited on space, a clamshell press may be a better option for you.
What’s in the Box
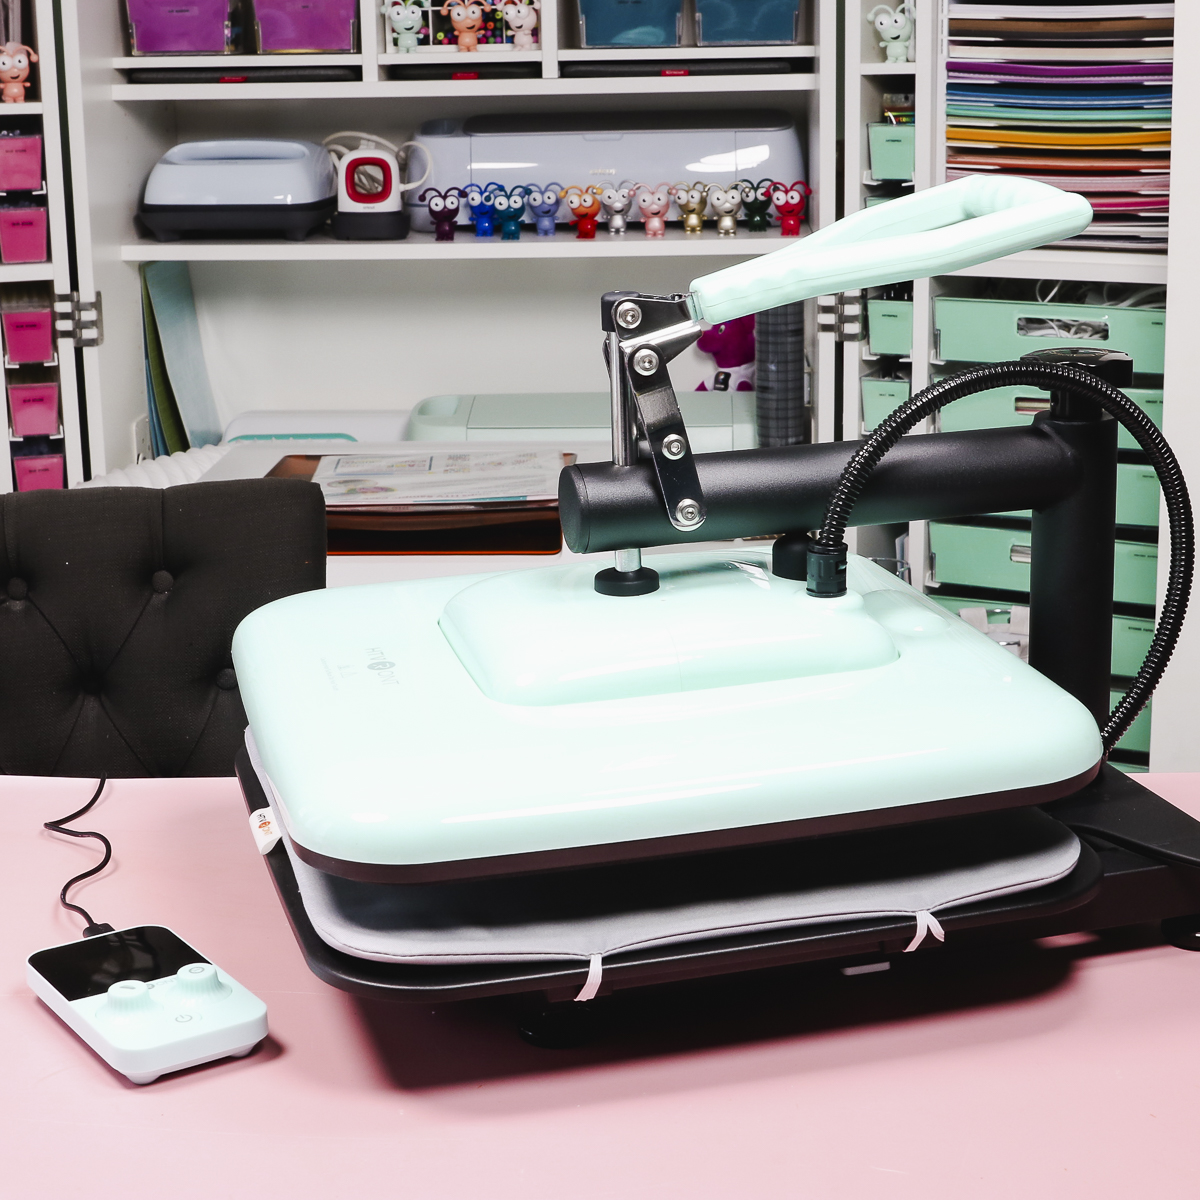
The HTVront Swing Away Heat Press comes fully assembled which is great. All you have to do is plug the controller into the press and the setup is complete. This press has a heat plate of about 15 x 15 inches which is a good sized press.
Along with the controller, there is a manual for the press. There is a pad for the bottom platen, it is already attached but it can be removed if needed. For blanks that require a firm pressure, you can remove the pad and add something firmer or just use the bottom without a pad.
How to Adjust the Settings
First, plug the press in and then press the power button on the control panel. With the press on you’ll see the time and temperature displayed.
To change the settings, turn the dial for both temperature and time and then do a quick press on the button to accept that setting.
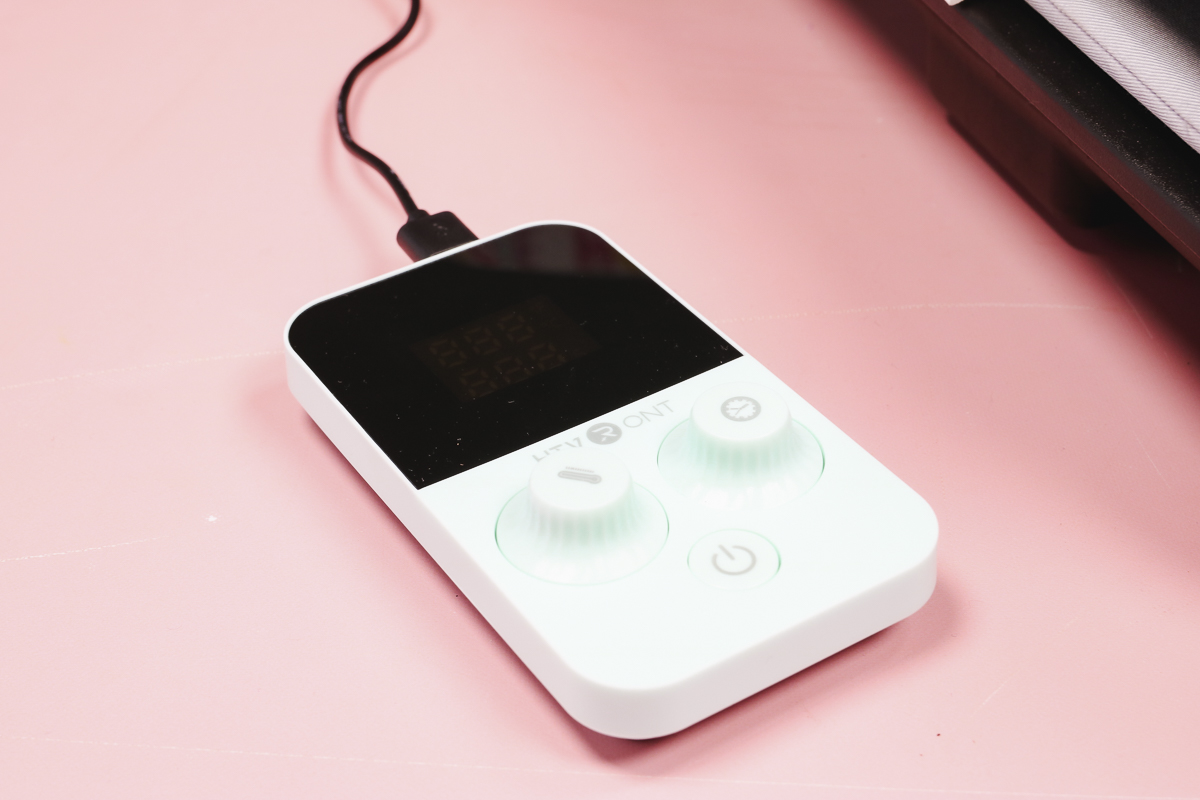
When you have your blank in the press and the press is closed, start the timer by pressing down on the time button for a few seconds.
The time does not automatically start when you close the press and you have to manually open the press when the time is up.
How to Adjust the Pressure
On the back of the heat press, there is a knob that you use to adjust the pressure. When you turn the knob down it is decreasing the distance between the heat plate and the bottom platen, increasing the pressure.
When you turn the knob toward up, it increases the distance and decreases the pressure.
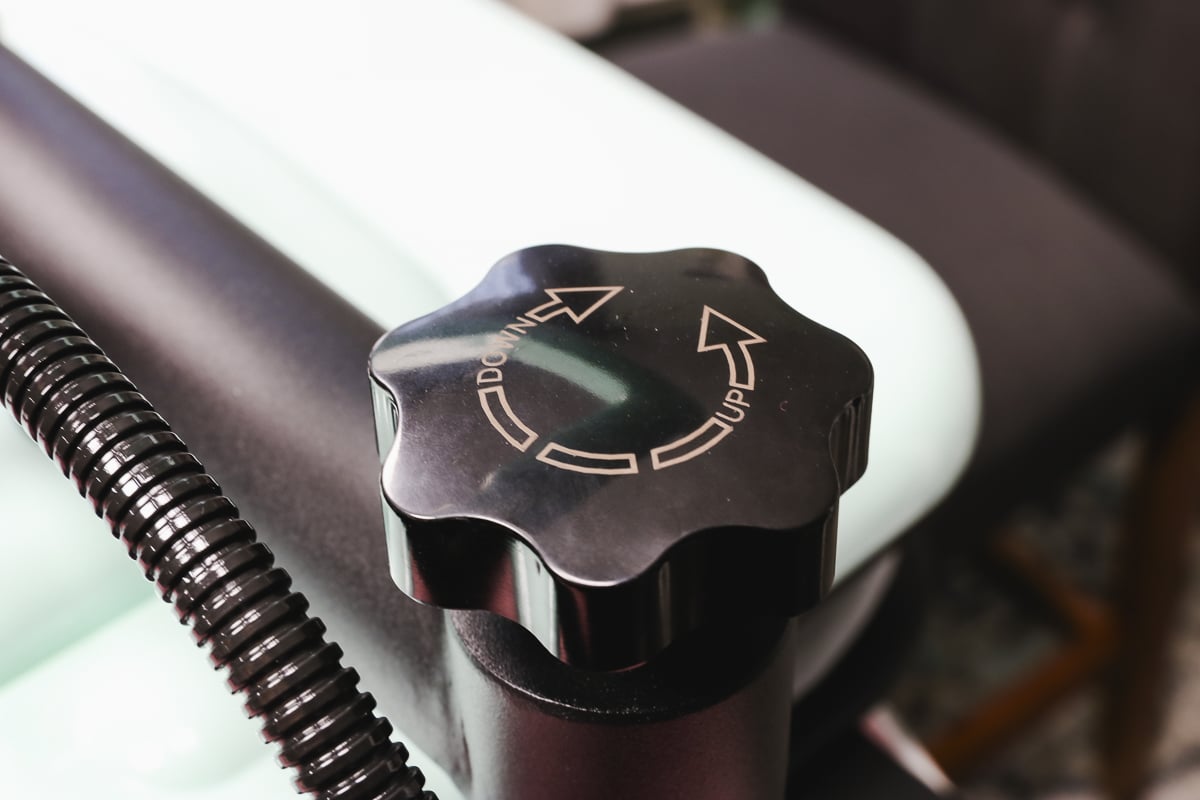
There is no pressure readout on this press so you will have to adjust the pressure based on the blank you’re using. This is done by feel, just like other manual presses.

Not sure which heat press is for you? Heat Press Roadmap has your answer! This extensive course is designed to guide you on your journey to deciding on the best heat press for your needs, space, and budget.
Join Angie Holden and Cori George as they explore 17 heat presses in 27 videos. Get the details and sign up for Heat Press Roadmap here!
Projects with the HTVront Heat Press
Now we’re ready to make some projects to really put this heat press to the test.
Supplies Used
- Free Ghost Files
- HTVRont Swing Away Press
- BELLA +CANVAS Shirts
- Sublimation Car Coaster
- Sublimation Garden Flag
- Brother Sublimation Printer
- Sublimation Paper
- Lint Roller
- Heat Resistant Tape
- Heat Resistant Gloves
- Tape Dispenser
- Protective Paper
- HTV
- Crio White Toner Printer
- Forever Dark Paper
- T-Seal Finishing Sheet
- DTF Cooling Block
Making a Project with HTV
For my first project, I’m using a thick shirt that is almost sweatshirt-type material and HTV. When working with the press, make sure that you swing the heat plate away so you don’t get burned.
Step 1. Preheat the Shirt
Place the shirt inside the press and adjust the pressure. I want medium pressure with this shirt and I need a temperature of 305 degrees for 15 seconds, which is the recommended setting for my HTV.
Preheat the shirt to remove any moisture and wrinkles.
Step 2. Locate the Design on the Shirt
My design has 2 layers. I have both pieces lined up together so I can make sure I locate the first layer correctly.
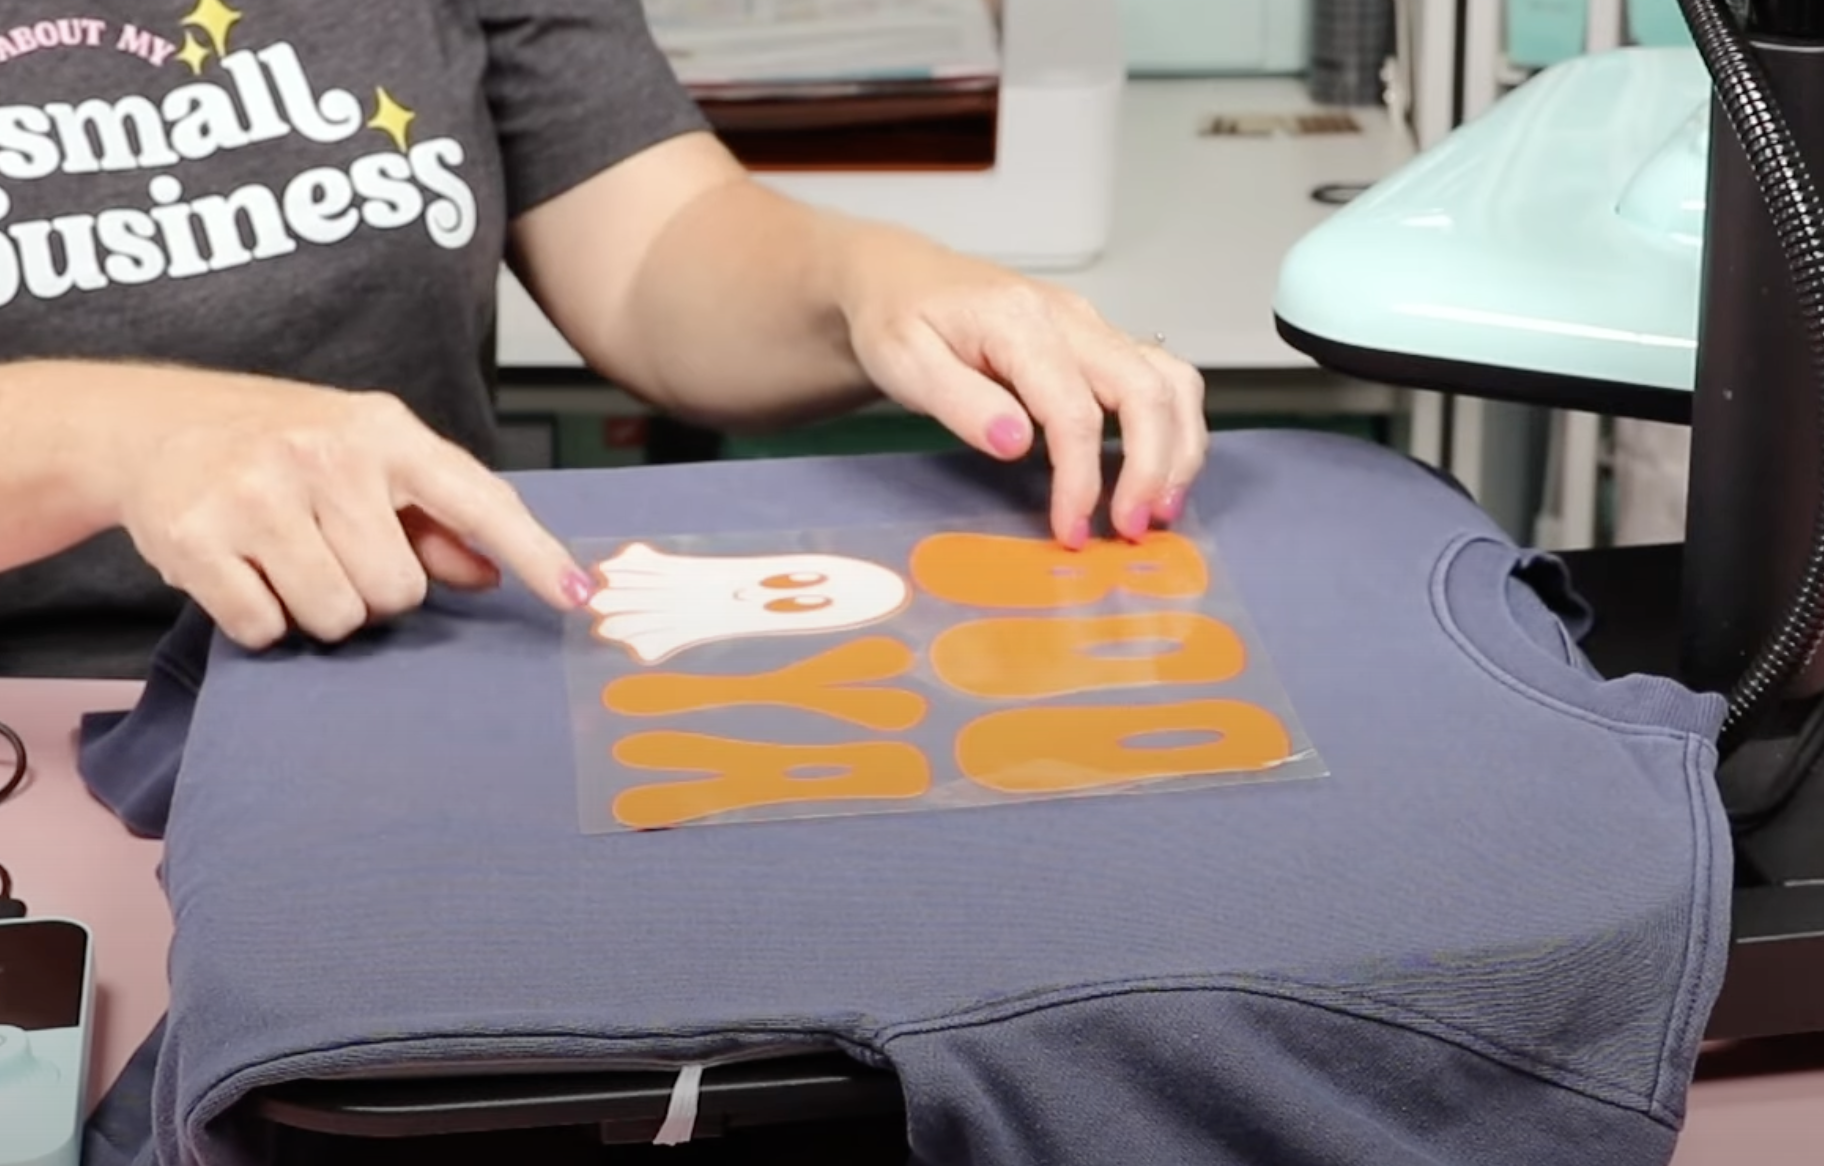
When you have the design located where you want it, it’s time to press.
Step 3. Press the HTV
For this project, I will press the white ghost first. Close the press and do a long press on the time button to start the countdown.
When the time is up, the press will beep and you need to manually open the press.
Remove the carrier sheet and then locate the second layer. My second layer carrier sheet covers the entire design so I’m ready to press. If your carrier sheet does not cover the first layer of HTV use a protective sheet to protect the HTV from direct heat.
Close the press and press again for the full-time.
Step 4. Remove the Carrier Sheet to Reveal the Finished Project
When the time is up, open the heat press. To remove the carrier sheet follow the directions for your HTV. The instructions should tell you if your HTV is a warm or cold peel.
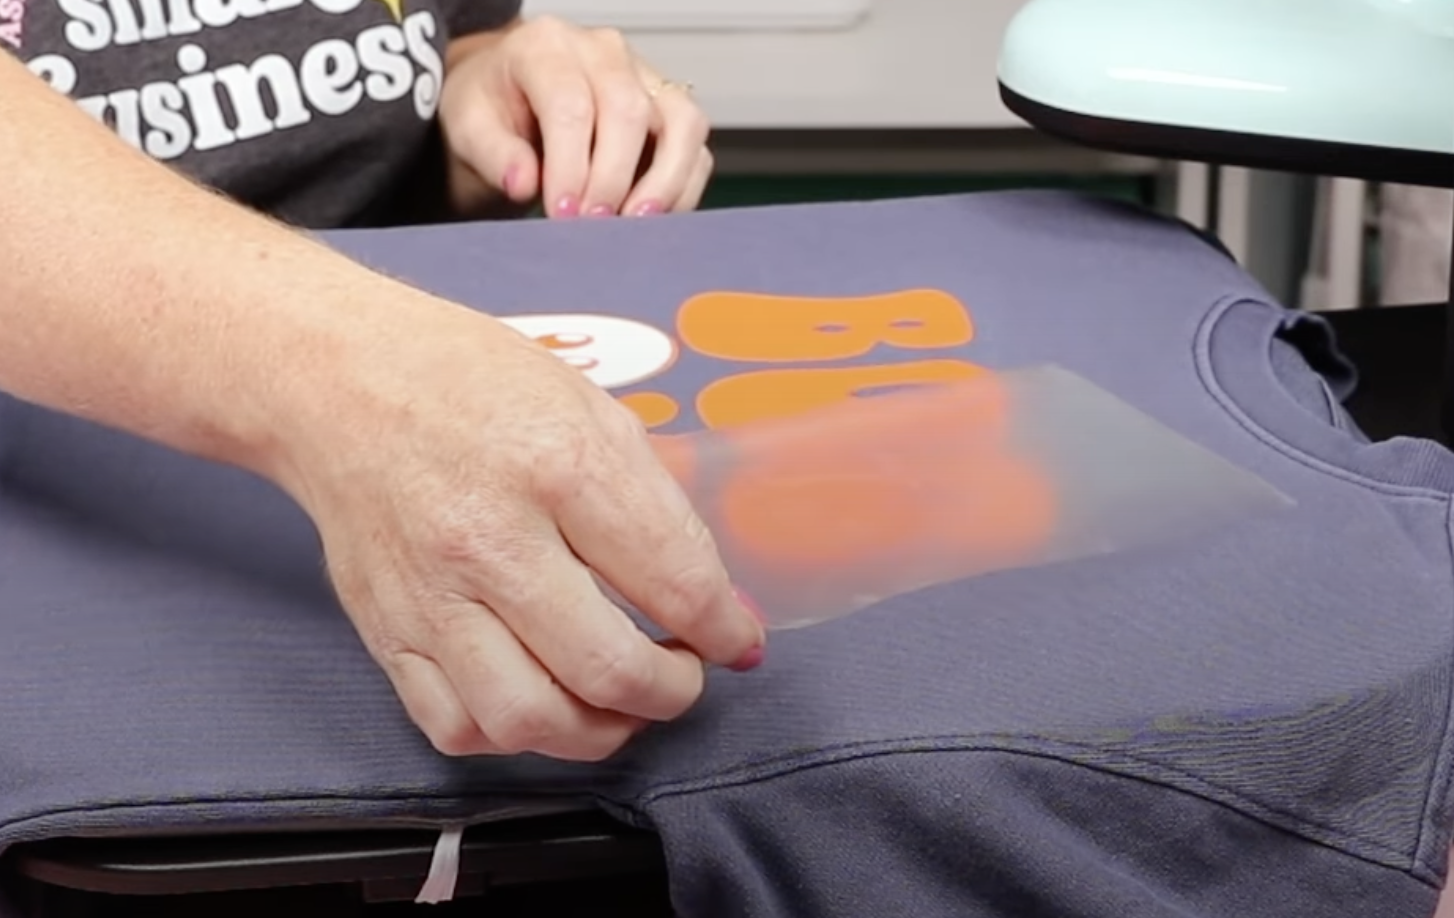
Gently peel back the carrier sheet making sure the HTV is stuck down. Even with a warm peel allow the HTV to cool for at least a few seconds so the adhesive can bond to the fabric.
The HTVront swing away heat press worked perfectly with HTV.
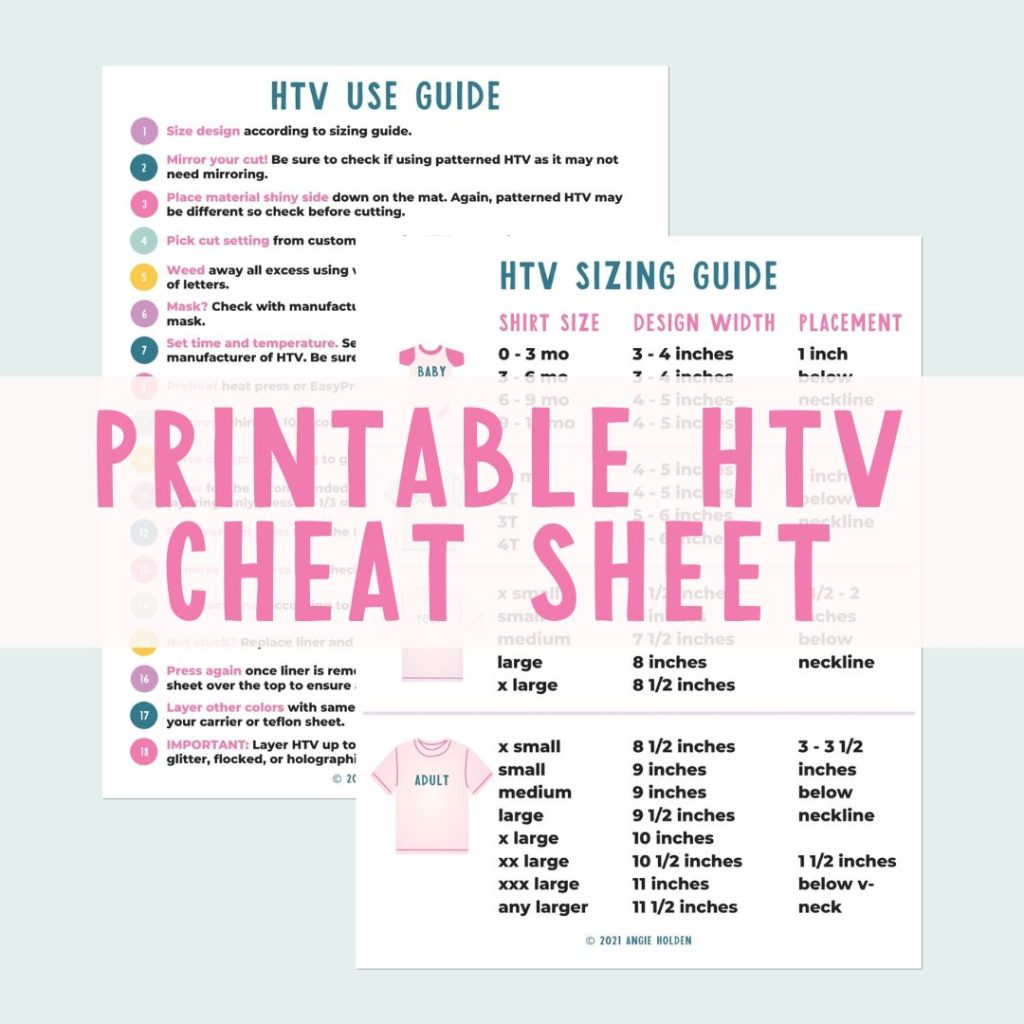
Free HTV Cheat Sheet
Get your FREE Printable HTV Cheat Sheet now! This guide has sizing and position recommendations for infant through adult shirts as well as a handy HTV use guide. Print this double sided guide and put it by any heat press you own!
Making a Sublimation Garden Flag
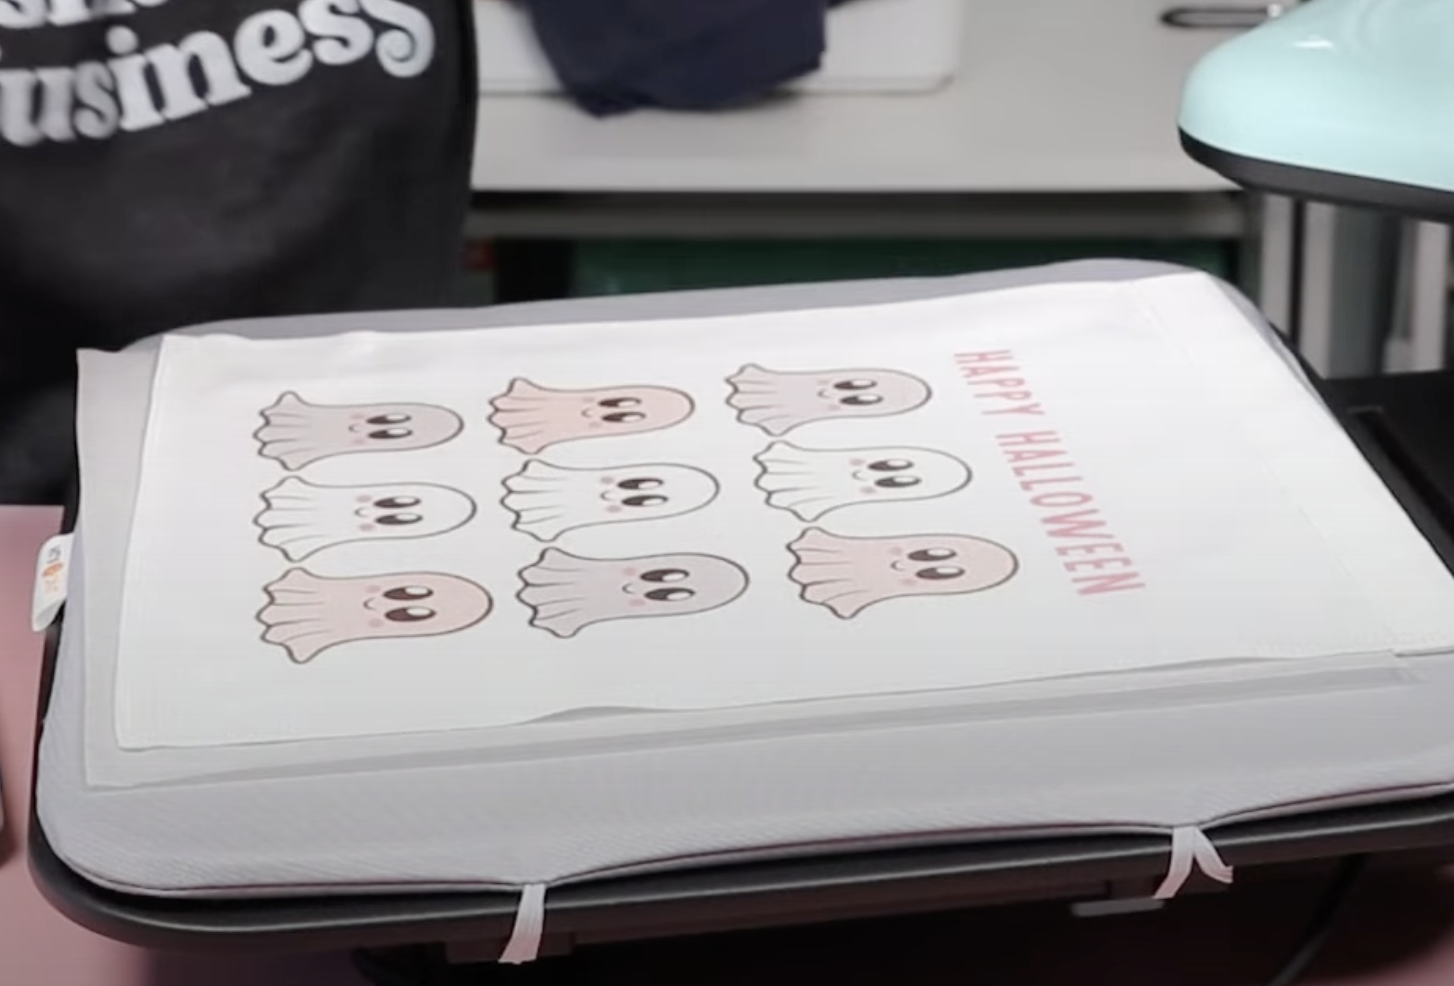
Next, I am going to test this press with sublimation. The first project is a sublimation garden flag.
Step 1. Preheat Heat Press
For the sublimation garden flag project, I need to set my heat press for 55 seconds at 400 degrees. When the press is up to temperature preheat the garden flag to remove any moisture.
Step 2. Prepare Blanks
Next, we need to lint roll the surface to remove any dust, hair, or other debris. Place a sheet of protective paper under the blank to protect the press from any bleed-through.
Step 3. Locate the Design on the Blank
Locate the sublimation print on the garden flag. Use heat-resistant tape to hold it in place. This is especially important with swing away heat presses, you don’t want the sublimation print to move at any time during the pressing process.
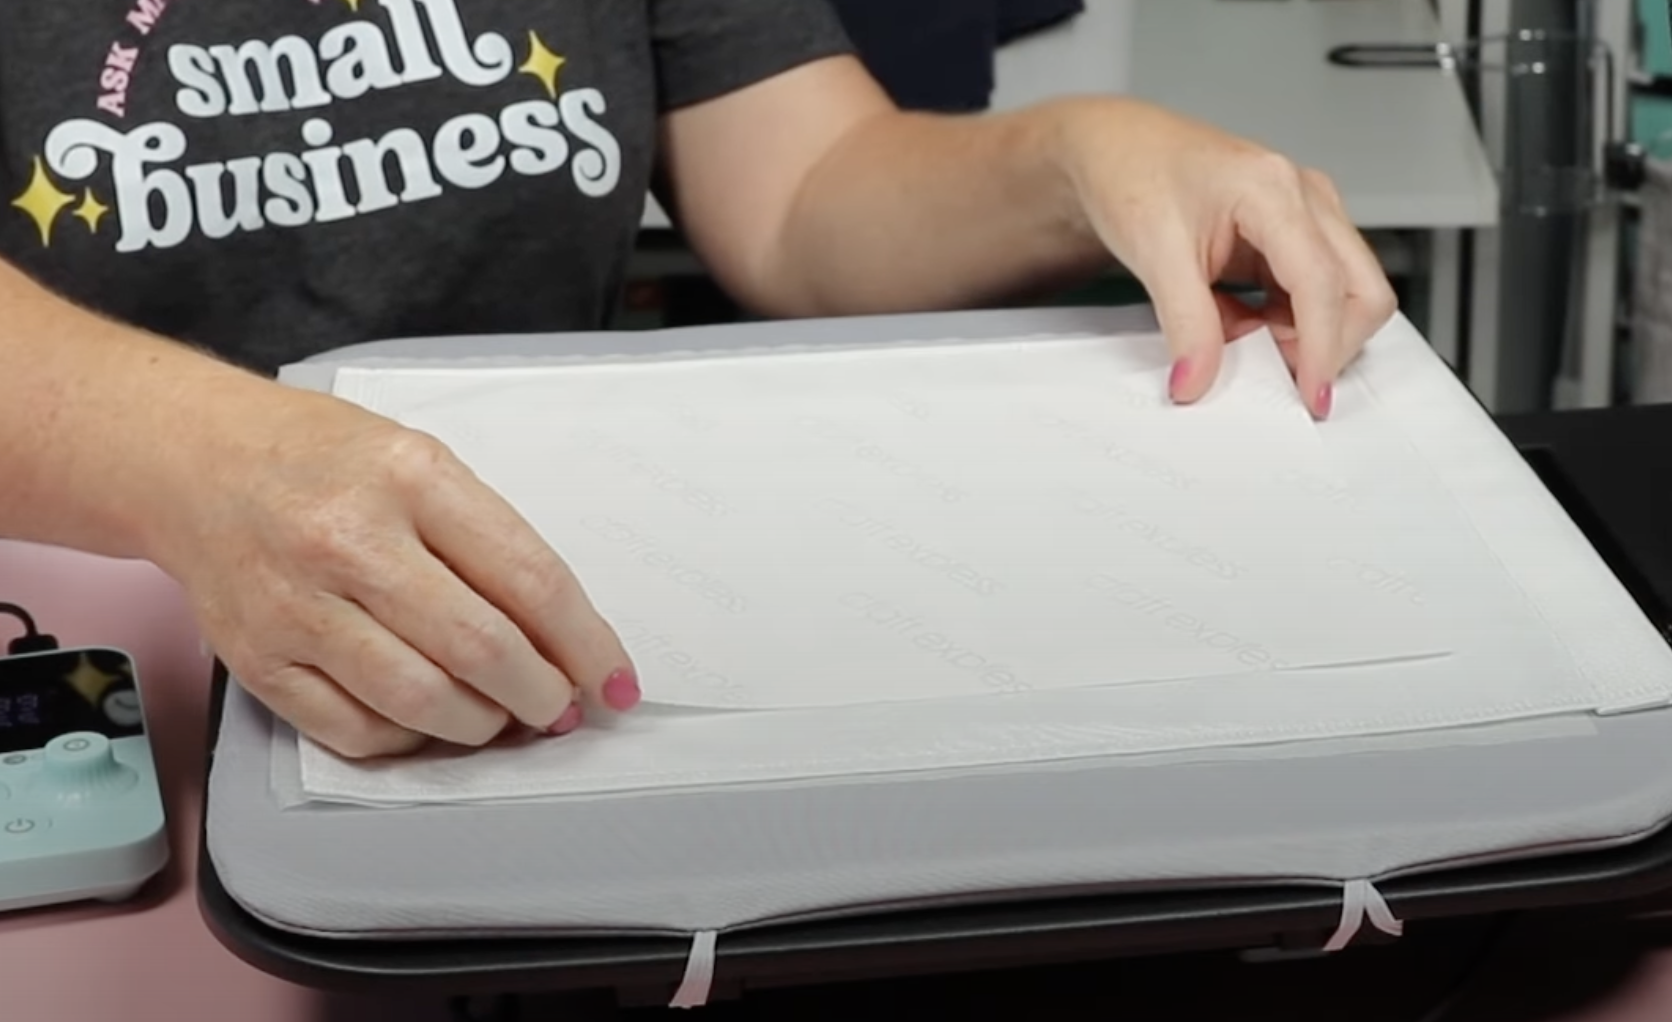
Cover the sublimation print with a sheet of protective paper. Protective paper helps prevent sublimation ink from bleeding through onto areas you don’t want.
Step 4. Press
Close the top and do a long press on the time button to start the timer. When the timer goes off open the press, remember it will not stop or open on its own.
Step 5. Remove Sublimation Print and Reveal Design
Peel back the protective paper and the sublimation print. With sublimation that’s all you have to do. The project is now done.
Making a Sublimation Coaster
Now I wanted to make something that is a bit thicker to see how it would work with this press. I decided to use a sublimation coaster.
Step 1. Adjust Swing Away Heat Press for Sublimation Coaster Blanks
This blank calls for a temperature of 400 degrees and 75 seconds.
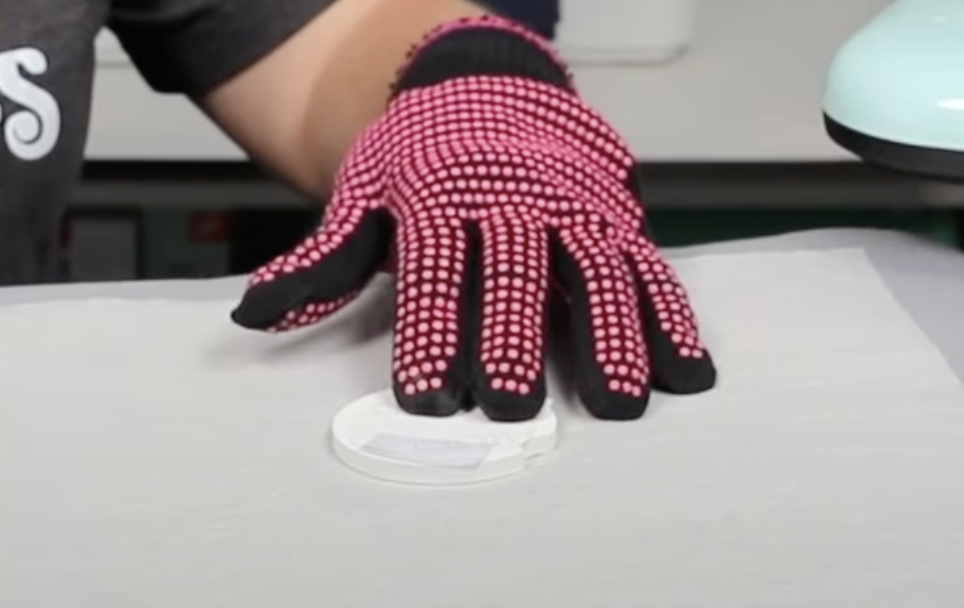
This blank is significantly thicker than both the shirt and the garden flag. I want a nice firm pressure for this blank. Use the knob on the top of the press to adjust the pressure.
Step 2. Prep the Coaster Blank and Press
The preparation process is the same. Preheat, clean the surface, add protective paper below the blank, locate the design, add protective paper to the top, and press.
Step 3: Remove Sublimation Print
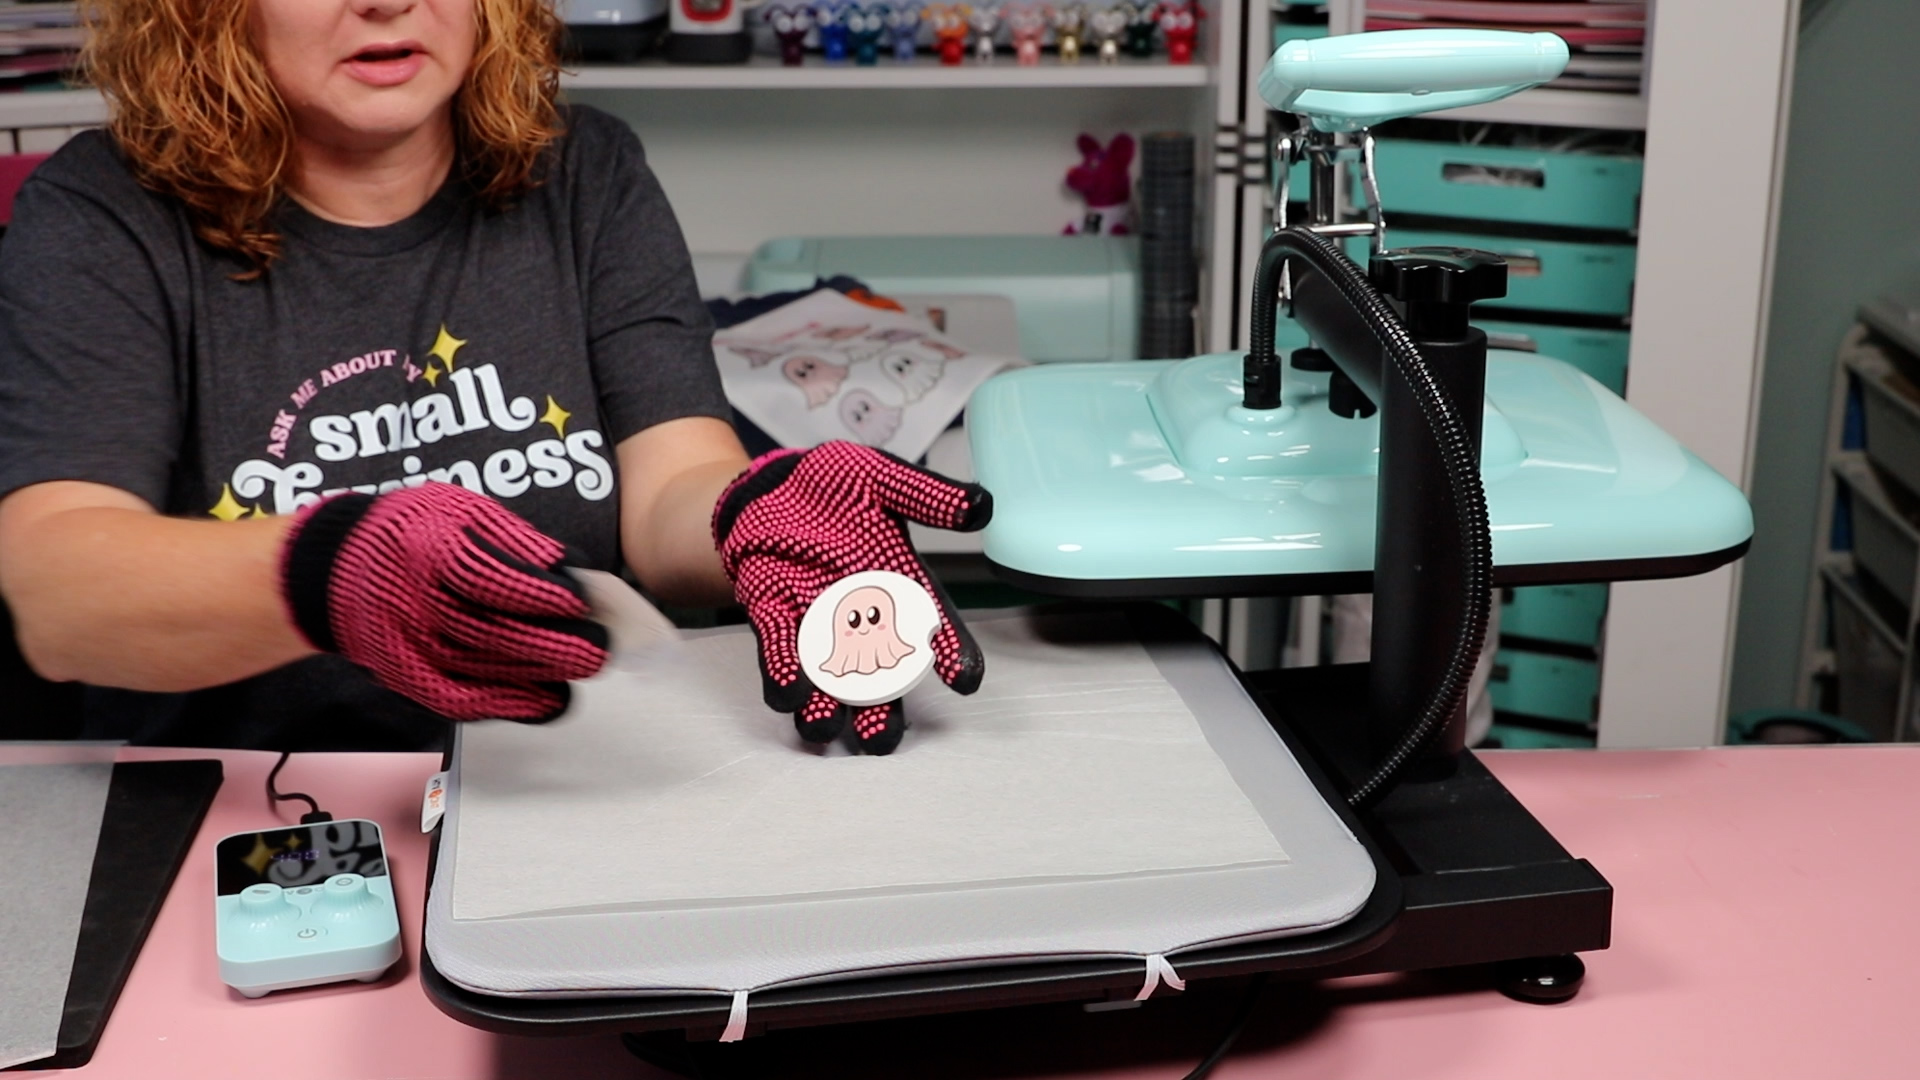
When the time is up, with blanks like these I like to do a quick peek test to see if the design transferred before removing the entire design.
The little sublimation ghost transferred to the coaster beautifully.
Pressing White Toner Prints
A real test of the HTVront swing away heat press will be making a project with a white toner print. White toner prints require heavy consistent pressure.
Step 1. Adjust Heat Press Pressure
Set the press to 300 degrees for 30 seconds.
The pressure needs to be really firm for white toner printing. Adjust the pressure so you get a firm pressure, even when only having the white toner print in the press.
Step 2. Marry Adhesive Paper to the White Toner Print.
To create a project with white toner, you need to marry the adhesive (B paper) to the white toner print (A paper).
The temperature for my materials is 300 degrees, if you’re making other projects make sure you allow the press to cool to the correct temperature.
Preheat the press with it closed so that the bottom pad is warm.
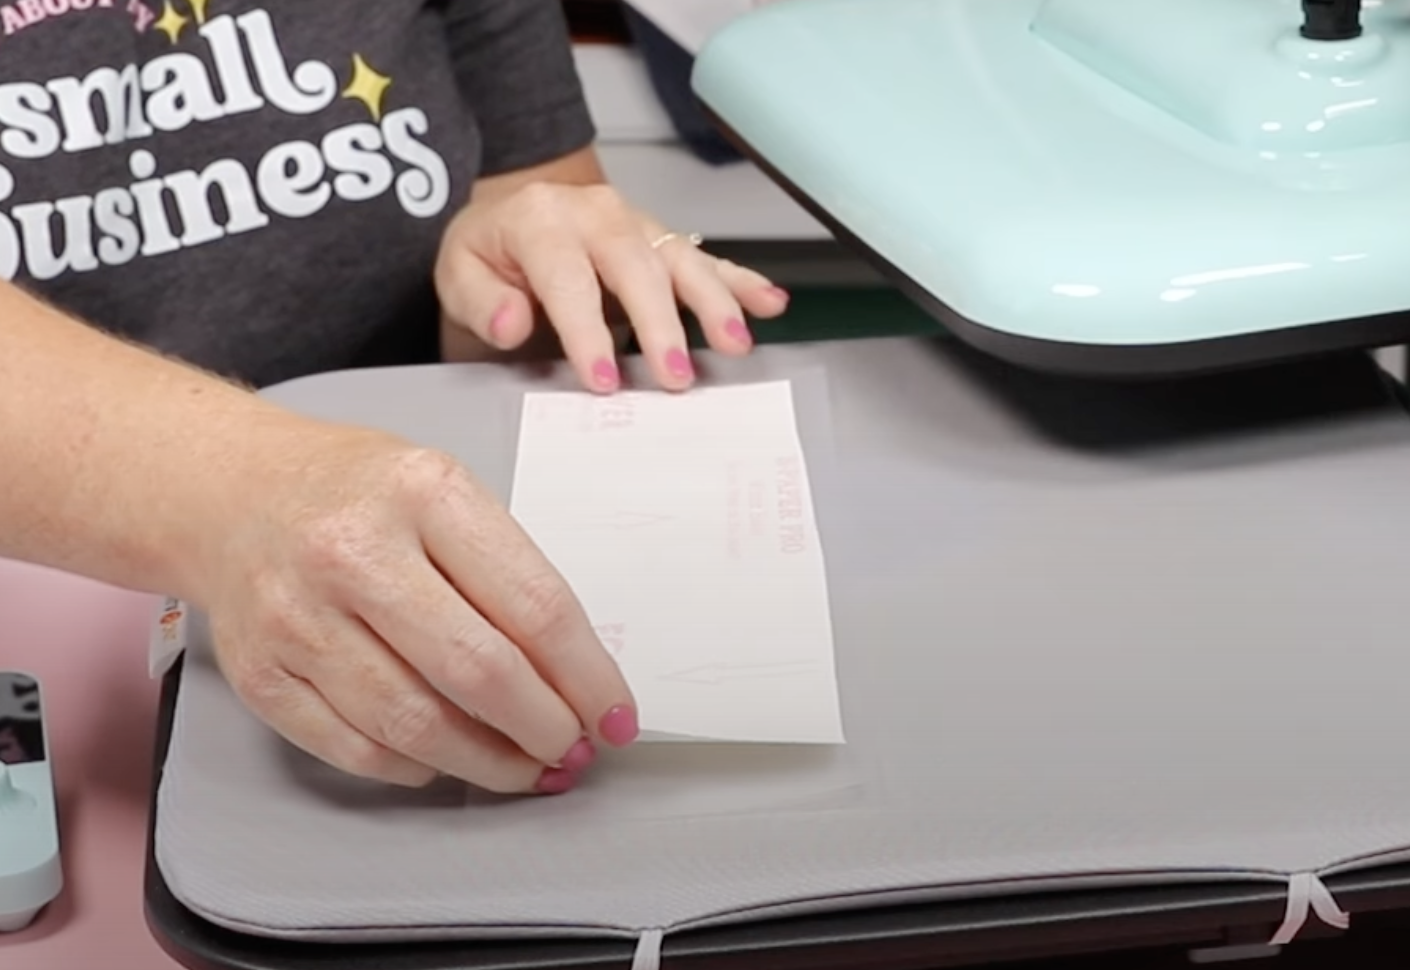
Place the A paper print side up on the heat press. Trim the B paper so it’s a little bit smaller than the A paper and lay it on top, with the liner side up.
Cover with the protective paper that comes with it and press at 300 degrees for 90 seconds. Long press the time button to start the countdown.
Step 3. Peel Back B Paper
When the time is up, open the press and move the top out of the way.
Without removing the print from the heat press peel back the B paper. We need the materials to stay hot during this process.
You will be able to tell if the adhesive sticks to the print by looking at the B paper. Mine stuck well.
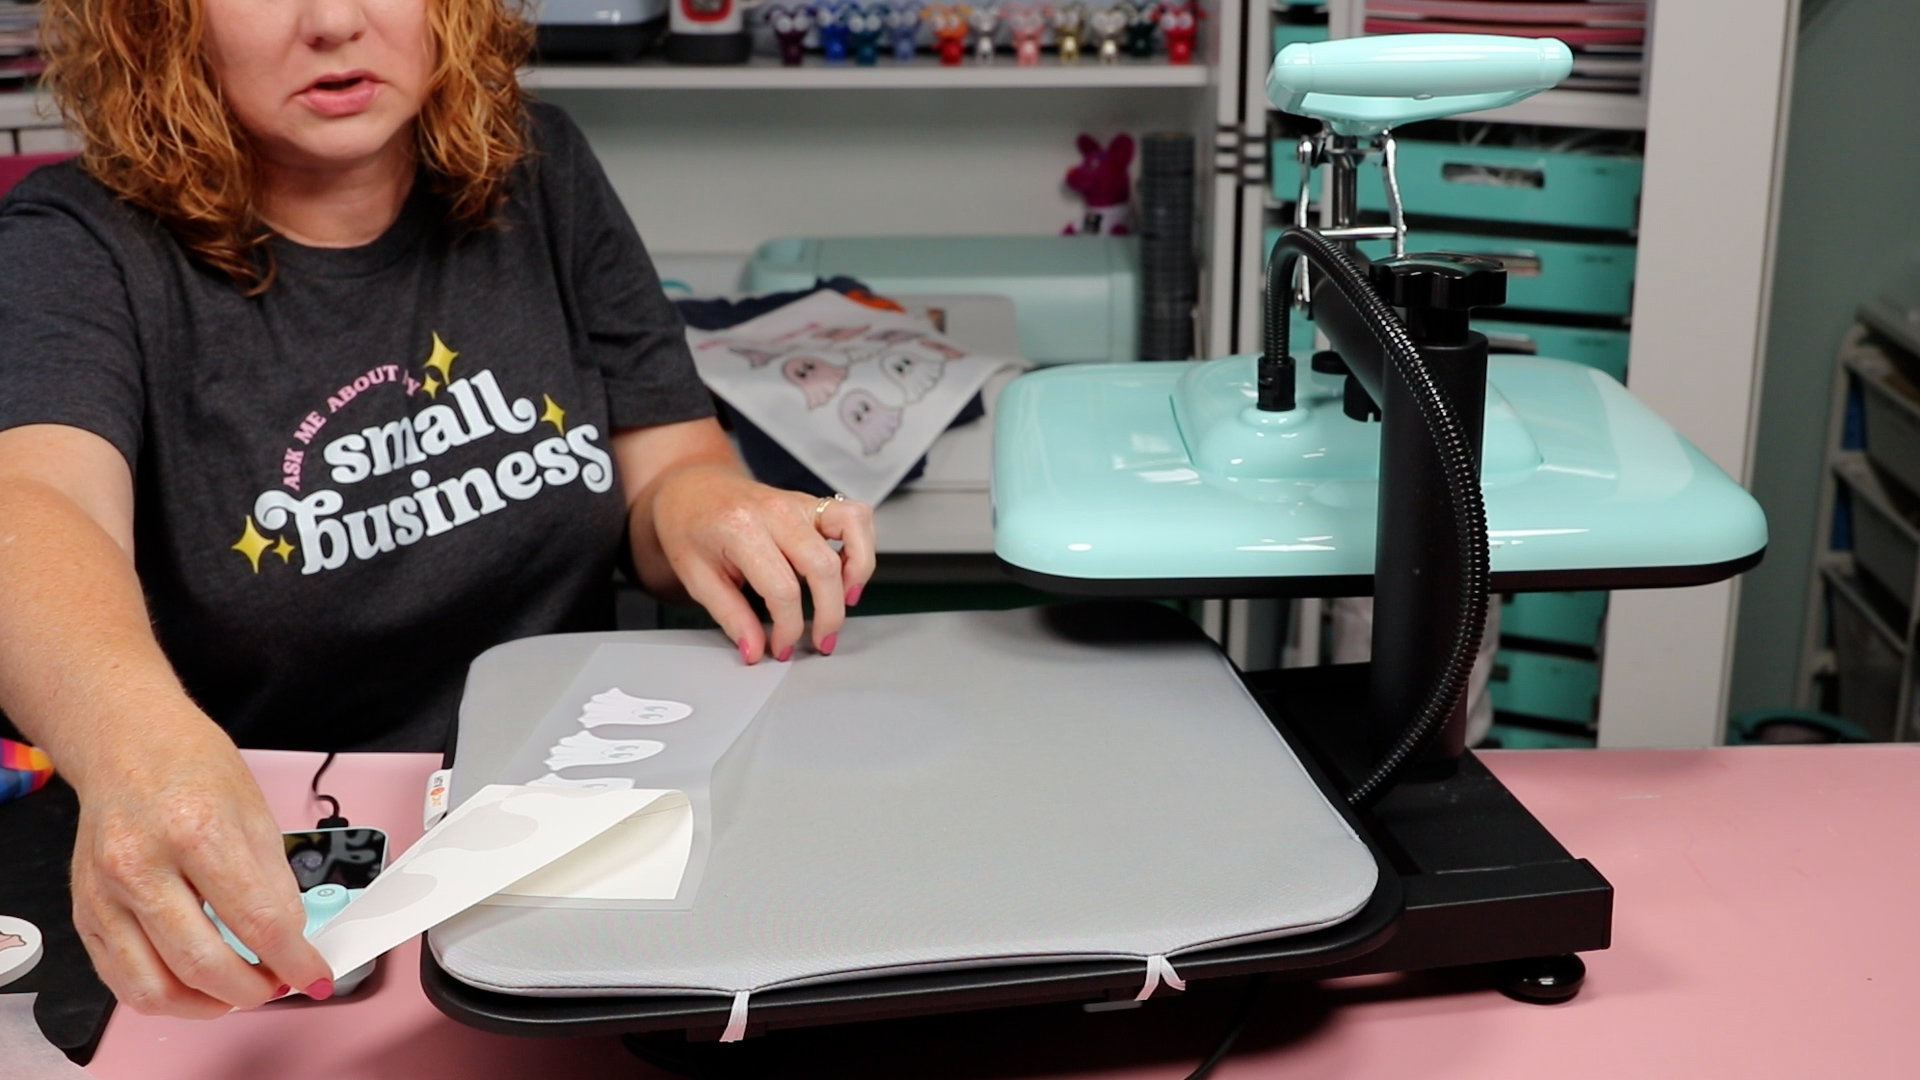
Trim around the print, the edges of the B paper can leave a residue around the print and that will transfer to your blank.
Step 4. Prepare the Blank
Preheat the shirt to remove any moisture and wrinkles. This will also help pre-shrink the fabric so it won’t shrink around the design.
Lint roll the surface to remove any debris so there is nothing between the adhesive and the shirt.
Step 5. Locate the Design on the Blank
Locate the design where you want it on the shirt and secure it in place with a couple of pieces of heat-resistant tape. You don’t want the print to move during the pressing process.
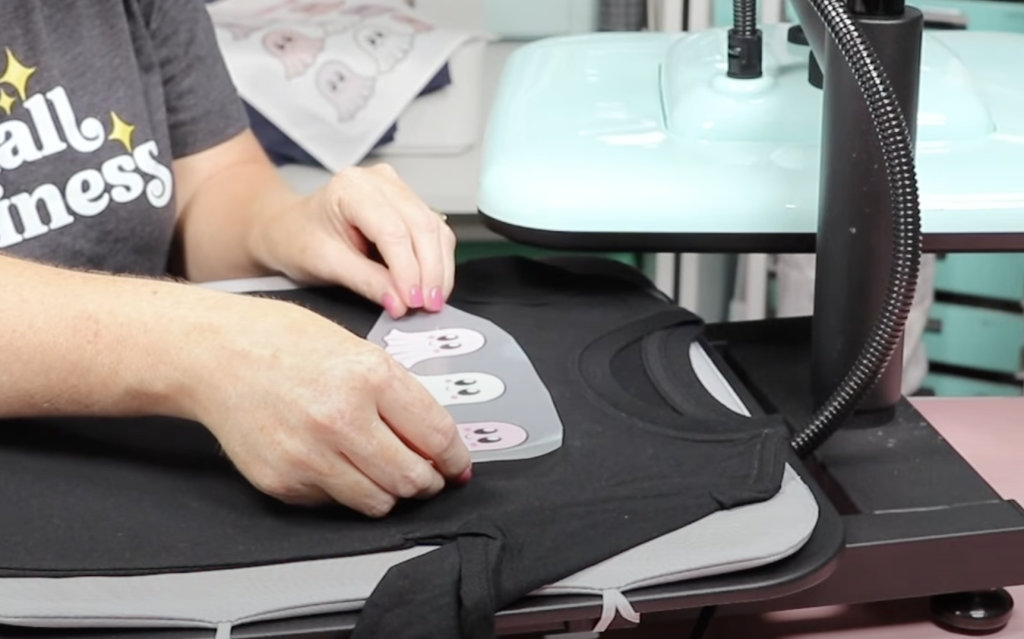
Cover the print with the protective paper and double-check that you have the press adjusted for heavy pressure.
Step 6. Press the Design onto the Shirt
Close the press, applying as much pressure as you can to the shirt, and press for the full 30 seconds.
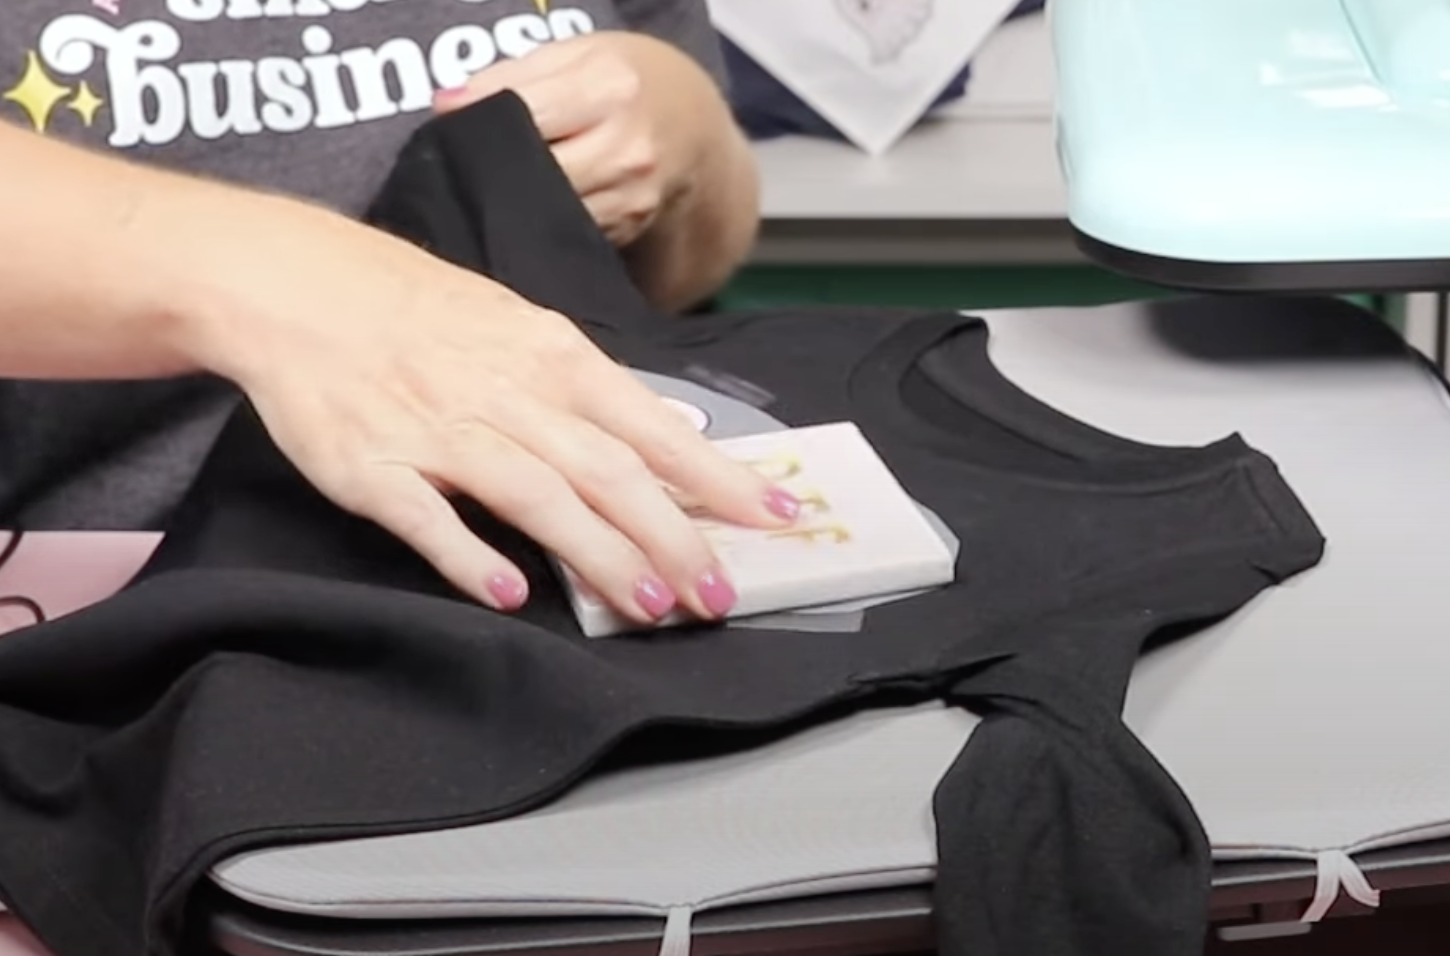
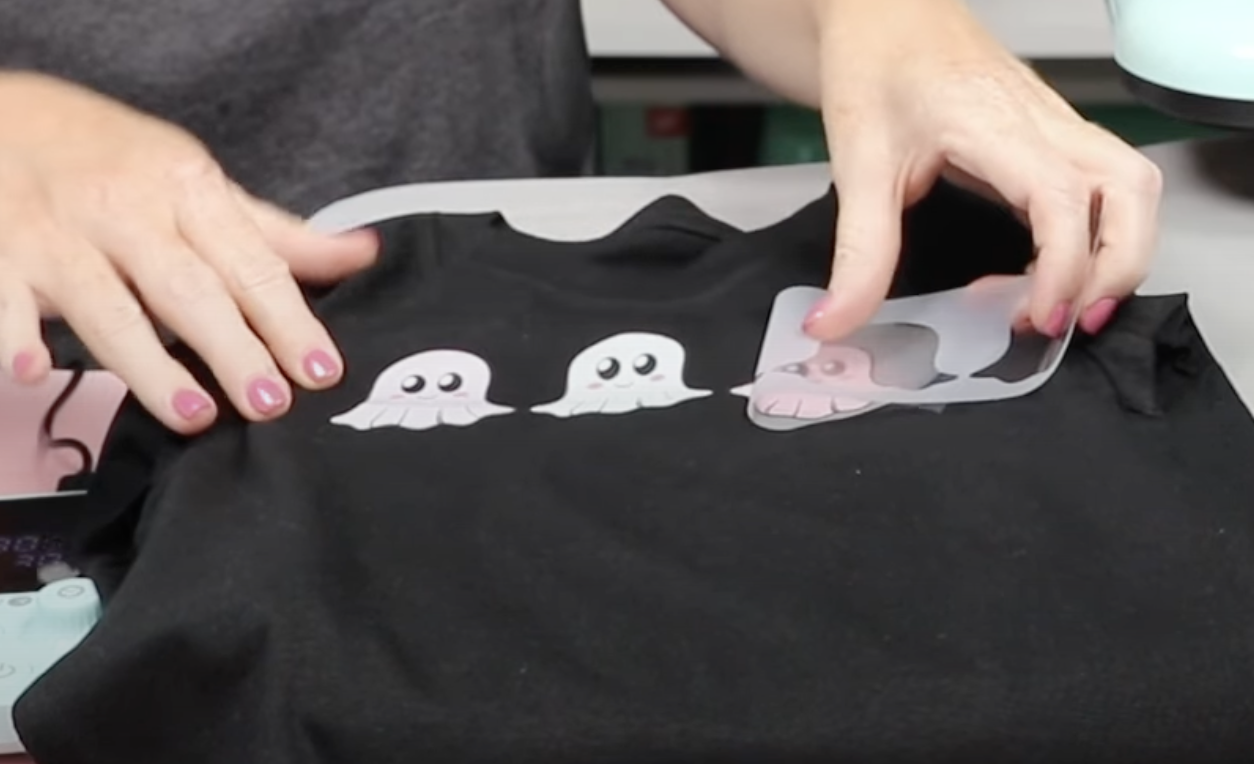
When the time is up, remove the shirt from the press and allow it to cool completely before removing the top sheet. My ghosts all stuck perfectly.
Step 7. Post Press
With white toner printing, you need to post-press the design to give it a matte finish and increase its durability so it will last longer.
I use a TSeal sheet over the print for the post-press. The post-press time and temperature are the same as the first press.
When the time is up, allow everything to cool for a few seconds and remove the TSeal sheet.
This press worked really well with the white toner prints.
Project Results
I was successful with all of the projects I made with this manual swing away press.
The layered HTV shirt turned out perfectly. Both the sublimation garden flag and car coaster turned out even though they are different thicknesses.
As I mentioned, white toner projects require heavy, consistent pressure and this press did a great job on that project too.
HTVront Manual Swing Away Heat Press Pros and Cons
Now that I’ve made a variety of projects I’m going to talk about the pros and cons of this heat press.
HTVront Swing Away Heat Press Pros
- Worked well with different materials.
- Great value for the price.
- Adjustable pressure (including heavy pressure).
- A firm pressing pad is included.
- Easy to use.
- Comes fully assembled.
- Easy to read and adjust dials.
Note: I was able to apply heavy pressure for the white toner print and had success. I do not think this press applies enough pressure for blanks like slate sublimation tiles.
HTVront Swing Away Heat Press Cons
- Swing Away, I don’t like how much room they take up.
- Safety issues with the heat plate swinging away from the base.
- Having to press the timer to start the clock every time I close the press.
- The controller is not wireless, you have to keep it close to the press.
HTVront Swing Away Heat Press Review
While I am not a fan of swing away heat presses for my space, I think this is a great value for the money. It performed well with all the materials I used today.
I like this press better than the HTVront auto press. That press doesn’t open very wide and working in that limited space was difficult. I also like that I can adjust the pressure on this press which you can’t do with the auto press.
If you’re looking for a professional press for a business, this may not be the right press for you. I do think it hits all the marks for a beginner press, as long as you have room for the swing away arm.
Because this is a manual press you need to stay by it to open and close it. If that is a concern or you have hand strength issues, you may need to look into an auto open/close press.
Where to Buy this Press
You can get this press on Amazon by clicking here. I find that HTVront products are of a really good quality overall and you can contact them if you have issues.
I hope I’ve answered any questions you have about the HTVront swing away heat press. If you have any additional questions, leave them in the comments and I’ll be happy to answer them for you.
