
Today I’m going to show you how to locate designs on an xTool laser perfectly. If you’ve ever noticed there is no camera inside your xTool laser, you may wonder how you’ll locate the designs on your blank.
I’m going to walk you through the process so you can see exactly how to locate your design for beautiful finished products.
Are you trying to decide what laser is right for your crafting needs? My Laser-Ready course is a great place to start!
This process works with all the xTool lasers. I promise you’re going to love how well it locates your design.
You can watch me walk you through the entire process by pressing play on the video below.
How to Locate Designs on an xTool Laser
I am using the xTool S1 for today’s example. The process is the same for other xTool lasers.
Supplies Used:
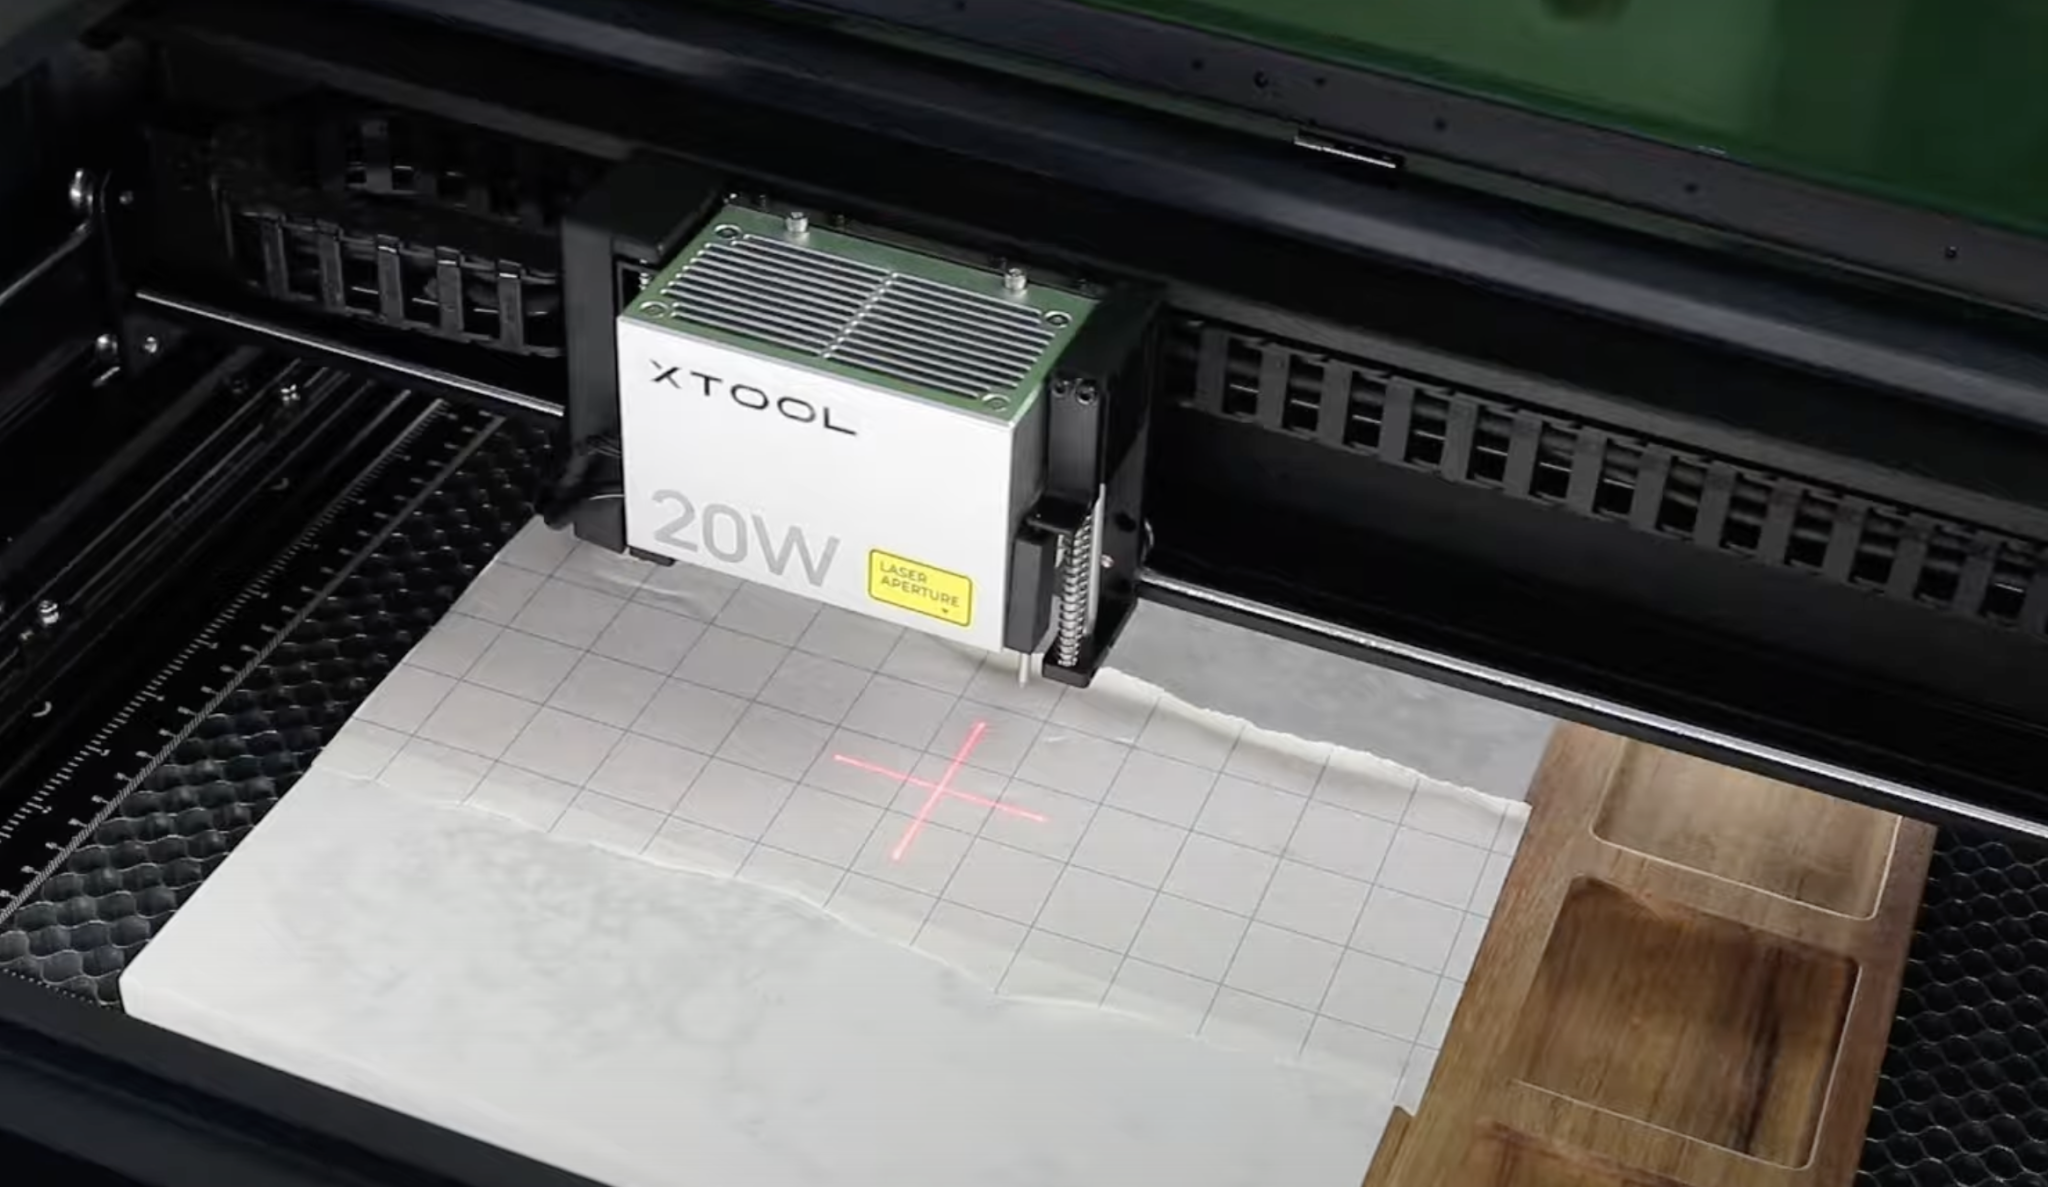
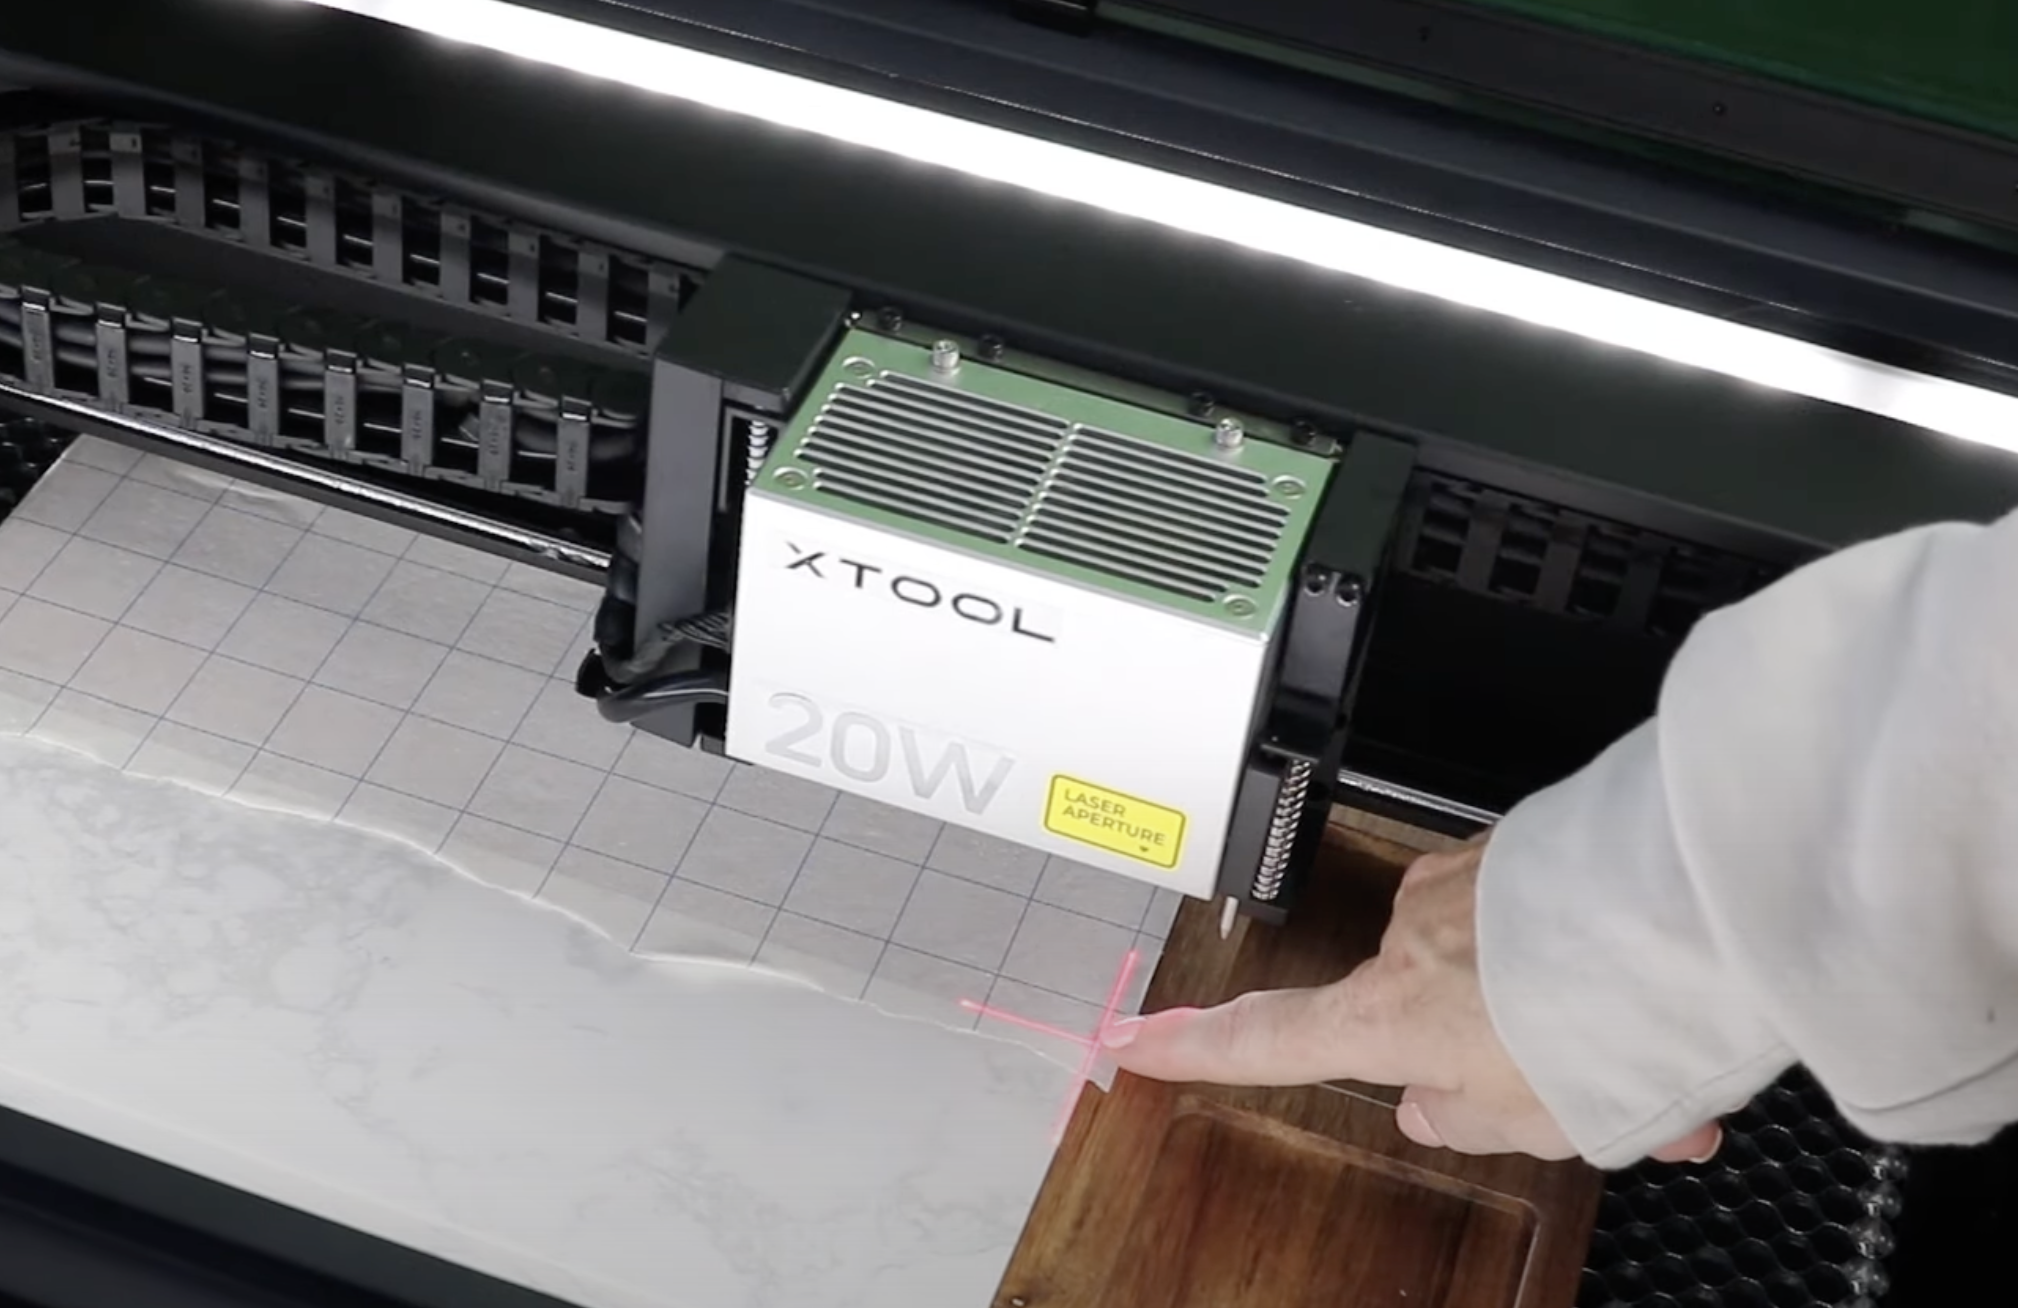
Step 1. Place Blank Inside xTool Laser
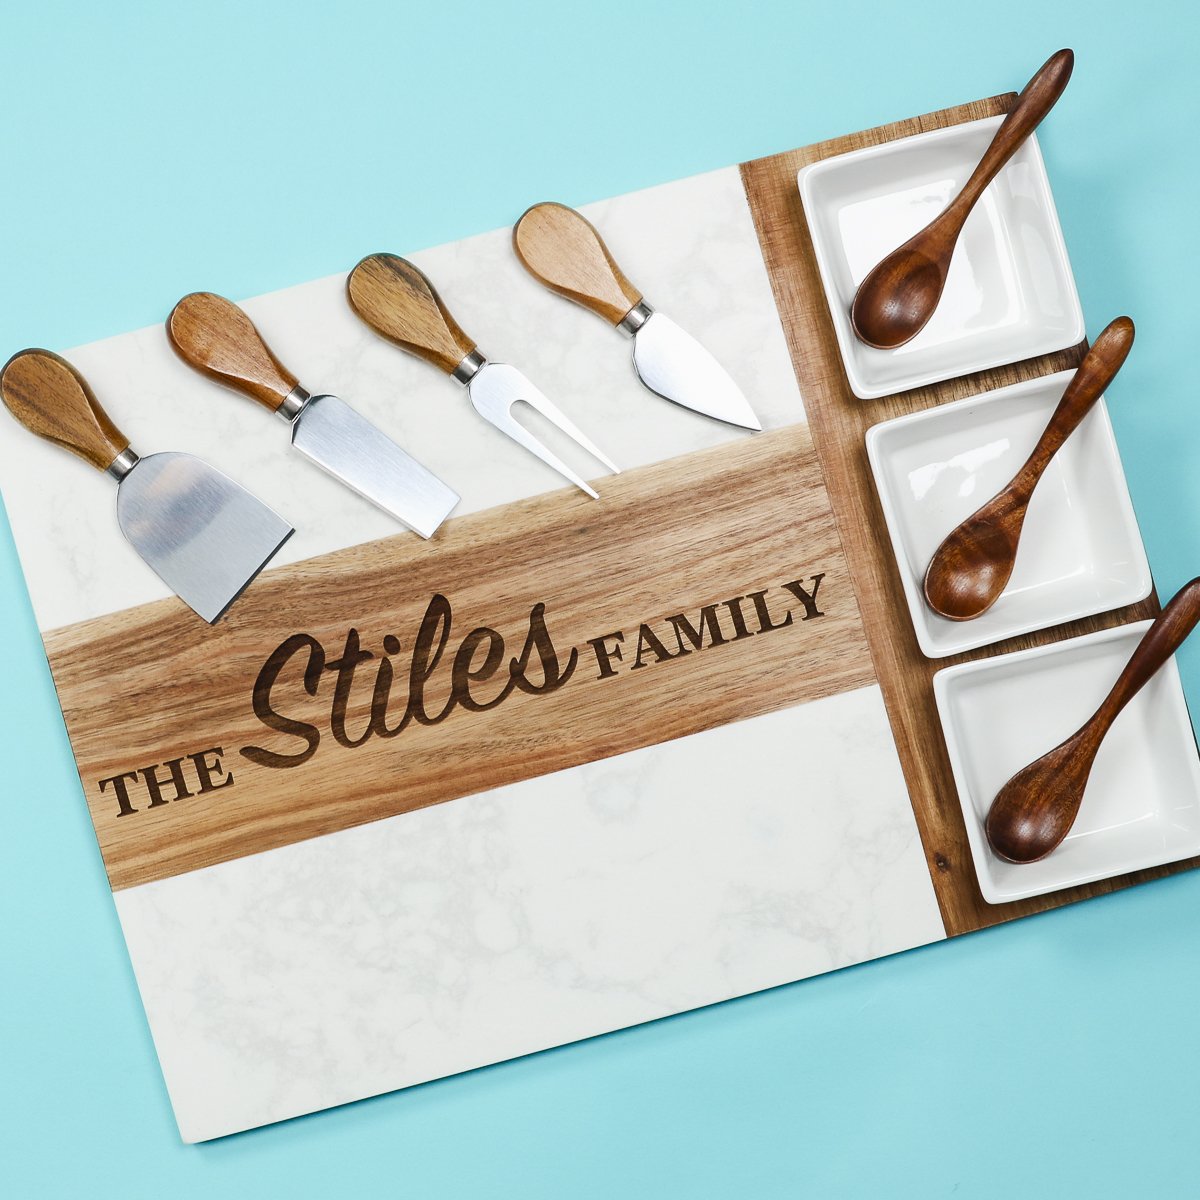
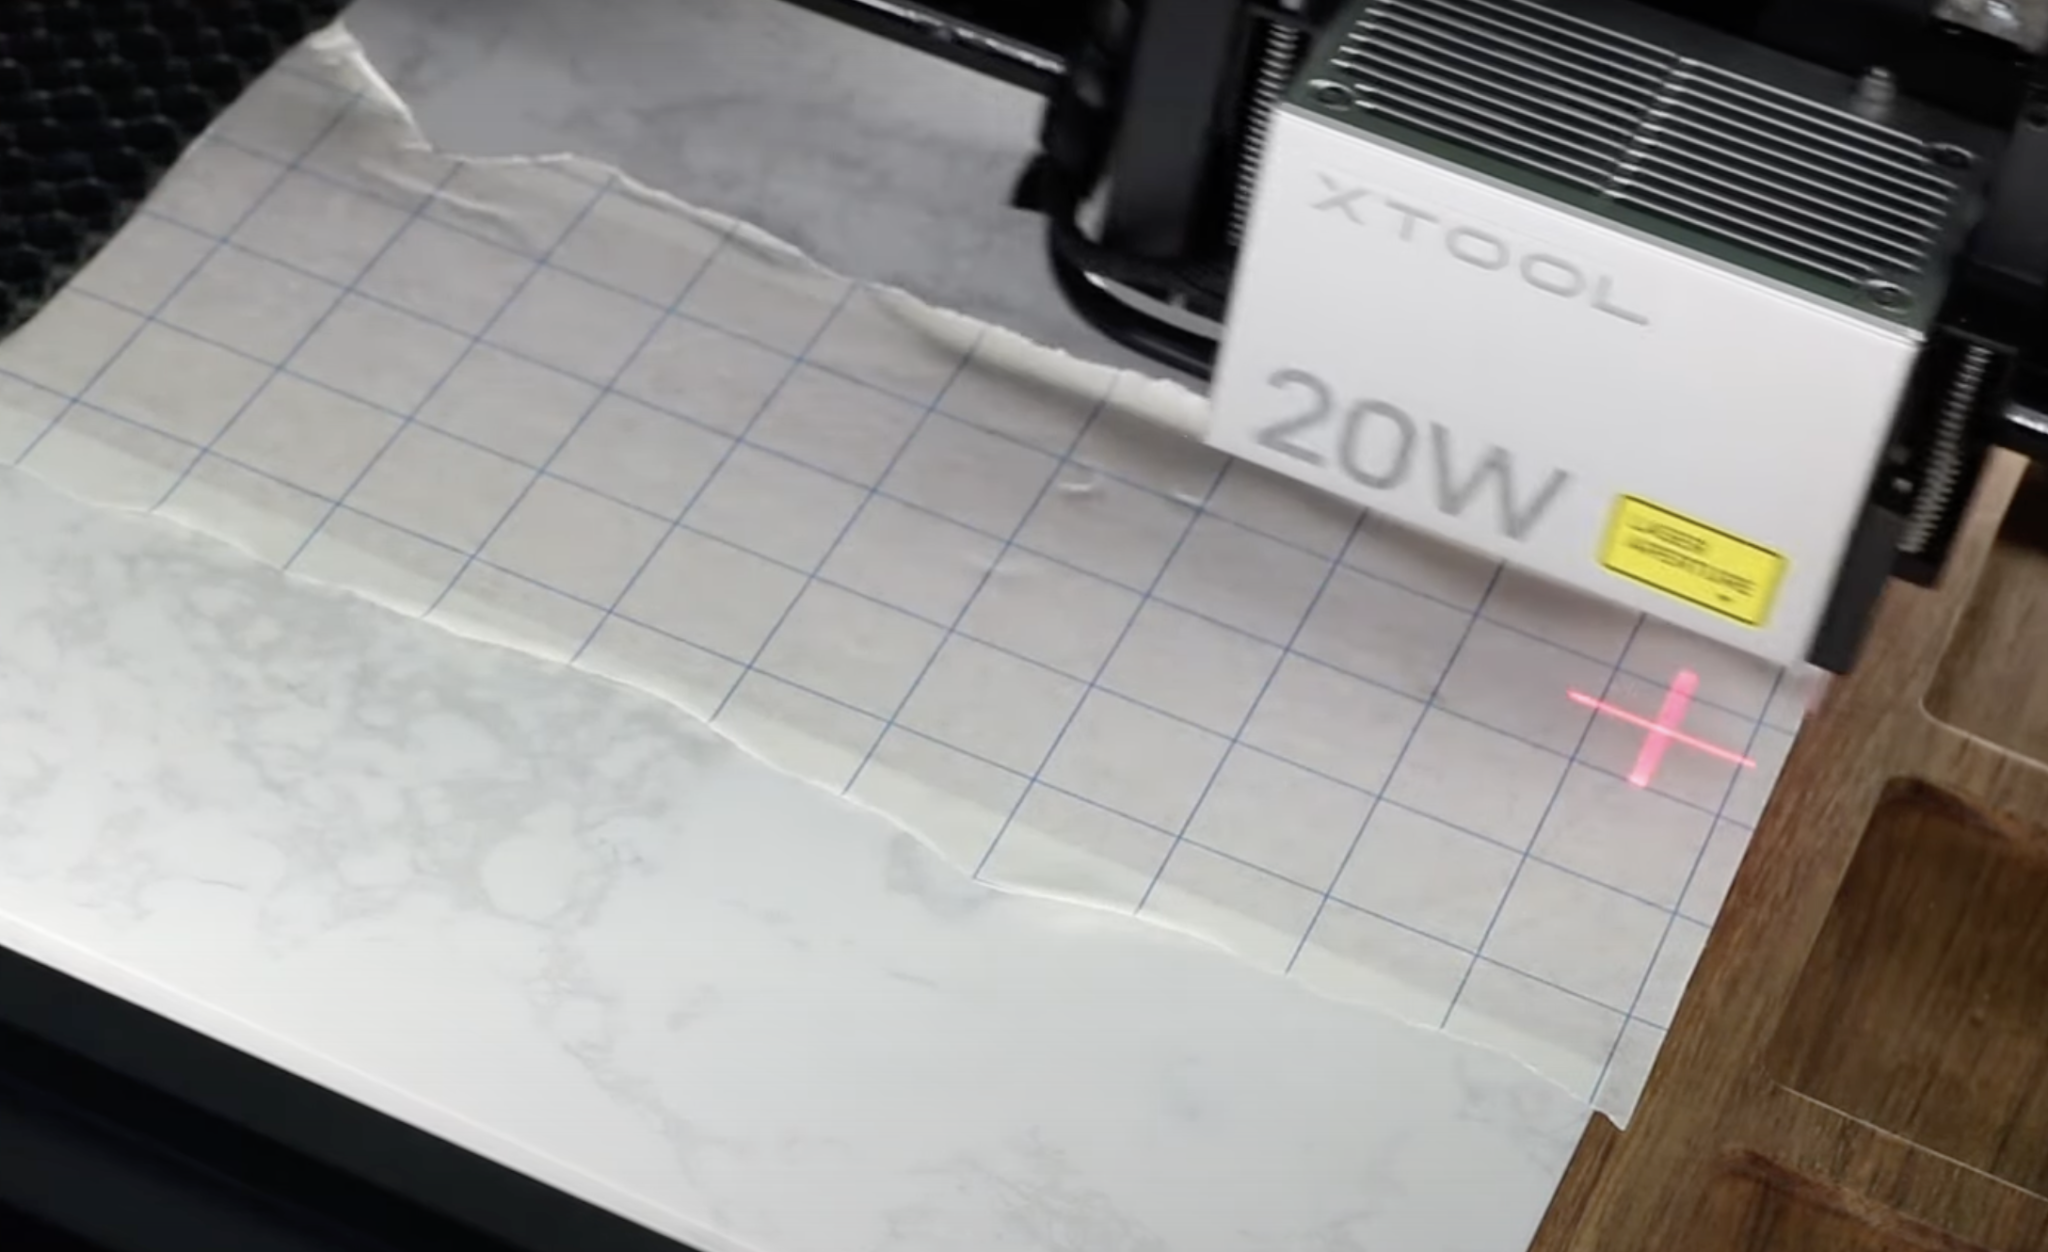
To locate the design correctly, we’ll begin by adding the blank into the laser. I am using a cheese board for my example today. I did go ahead and mask the section of the board I want to engrave.
Also, I have the honeycomb tray installed in my xTool S1. Place the board in the middle of the laser bed and make sure it is straight.
Step 2. Measure the Material Thickness
With the blank inside the laser, we want to begin by measuring the thickness of the material.
Move the laser head to the middle of the area you want to engrave and click Auto Measure. The laser head will then measure the material thickness.
Step 3. Set the Processing Area
Now we’re ready to mark the processing area.
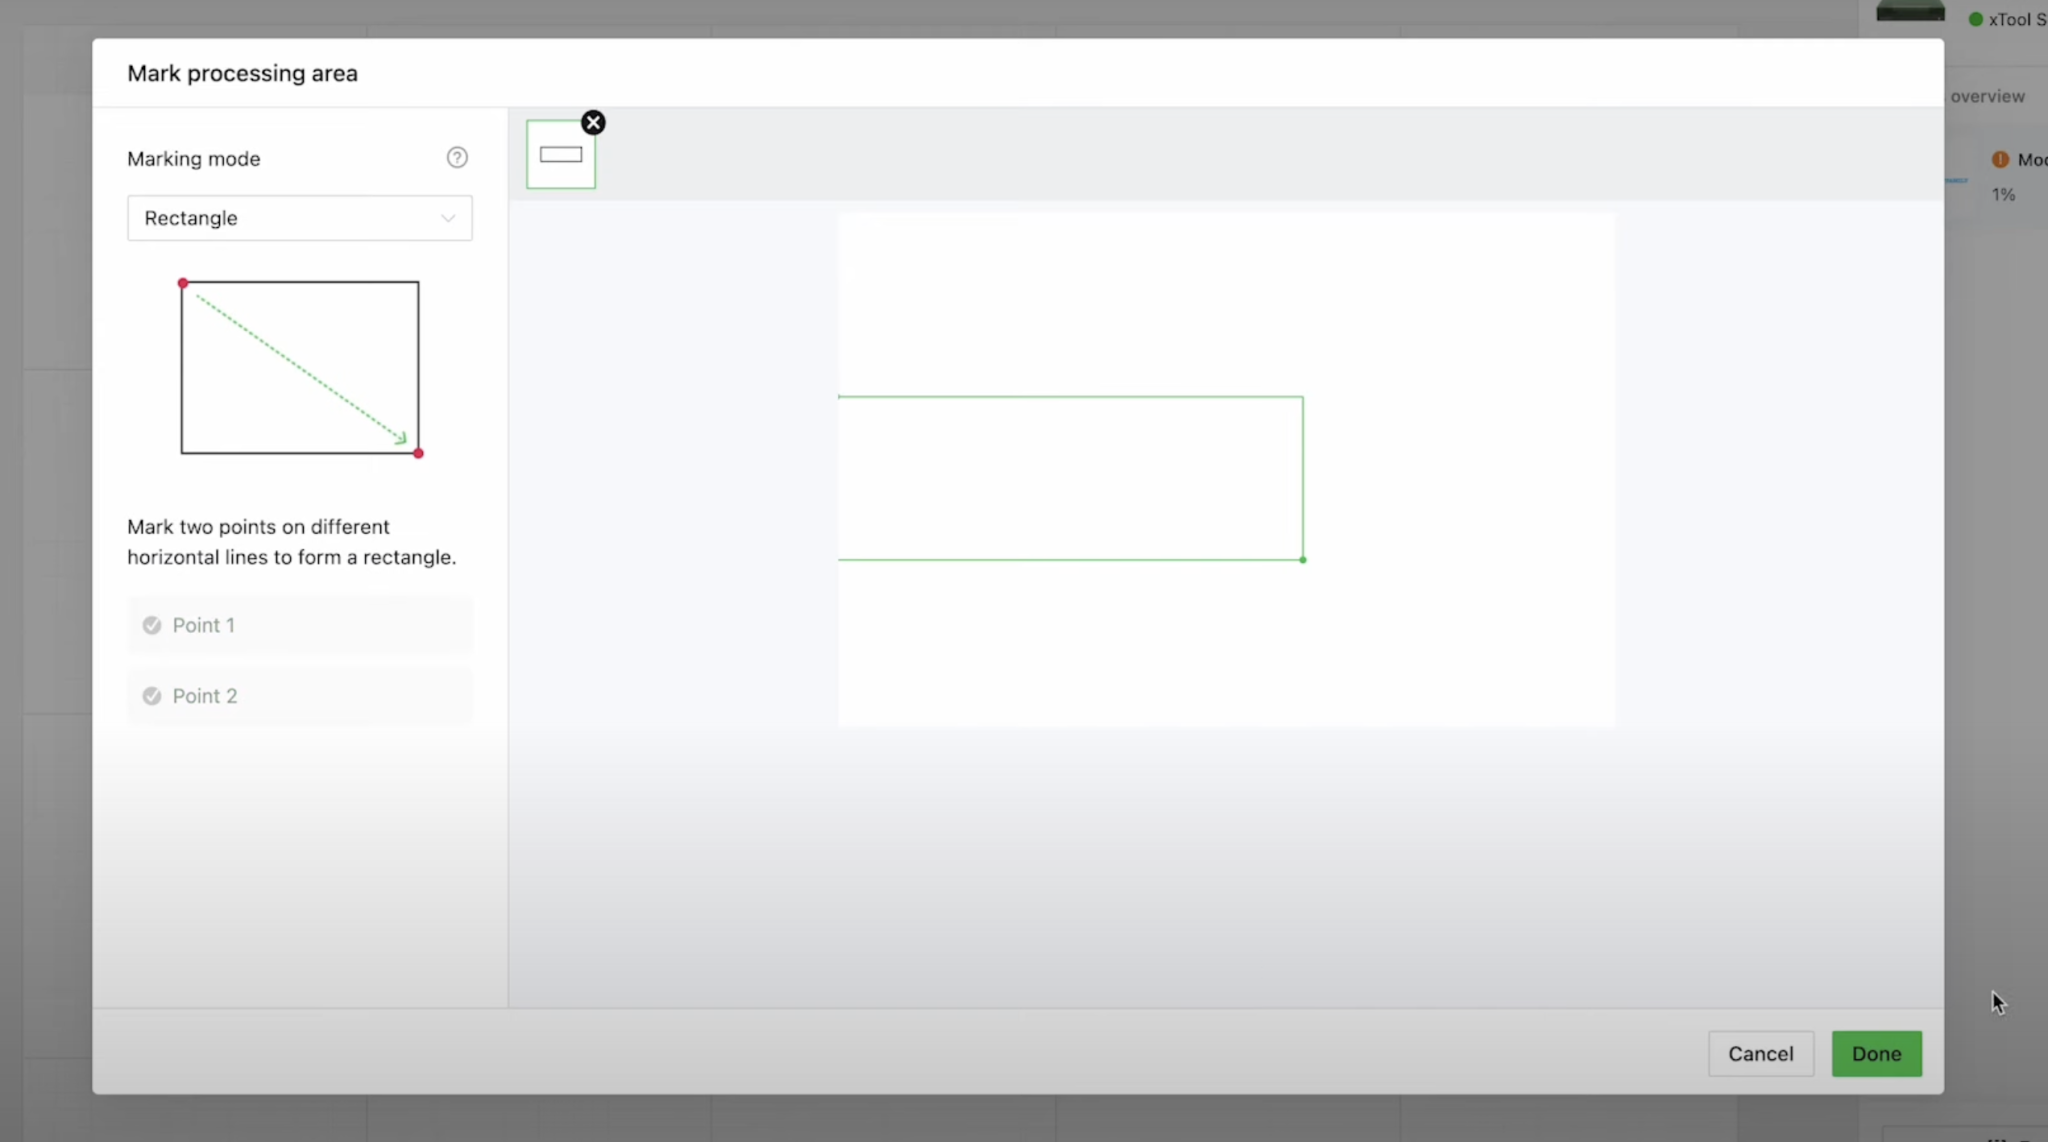
Click Mark the Processing Area in xTool Creative Space and then select Rectangle and Start Marking. Follow the directions on the screen for the shape you’re marking.
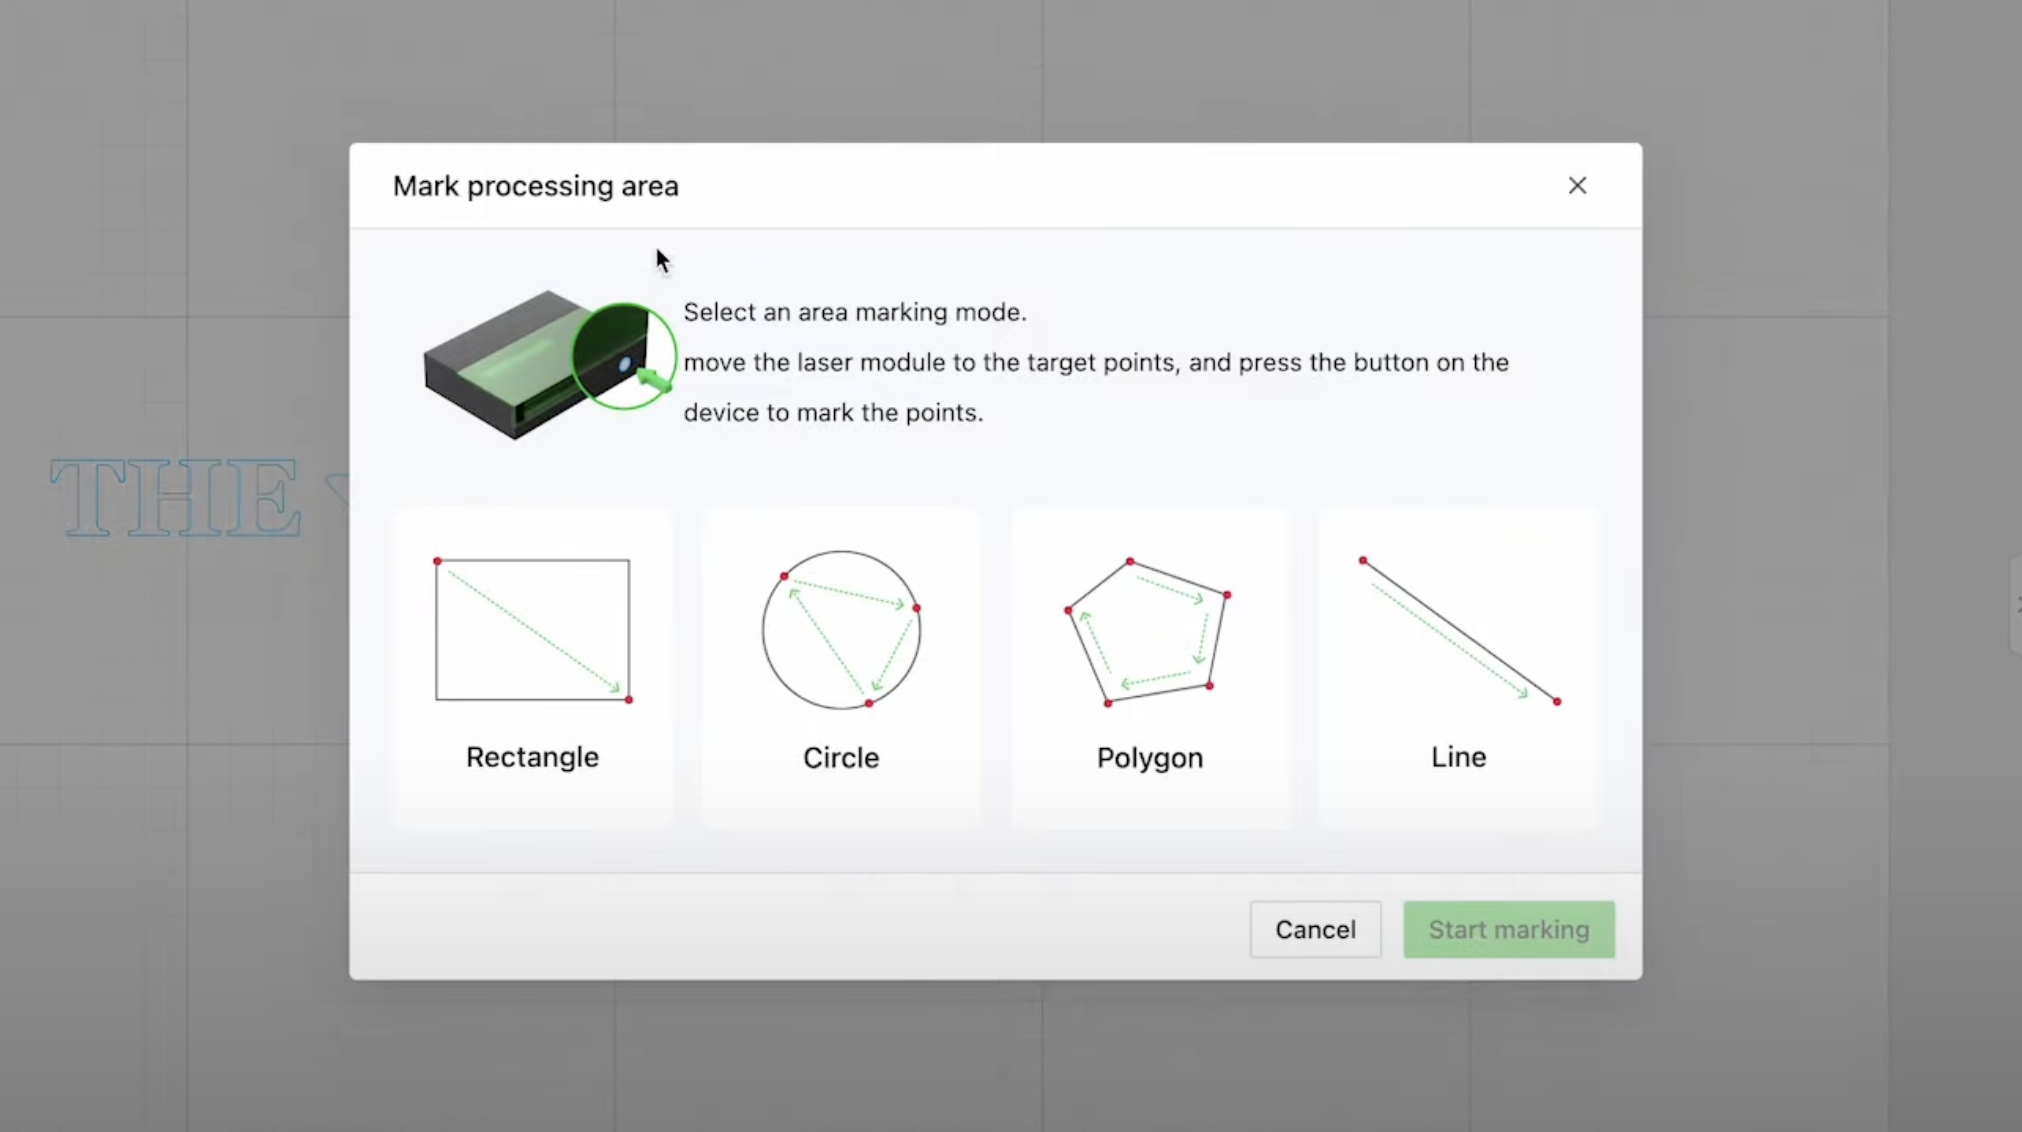
Begin by moving the laser head so the crosshairs are lined up with the edge of the processing area. Click the button on the front of the laser and it will mark that location.
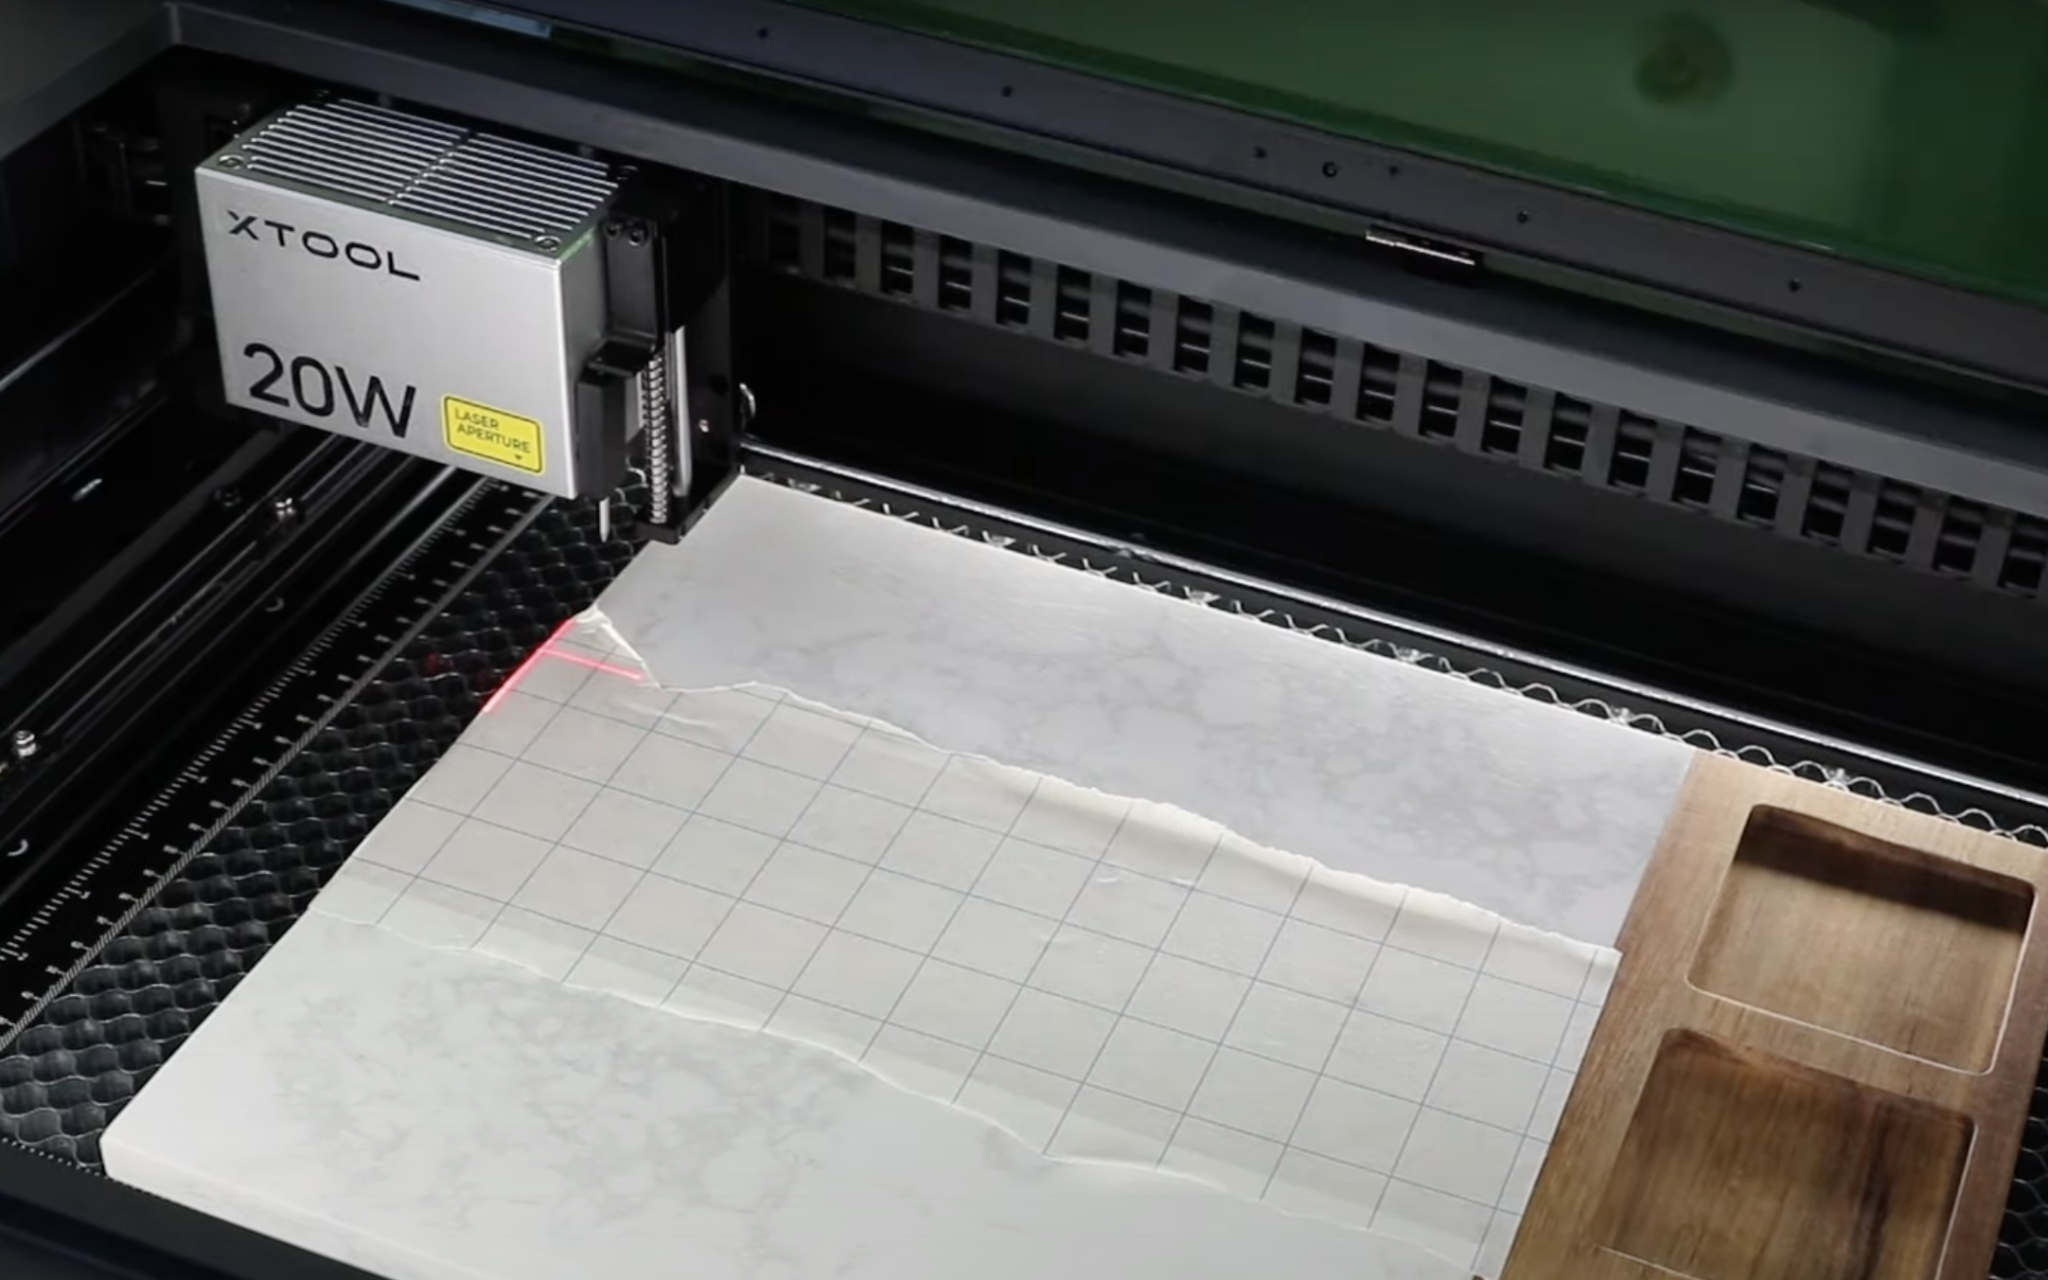
Move the laser head again so the crosshairs line up with where you want the processing area to end. Press the button on the front of the laser again to mark that location.
Because my shape is a rectangle I am marking the first location on the top left and the second location on the bottom right.
Click End Marking and Done and you’ll see the rectangle within xTool Creative Space. This shape is the exact size of the processing area.
Step 4. Resize Design to Fit Blank
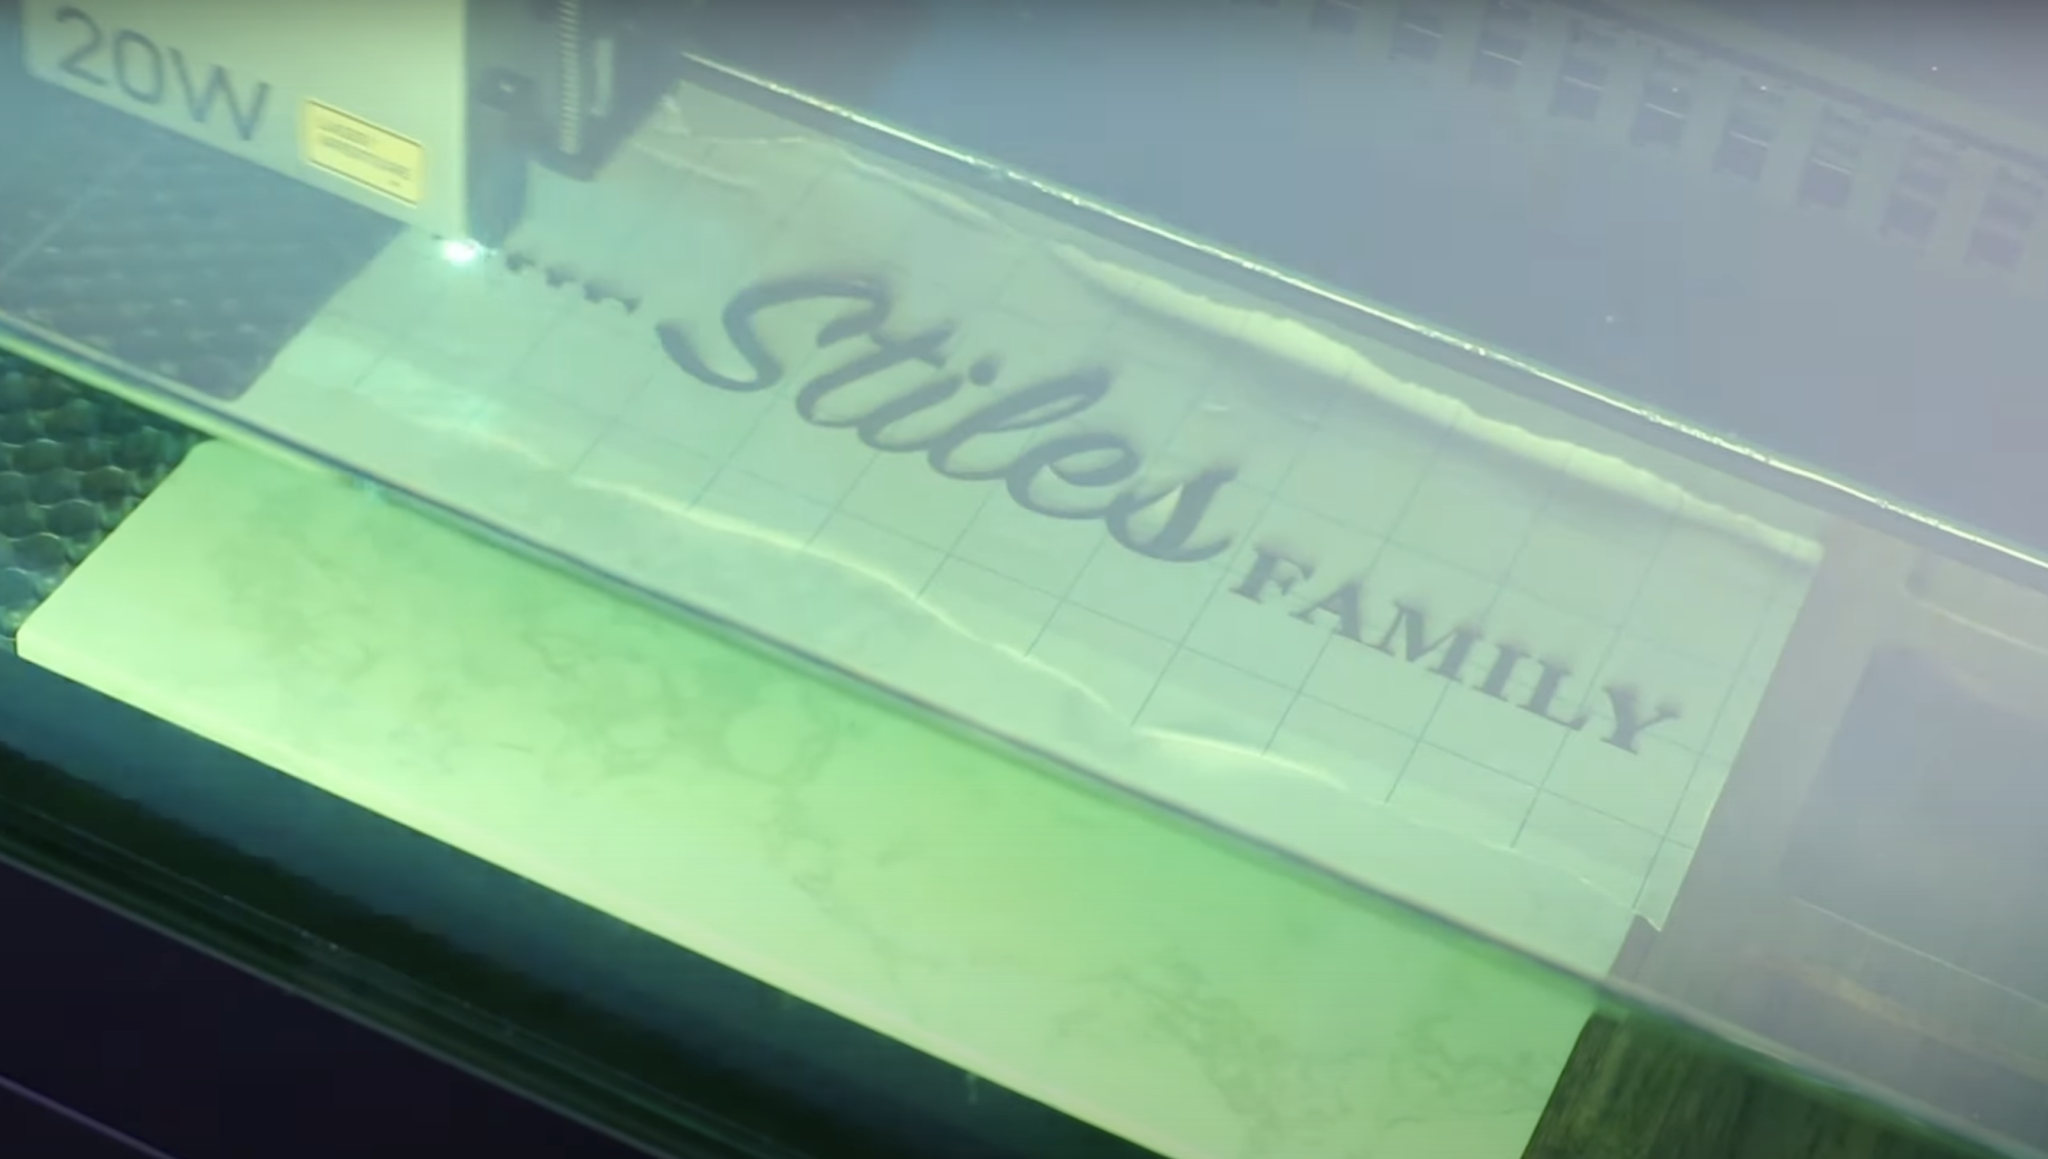
I created my design using the text tool in Creative Space. You can create a different design or import a design. For this process, the design doesn’t matter.
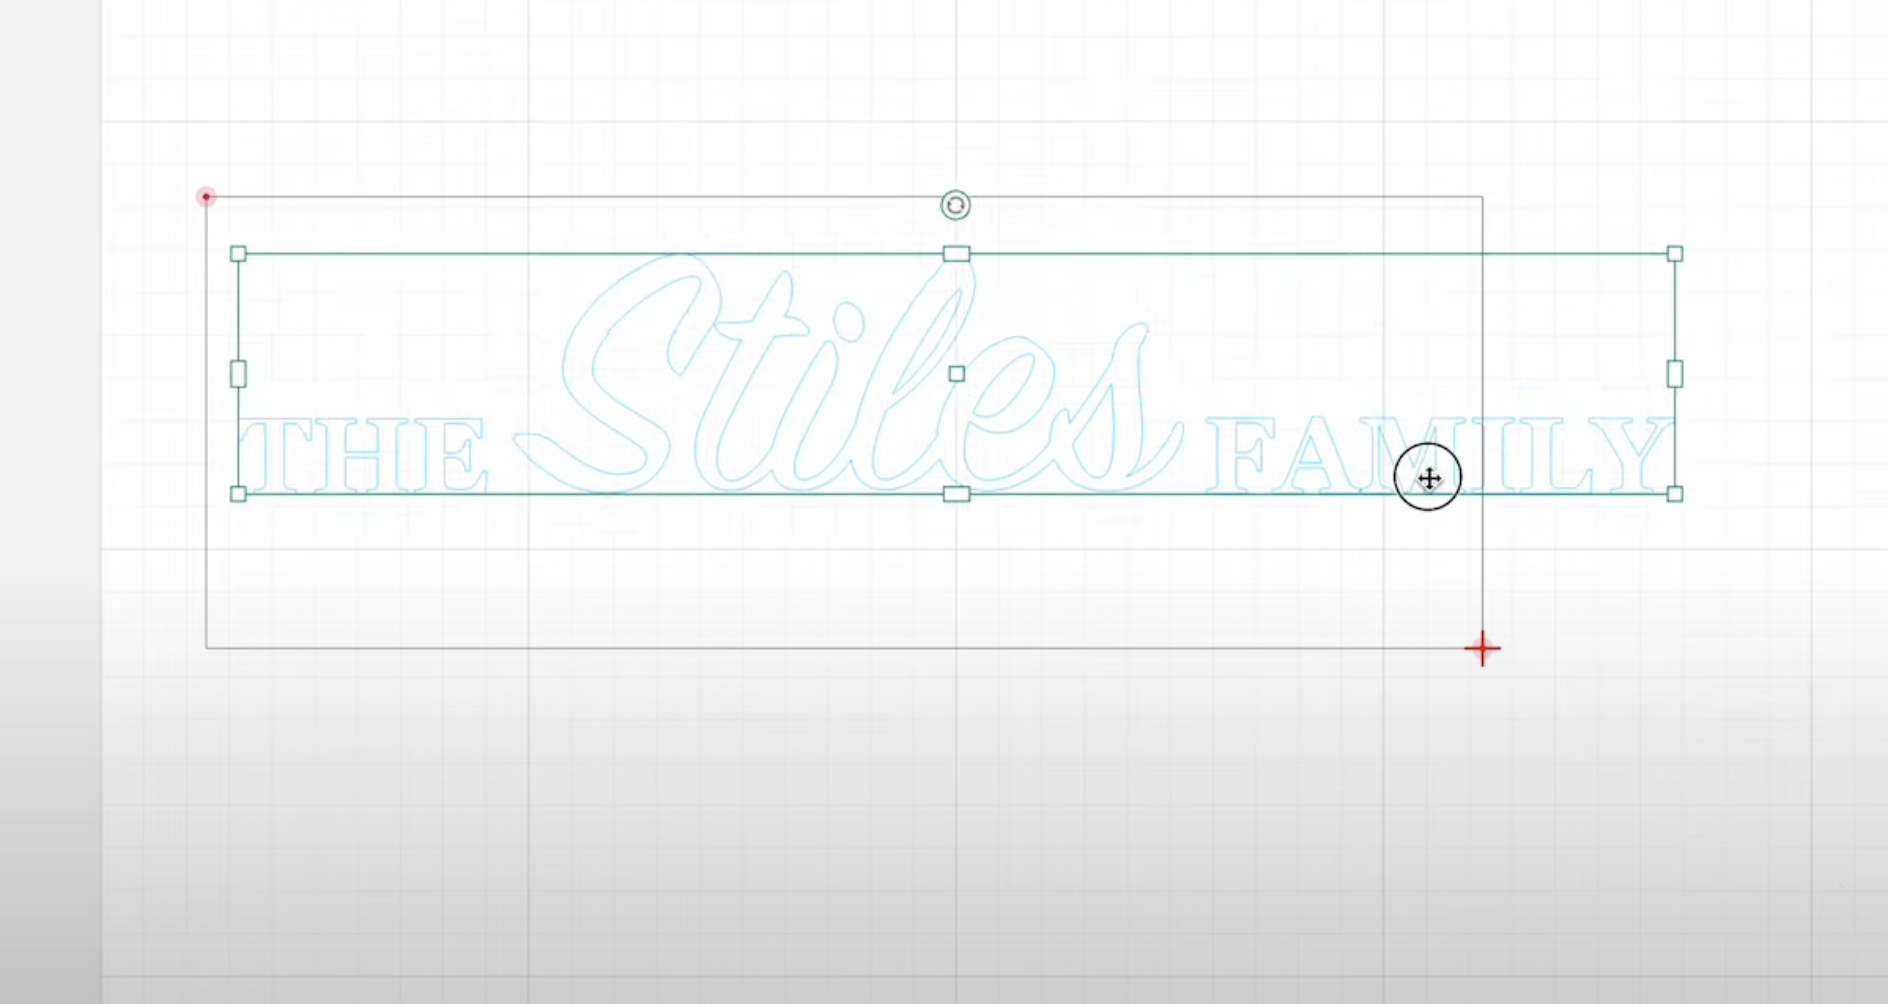
My design is slightly larger than the processing area so I need to resize and move it. This process is the same for any design. You can move each of the elements around and lines pop up as needed to help you center the design to the processing area.
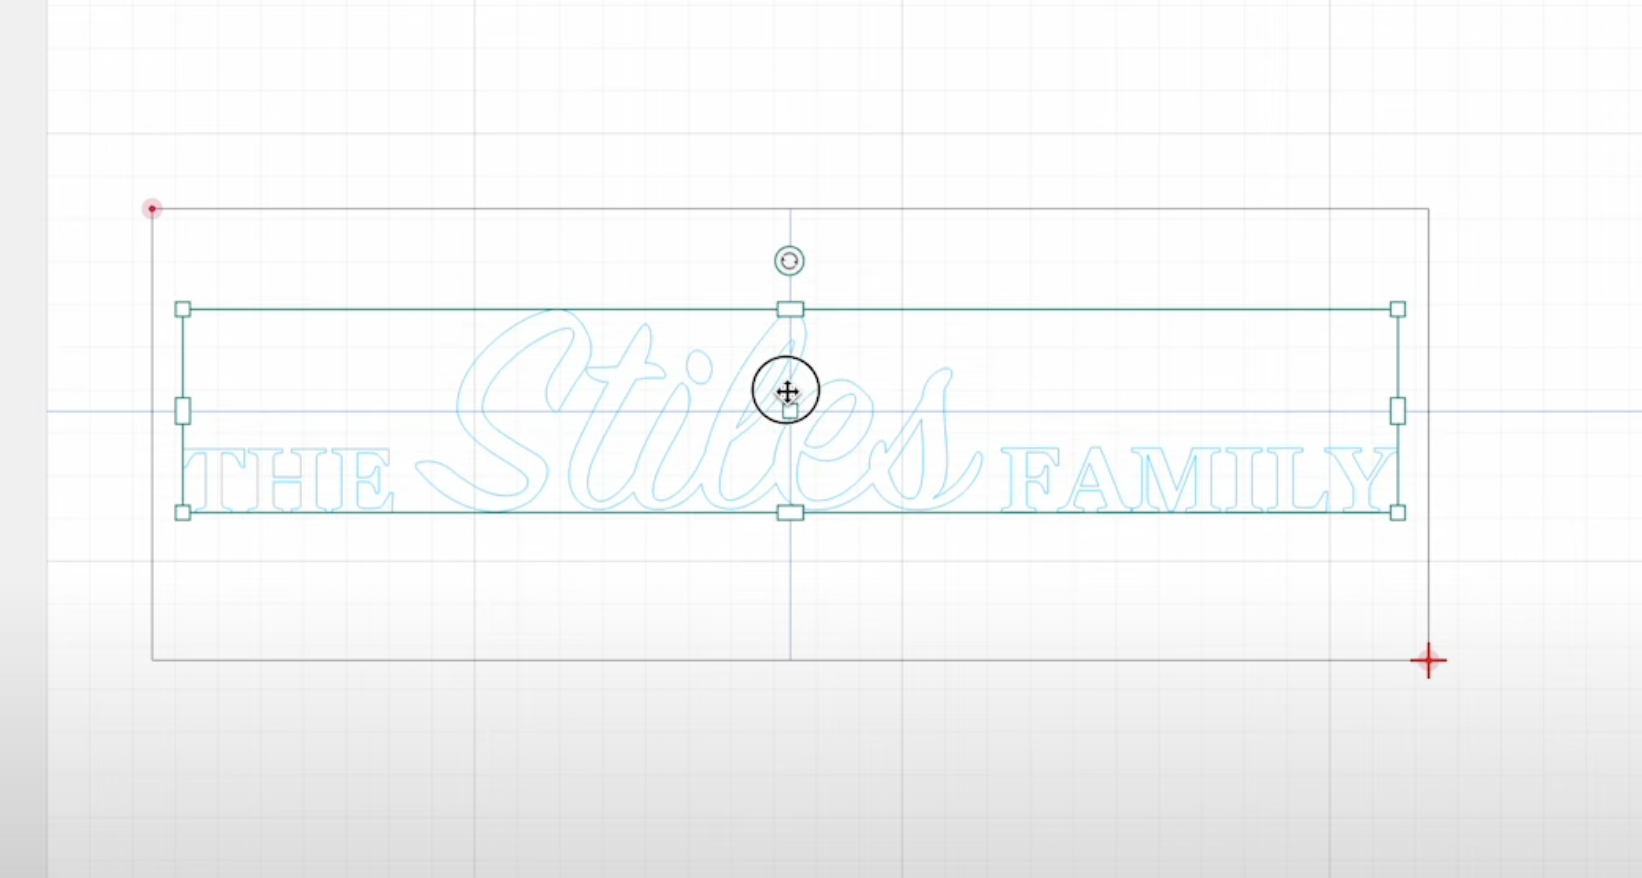
Select all the design elements and group them together.
Step 5. Check Location with Framing
To double-check where the design is going to be on the blank I am going to click Framing.
Next, click the button on the front of the laser, and the laser head will move and show you exactly where it is going to engrave the design.
I love this feature because I can watch the laser head move and make sure it stays in the area I want my design to be. This is especially helpful with more expensive blanks like this cheese tray. We don’t want to ruin blanks with bad design placement.
Watch the laser head, if everything looks good you can proceed. If it doesn’t, you’ll need to start over. You’ll either need to move your design or reset the processing area with the marking tool.
Step 6. Engrave the Design
When everything looks correct, choose your settings in xTool Creative Space. I used 60% power, 100 mm/s speed, and 160 lines/cm with my 20W laser. The settings can vary depending on your material and laser power.
Then close the lid on the laser and you can begin. If your laser is not vented out a window, turn on the air filter and then click Process.
Click Start and the engraving process will begin.
When it’s done, move the laser head out of the way if needed and remove the cheese board from the laser bed.
Step 7. Remove the Masking and Reveal the Finished Project
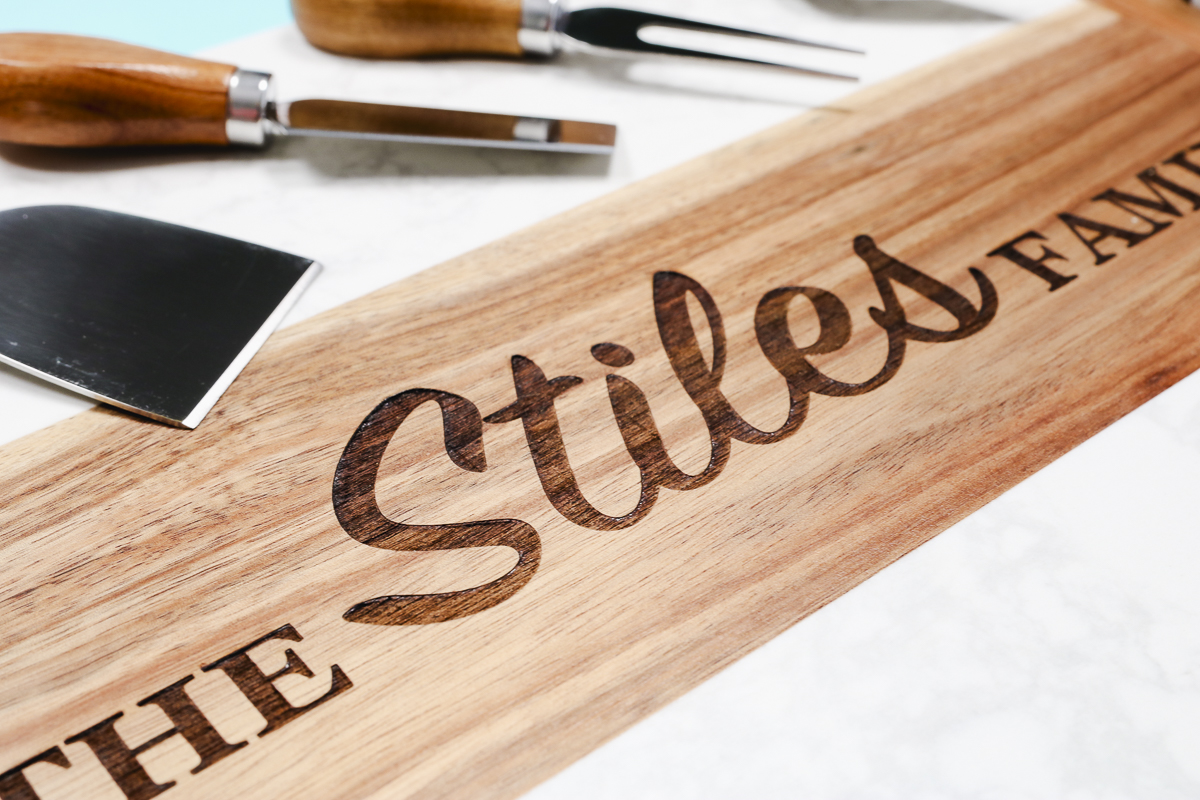
With the board removed from the laser, we can peel back the masking to reveal the finished product. There will be dust and maybe some charring, I used a damp cloth to clean the surface, and as you can see it looks so good.
The location of the engraving is perfect and it looks so good on this board.
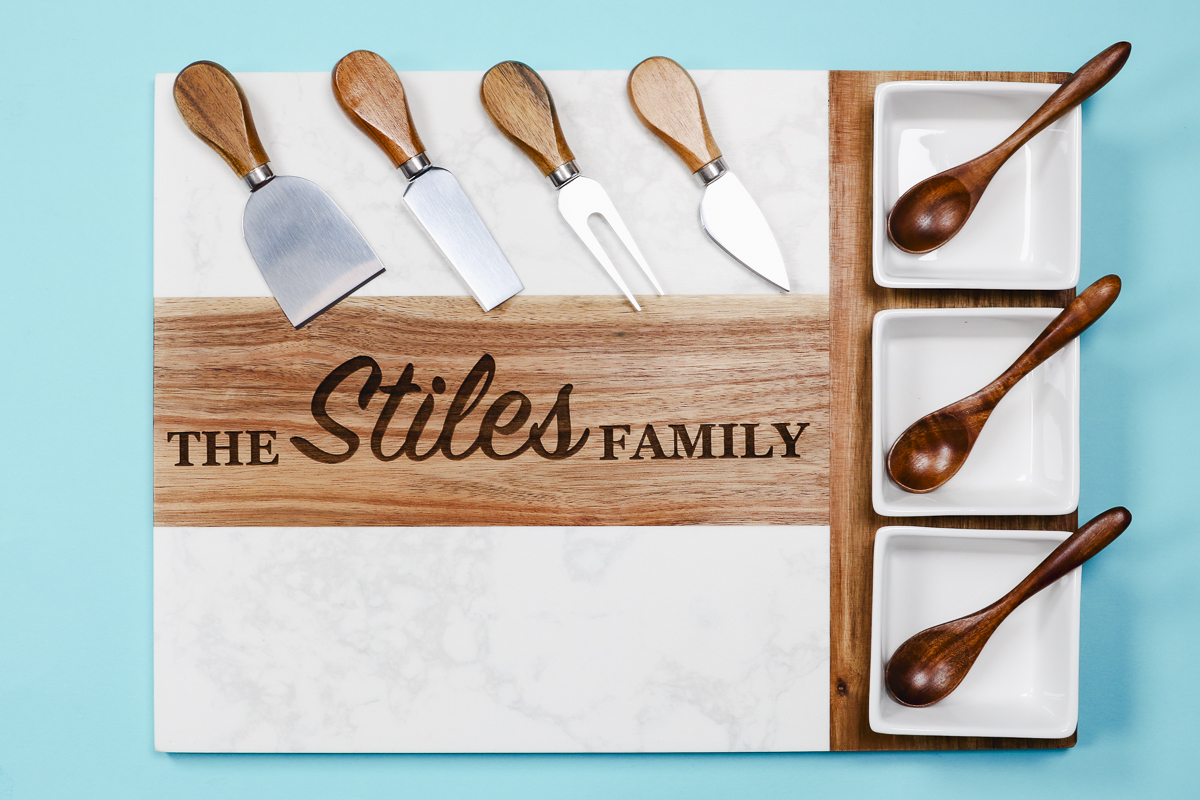
The board actually comes with bowls and other utensils so it makes an amazing gift and the personalization really takes it up a notch.
As you can see, even without a camera the location feature for xTool lasers is amazing. I’m really impressed with how well marking the processing area works and the ability to preview the area with the framing tool ensures you’re getting everything set up correctly.
Can you take a picture with the xTool lasers?
When the xTool M1 Ultra was released, they released a new feature where you can take a photo of the bed of your laser with your phone and send it to xTool Creative Space to help locate your design.
I tried this feature and found it less accurate than the method I used today. If you want the most accurate location, I recommend marking the material and using the framing option to double-check where it’s going to engrave or cut.
I love how this project turned out. I hope I’ve answered any questions you have about locating designs on xTool lasers. If you have any additional questions, leave them in the comments and I’ll be happy to answer them for you.


