Have you ever come across those beautiful glass trees that are commonly found in thrift stores or Goodwill? Believe it or not, with just a few minutes of your time, you can transform them into something truly incredible. Discover the art of creating glass marble trees using a remarkably easy paint technique. It’s a fantastic way to unleash your creativity and bring a touch of elegance to your space!
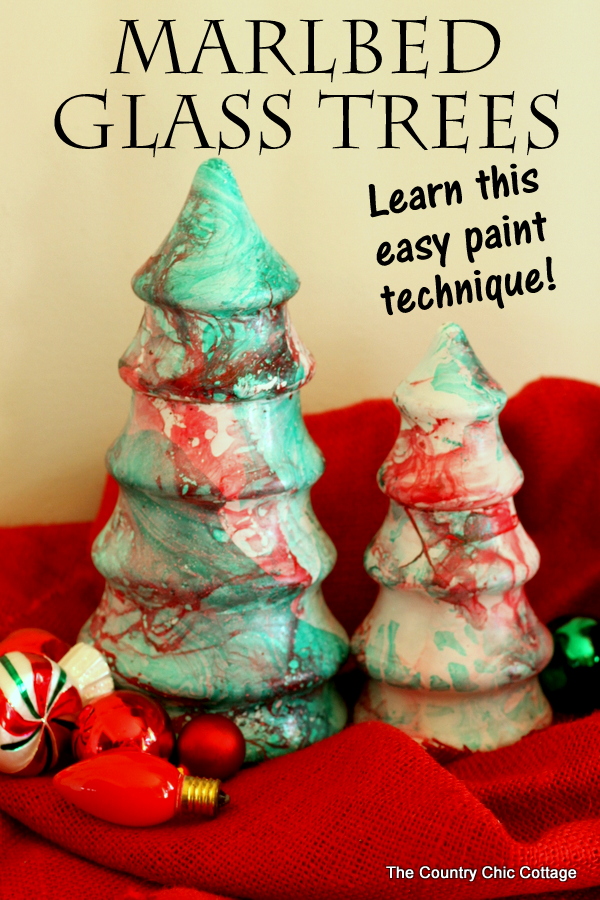
How To Make A Holiday-Themed Marble Tree
What says Christmas better than a marble tree? Absolutely nothing! This craft is a great project to make with the kids this holiday season, and it makes a beautiful addition to any home’s decor.
So grab some marbles, glue, and ribbon, and get ready for crafting fun!
Supplies Needed
Here’s what you’ll need to gather:
- Glass marble trees
- Rubbing alcohol and cotton balls
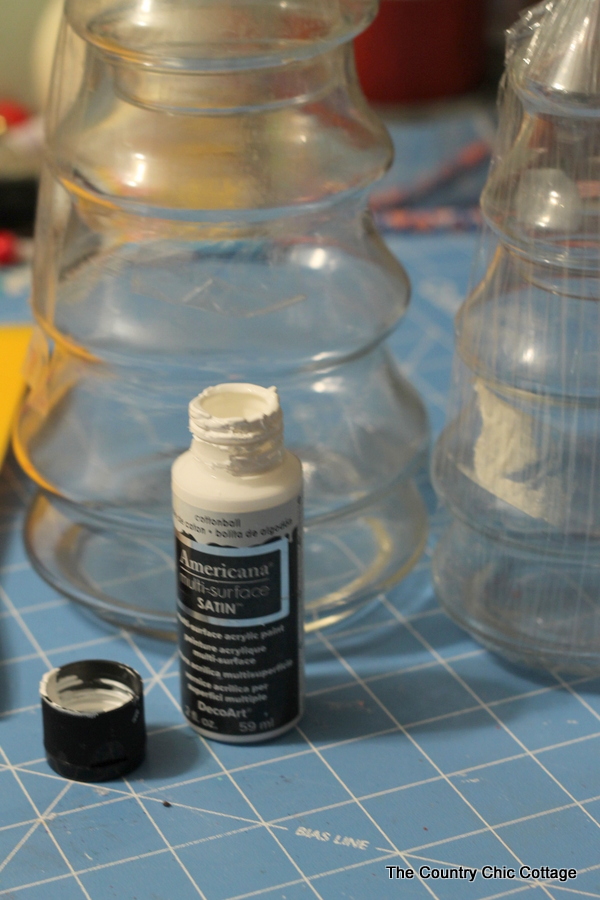
- Americana Multi Surface (in Cottonball)
- Paintbrush
- Oven
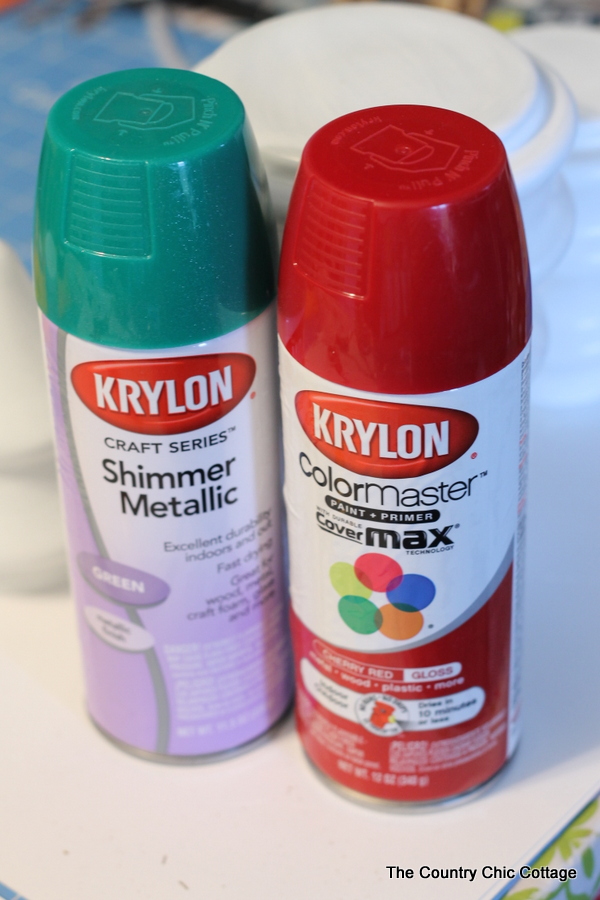
- Krylon (in Green Shimmer Metallic and Cherry Red)
DIY Glass Marble Tree Instructions
Follow these step-by-step instructions on how to make a Christmas marble tree…
Step 1: Wash the marble trees
I bought two of those trees for around 99 cents each!
Now you need to make sure to wash them thoroughly and let them dry. Then, use rubbing alcohol to clean the entire surface and remove any remaining residue.
Allow it to dry completely, and avoid touching the surface after using alcohol.
Tip: I place my hand on the inside of the container to avoid touching the outside.
Step 2: Cure the paint
We will use Americana Multi Surface in the shade Cottonball to paint the entire exterior of these trees. I applied three coats, allowing each coat to dry before applying the next.
Once you have finished painting, you can bake the painted surface following the instructions on the package. This will ensure that the paint is dishwasher-safe!
Step 3: Add marble effect
After allowing the painted trees to cure, it’s time to delve into the captivating world of marbling!
For this, I used Green Shimmer Metallic and Cherry Red by Krylon.
Tip: You can find a video demonstration of the marbling technique in this post (just click here). The video showcases the process using a single color, but working with two colors is just as straightforward.
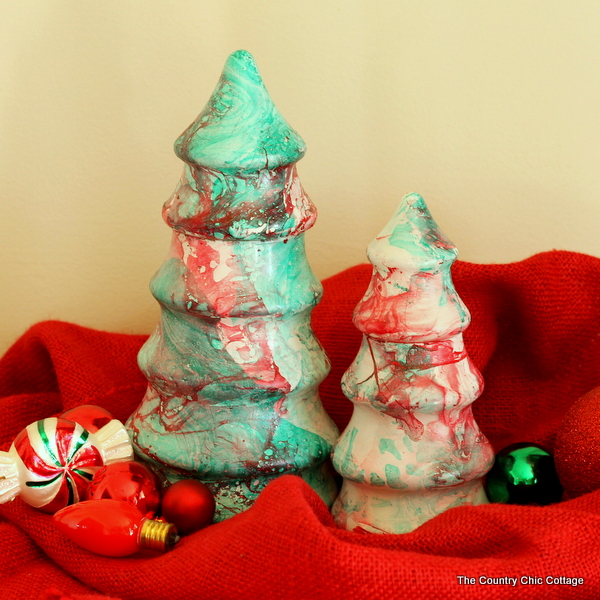
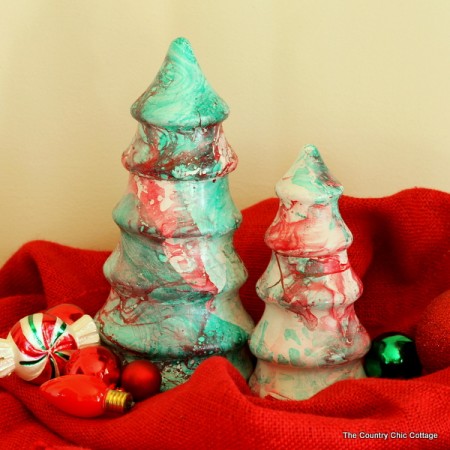
Start with one color, glide a gloved hand through the water to remove any excess paint, and then proceed with the second color. I personally went with green shimmer metallic for the larger tree, followed by red.
Interestingly, I decided to reverse the order for the shorter tree, and it seemed to have an impact on the outcome. So, when you embark on your own marbled glass tree project, keep this in mind. The paint technique yields stunning results while being effortlessly achievable.
Happy crafting, y’all!
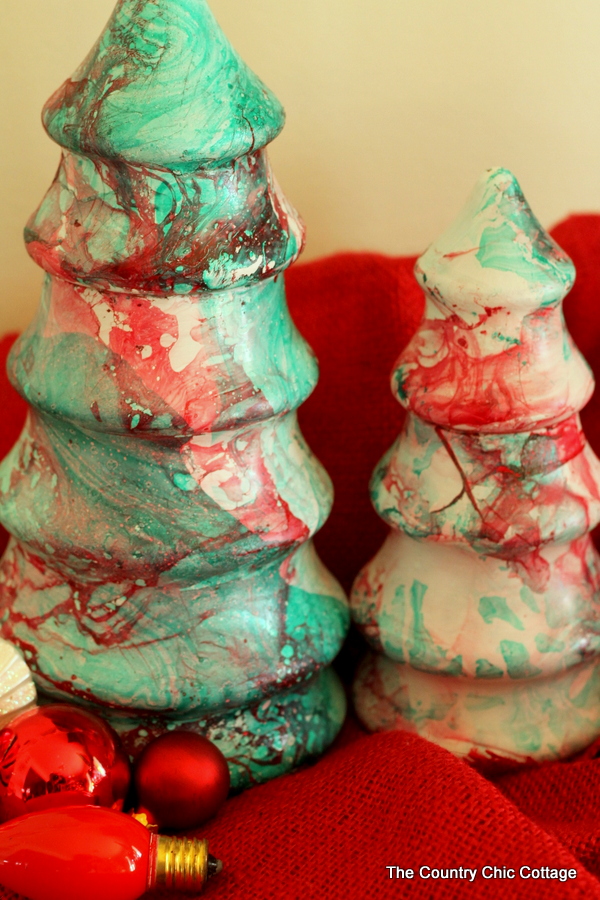
Grab your paints at the store and your trees (or any other object!) at the thrift store. Then make your own marbled creations in your home.
What will you try this paint technique on? I am sort of in love with it, and nothing is safe around here. I will marble everything in sight!
Y’all, I hope you are in love with these marbled glass trees as I am.
FAQs
If you have questions about making this marble tree, I have answers for you! Please leave your question for me in the comments if you don’t see it already answered below.
Can I make this project with my kids?
Yes! This craft is easy enough for a young child to make. However, they should be supervised when using and baking the paint.
Can I make this with other colors?
Absolutely! Feel free to experiment with your favorite hues of paint. Just keep in mind that whatever color you choose will be the base color, so select something that matches your holiday decor.
What are other ways to add a special touch?
Consider adding ribbon, ornaments, glitter, or any other festive decorations! This is the perfect time to express your creativity and make something truly unique.
More craft ideas
If you love this project and want to make more Christmas crafts, we have those for you! Just follow the links below.
- Felt Christmas Tree for Toddlers with a Cricut
- Thumbprint Art for Your Christmas Tree
- Burlap Christmas Trees
- Pallet Christmas Tree: Farmhouse Style Christmas Decor
- DIY Wooden Christmas Tree For Holiday Decor
Supplies
- Glass marble trees
- Rubbing alcohol and cotton balls
- Americana Multi Surface in Cottonball
- Paintbrush
- Oven
- Krylon in Green Shimmer Metallic and Cherry Red
Instructions
- Buy 2 marble trees. Make sure to wash them thoroughly and let them dry. Then, use rubbing alcohol to clean the entire surface and remove any remaining residue.
- Allow it to dry completely, and avoid touching the surface after using alcohol.
- Use Americana Multi Surface in the shade Cottonball to paint the entire exterior of these trees. Apply three coats, allowing each coat to dry before applying the next.
- Once you have finished painting, you can bake the painted surface following the instructions on the package. This will ensure that the paint is dishwasher-safe!
- After allowing the painted trees to cure, use Green Shimmer Metallic and Cherry Red by Krylon for the marbling.
- Start with one color, glide a gloved hand through the water to remove any excess paint, and then proceed with the second color. I personally went with green shimmer metallic for the larger tree, followed by red.
Notes
- I place my hand on the inside of the container to avoid touching the outside.
- You can find a video demonstration of the marbling technique in this post (just click here). The video showcases the process using a single color, but working with two colors is just as straightforward.


