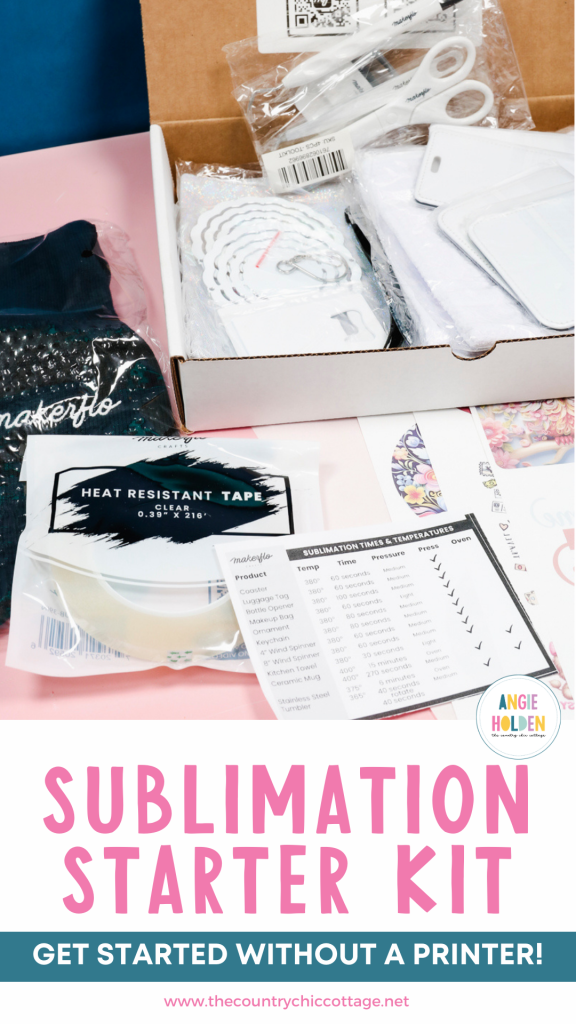
If you’re interested in testing out sublimation printing but don’t have a sublimation printer, you’re going to love this sublimation starter kit from Makerflo.
Today I’m going to show you the sublimation kit and the different projects you can make to help you decide if sublimation crafting is right for you.
This sublimation starter kit is filled with a variety of different blanks and prints that you can use to make a variety of projects, to decide how you feel about sublimation.
You can watch me craft along with the Makerflo team by pressing play on the video below.
Sublimation Starter Kit
Because sublimation crafting requires a special printer, ink, paper, and blanks, it can be expensive to start your sublimation journey. This sublimation starter kit allows you to try out sublimation crafting before you buy a special printer and put out the money for all those things.
If after trying out the projects in this kit, you decide sublimation crafting isn’t for you, you’re not left with a printer you’re not going to use.
If you decide you love sublimation, you can move forward and get all the supplies you need.
What Comes in the Sublimation Starter Kit?
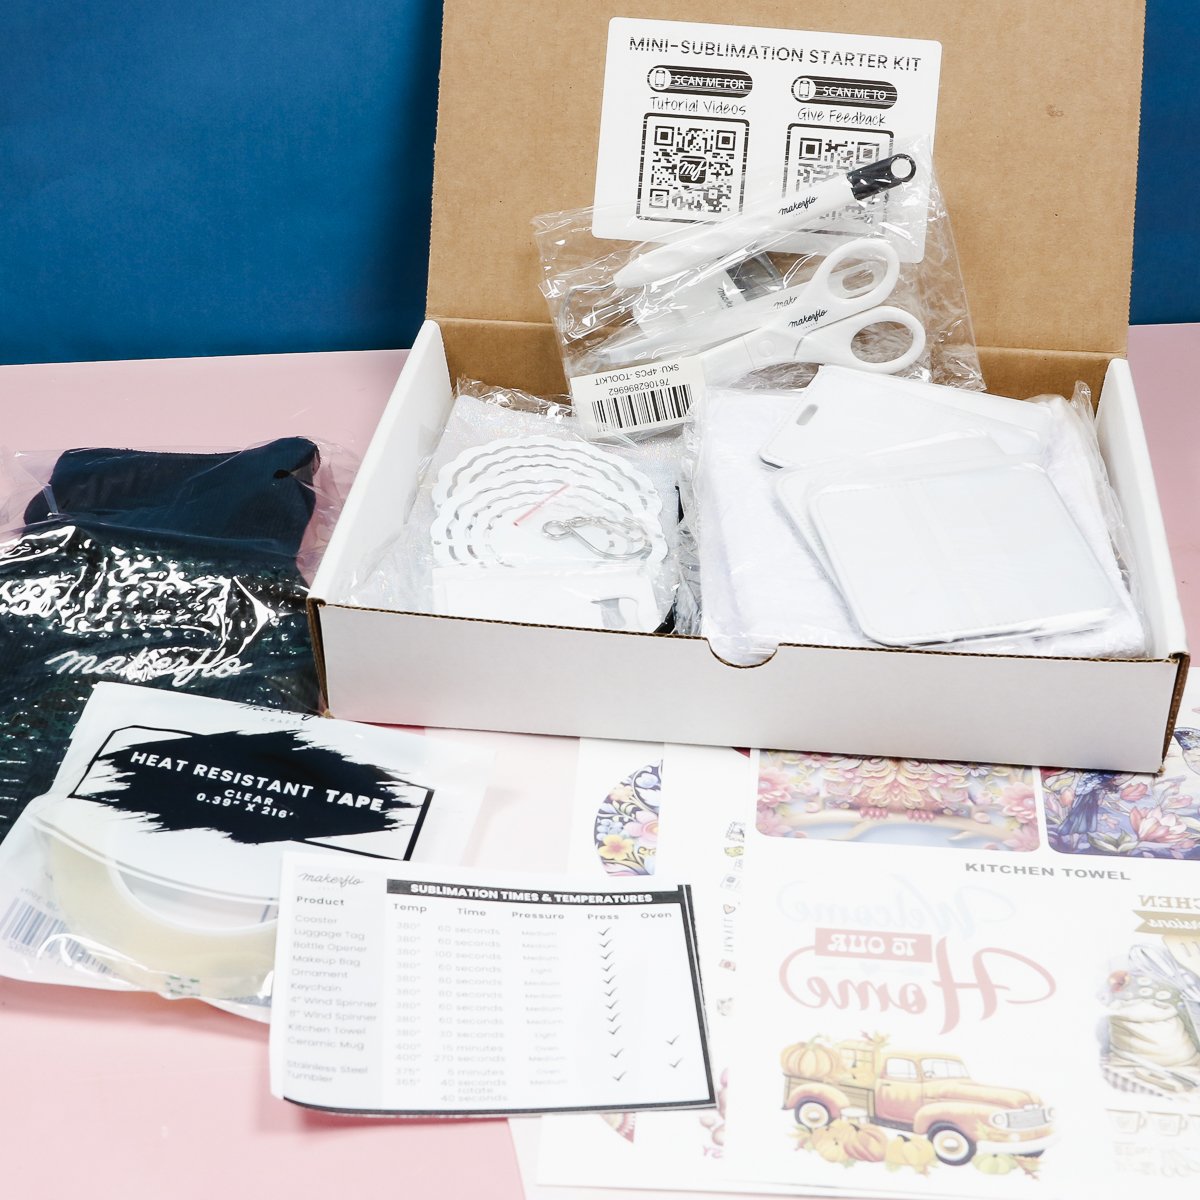
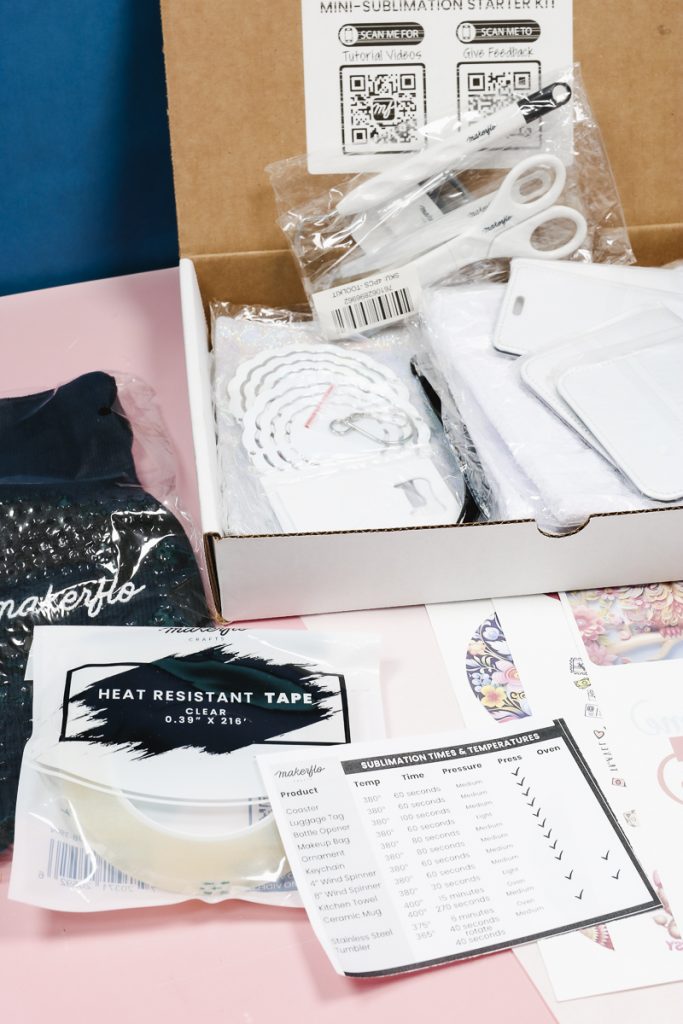
Depending on which sublimation starter kit you purchase, you’ll receive:
- 1x MakerFlo 7″ x 5″ Heat Press
- 4x Pre-Printed Sub Designs
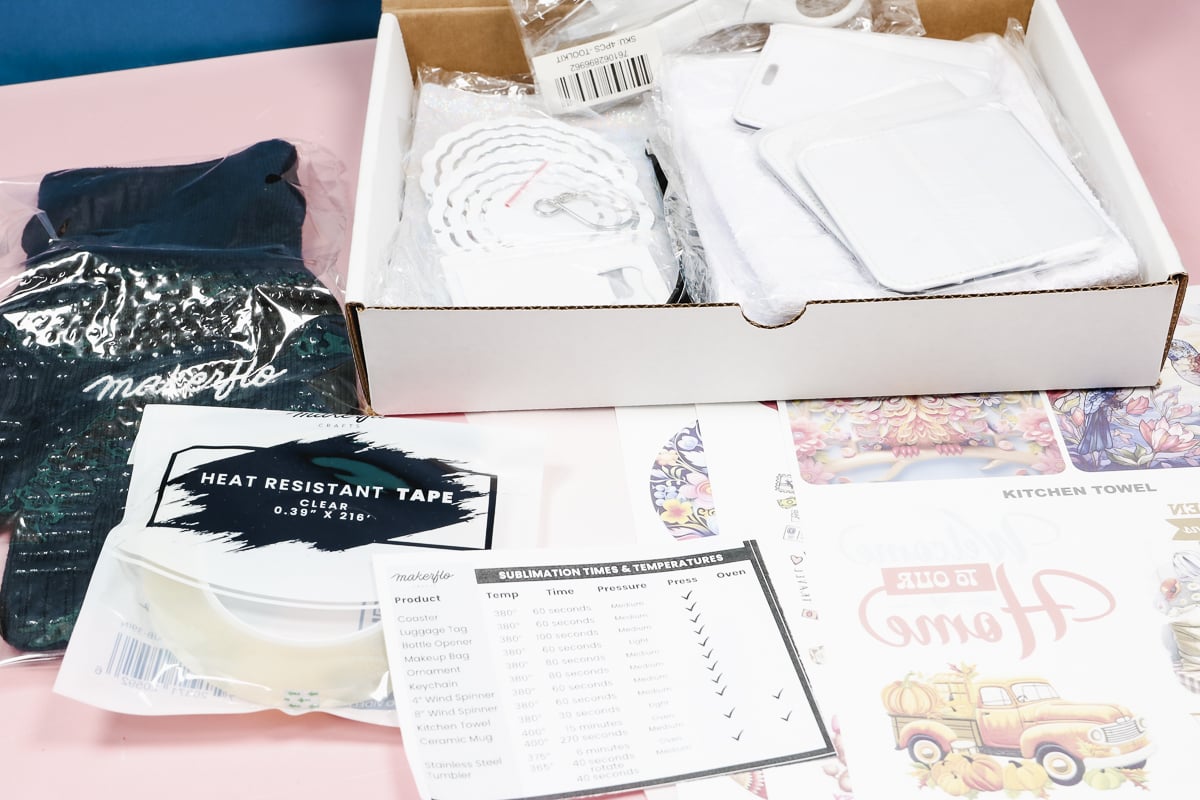
- 2x Makeup Pouches
- 2x Coasters
- 2x Luggage Tags
- 2x Bottle Openers
- 2x Kitchen Tea Towel
- 2x 4″ Wind Spinner
- 1x Crafting Tool Kit (Scissors, Weeding Tool, Flattener, and Tweezers)
- 1x Roll Skinny Heat Tape
- 1x Heat Glove
- 1x Butcher Paper Sheet
You will have everything you need to get crafting right away. The great thing about this kit is that you don’t have to print your own designs.
If you already own a heat press, you can also purchase the kit without a heat press.
Let’s make a couple of projects using what is in the kit!
Sublimation Wind Spinner
I’ve made sublimation wind spinners before and have loved how they turn out. In this kit you’ll get 2 4″ wind spinners that are perfect for smaller areas or even as a Christmas ornament.
You can watch the steps in the video above or here are brief instructions.
- With all sublimation blanks, you want to make sure the surface is clean before you begin. These blanks are individually sealed so you shouldn’t need to clean them. If you open the wind spinner ahead of time, use a lint roller to clean the surface.
- Choose whichever print you want and trim it to fit your spinner. You’ll notice that some of the prints are a circle shape, those are sized to fit the sublimation wind spinner. Trim right along the edge of the print and it will be the right size.
- Locate the design and hold it in place with heat-resistant tape.
- Add butcher paper to the heat-resistant mat and place the wind spinner print side up and cover with butcher paper.
- Press at 380 degrees for 60 seconds with firm pressure.
- When the time is up, remove the heat and allow to cool for a few seconds before peeling back one small area. Make sure the transfer looks good and then remove the entire print.
- If the print doesn’t look like it transferred completely, place the print back down and press longer.
- Use the heat-resistant glove to protect your fingers and remove the print to reveal the finished wind spinner.
This wind spinner turned out beautiful. The colors are vibrant and the design transferred perfectly.
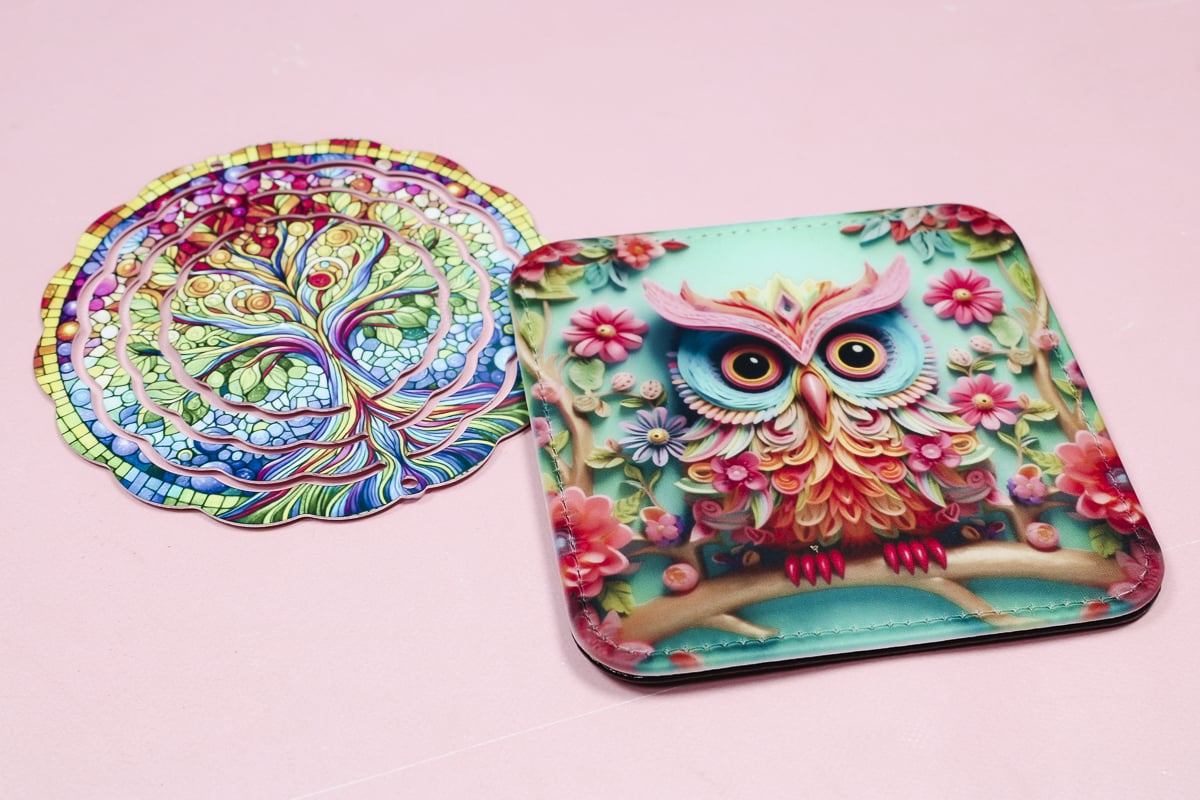
Sublimation Coaster
The next project we’re going to make from the sublimation kit is the sublimation coaster.
- Each of the sublimation print pages is labeled with which blank they match up with. Find the prints that say sublimation coaster and trim around the design.
- Again, the coasters are individually sealed so they shouldn’t require cleaning. You can go over them with a lint roller to remove any dust or debris if needed.
- Place the design on the white side of the coaster and secure in place with heat-resistant tape.
- Place the coaster on top of butcher paper on a heat-resistant mat with the print side up and then cover with butcher paper.
- Press at 380 degrees for 60 seconds with firm pressure. When the time is up, do a quick peek at one corner. If it looks like everything is transferred, remove the whole print. If it isn’t, lay it back down and press longer.
These coasters also turned out beautifully. I love how vibrant the design is and these coasters are so nice. I feel like once you make one you’re going to want more.
What else can you make with this kit?
There are 4 other blank types included in the sublimation starter kit and they are all just as awesome as the two we made today. I love that this kit allows you to really test out sublimation to help you decide if it’s right for you.
If you’ve ever wanted to try your hand at sublimation, I highly recommend the Makerflo Sublimation Starter Kit. You have the ability to pick the kit that is right for you. If you already own a heat press that gets hot enough for sublimation, you can buy a kit that only includes the materials you need. If you don’t own a heat press you can get the kit that includes the press.
I can’t wait to hear your experience with this kit, I think you’re going to love it. I hope I’ve answered any questions you have, if you have additional questions feel free to leave them in the comments and I’ll be happy to answer them for you.