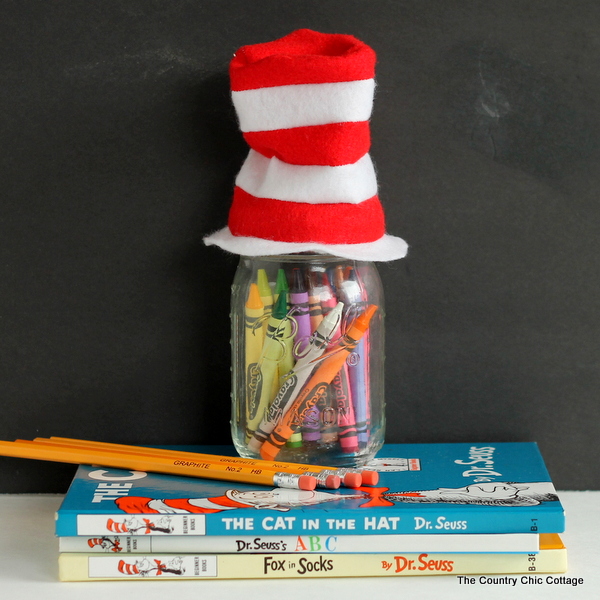
Welcome to day 4 of Dr. Seuss crafts week. Today I am sharing my mini Seuss hat pattern and the instructions for making your own. These are perfect to top a mason jar which you can then fill with goodies for a teacher gift. The tutorial is pretty long but I promise it is a 15 minute sewing project. There are also more quick and easy Seuss crafts at the bottom of this post so don’t miss those. You can also catch up with day 1, day 2, and day 3 as well. Also be sure to follow our Dr. Seuss Pinterest board for all of these crafts and many more.
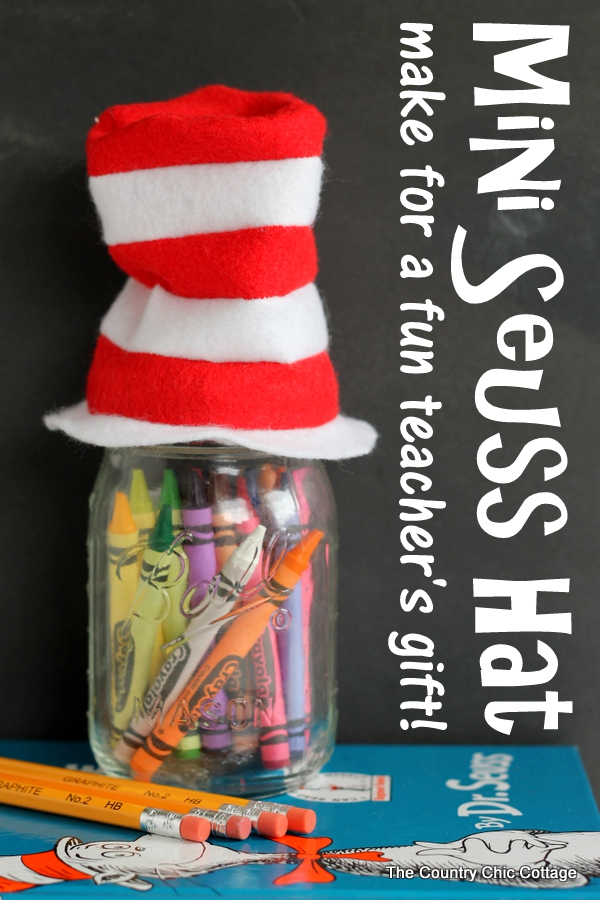
To make your own mini Dr. Seuss hat you will need:
- White felt
- Red felt
- Printed pattern (just click to download and print)
- Sewing machine
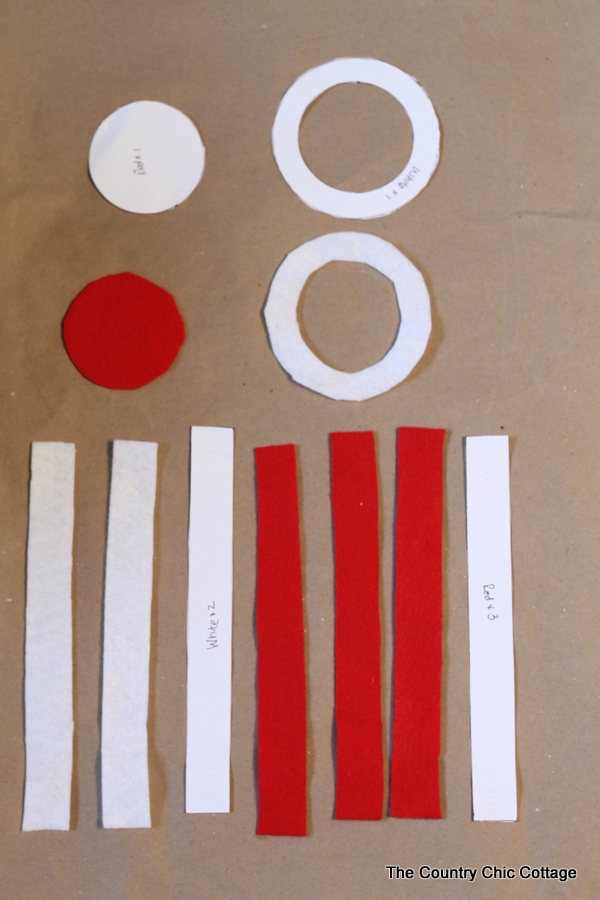
Cut the pieces of the pattern as shown below. Each pattern piece has the color and amount that you need to cut from the felt.
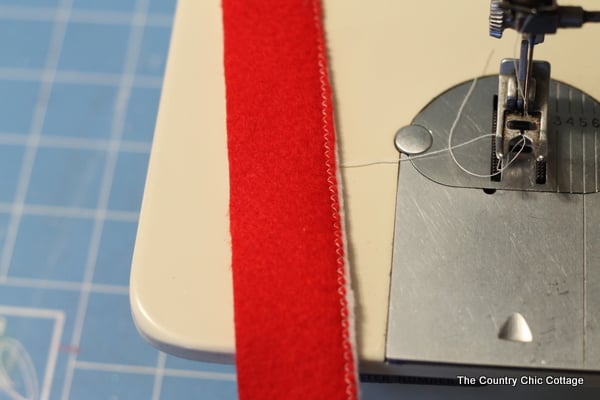
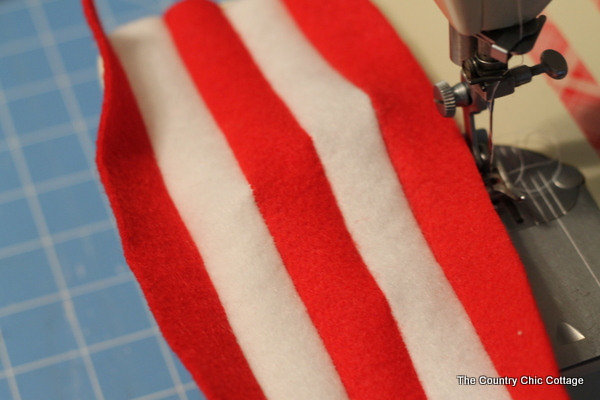
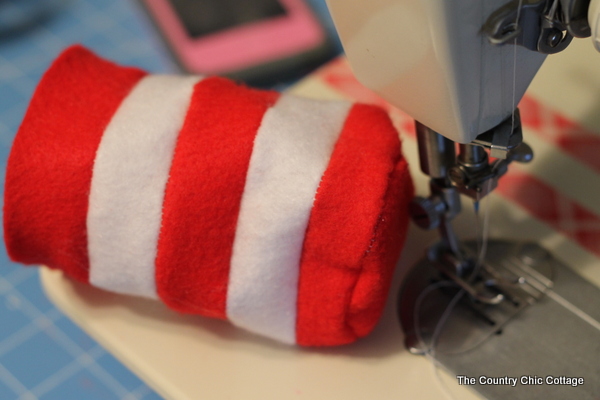
Start by sewing a red stripe to a white stripe with a zig zag stitch. Sew as close to the edge as possible as shown below.
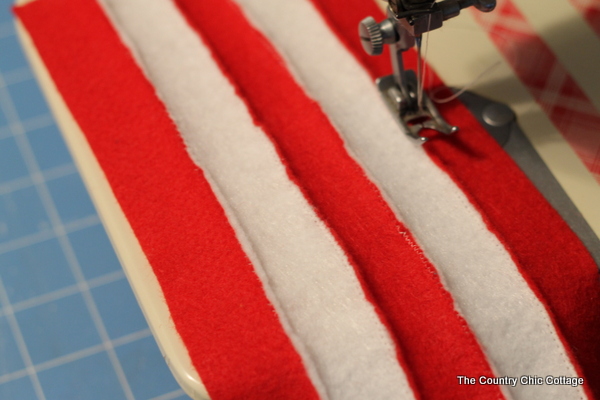
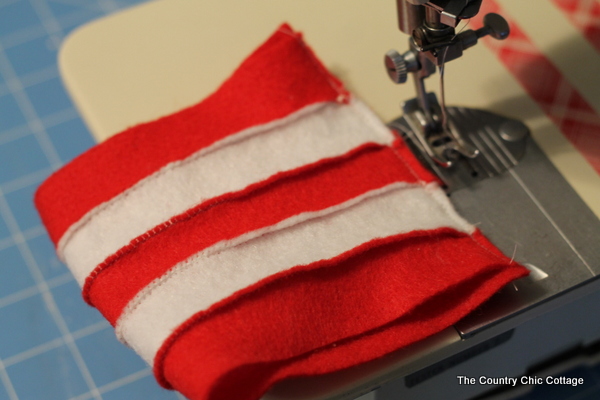
Continue to alternate red and white until you have used all of the felt strips. When you have them all sewn together they will look like the below. NOTE: This is the INSIDE!
The front will look like the below. So don’t worry….it is going to look great!
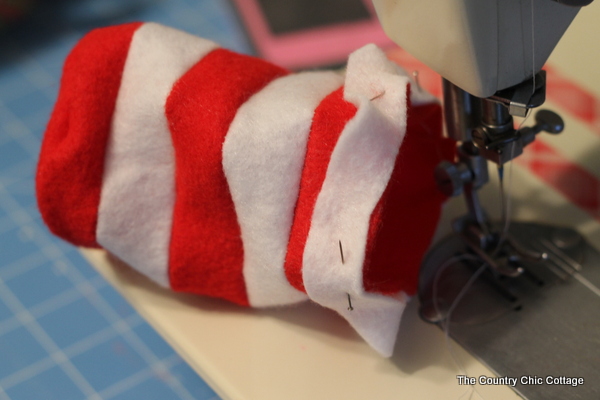
Now with the inside OUT put the two ends together and sew again as close to the edge as you can.
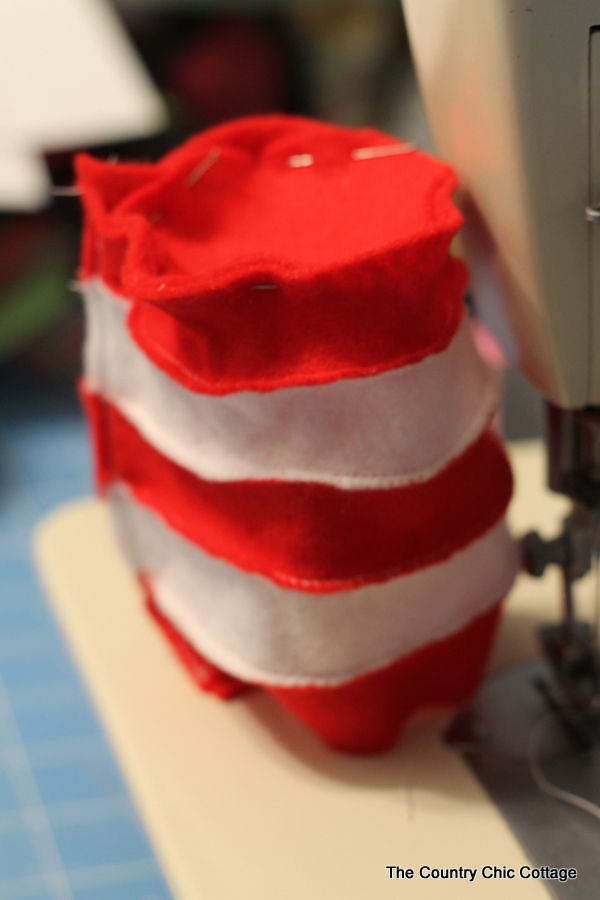
Now pin the red circle inside of the top of your hat. NOTE: it is still inside out!
Sew around the circle. Start and stop on the seam that you created earlier.
Turn the entire thing right side out. It is looking so good!
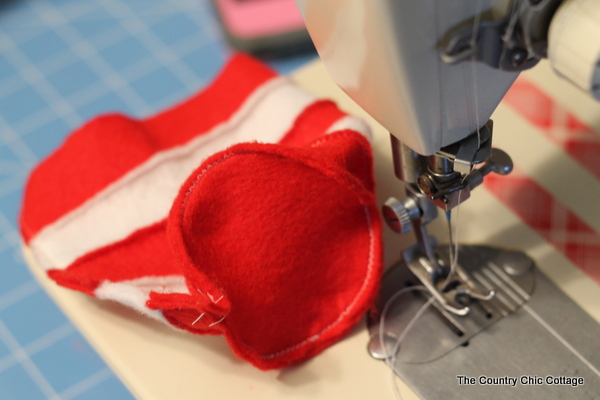
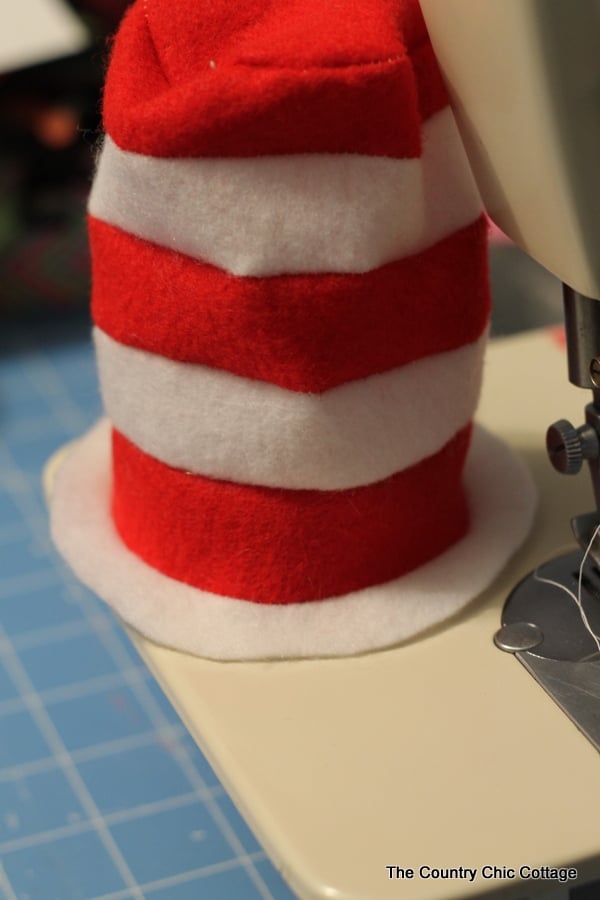
Pin the white circle to the outside of the bottom of your hat.
Sew around the inside again as close to the edge as you can. Once you are done with this step your mini Seuss hat is done!
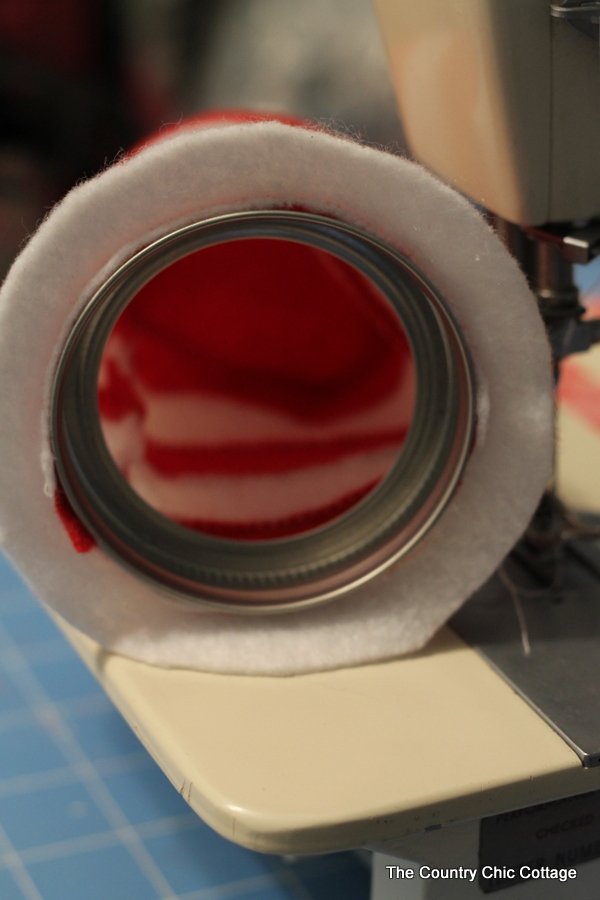
Hot glue to the band of a mason jar if you are going to use this to top a jar. It works perfectly with the regular mouth jars.
Just screw onto the top of your jar! You can fill with goodies for a teacher gift. Or even use these fun Seuss hat topped jars to organize toys in a kids room.
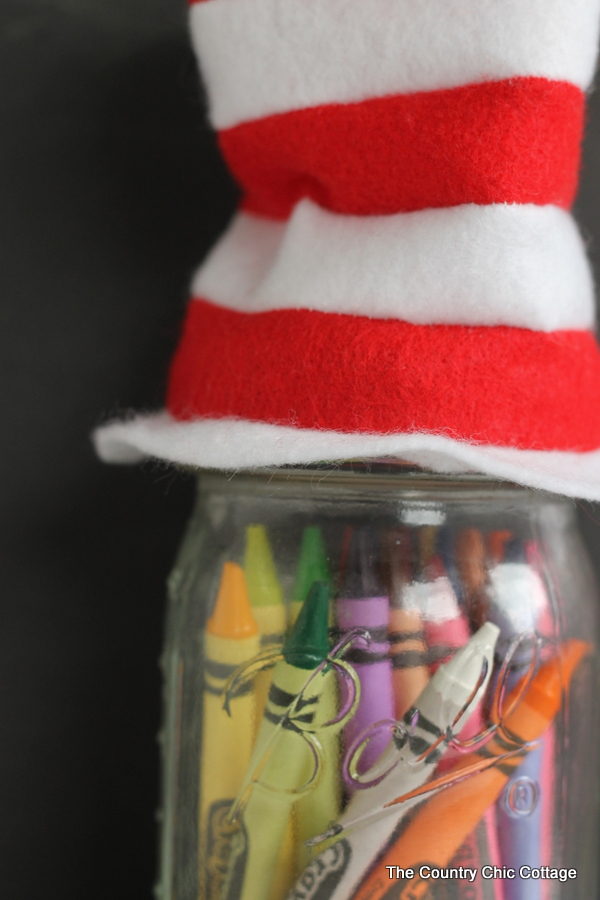
How many of these mini Dr. Seuss hats will you make? I love them on top of this mason jar. It just makes me smile! I know any teacher on your list would love to be given one of these with a small gift inside!
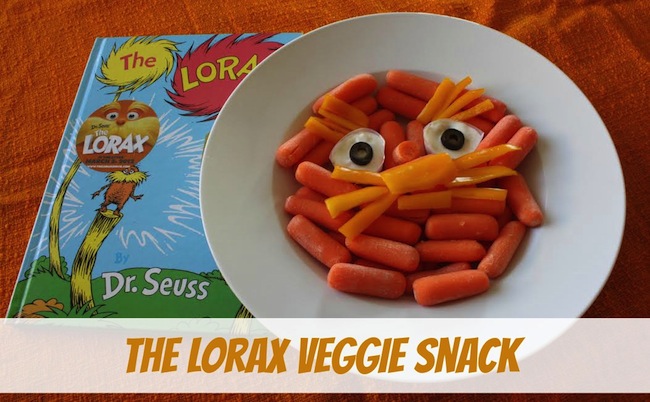
I promised y’all even more Dr. Seuss crafts! Check out all of the below quick and easy Seuss crafts that each take 15 minutes or less to complete. Start with this adorable Lorax veggie tray from Desert Chica. So easy to make and the kids will love it!
Then turn a wooden spoon into a Seuss inspired animal with this tutorial from Scrappy Chick Designs. Such a fun project for the kids!
You can print a fun printable with a Dr. Seuss quote over at Pet Scribbles.
Plus there are two more great Seuss printables over at My Craftily Ever After.
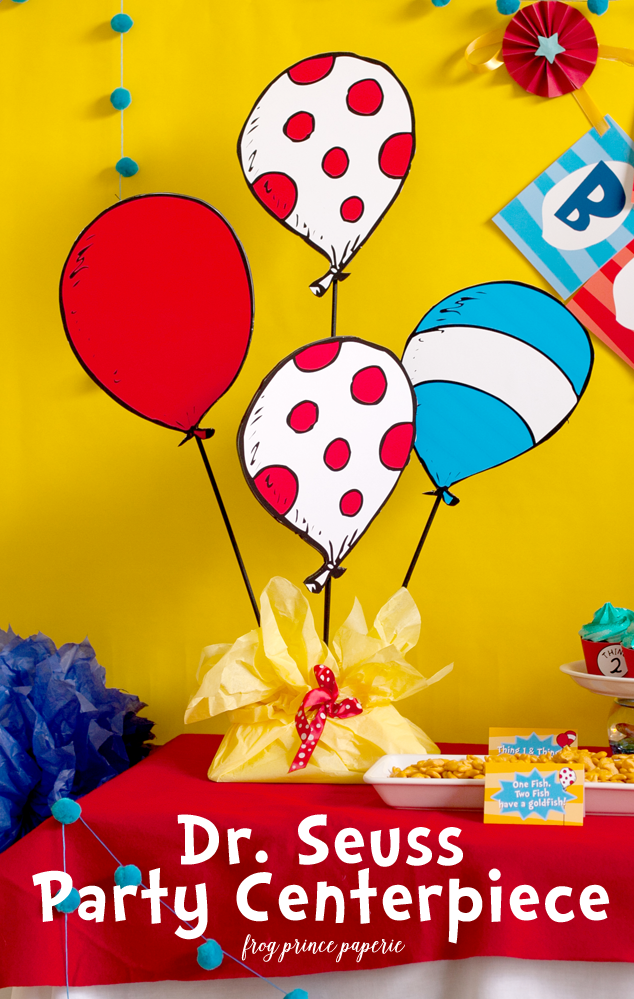
Frog Prince Paperie is at it again with a great Seuss party centerpiece. I love this idea…you must head over to see how this comes apart so the kids can all have a balloon!
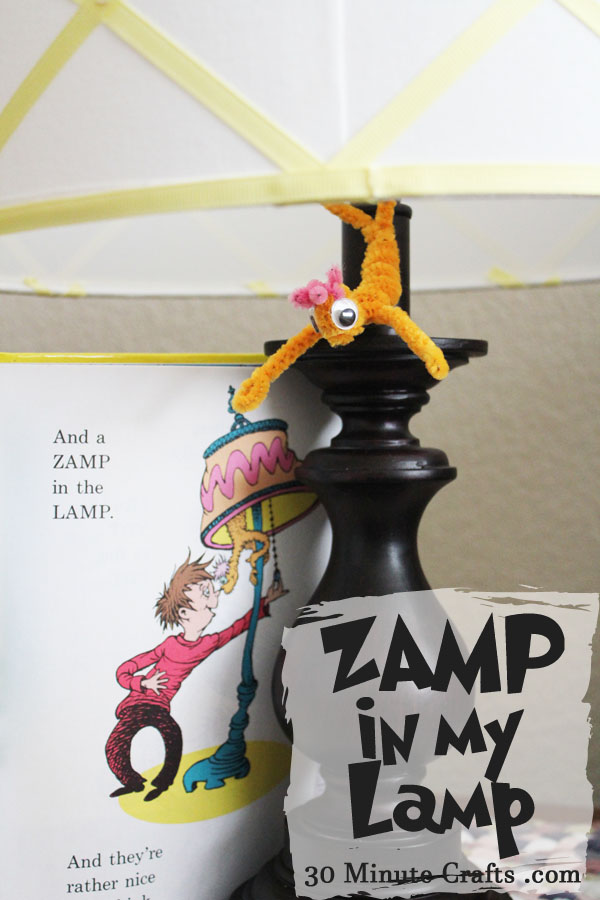
Do you need a zamp in your lamp? Well you can have one! Make this quick and easy Seuss character with the instructions from 30 Minute Crafts.
Mom Endeavors is sharing some printable Seuss quote art today. Click here to see more and download your own.
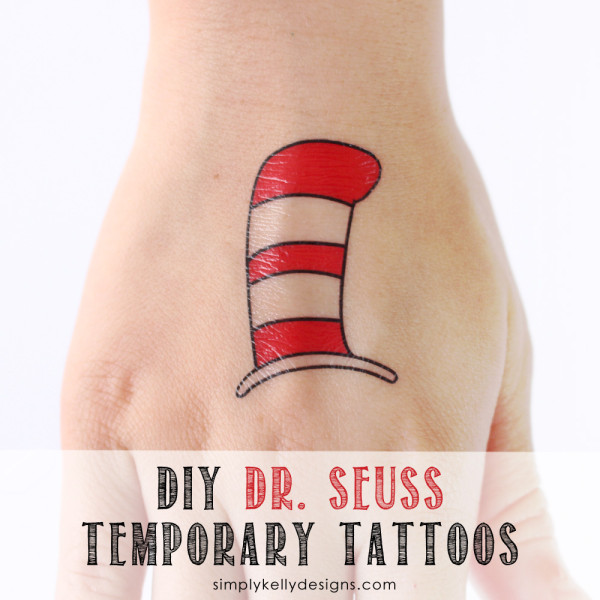
Want to get a tatoo? Maybe a temporary one is better! Click here to see how Simply Kelly Designs made these great temporary tatoos!
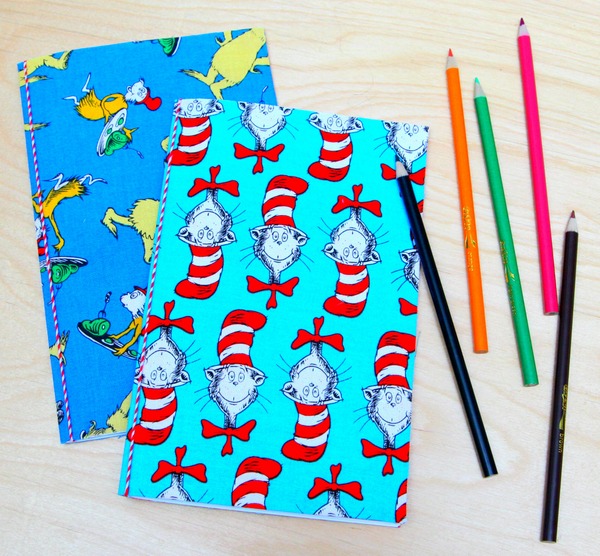
Finally Happy Go Lucky blog made some fun Seuss journals that anyone can make in minutes. If your child loves all things Seuss, this is one craft you will want to make.
Y’all stay tuned….we have one more day of great Seuss crafts left!







Thank you for this awesome and easy tutorial!!! Didn’t use for mason jar but for a hair clip tweaked it a bit 😊. For upcoming Dr Seuss Day. (Also I’m a beginner at using machine) THANK YOU AGAIN!!!
That is awesome! I would love to see it if you snapped a picture!
Thanks for your tutorial. What are the dimensions of the pieces for the Dr. Seuss mini hat?
Just print the pattern linked in the post and you can use that as your guide.