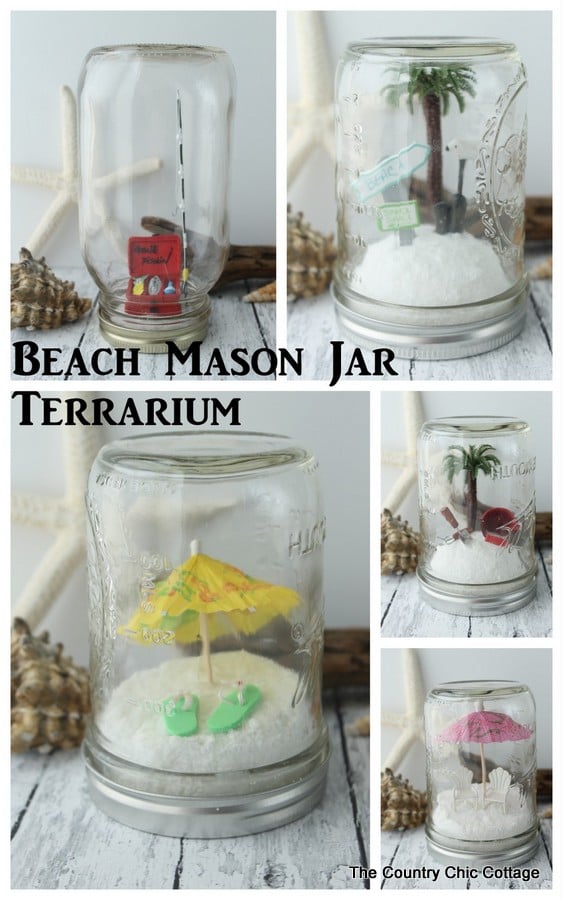
There are a ton of mason jar snow globes out there but I thought I would put a summer spin on the idea. These beach mason jar terrariums are a fun-in-the-sun addition to your home decor! Whether you add them to a nautical-themed room for kids or even a bathroom, these mason jars are sure to pack a tropical punch. So, grab a few supplies and make your own in just minutes!
This one was originally posted over at Crafts Unleashed but I am posting it here in case y’all missed it. This is part of a series of mason jar crafts that I am sharing all week. You can see more from my partners for this series at the bottom of this post.
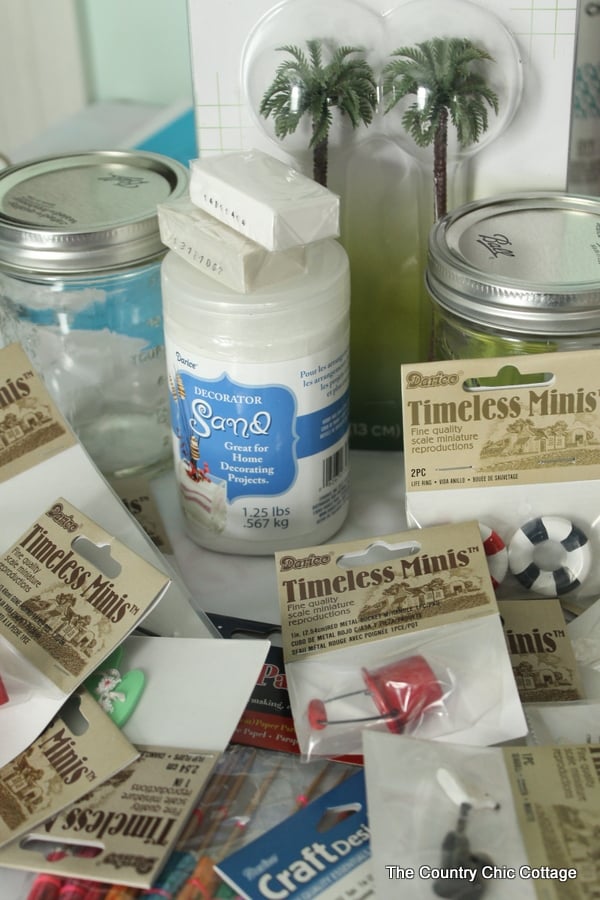
 Items needed to make your own beach mason jars:
- Mason Jars (I used wide mouth pints and regular mouth quarts – look for ones with smooth sides to make it easier to see inside)
- Various Miniatures (links to specific miniatures below)
- Diorama Palm Trees (if desired)
- Drink Umbrellas (if desired)
- Sand
- Clay or Styrofoam Balls (see two different methods below)
- Decoupage medium
- Hot Glue + Glue Gun
Methods for making your beach mason jars
I am going to start with the first of two methods for making these beach terrariums. Start with air dry clay and sand for the first method. Spread the clay out onto the mason jar lid as shown below and allow it to air dry.
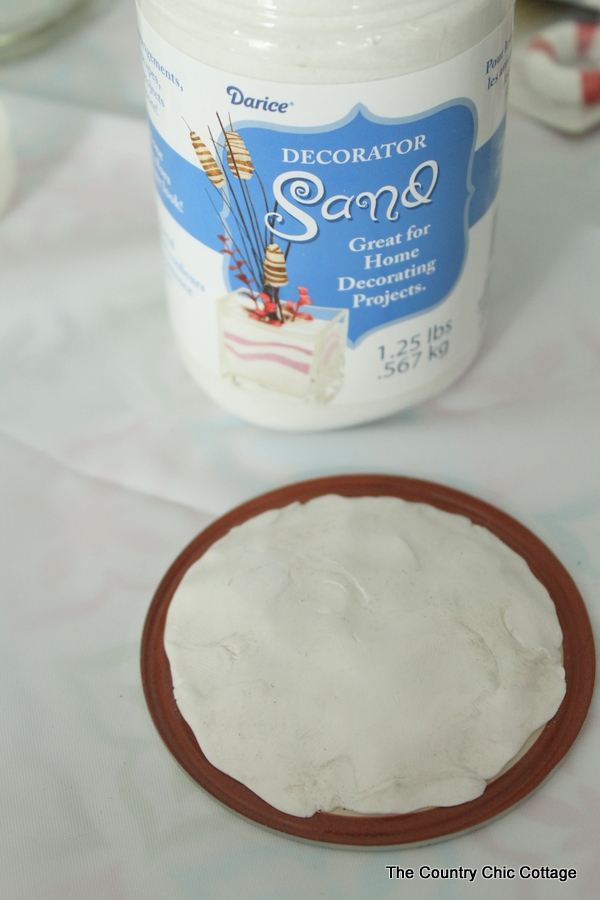
NOTE: Add hot glue to the bottom of the clay piece if it wants to lift off of the mason jar lid.
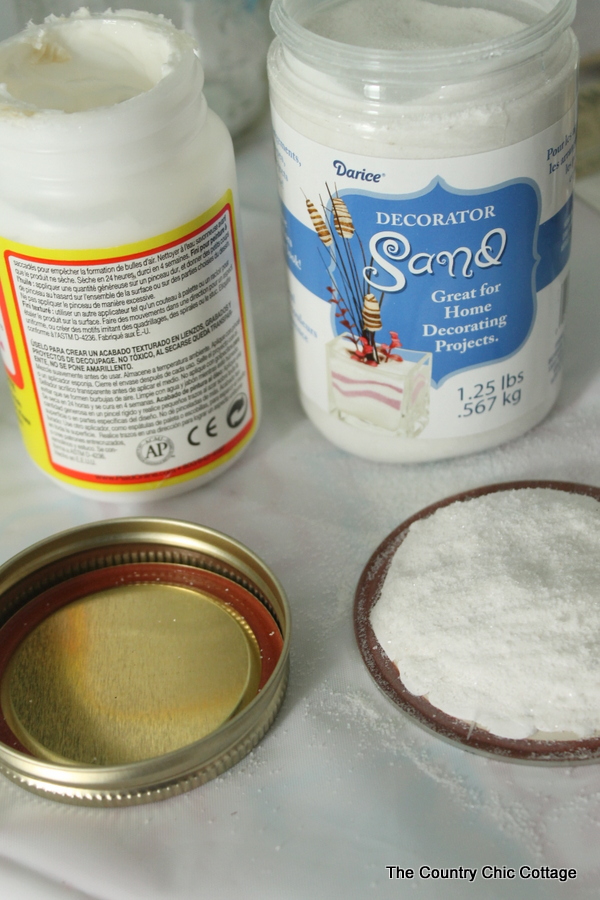
Next, cover the clay with a decoupage medium and adhere white sand to the surface. Allow it to dry completely before continuing.
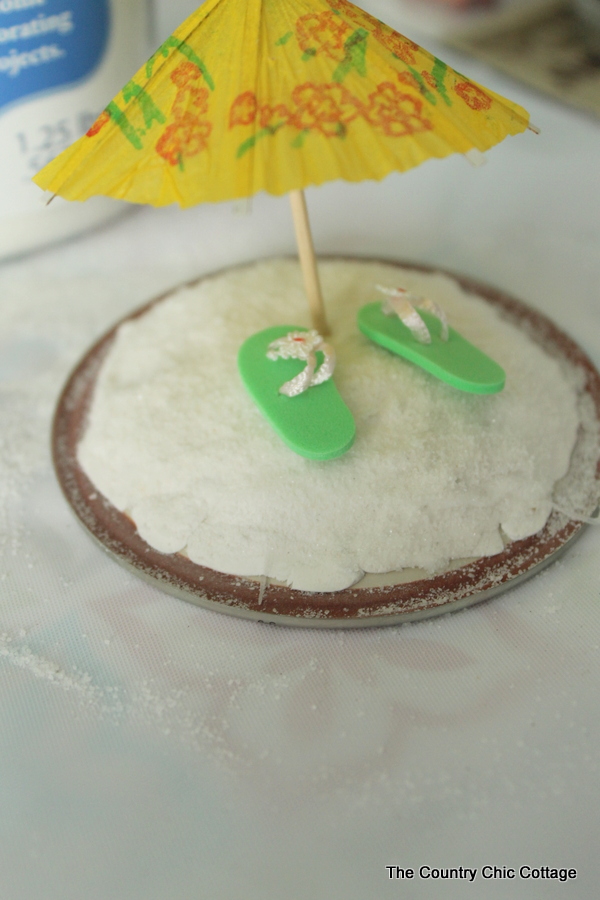
Add a variety of miniatures to your sand using hot glue. Sometimes you have to stick the miniatures with hot glue a few times as they do not want to stick to the sand. However, I did manage to get everything to work after a few tries.
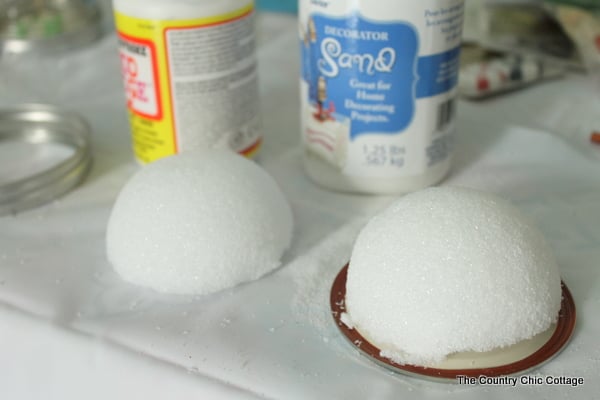
The other method is if you want a higher surface or multi-level look inside your beach mason jar. If so, the Styrofoam ball is the way to go. You can cut it in half and adhere it to the mason jar as shown below. This will give a “hill” or sand dune type appearance inside your jar.
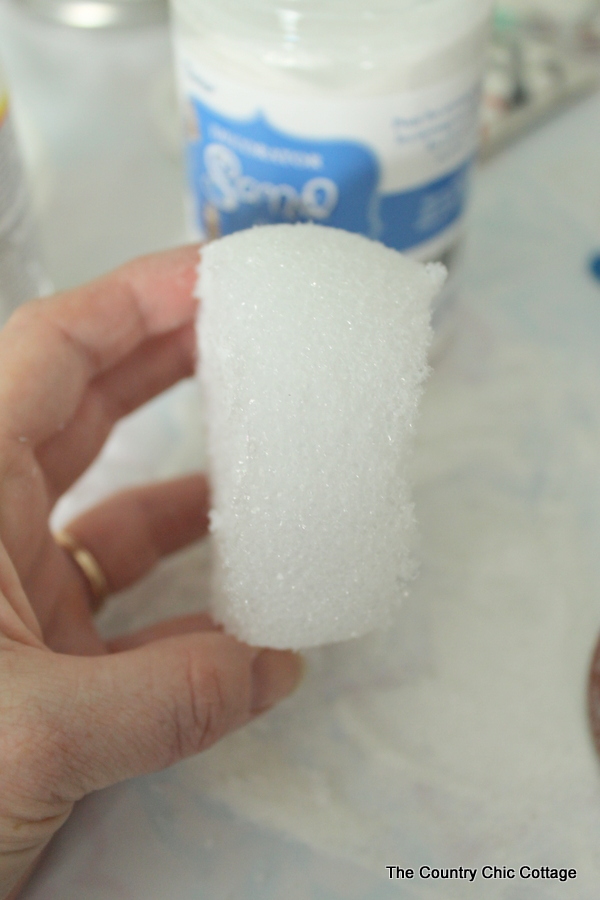
You can also cut a bit off of the top and bottom of the ball to make a flatter raised surface. I just used a serrated knife to cut the Styrofoam. Just adhere either one to the mason jar lid with hot glue, cover with decoupage medium, and add sand just as you did with the clay. Allow the entire thing to dry before continuing.
Equipment
- Decoupage medium
- Hot glue
Supplies
- Mason Jar (I used wide mouth pints and regular mouth quarts) (look for ones with smooth sides to make it easier to see inside)
- Sand
- Clay or Styrofoam Balls (See two different methods)
- Various Miniatures Use miniatures of your choice, but I have a few suggested below.
- Diorama Palm Trees If desired
- Drink Umbrellas If desired
Instructions
- I am going to start with the first of two methods for making these beach terrariums.
Method One: Air Dry Clay
- Start with air dry clay and sand for the first method. Spread the clay out onto the mason jar lid as shown below and allow it to air dry.NOTE: Add hot glue to the bottom of the clay piece if it wants to lift off of the mason jar lid.
- Next, cover the clay with a decoupage medium and adhere white sand to the surface. Allow it to dry completely before continuing.
- Add a variety of miniatures to your sand using hot glue. Sometimes you have to stick the miniatures with hot glue a few times as they do not want to stick to the sand. However, I did manage to get everything to work after a few tries.
Method Two: Syrofoam
- If you want a higher surface or multi-level look inside your beach mason jar, the Styrofoam ball is the way to go. You can cut it in half and adhere it to the mason jar as shown below. This will give a "hill" or sand dune type appearance inside your jar.
- You can also cut a bit off of the top and bottom of the ball to make a flatter raised surface. I just used a serrated knife to cut the Styrofoam. Just adhere either one to the mason jar lid with hot glue, cover with decoupage medium, and add sand just as you did with the clay.
- Allow the entire thing to dry before adding your miniatures/decorations.
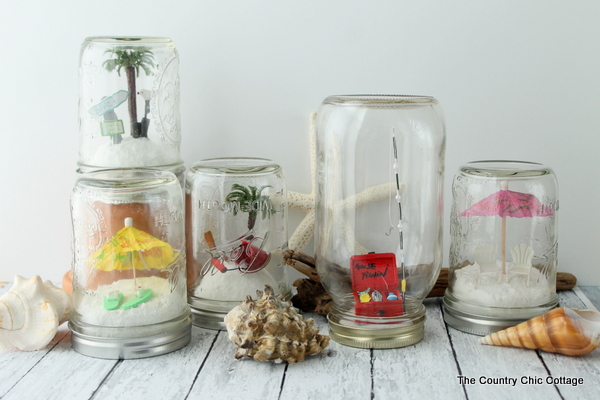
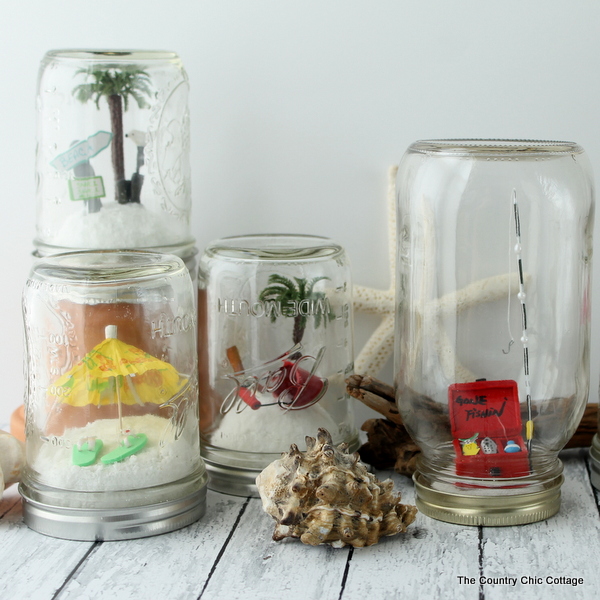
My beach mason jars!
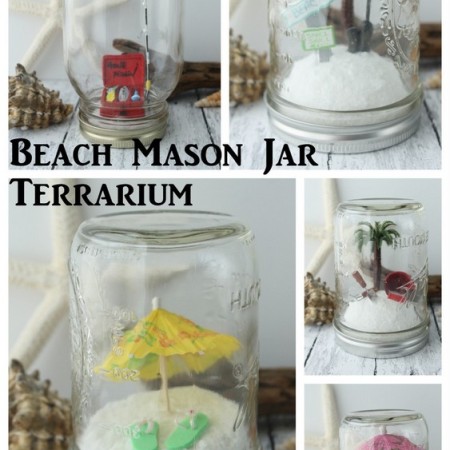
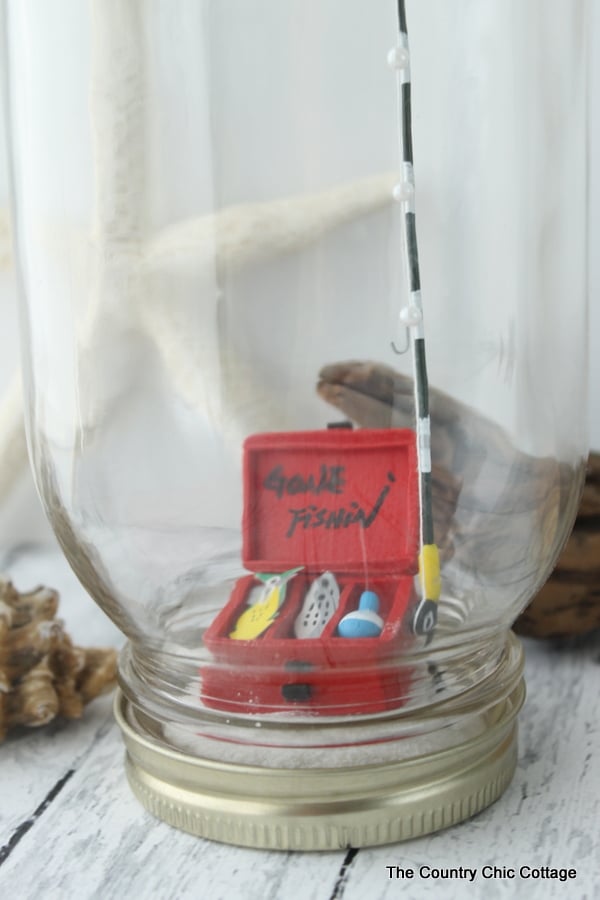
Now, let’s look at each of the beach mason jars that I made for my home. First up is the gone fishing mason jar.
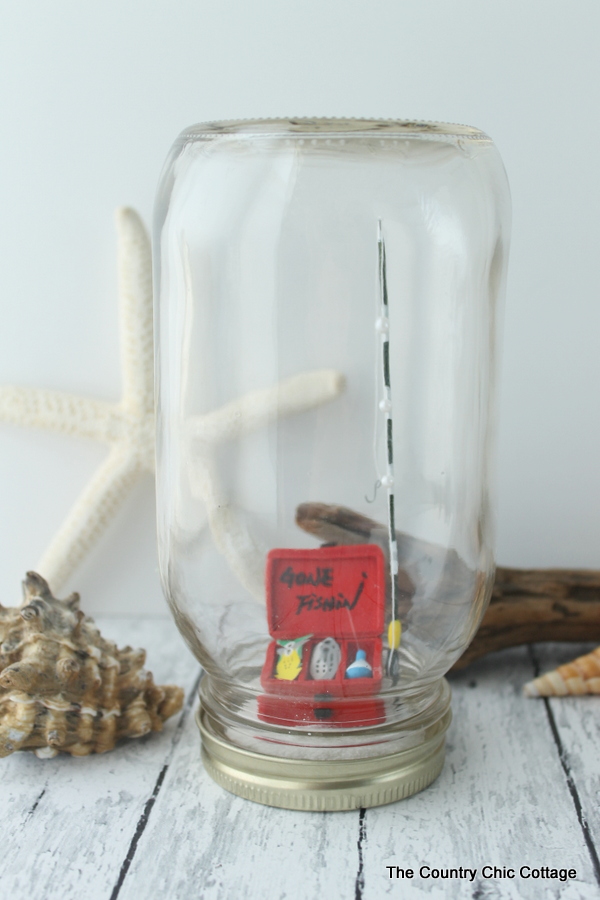
For this version, purchase the miniature tackle box and fishing rod. This one would make a great Father’s Day gift as well y’all!
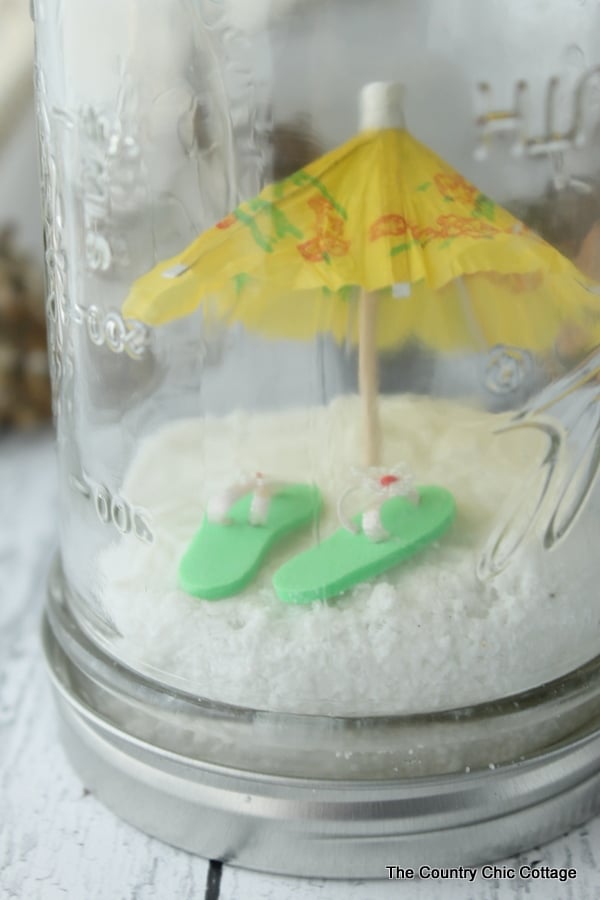
Next up – the flip-flops on the sand beach mason jar. This one would be great in a little girl’s room.
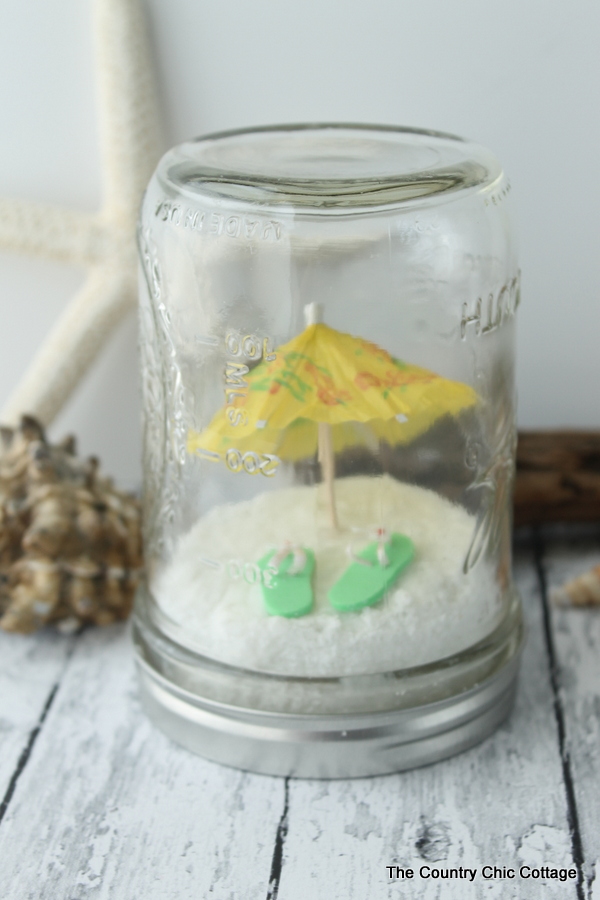
Just add one of the drink umbrellas linked above plus a pair of miniature flip flops.
Have someone that loves to dig in the sand? This next beach mason jar terrarium is perfect!
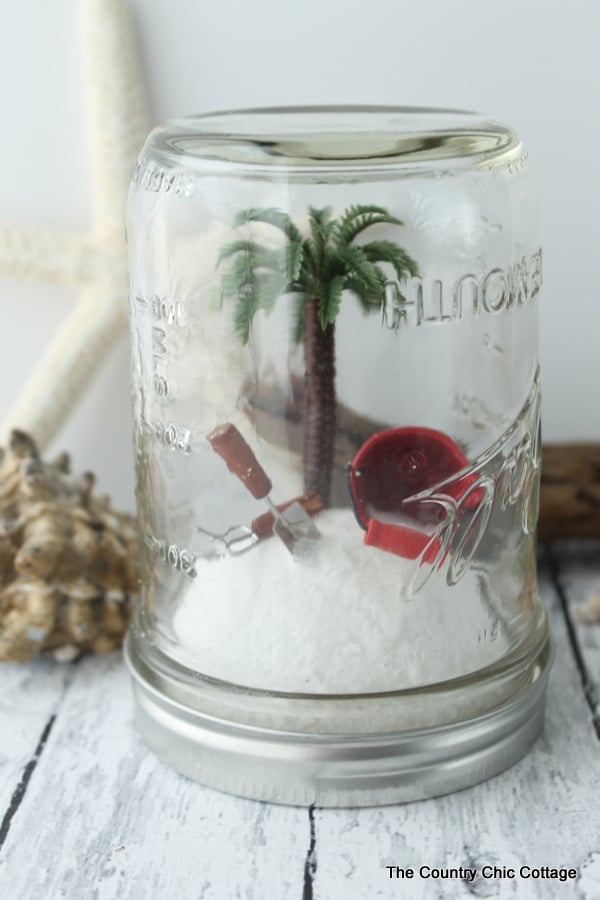
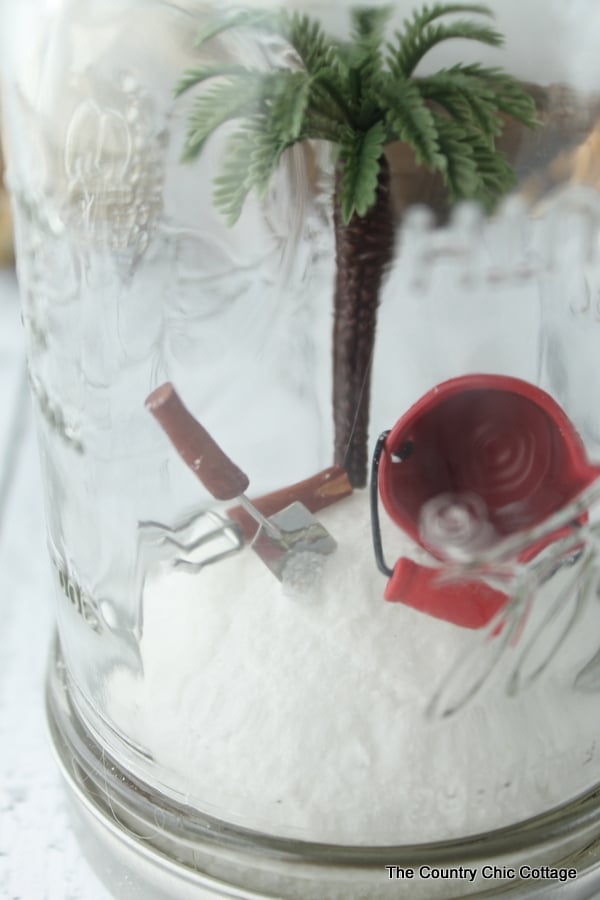
Start with one of the palm trees linked above. You will have to cut it off some in height to fit in the mason jar. Then add in the miniature red bucket and garden tools. You can add a bit of decoupage medium and additional sand to the tools and bucket to make it look like they are being used.
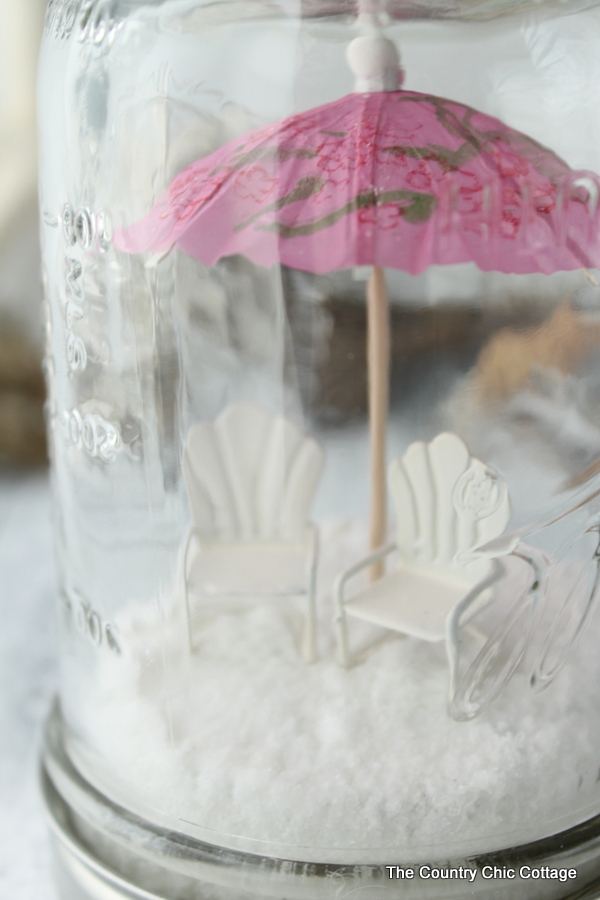
If you love to sit on a beach chair and relax, try using miniature chairs in your beach mason jar.
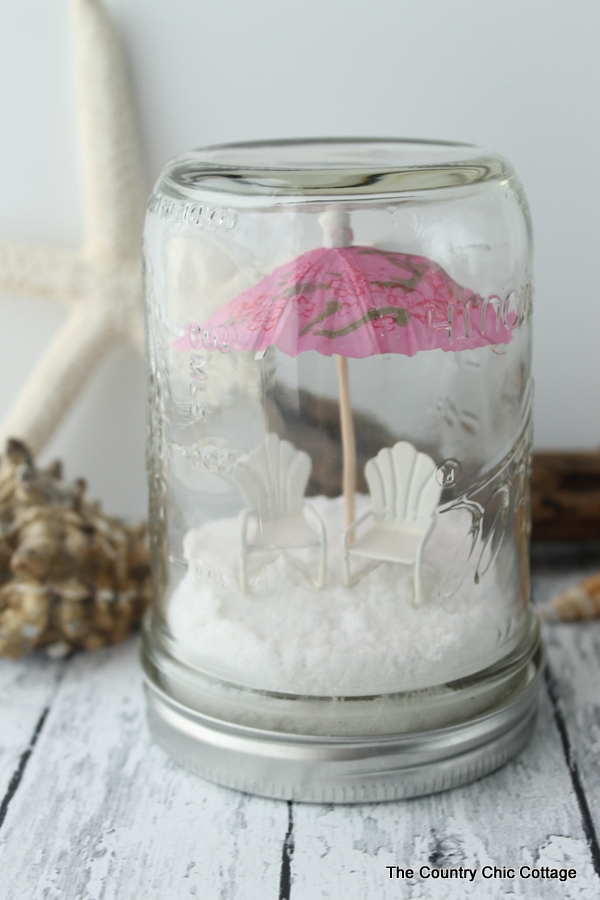
Grab one of the drink umbrellas plus two of the miniature lawn chairs to complete this fun craft project.
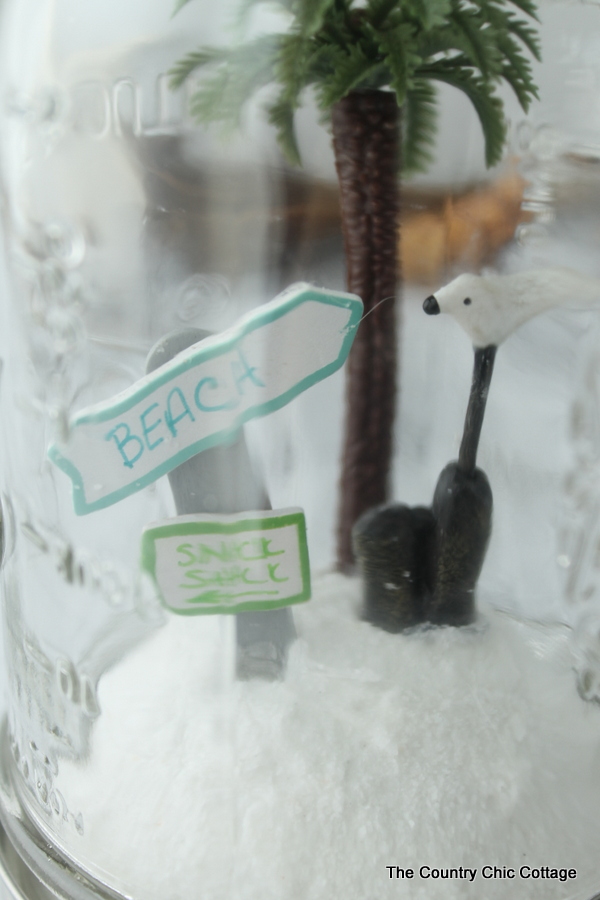
Finally, there is the “which way is the beach” mason jar. A fun beachy jar with miniature signs.
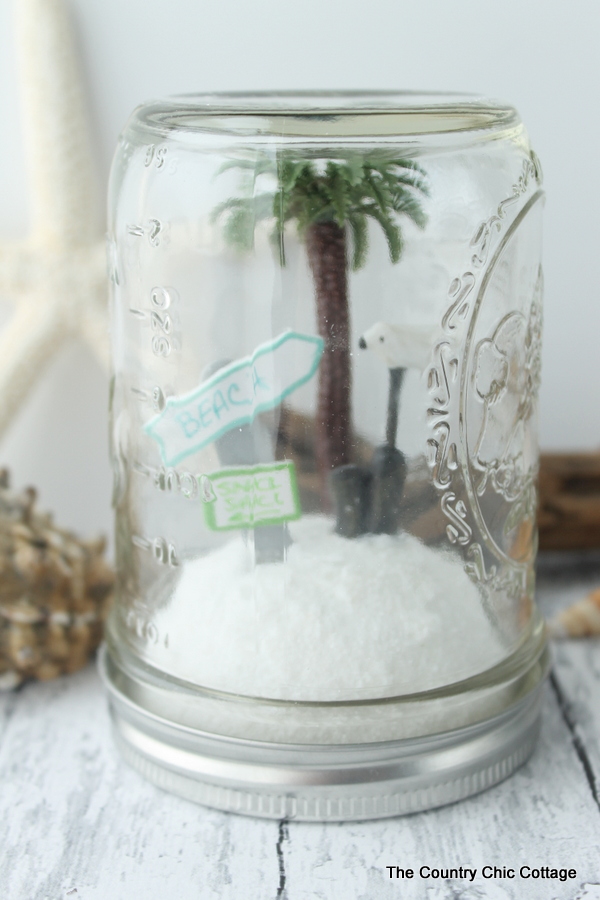
Start with one of the diorama trees cut off in length. Then add in the miniature seagull and signs. I just wrote on the signs with a Sharpie marker.
Your turn to make your beach mason jar!
Which of these fun beach mason jars will you try to make for your home? I love all five, and the beauty is that there are so many miniatures that you can absolutely come up with your own combination.
Y’all have fun and enjoy this project by yourself or even with your kids. They will love creating a beach mason jar of their very own.
Need more summer mason jar crafts?
Check out the links below for some more summer mason jar crafts from my blog partners in this series!
A Year of Jar Crafts

Sign up for our email list to get a FREE book with an entire year of jar crafts! 12 months, 12 crafts, tons of fun!


Oh my word those are ADORABLE!!! Pinned!
Did the sign Beach come in the kit or was it something you made?
The signs are prepainted but I write beach on them with a marker.