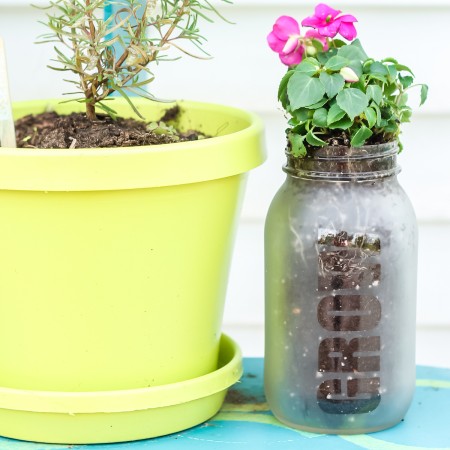
This etched jar is the perfect gift idea for someone who loves to garden! Made from a mason jar, the jar is filled with gardening goodies and is such a sweet gift for someone special. Mason jar etching is an easy way to turn a plain jar into something extra special.
You can even gift gardening supplies in this jar and turn it into a unique gift idea. After the gift has been given, the recipient can also use this as a mason jar planter.
This was first published on May 15, 2015, however, I am republishing it with more information.
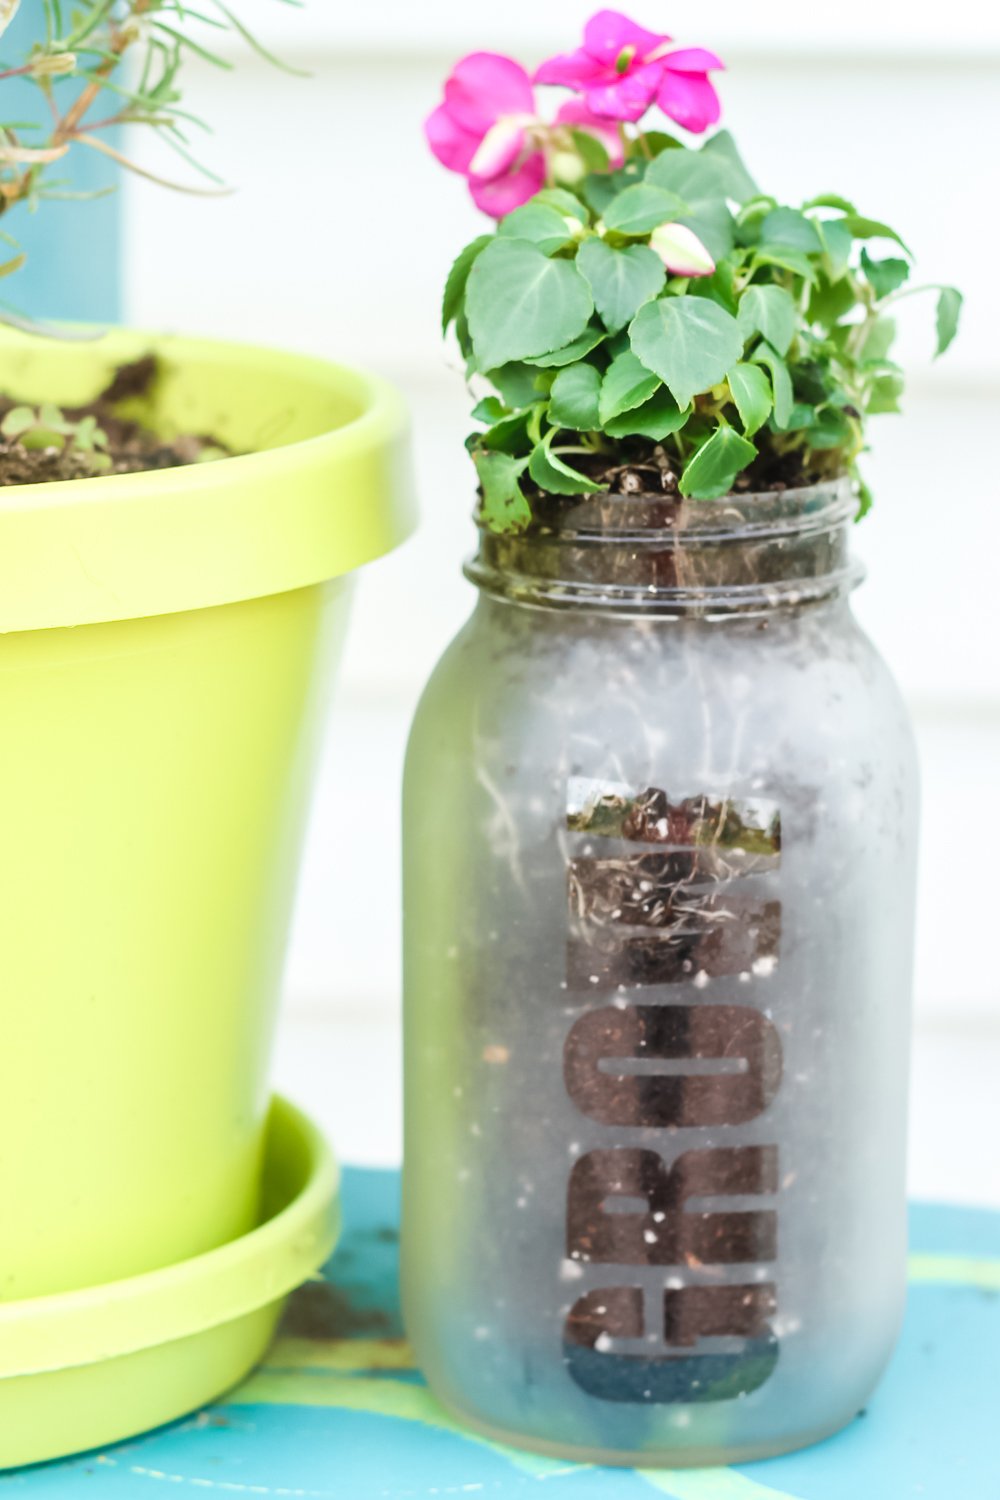
This project idea can be a gift and also a planter y’all! I love a gift container that can be reused by the recipient. Or just use this mason jar etching technique to make custom planters for all around your home this summer.
Mason Jar Etching
Y’all know I love a good mason jar gift, so when this idea popped in my head I ran with it. You can even fill this jar with gardening supplies, like these DIY garden markers or gnome-painted garden rocks.
Supplies needed:
- Quart mason jar (I love these smooth sided ones from Ball)
- Vinyl in white
- Vinyl transfer tape
- Cricut machine, or other means of cutting word from vinyl
- Etchall or any other brand of etching cream
- Etchall Squeegee
- Paint brush
- Protective gloves
- Decorations for the top and gift items for inside if giving as a gift
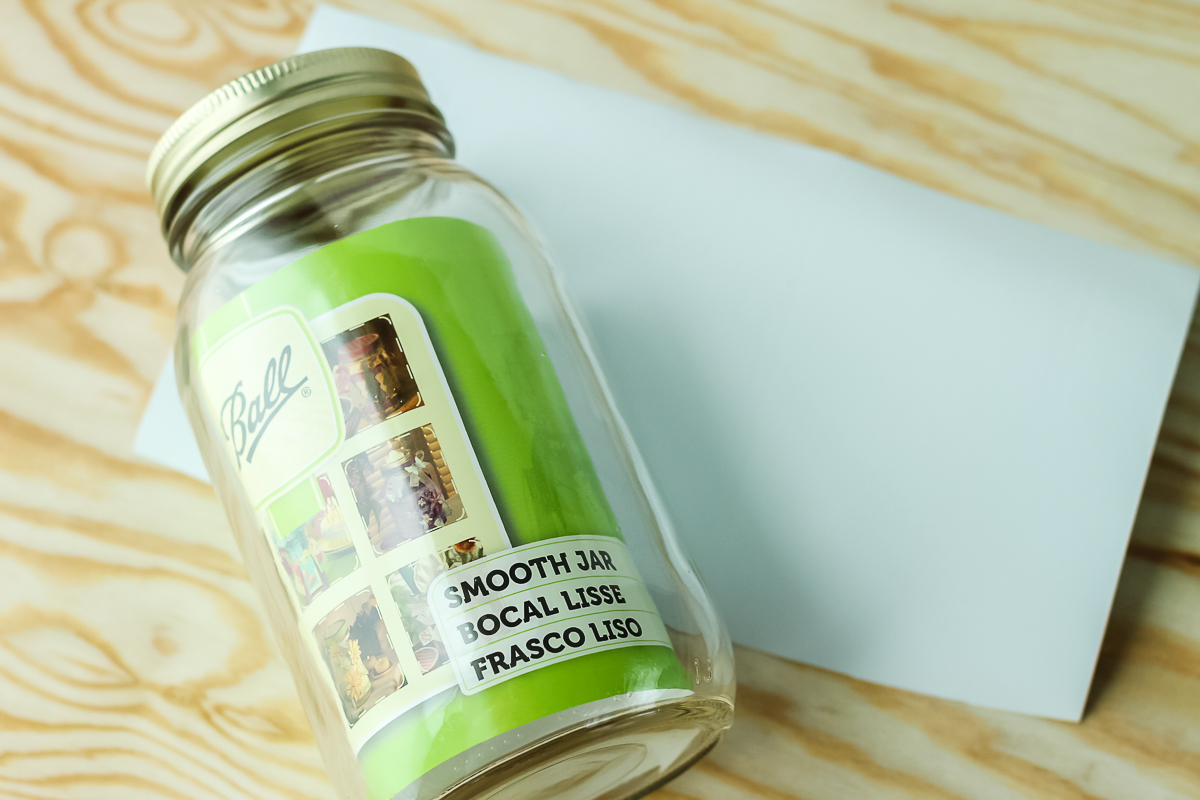
Adding Vinyl to the Jar
Start by cutting the word “GROW” from the vinyl on your Cricutr. Choose any font that you love and add it to Cricut Design Space. See more about working with fonts on a Cricut here.
Resize the font to fit your jar then click “Make It”. Vinyl can be cut with any Cricut machine so use what you have!
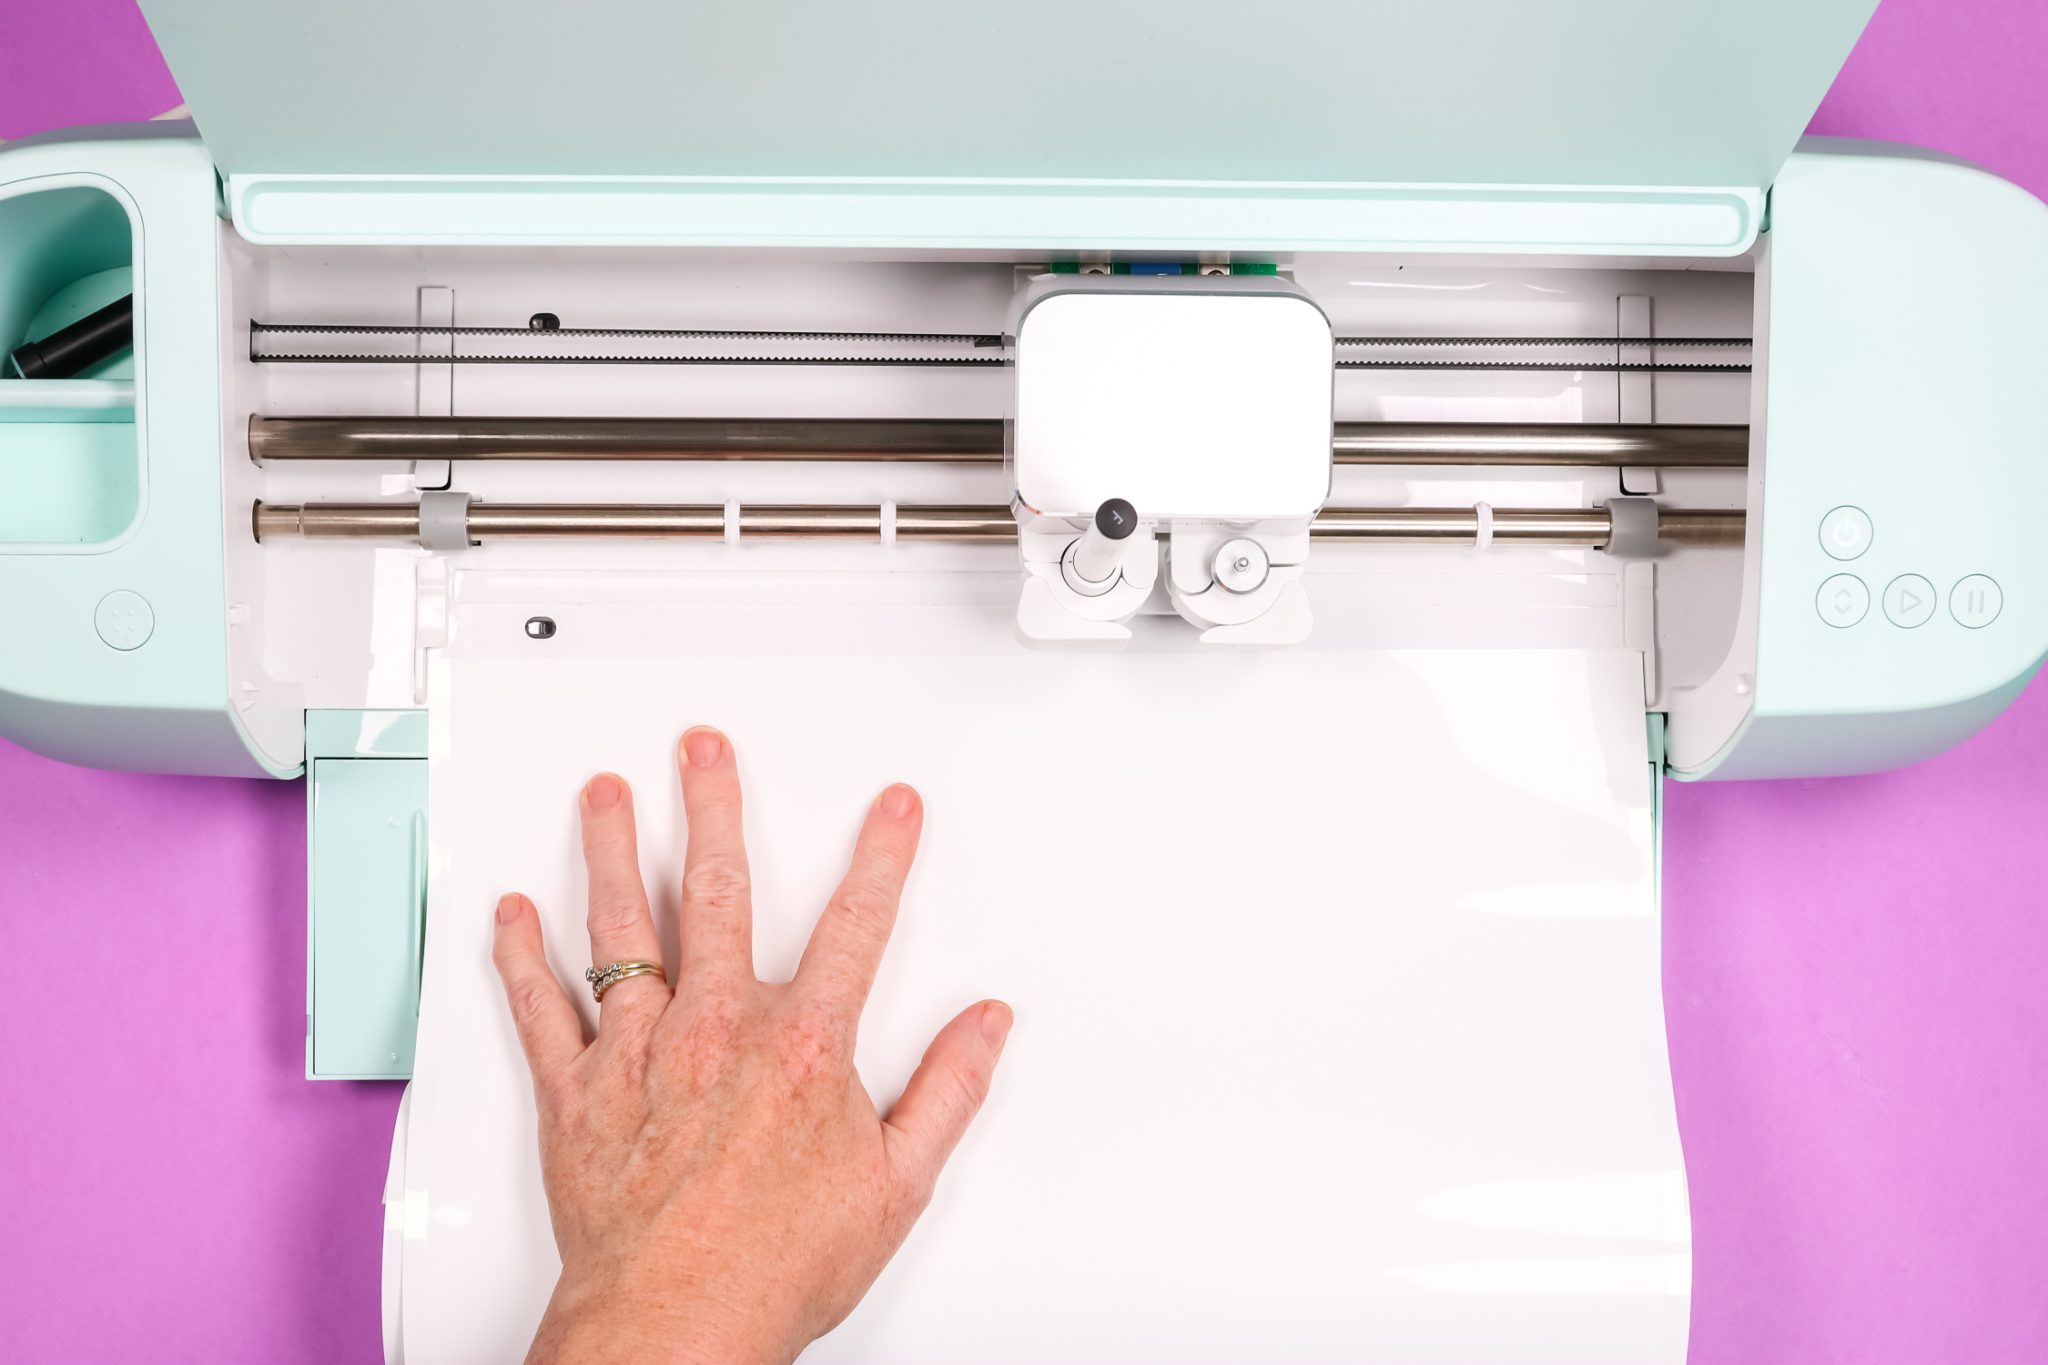
Add your vinyl sheet to your Cricut mat then press the arrow on the machine to load. Cut the material on the vinyl setting then remove the sheet from the machine. You do not need to mirror your design in this case.
If you have the Cricut Explore 3 or Cricut Maker 3, you can use Smart Vinyl so you do not have to use a mat when cutting.
Remove the outside from the vinyl word and any letter “middles” (like the O). For this etching project, we are going to etch the ENTIRE container, so we want the words to be left without etching cream.
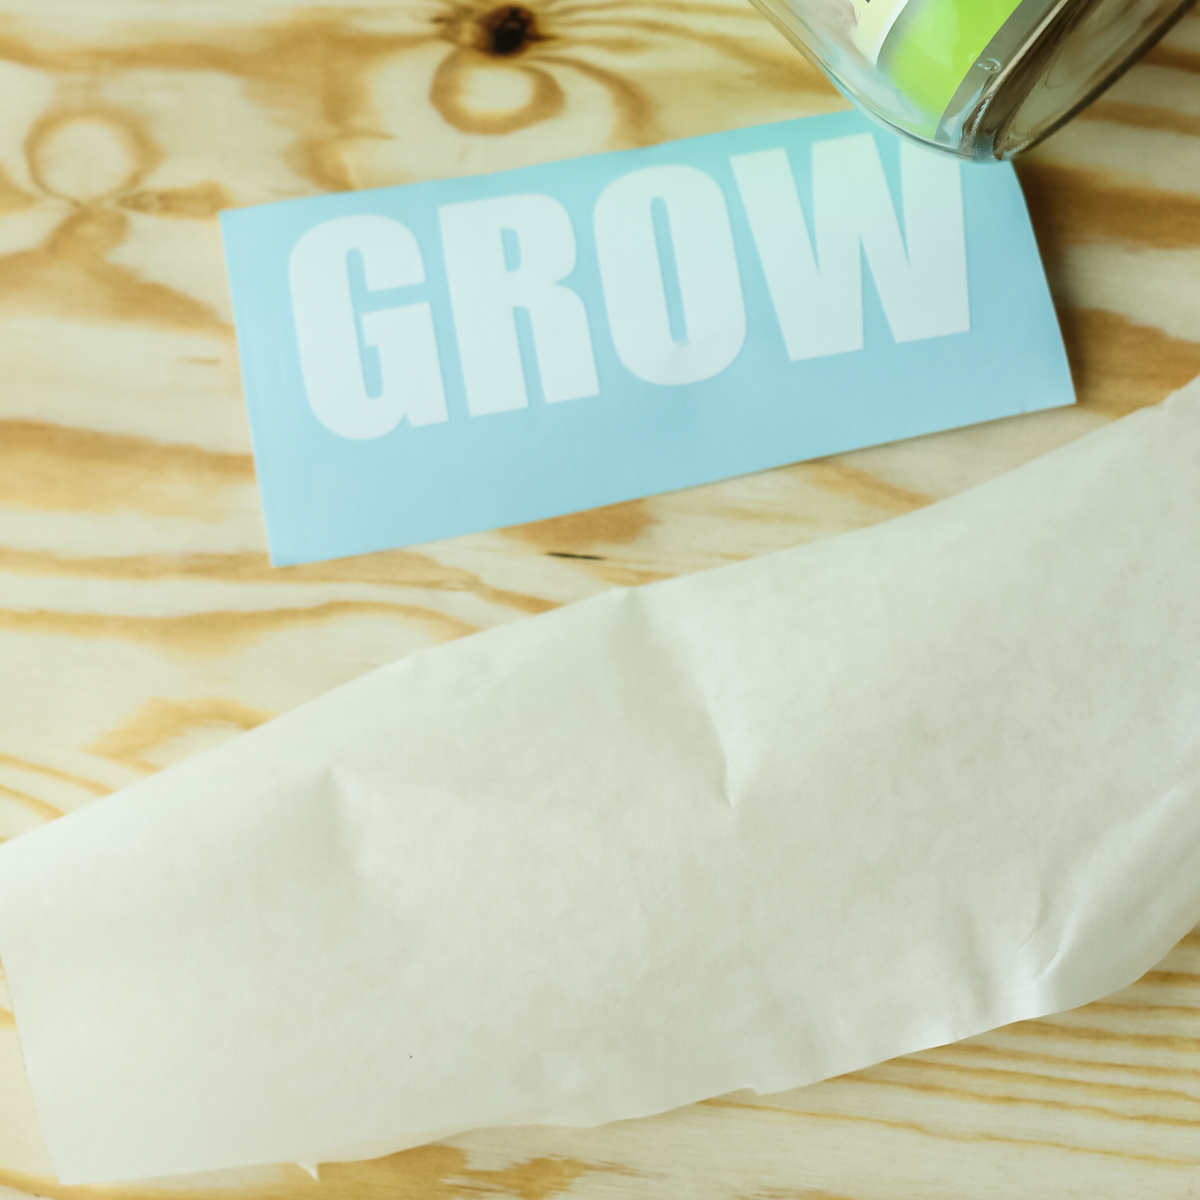
Apply the transfer tape to the top of the vinyl and burnish well. Then remove the vinyl from the backing leaving it on the transfer tape.
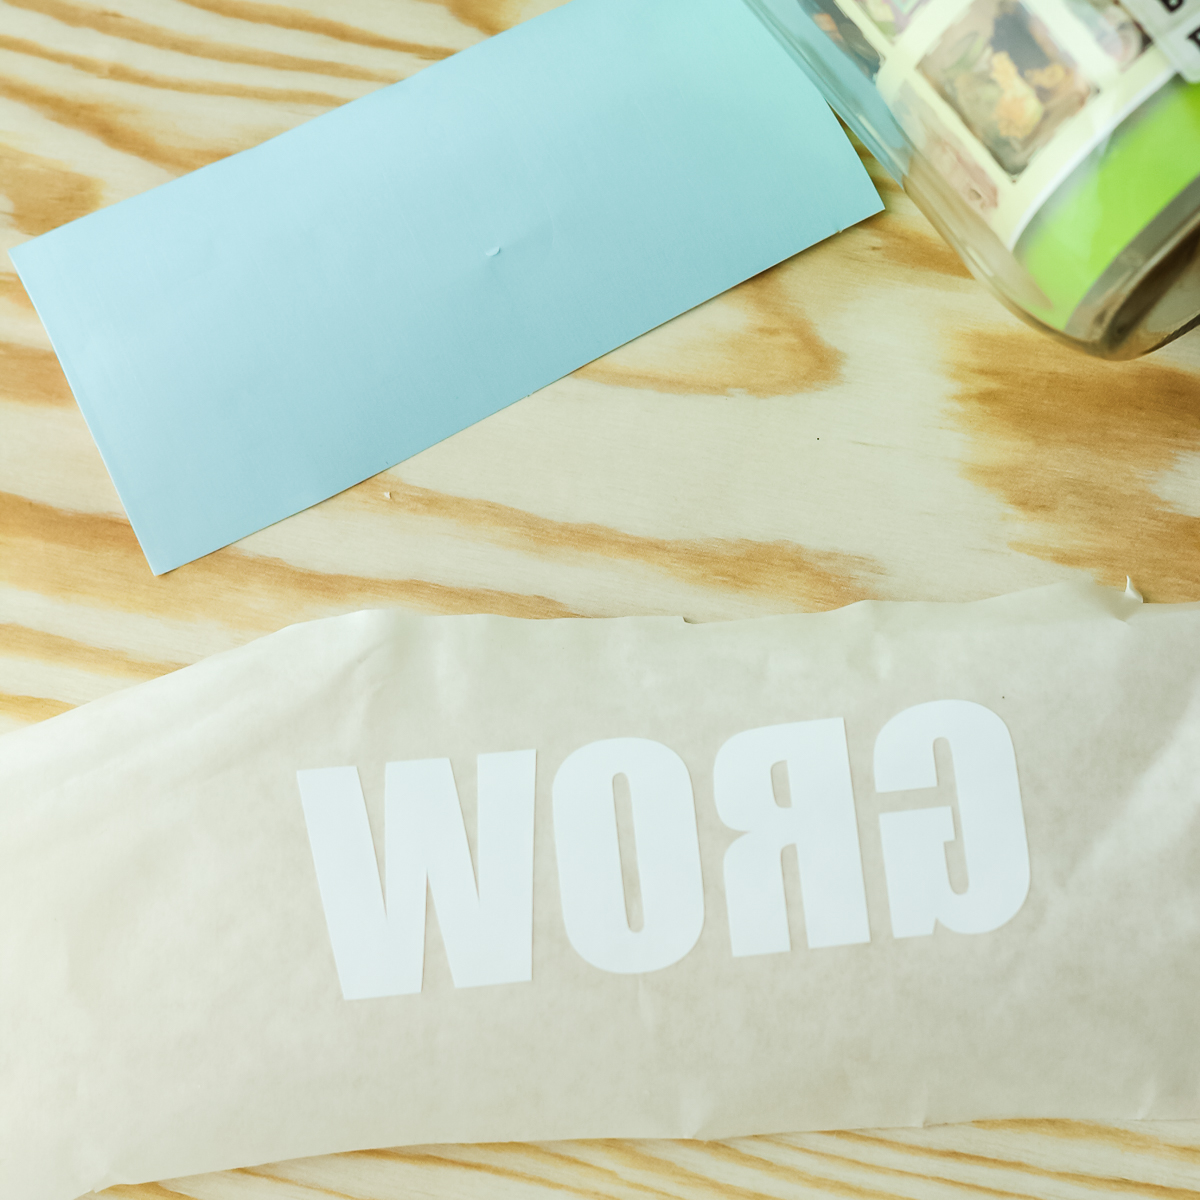
Apply the vinyl to your jar and press down really well. Make sure it is completely adhered along all edges. This is very important for crisp lines in your etching.
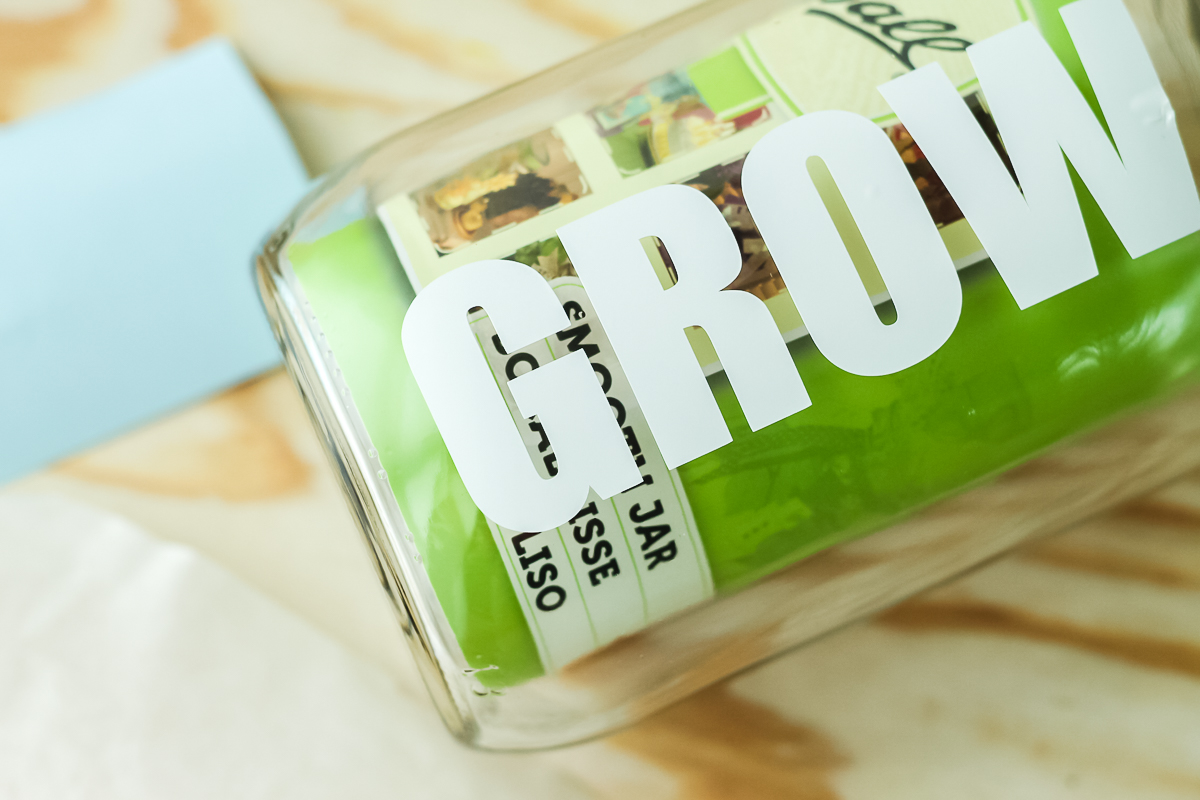
Etching Glass
A few notes about Etchall etching cream. It is actually reusable. So while I am going to apply a REALLY thick layer of cream, it is just going back into the jar for even more etching fun in the future. Be sure to read the instructions on the bottle and wear gloves when working with chemicals like these.
Use a brush to go around the letters with a thin coat to start. This will help to prevent bleeding under the vinyl.
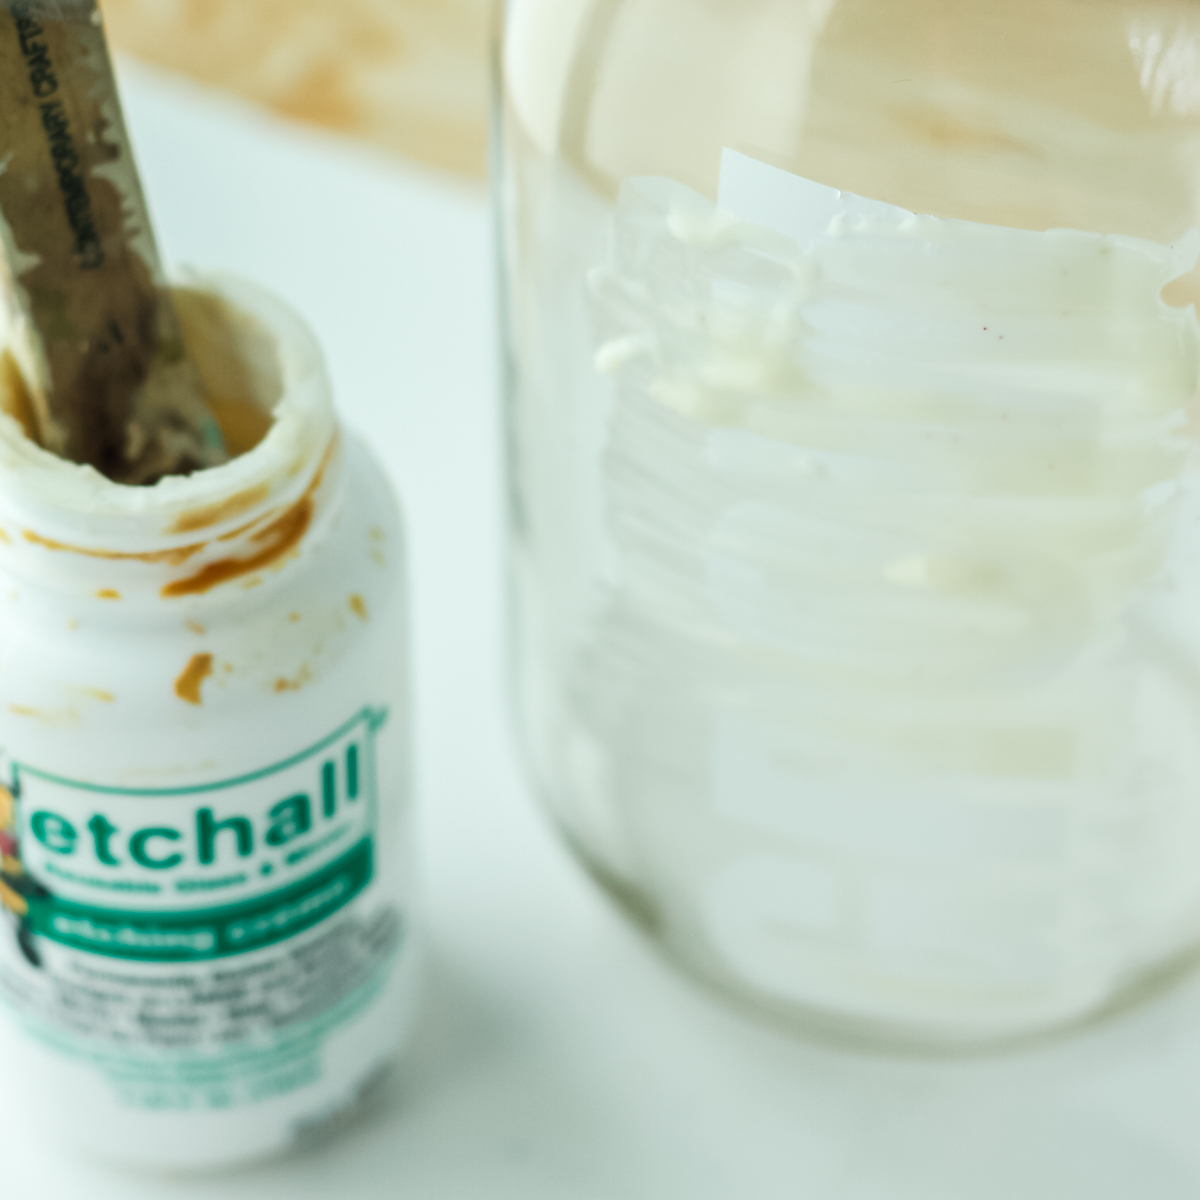
Then apply a REALLY thick layer over the entire jar. Use the squeegee to make sure it is even. Then turn on your timer for 15 minutes and allow the jar to sit.
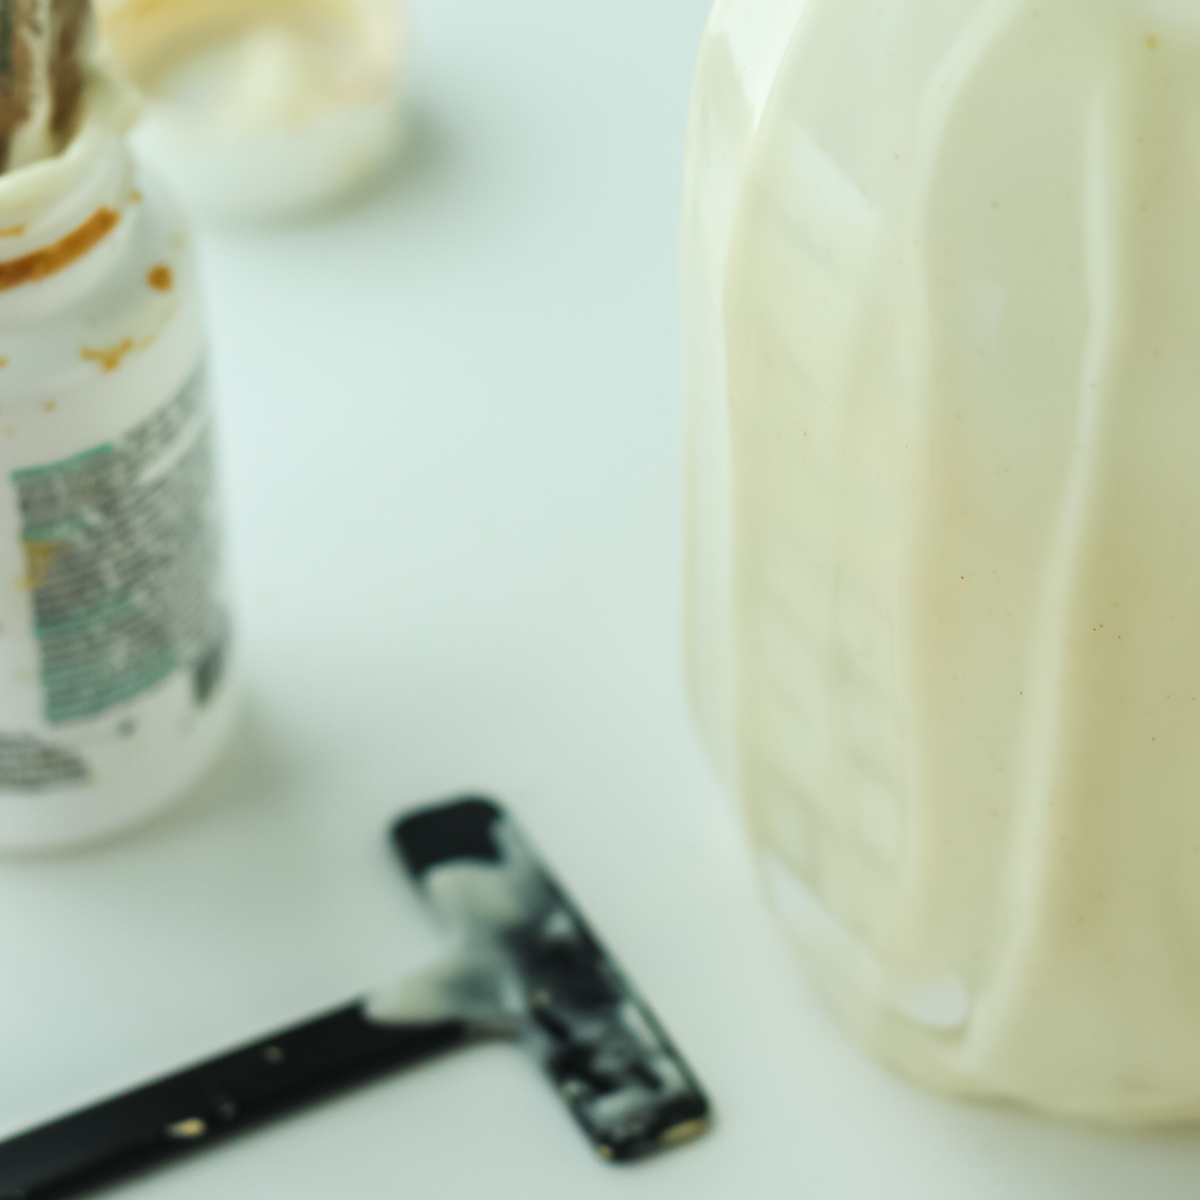
Come back and remove the Etchall with your squeegee and put it right back into the bottle to use again next time. Wash away the residue and your mason jar etching is complete. You can now use your jar as a planter or add in some goodies for a fun gift.
Gardening Gift idea
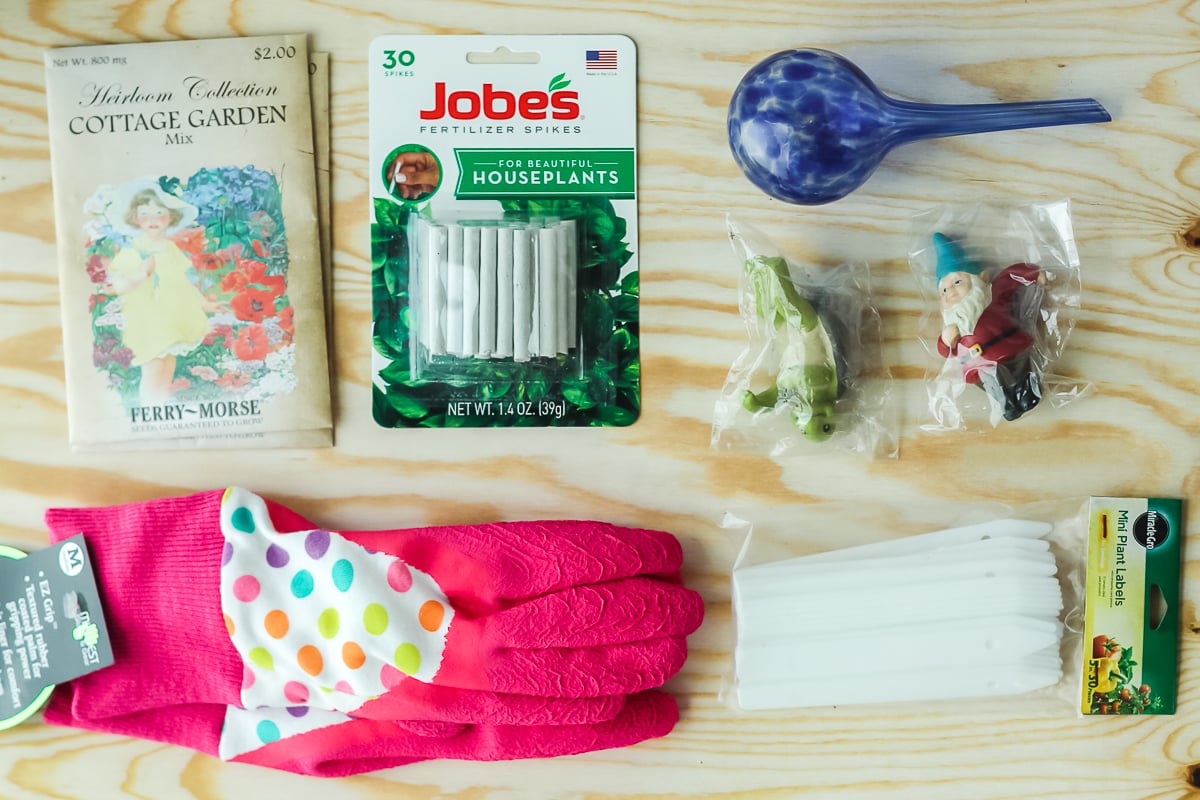
You can add a few items inside of this jar and gift it as a gift. Here are a few items that will work well in this gift in a jar idea:
- garden gloves
- seeds
- fertilizer spikes
- plant markers
- potter plant hangers
- bulb watering devices
- mini clay pots
- garden flag
- fairy garden supplies
- anything you find that will fit in a jar!
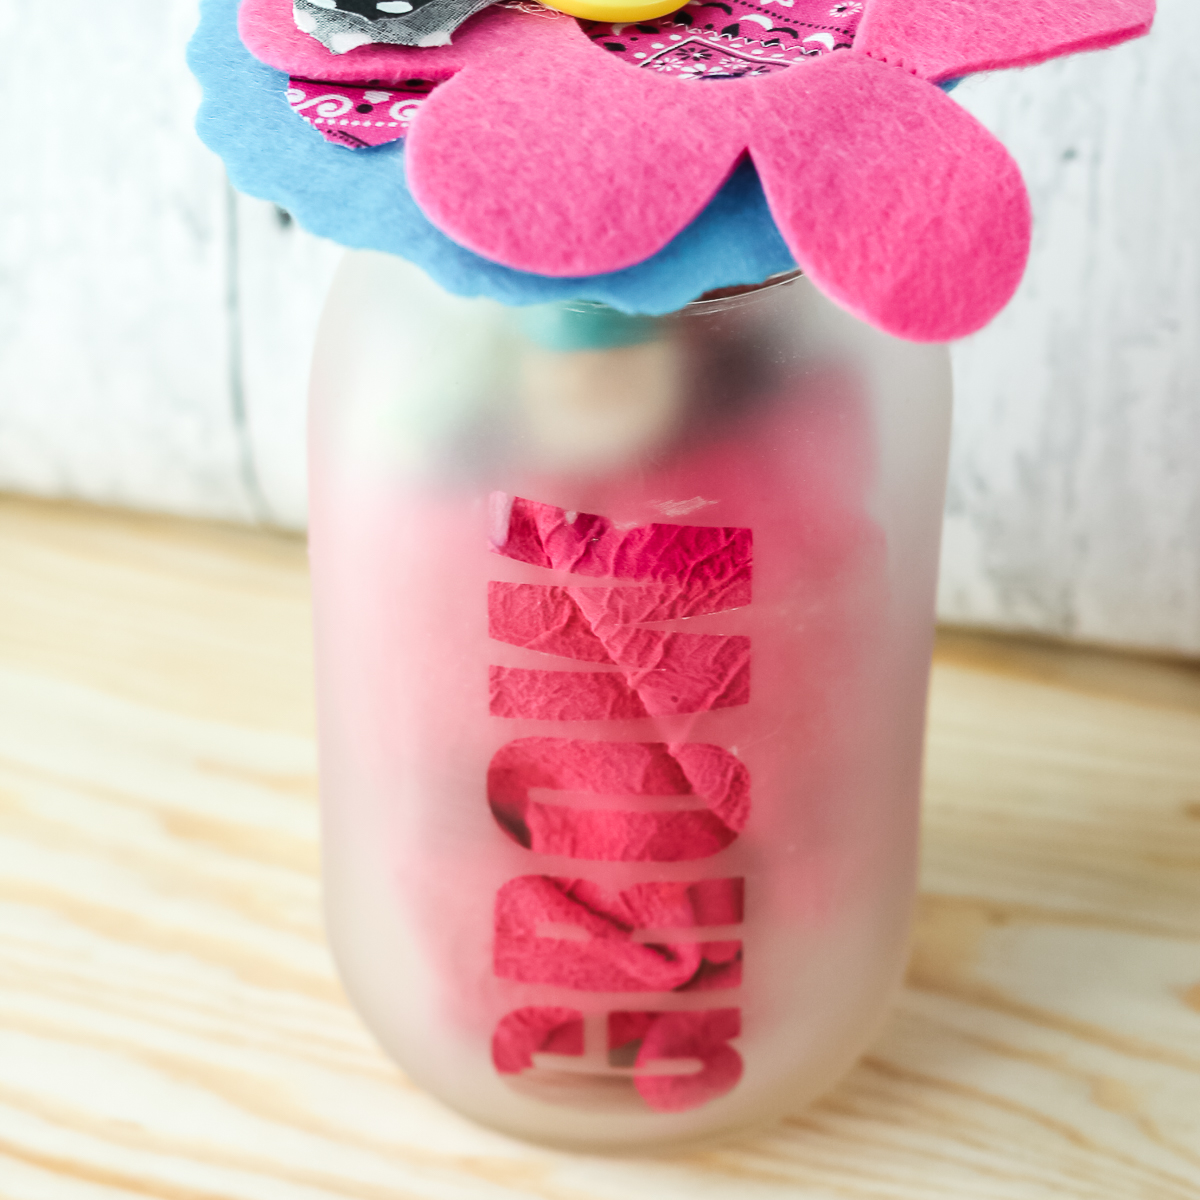
Add your items to the inside of the jar. I topped mine with a cute felt flower but you can add whatever you want to the top. You can even make a small fairy garden jar topper.
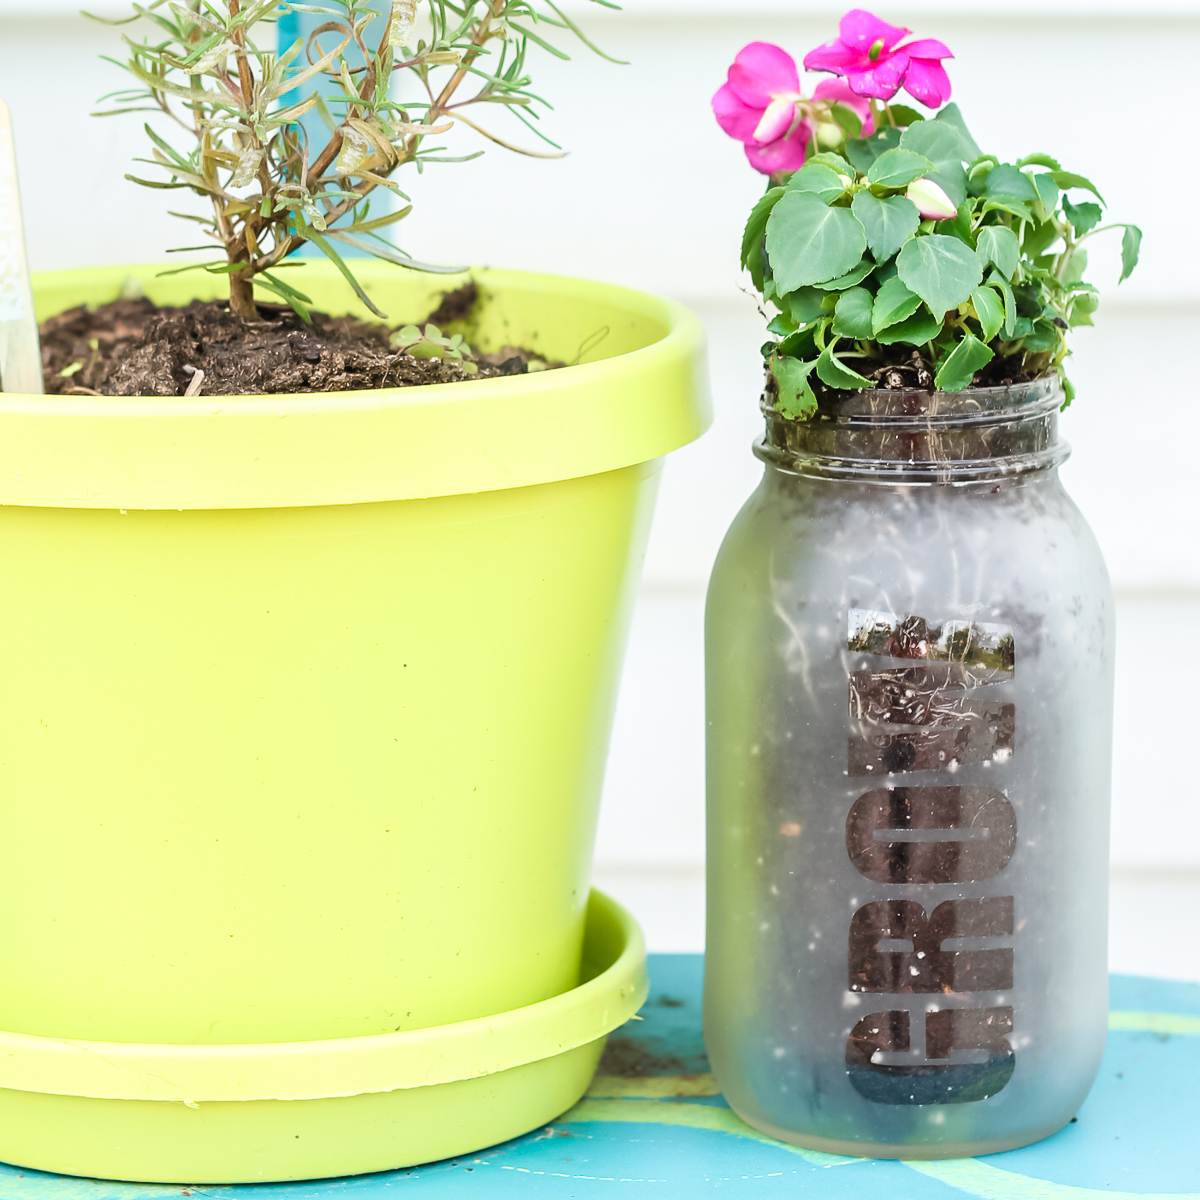
The best part of this garden gift in a jar is that you can use it as a planter after the gift is opened. I need a dozen or so of these great jars for my back porch! Be sure to add some rocks to the bottom of the jar before you add in the dirt for some drainage.
You can even change up the words that you etch on the jar to make some fun and custom mason jar planters. Let your imagination run wild and have fun with this one. I hope y’all have enjoyed this fun idea for a garden gift in a jar. Anyone in your life that has a green thumb needs this gift idea!
Need to print the instructions for this project? You can use the card below!
Equipment
- Protective gloves
Supplies
- Quart mason jar Smooth-sided ones work best for this project.
- Expressions Vinyl in white
- Expressions Vinyl transfer tape
- Etchall
- Etchall Squeegee
- Decoration for top and gift for inside
Instructions
- Start by cutting the word “GROW” from the vinyl on your craft cutter. Remove the outside from the vinyl word and any letter “middles” (like the O).
- Apply the transfer tape and remove the vinyl from the backing.
- Apply the vinyl to your jar and press down really well. Make sure it is completely adhered along all edges.
- Apply thick layer of etching cream. Be sure to read the instructions on the bottle and wear gloves when working with chemicals like these.
- Turn on your timer for 15 minutes and allow the jar to sit. Come back and remove the Etchall with your squeegee and put it right back into the bottle to use again next time. Wash away the residue and you are ready to assemble your garden gift in a jar.
- Add your items to the inside of the jar.
Notes
- seeds
- fertilizer spikes
- plant markers
- potter plant hangers
- bulb watering devices
- mini clay pots
- anything you find that will fit in a jar!


Hi Angie, I subscribe to your email and today I wanted to download your kitchen sign “Menu Eat it or starve” but when I clicked on it, it asked for my name and email. Then I got a message “thanks for subscribing” I hope this doesn’t mess up anything. Sincerely Barbara
You didn’t mess up anything. You should have the download in the email you entered. This is how I send out the free downloads automatically 🙂