As summer begins to wind down, it’s time to begin preparing for a new school year. In addition to your back-to-school shopping, make this back-to-school countdown calendar to help your kids be mentally and emotionally prepared too!
A new school year will be here before you know it. As you start to wrap up the summer and your kids start getting excited about school, a fun back-to-school countdown calendar can help kids contain their excitement for that first day back.
This is perfect to help you relish those last days of summer. Each container contains a fun activity for you to do with your kids to help make life-long memories before the summer is over.
If you’re looking for some amazing back-to-school craft ideas, check out my Back to School Teacher Gift Idea, First Day of School Signs, School Supplies Tower (that you can label with your Cricut). Don’t forget to check out these Back to School Cupcakes!
Note: This craft was first posted over at Crafts Unleashed, but I am publishing it here in case you missed it.
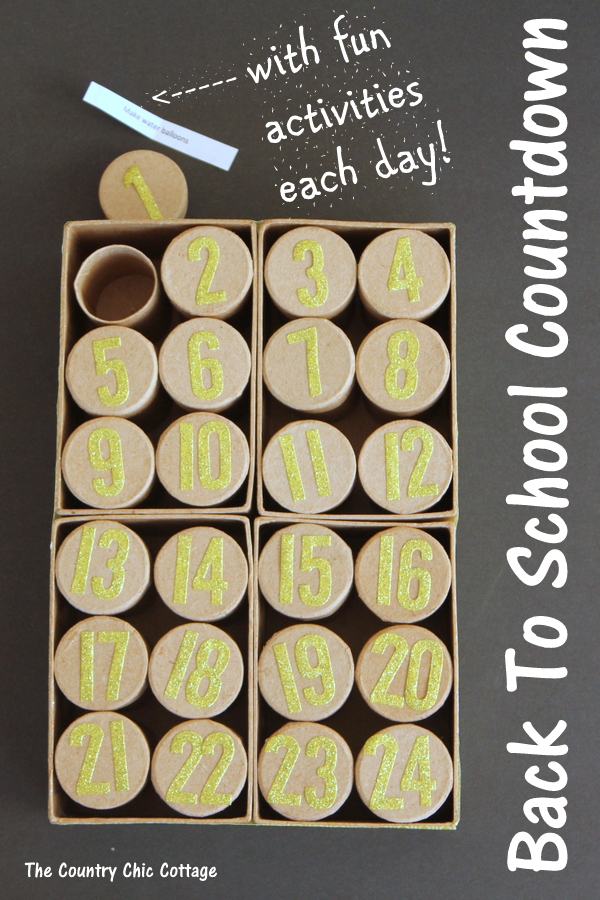
Supplies Needed To Make A Back-To-School Countdown Calendar
Here’s a complete list of all the supplies you will need to do this project! I’ve included links to items that you may not readily have on hand.
- 6 Pack of Small Paper Mache Boxes (need 4 sets)
- Number Stickers (need 2)
- We R Memory Keepers Washi Tape Sheets
- Mod Podge (I used Sparkle Mod Podge)
- Hot Glue Gun
- Printed List of Activities (you can print ours by clicking here or make your own)
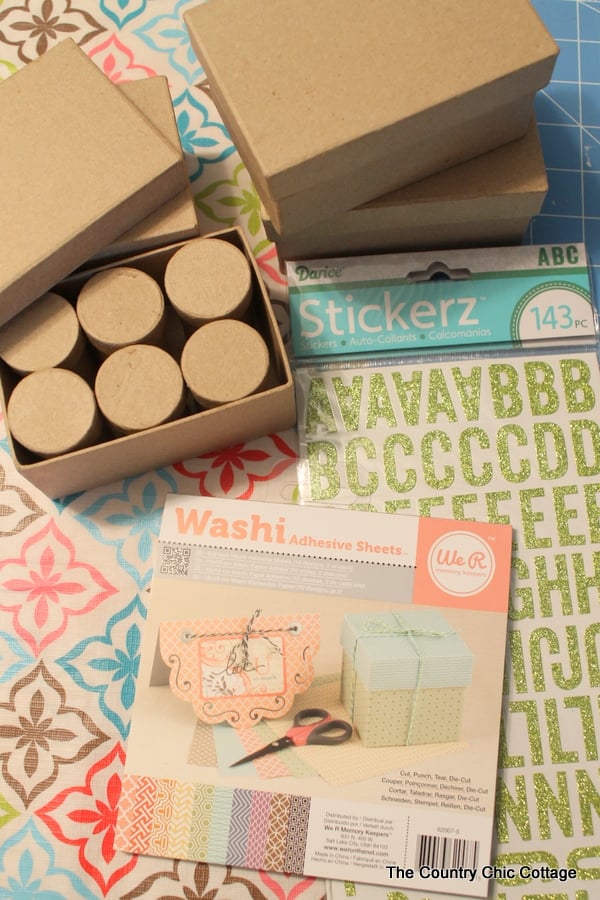
How To Make This Back-To-School Countdown Calendar
The process for putting together this countdown calendar is simple. Follow this step-by-step guide!
Step 1
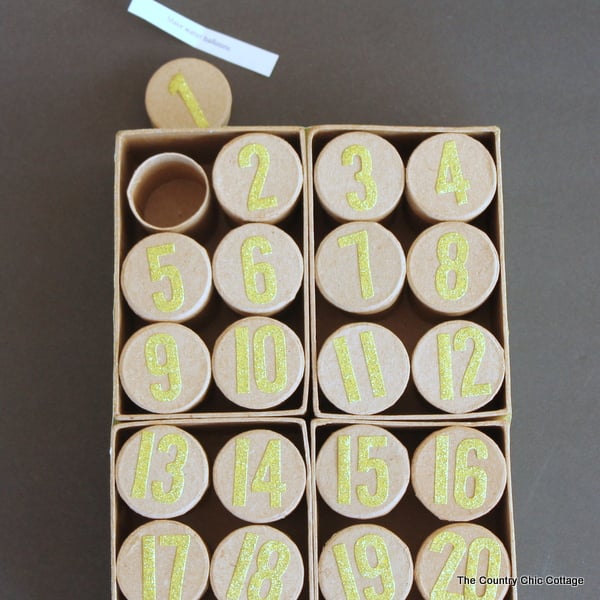
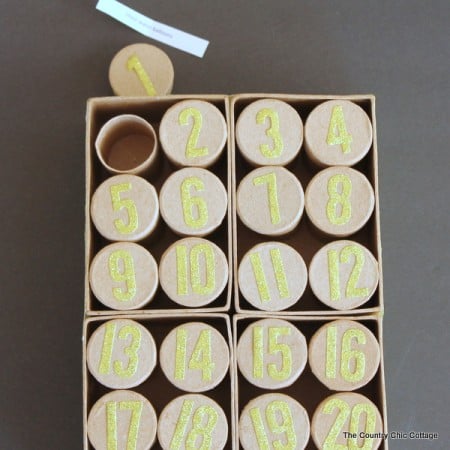
First, remove the tops from the boxes and discard or re-purpose them for another project. Go ahead and glue the box bottoms together with hot glue.
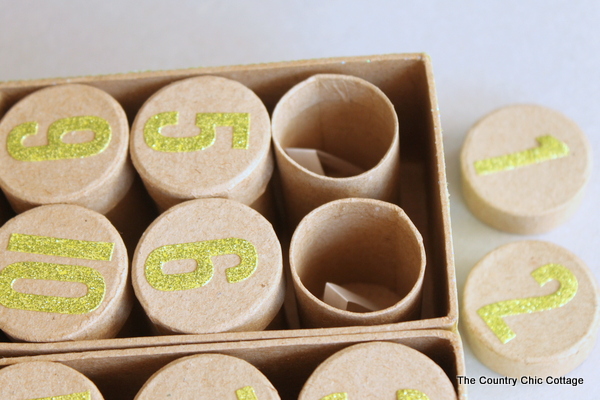
Then, add numbers to the tops of the small paper mache cylinders with the stickers.
Note: In order to just use two packages of stickers, I had to get a bit creative. For example, the letter “I” makes a great number one. The bottom of a “Z” paired with the top of a “U” makes a great number two. I had to think outside of the box a little, but the two packages of letters worked just fine.
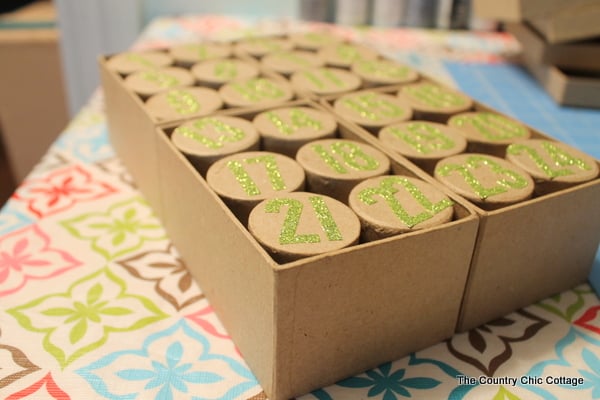
Step 2
Next, use the washi tape sheets to cover the sides of the large box you created by gluing the small boxes together. For me, three sheets were enough to completely go around the outside perimeter.
All you have to do is cut your sheets to size with scissors, remove the backing, and add each one into place carefully. I made the joints less obvious by lining up the pattern in between washi sheets.
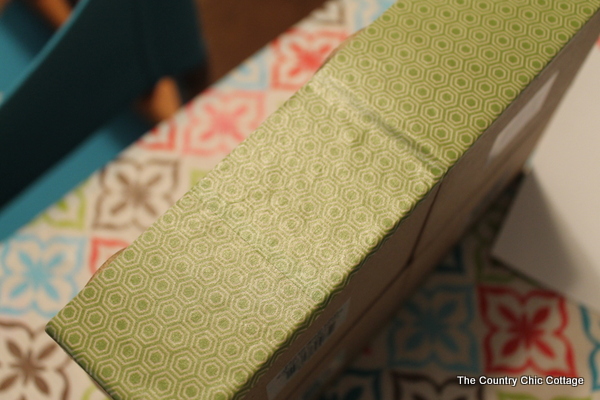
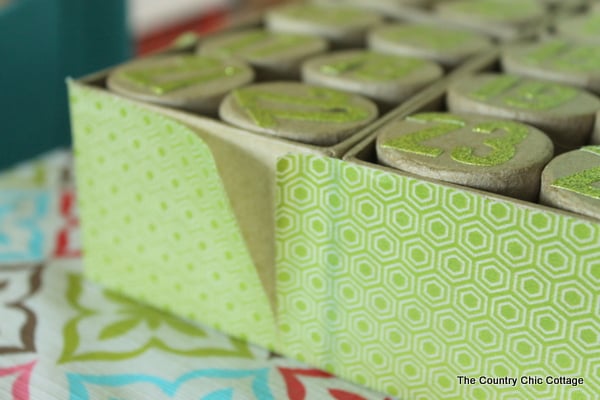
Unfortunately, my box looked a little like the one below in the morning. As it turns out, the adhesive doesn’t work very well with the paper mache.
Step 3
So I pivoted and used sparkle Mod Podge to hold everything into place. All you need to do is put a light coat over the entire thing. You can use any Mod Podge product you have on hand however this one is great if you want some extra bling. 😉
Note: I covered the back of my box as well with the sheets and Mod Podge. This is optional but will give a nice finished appearance to the entire product.
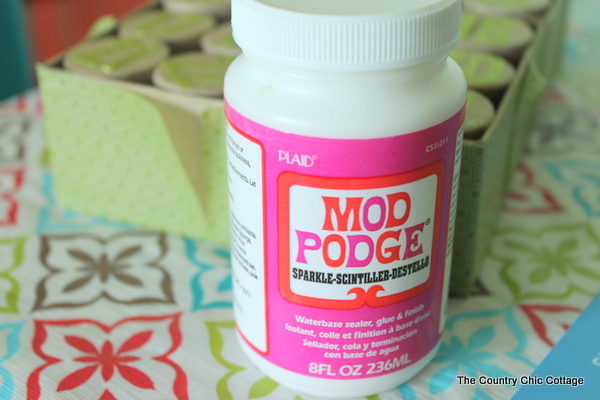
Allow your Mod Podge to dry completely before continuing.
Step 4
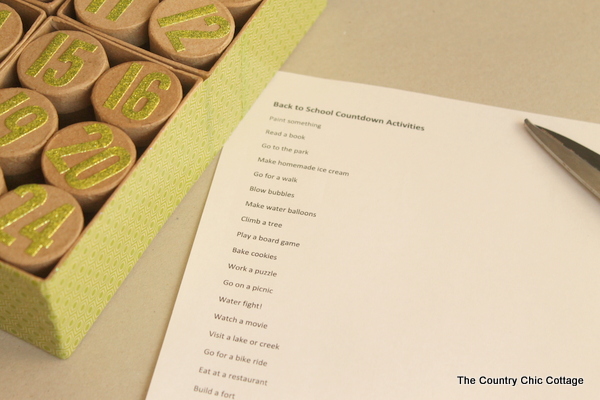
Now it’s time to add some activities to all of those little countdown calendar containers. I have a printable list of activities for you here or you can type up your own list. My list includes a few extras to make it possible for you to throw a few out if they don’t interest you or your kids.
Just print these on plain copy paper.
Step 5
Cut the activities into strips with scissors.
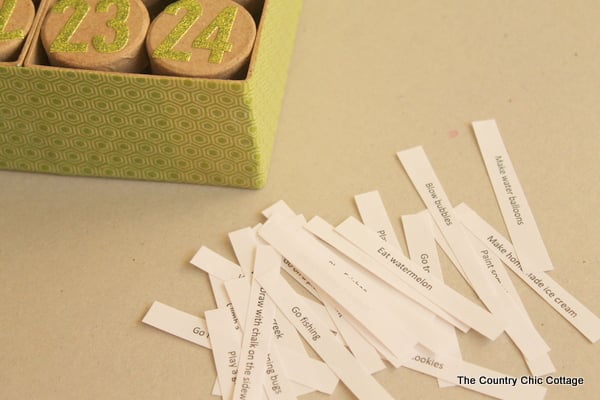
Then, fold each one and add it to the small cylinder containers. I put mine in randomly but you can pick any order that you wish.
How To Use Your Countdown Calendar
Ok, now your back-to-school countdown calendar is complete! Here’s how to use it and get the most out of it.
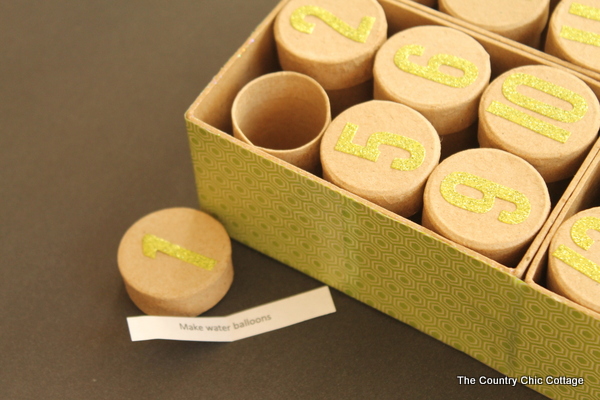
Each morning let your kids pick an activity from the countdown calendar. You can start with the last number (24) and countdown to school. Or, start with #1 and work your way to the last number.
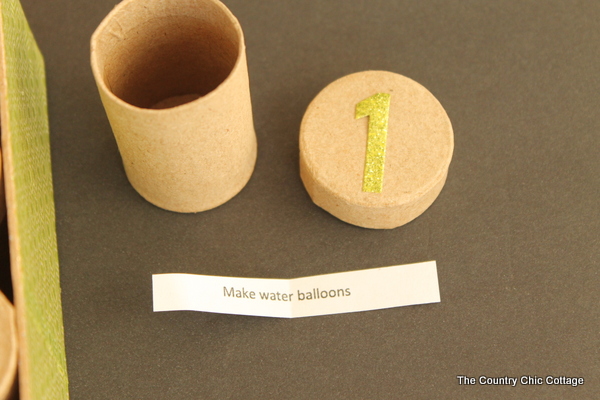
Once your kids have opened that day’s activity, it is your mission to complete it.
Most of the activities I included on my list are low-cost or free. Feel free to adapt the list to fit your family’s preferences as well as special activities such as the zoo or the museum to change things up if you want!
Make This Back-To-School Countdown Calendar For Your Kids
Make the most out of the rest of your summer with this back-to-school countdown calendar. It’s a great way to stay on task and make sure you check off all of those activities while you make amazing memories together during summer vacation this year.
And, the project is super easy to make! So, you could get it done during nap time or after the kids go to bed and let them wake up to a fun surprise!
More Back-To-School Inspiration
If you love back-to-school crafts, here are some fun ideas that take 15 minutes or less.
- Quickly Label School Supplies with Your Cricut
- Back to School Binders Customized with Duck Tape
- Back to School Chalkboard Ideas
- Class Door Decoration for Back to School
- Pencil Marshmallow Pop
- Personalized Water Bottles from Fireflies and Jellybeans – you’ll never believe what Fawnda uses to make these!
- Back-To-School Special Message Dishes from One Krieger Chick – this is such a simple way to add a fun twist to your child’s breakfast dishes!
- Washi Tape Pencils and Desk Cup from Happiness Is Homemade – now every pencil will be special!
- First day of school picture frame from A Sweet Berry’s Blog – make those first day of school pictures extra special!
- Printable Germ Juice labels from Cute As A Fox – a practical gift every teacher loves!
- DIY Bean Bag Apple from Make Life Lovely – a festive quick craft that’s a perfect paperweight for teachers or a game for your kiddo.
- Minions Pencil Case from Creative Cynchronicity – what’s not to love about Minions?
- DIY School Supply Containers from Me And My Inklings – keep all those little odds and ends organized!
Supplies
- Small paper mache boxes
- Number stickers
- Washi tape sheets
- Mod Podge
- Hot glue and a glue gun
- Printed list of activities print ours by clicking here
Instructions
- Remove tops from boxes and discard or re-purpose for another project. Glue box bottoms together with hot glue. Add numbers to the tops of the small paper mache cylinders with the stickers.
- Next, use the washi tape sheets to cover the sides of the box. Three sheets were enough to go around the outside perimeter completely. Just cut to size with scissors, remove backing, and lay into place carefully. Note: I lined up the pattern in between sheets so the joints were less obvious.
- The adhesive does not work really well with the paper mache, so put a light coat of Mod Podge over the entire thing. NOTE: I covered the back of my box as well with the sheets and Mod Podge. This is optional but will give a nice finished appearance.
- Allow your Mod Podge to dry completely before continuing. Print out your list of activities.
- Cut the activities into strips with scissors. Then fold each one and add to the small cylinder containers. I put mine in randomly but you can pick any order that you wish.


What a fun idea! We’ve added your project to our back to school round up post. We’d love for you to check it out: http://www.theartkitblog.com/10-awesome-back-school-crafts-activities/