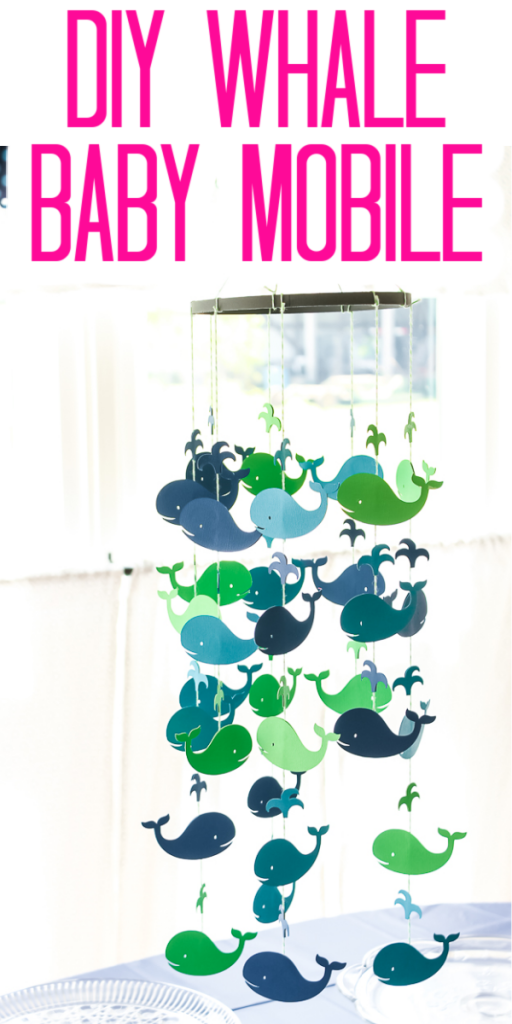
We are planning for a little grandchild around here and crafting mode is in full swing. I will share some of the craft tutorials here with y’all. One of the first few things we crafted is a DIY baby mobile for the nursery.
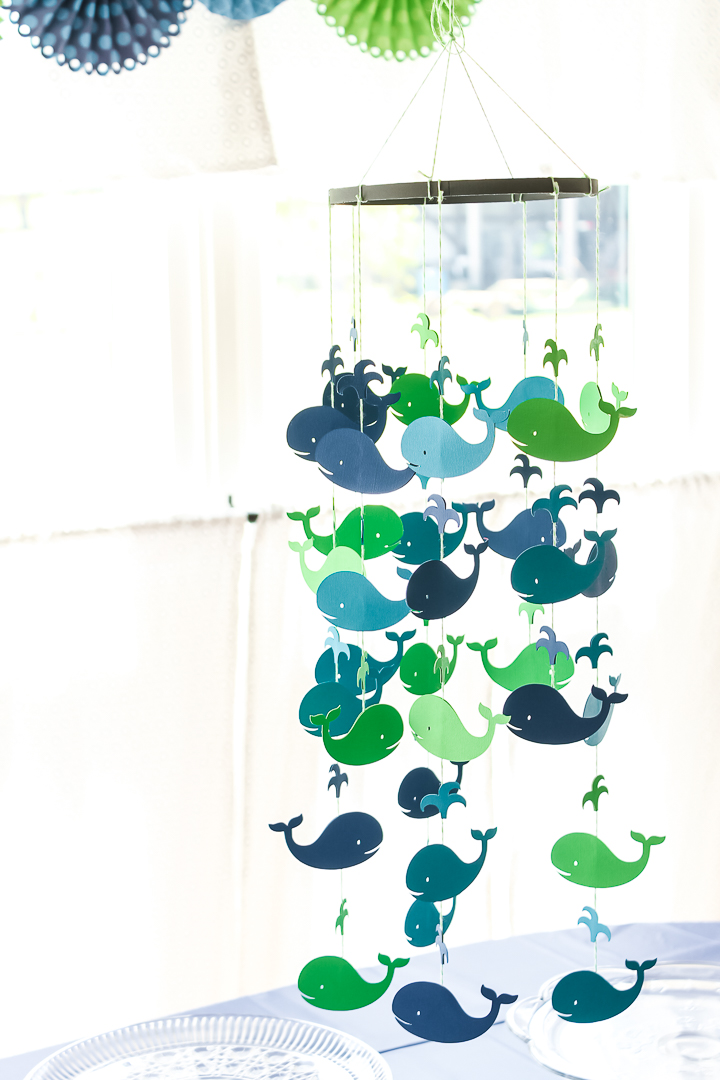
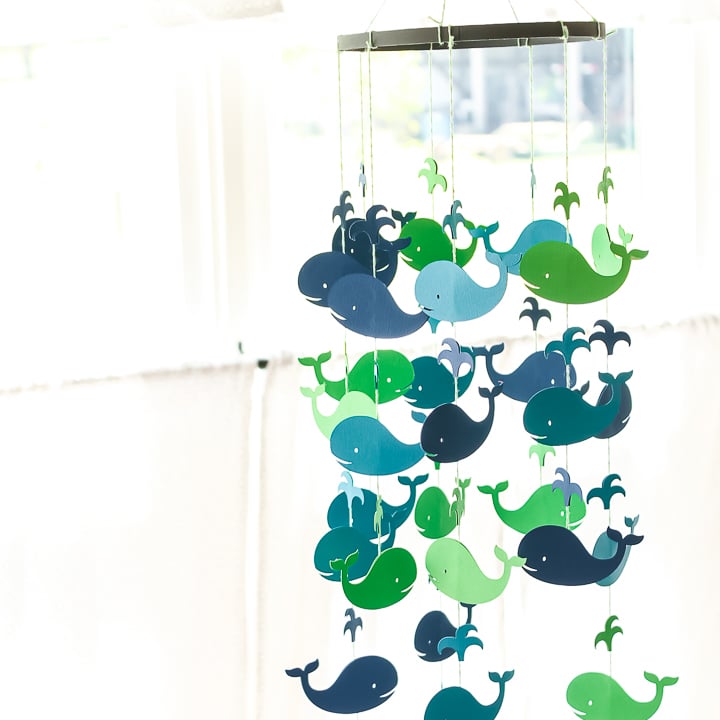
This adorable whale-themed DIY baby mobile turned out so cute! You can definitely use this same technique to make a mobile in any theme. Grab your paper and glue, and let’s get started!
Supplies needed:
- Card stock (different colors)
- Cricut machine
- Twine
- Embroidery hoop
- Tacky glue
- Paint
- Cut file (see below)
How to Make a DIY Baby Mobile
The project is pretty easy to create, and you probably have all of the supplies already on hand. Waiting for the glue to dry is the hardest part of this project!
Step 1 – Cut shapes out of cardstock
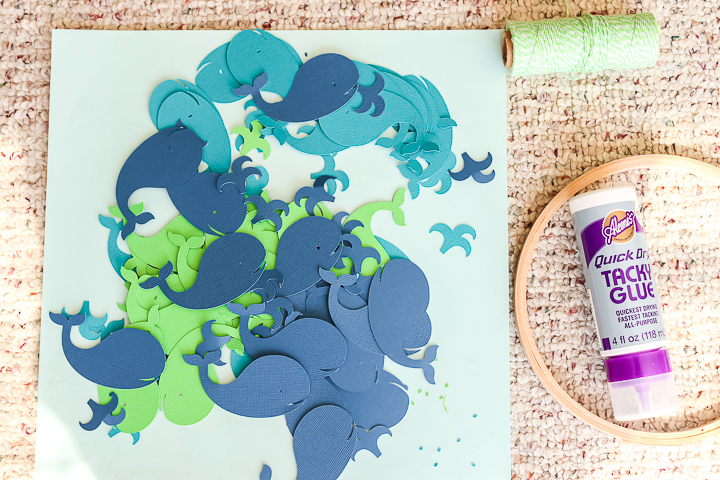
Start by uploading and cutting out a ton of different color whale and water shapes from card stock.
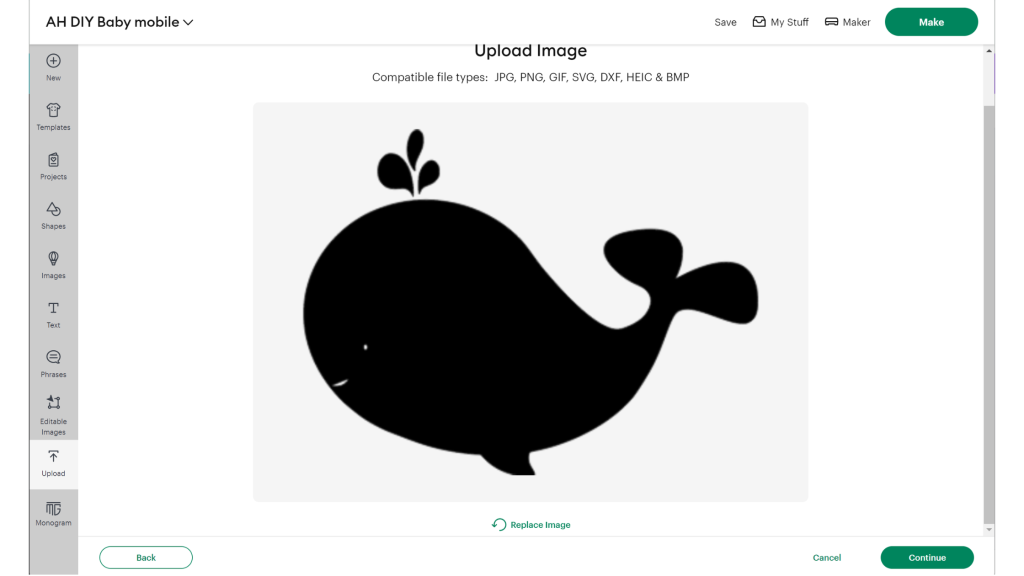
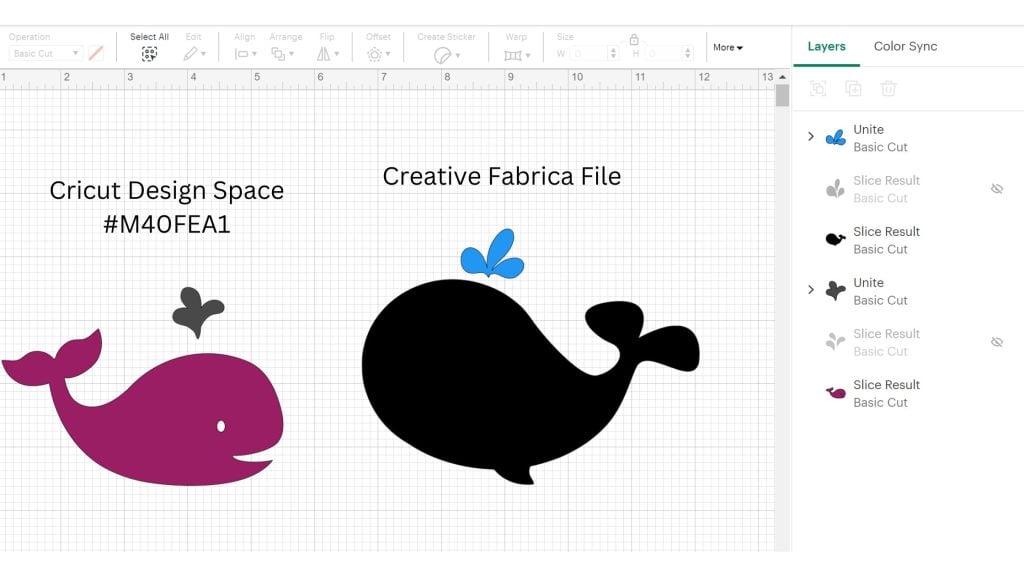
Pictured above is a similar cut file, as the original one I used is no longer available. There is also a really cute whale file in Cricut Design Space, just search for number #M40FEA1.
You can see the images of the two files below. I ended up using the slice and unite tool to combine the water droplets. This made it easier to attach them to the twine. Remember, you are not limited to using these files for your own DIY baby mobile.
Step 2 – Paint embroidery hoop
Paint the inside portion of the hoop the color of your choice and set aside to dry. You can put the outer hoop to the side for another project.
Step 3 – Cut twine and attached shapes
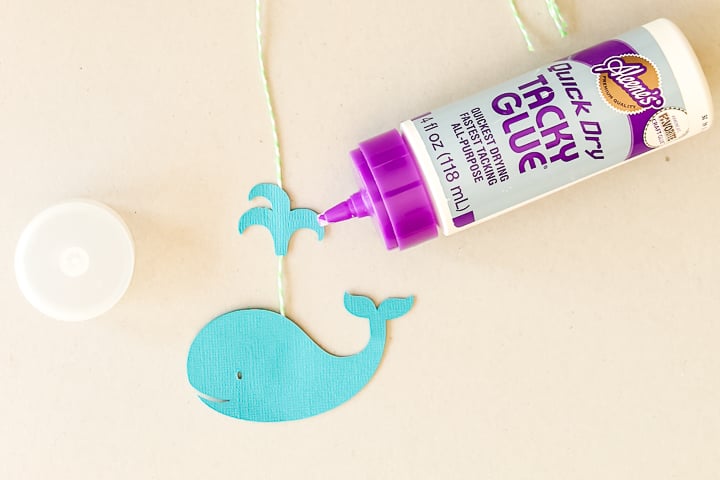
Cut the twine into long and short strips. I used four of each size. Then sandwich the twine in between two paper pieces using tacky glue to secure.
Lay down one whale, apply glue, lay down twine in the middle, additional glue on top of twine, and lay a whale on top. Wipe away any excess glue.
Step 4 – Let dry and attach to hoop
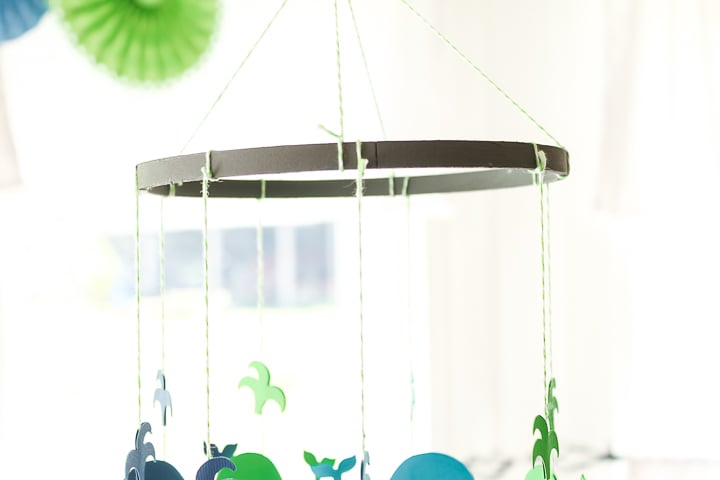
Allow all of your whales glued to the twine to dry before continuing. Tie each length of twine to the hoop spacing equally. I did one long, one short, one long, one short, and so on. I just tied in a triple knot and then trimmed the excess. It was very secure.
Step 5 – Hang and enjoy
You will also need something to hang it by at the top. I used two strands of twine and tied them on opposite sides of the hoop. I gathered them at the top and tied them in a loop for hanging. Trim any excess and this one is ready to hang.
I actually had this DIY baby mobile hanging at the baby shower but it will be in the nursery soon.
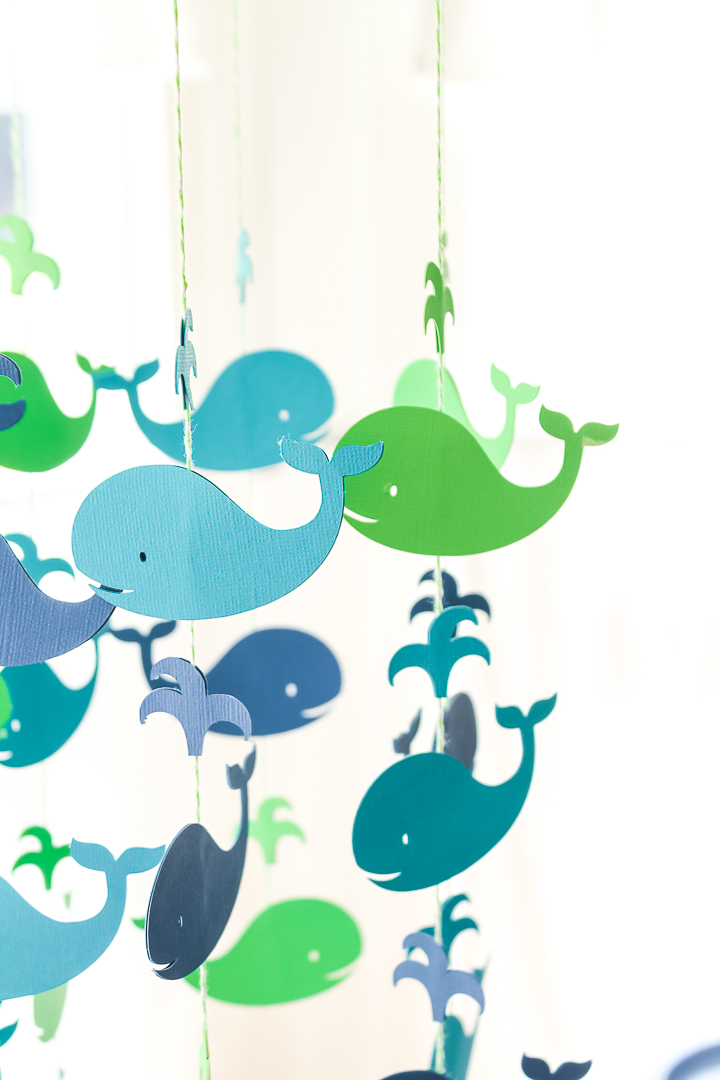
I love the way that the whales spin on their strings. This is a fun project that doesn’t take too long. If you don’t love the whales, change it up to any animal or shape that will work in the nursery you are planning. I am so glad my daughter loved this whale baby mobile!
NOTE: Be sure to keep this mobile out of baby’s reach. When hanging, please take into account that baby will get older and stand in the crib.
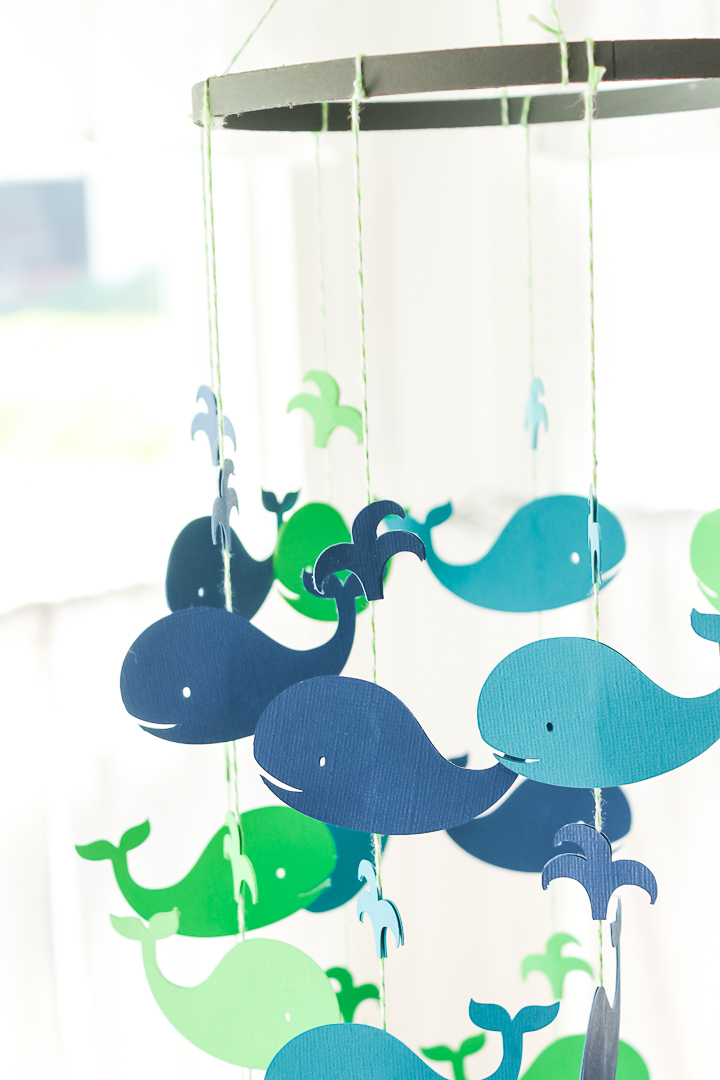
Benefits of a DIY Baby Mobile:
Baby mobiles are almost always present in any infant’s crib, and there are many good reasons to have one. We’ve listed some of the benefits of baby mobiles:
Improve Focus
Newborns and babies who are too young to roll over usually spend much of their time on their backs. Hanging mobiles are able to catch and hold their interest. You will always want to note the height in which you place the mobile above the crib. For newborns, you can position lower and raise as the baby gets older.
Provide Entertainment
All babies love fun, moving objects. Mobiles are colorful and will hold a baby’s interest at least for a few moments.
Develop Motor skills
As a baby grows, they will begin to reach for the mobile above their crib more and more every day. Movements, whether big or small, is a big step towards mastering their motor skills.
Supply Visual Stimulation
From a young age, babies are curious and interested in everything they see. Colorful and fun mobiles like this one are guaranteed to catch your little one’s eyes.
Safety Tips for Baby Mobiles:
You can never be too careful when it comes to your child’s safety, especially when it comes to things around or above them. So you have to observe proper safety measures when installing your child’s baby mobile.
Length of Mobile Strings
According to the American Academy of Pediatrics, a mobile with strings longer than seven inches could potentially strangle your baby. Store-bought baby mobiles usually meet this requirement, unfortunately, the same cannot be said for homemade mobiles. So before hanging any mobile on or near your baby’s crib, make sure you double check the length.
Potential Choking Hazards
Mobile that have small, detachable parts may pose a choking hazard and are not recommended to be used in the nursery. Before installing it on your little one’s crib, give it a thorough once-over. Look out for any flimsy parts that could potentially break off and fall into the crib (near your child’s head).
Safe Placement
Newborns have a sight range of between 8 to 12 inches, anything outside this distance may not be visible to your baby. However, it’s important that the mobile remains out of your baby’s reach to ensure his/her safety. Rule of thumb: Never let the strings dangle below the crib rails.
Mobile Installation and Maintenance
It’s important that you install mobiles securely and according to the manufacturer’s directions. But because mobiles usually move around, it’s crucial that you check the hardware to ensure your baby’s mobile remains securely fastened.
Age Appropriateness
Mobiles are designed to catch newborns’ attention and keep their focus. By the time the baby reaches five months old, or as soon as he or she begins to push up on their hands and knees, you have to get rid of the mobile, because if the baby manages to reach it, he could pull it down on himself, risking injury and even strangulation.
And that’s it! A simple guide to help you create a DIY baby mobile, as well as reasons why it’s a perfect addition to your baby’s room.
More DIY Baby Items
If you liked this, check out these DIY baby items you can start making today:

