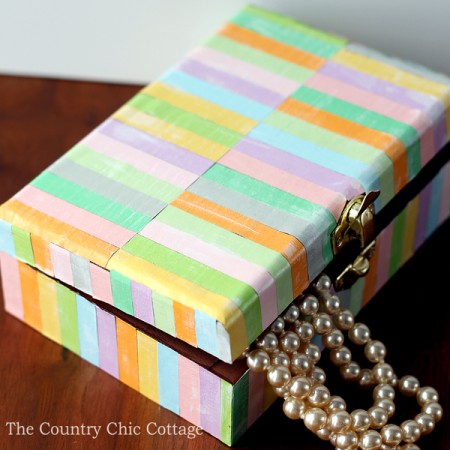
Every woman and girl needs a place to store jewelry! Forget about buying expensive name-brand jewelry boxes because this tutorial will help you make a fabulous knock-off Pottery Barn jewelry box.
Both girls and women love having a safe place to organize and store their jewelry pieces. Unfortunately, buying jewelry boxes can be very expensive. But I have an alternative that will be a hit with anyone who receives it.
I’ve shared a couple of different jewelry box projects on this site, including my Handmade Jewelry Box, Jewelry Organizer, and Jewelry Box Makeover For Girls!
Today, I am excited to show you how to make this knock-off Pottery Barn jewelry box. It can be made for just a small fraction of the price of the store-bought version and will be a gorgeous gift idea for special people on your gift-giving list.
Note: This project is just the thing to hold some amazing jewelry pieces like our Fishbowl Necklace, DIY Birthstone Necklace, or Sublimation Earrings.
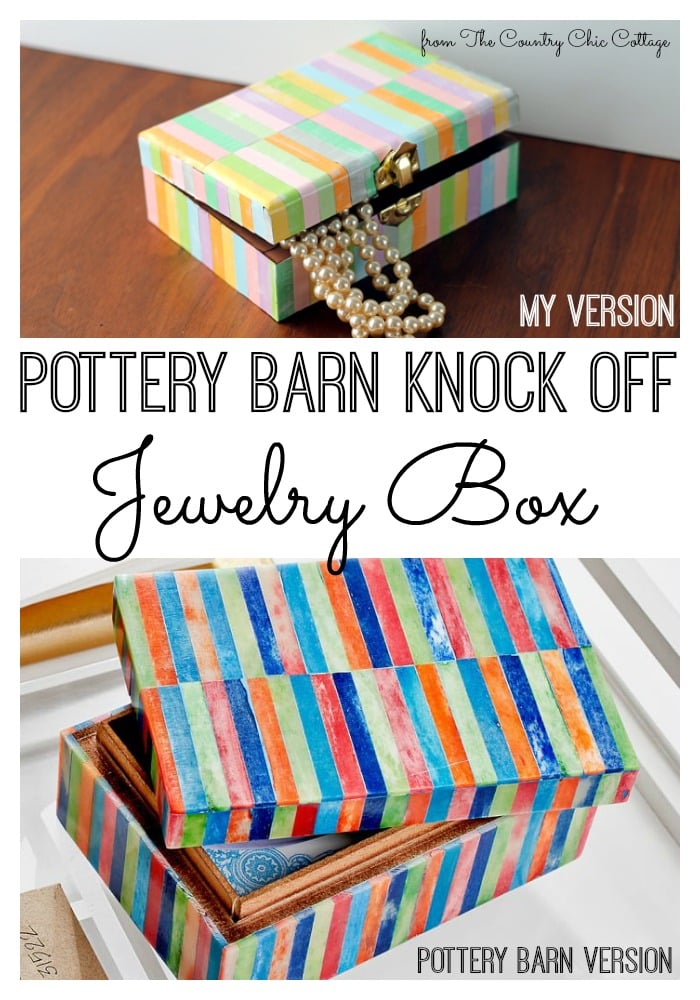
How To Make A Copycat Pottery Barn Jewelry Box
Are you ready to turn a wooden box into a work of art? You’re going to love how simple the process is!
Supplies Needed
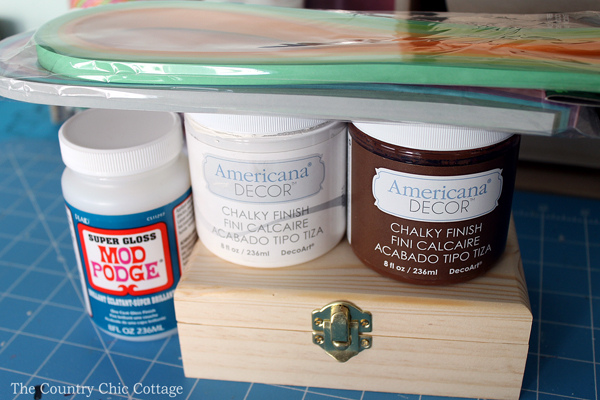
Here’s everything you need to gather for this project. Then read below to get the step-by-step instructions.
- Hinged Wood Box
- Brown paint (I used Americana Chalky Finish in Brown)
- White paint (I used Americana Chalky Finish in Everlasting)
- Super Gloss Mod Podge
- 3/8″ Quilling Strips (NOTE: quilling strips are just pre-cut paper strips in fixed widths)
- Scissors
- Paint Brush
DIY Pottery Barn Jewelry Box Instructions
Just follow these directions, and before you know it, you’ll have a gift-worthy jewelry box.
Step 1
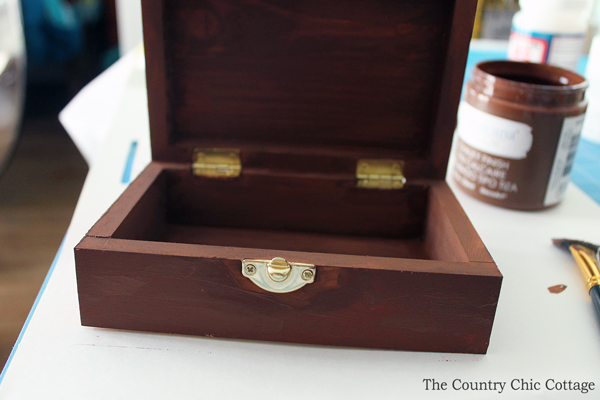
Start by painting the box inside and out with brown craft paint. I love the chalky finish paint, so that is what I used for this project.
Allow the box to dry completely.
Step 2
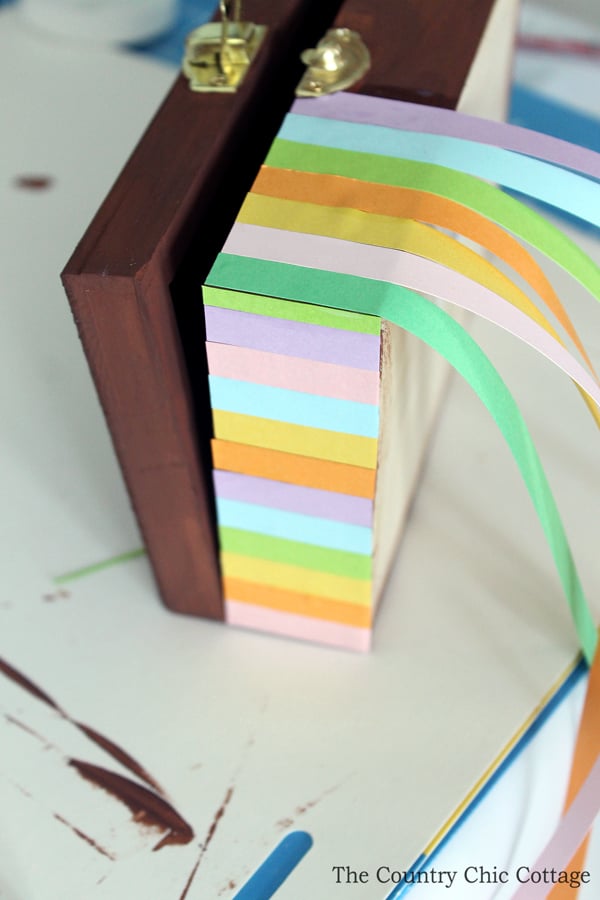
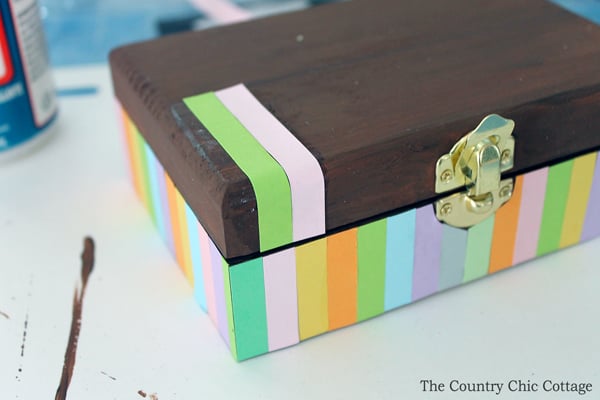
Start adding the quilling strips with the Mod Podge. I started on one side and left the excess to hang off. Come back with scissors and trim.
The image below shows the long strips hanging over one side and the trimmed strips on the other side will soon be a knock-off Pottery Barn jewelry box.
Step 3
On the top, I drew a pencil line across the center and added two different color strips on either side. This method accomplishes a couple of things. First, it creates a more visually interesting and colorful pattern.
And second, it ensures that the strips are long enough to cover the top and hang over the sides.
Just as before, begin by placing them with the Mod Podge and letting the excess hang off. Trim with scissors after the strips are placed.
Step 4
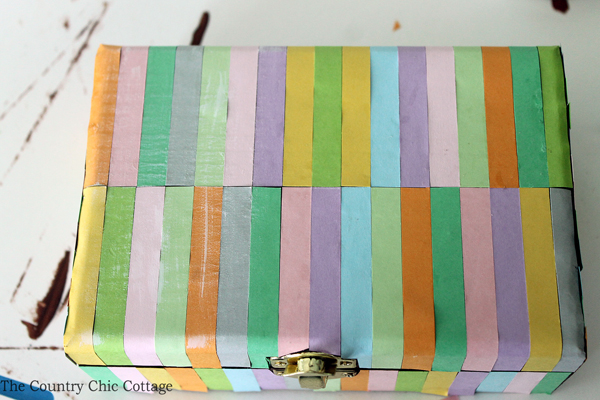
Once you have covered your entire box, allow the Mod Podge to dry completely.
Then come in with some white craft paint and an extremely dry brush (it should just barely have any paint on it). Run that dry brush across the strips.
The picture below has been brushed on the left and not on the right (can you see the difference?).
Step 5
Allow that paint to dry completely, then come back with 2 – 3 coats of super gloss Mod Podge over the entire surface. Let the Mod Podge dry completely in between coats.
This should ensure all of the small strips are secured to your copycat Pottery Barn jewelry box and protected.
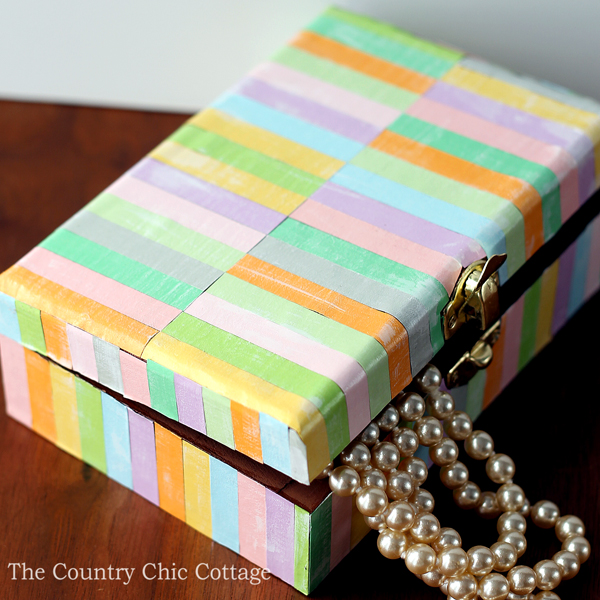
That’s it!
Even though the strips are secured to the box enough for normal everyday use, I wouldn’t recommend giving this box to very small kids who might intentionally work to pull the strips off.
FAQs
Here are a couple of questions that I see readers ask about making DIY jewelry boxes with this method. If you have a question, please check to see if I’ve already answered it below. Don’t see your question? Leave it for me in the comments!
How can I personalize this knock-off Pottery Barn jewelry box?
Change up the colors by ordering different quilling paper strips. You could even look for strips of different widths.
Another option is to use a different color of paint. If you want to darken the paper strips, you could use gray, brown, navy, or black paint. It all depends on the look you want for your DIY jewelry box.
Should I use glossy or matte ModPodge?
Honestly, you could use either. And I recommend using what you already have on hand. However, if you have to purchase some anyway, I recommend the glossy version to give it that professionally-finished look.
How much does this DIY Pottery Barn jewelry box project cost to make?
This project can be made very affordable. If you’re a regular crafter, you probably have everything you need except for the wooden box.
You can use this technique to makeover an existing jewelry box or one from the thrift store. Just add those quilling strips plus some paint and Mod Podge you have on hand.
So, for under $10, you can create a new favorite eye-catching jewelry holder that’s perfect for your home or for giving as a gift.
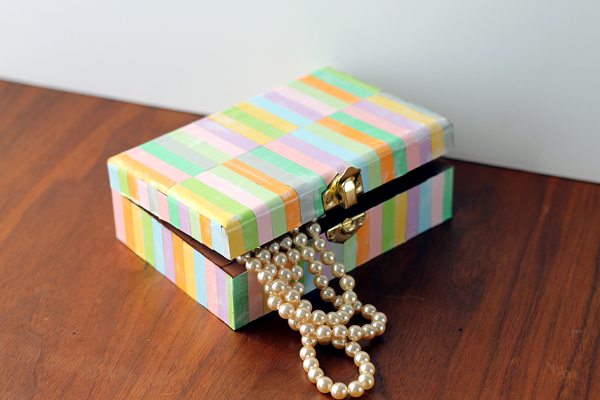
This knock-off Pottery Barn jewelry box makes an unforgettable handmade gift. Grab your quilling strips and get started on this craft idea today!
More Handmade Gift Ideas
Do you love this DIY Pottery Barn jewelry box and want more handmade gift ideas? I think you’ll love these other ideas!



Supplies
- Hinged Wood Box
- Americana Chalky Finish Paint Brown and Everlasting colors
- Super Gloss Mod Podge
- 3/8″ Quilling Strips
- Scissors
- Paintbrush
Instructions
- Paint the box inside and out with chalky brown craft paint and let it dry completely.
- Next, begin adding the quilling strips with Mod Podge. I recommend starting on one side and leaving the excess hanging off. Use scissors to trim off any excess.
- Use a pencil to draw a line across the top in the center. Then start adding two different color strips on either side of the line.Just as before, use Mod Podge to adhere them and let the excess hang over the side. Trim off any excess with scissors.
- Once the box is covered completely, allow the Mod Podge to dry completely.Brush an extremely dry brush (with barely any paint on it) with a little bit of white paint on it across the strips.
- Allow that paint to dry completely. Finally, apply 2 – 3 coats of super gloss Mod Podge over the entire surface, letting it dry completely in between coats.


