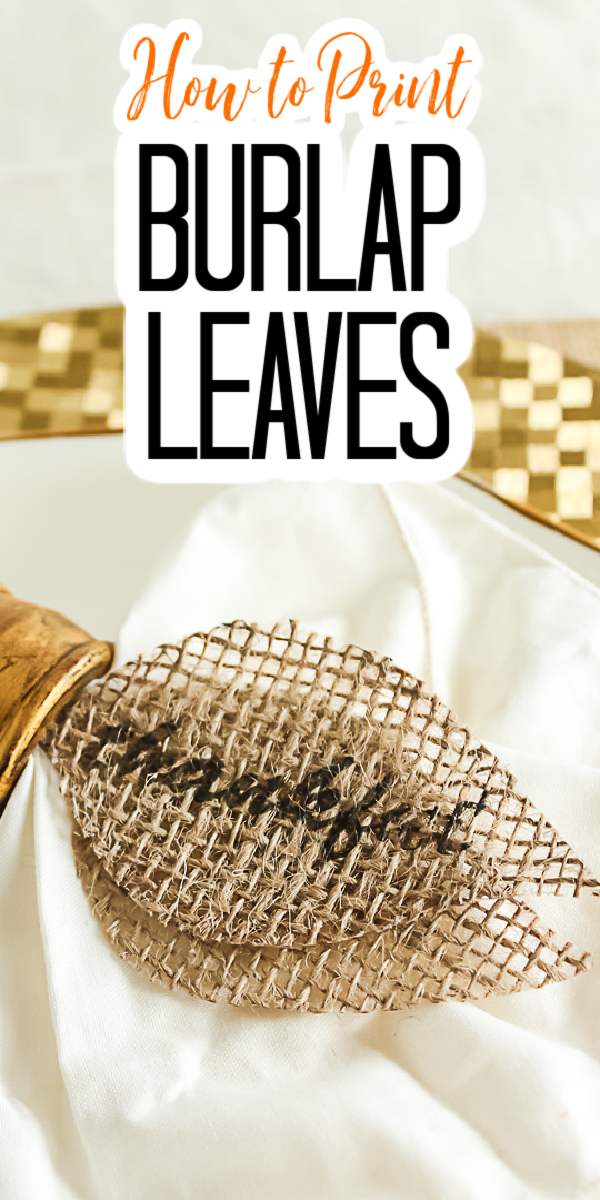
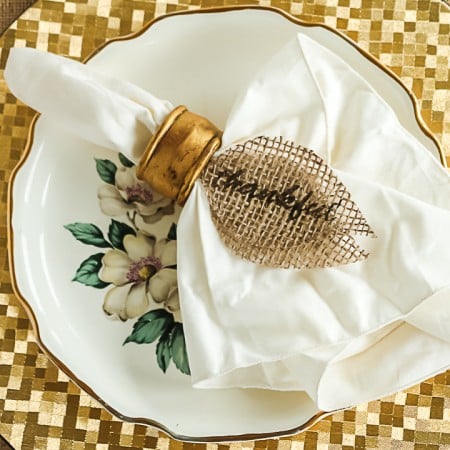
Y’all I have figured out a great way to print on burlap and use it to print your own burlap leaves. These are great for Thanksgiving and fall. Plus they are so easy to make that you can whip up your own batch in just minutes. I love a quick and easy craft! You may have everything on hand you need to make these as well! So, make a batch for your Thanksgiving table this year.
This one was first published on November 7, 2015, however, I am republishing with more information.
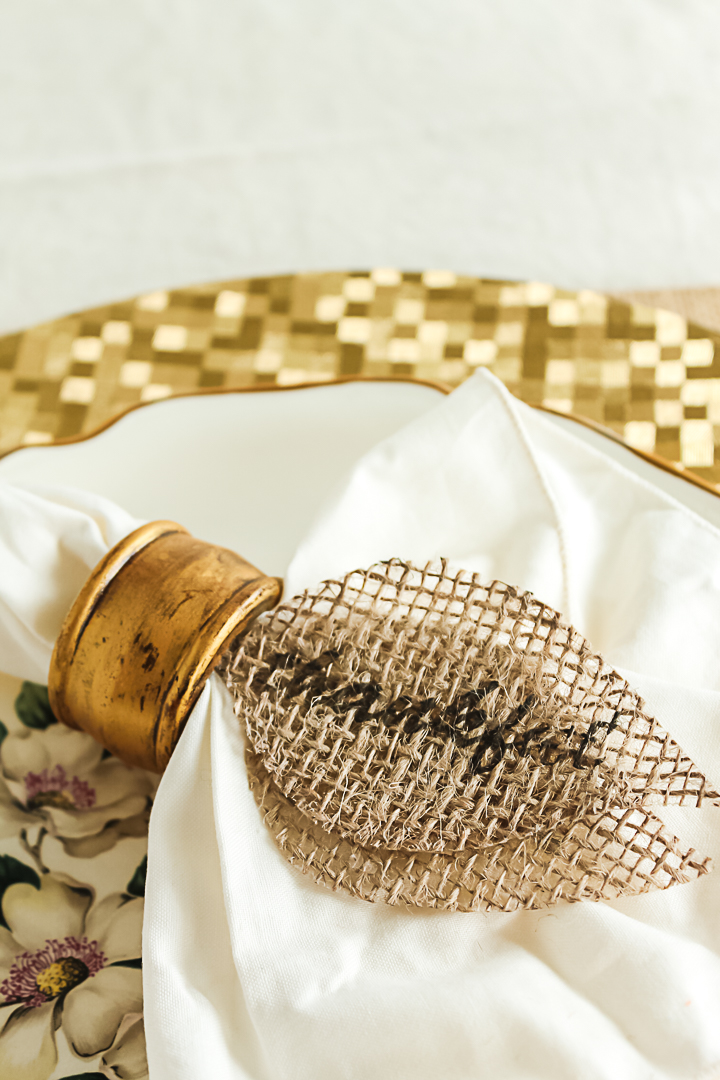
Burlap Leaves
Did you know that you can print your own burlap leaves? This fun project is perfect for a Thanksgiving place setting or even string them for a garland for your mantel. You will also find tons of uses for the technique of printing on burlap. Yes you can use this same technique for printing ANYTHING onto the surface of burlap fabric.
Supplies needed:
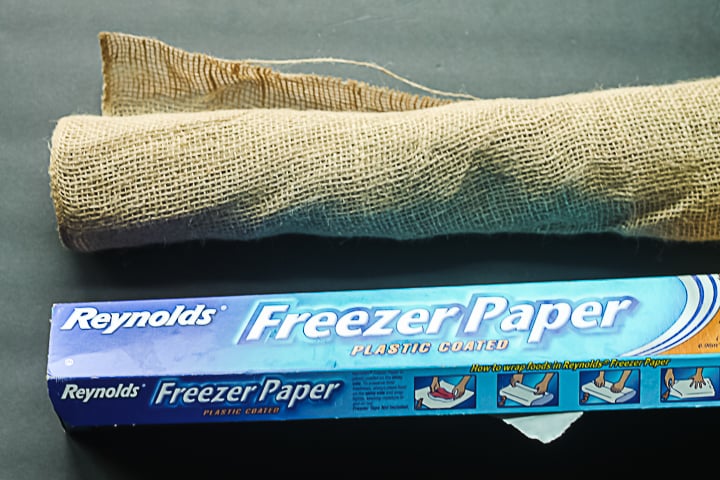
- Freezer paper
- Computer and printer (you can see the printer I like here)
- Printable words for leaves (you can grab the download below)
- School glue
- Scissors
- Paintbrush
- Iron
Fall Leaves Printable
First, you will want to grab the free printable by signing up for the newsletter below. Just add your information to the form with a picture of the leaves. The file will then be sent to your email. If you already get our newsletter, just add your information again as you will not be signed up for anything further.
Please note that this printable is for personal use only. You can contact me if you have any issues with your download.
Preparing Burlap for Printer
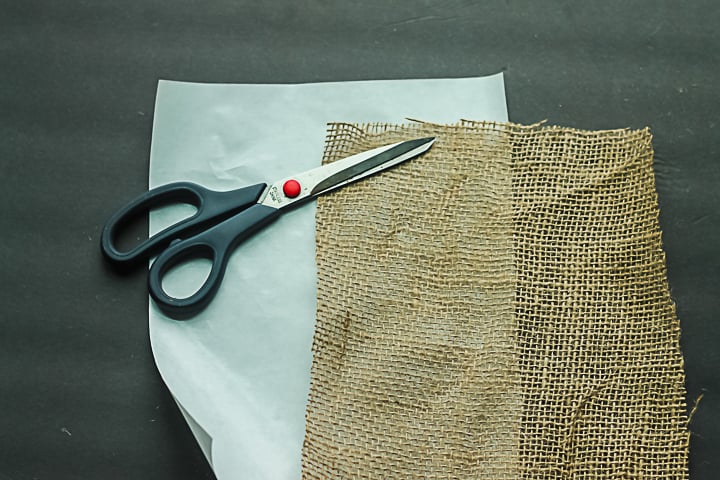
Trim the burlap and freezer paper to the size of a regular sheet of printer paper using the scissors.
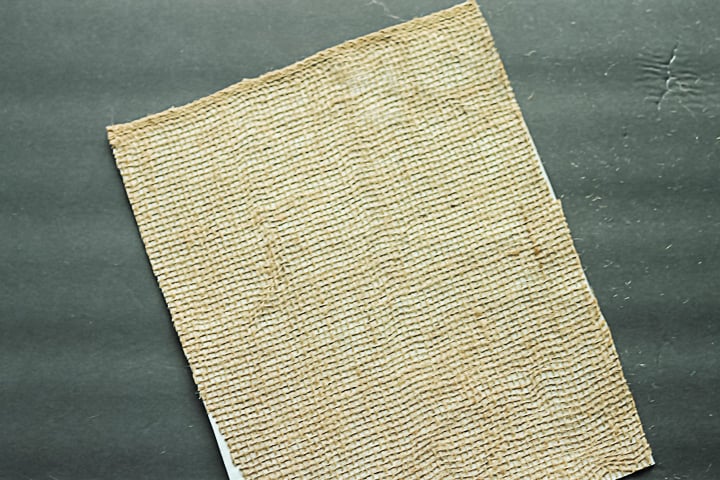
Place the shiny side of the freezer paper down on the burlap and iron on the other side of the freezer paper. Be sure that all edges completely fuse with the freezer paper. You should not be able to lift them off of the paper. Trim any excess burlap you have around the edges and any loose strings.
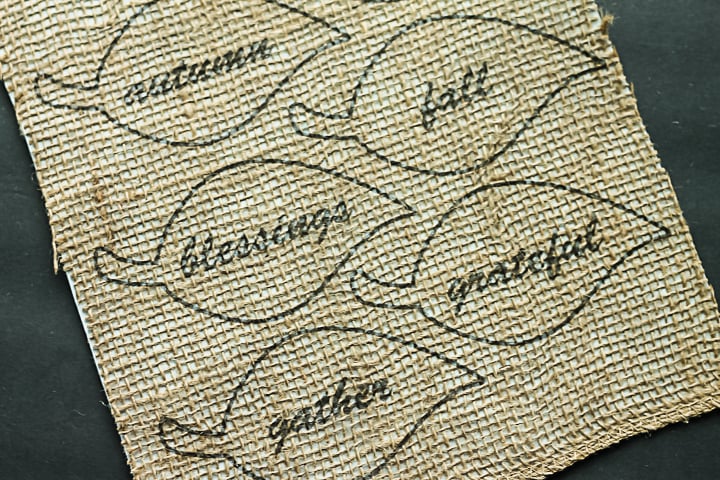
Run the entire sheet through your printer so that the leaves print on the burlap side.
How to Make the Burlap Leaves
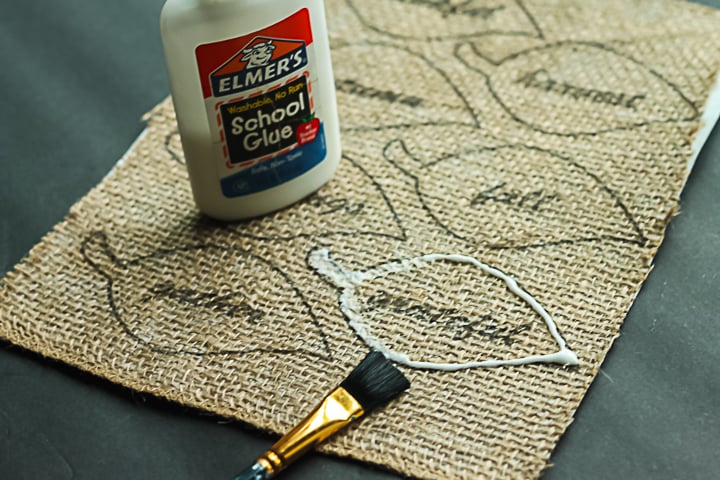
Leave the freezer paper attached. Lay a bead of glue around the inside edge of each leaf. Then use a paintbrush to spread out and flatten as shown below.
Lift the burlap from the freezer paper while the glue is still wet on the leaves. Leave the burlap loosely laying on the freezer paper until it dries. This will protect your work surface.
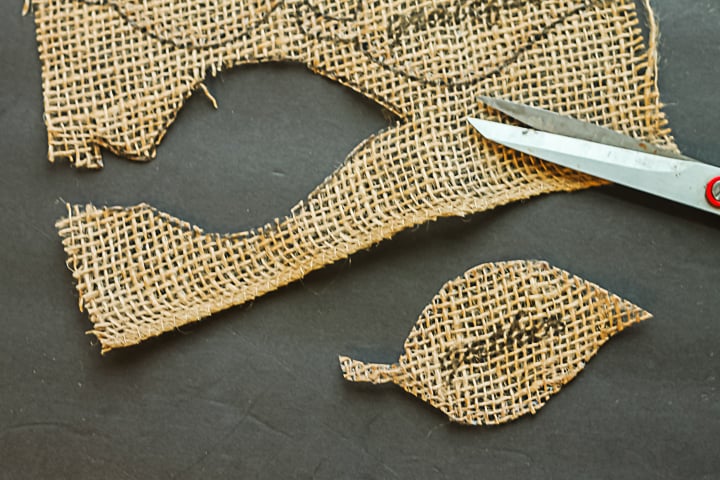
Allow to completely dry. I recommend over night. Then trim around the inside edge of the leaves with your scissors. The glue made the burlap where it will not fray and you are left with adorable burlap leaves with words on them for your Thanksgiving decorating.
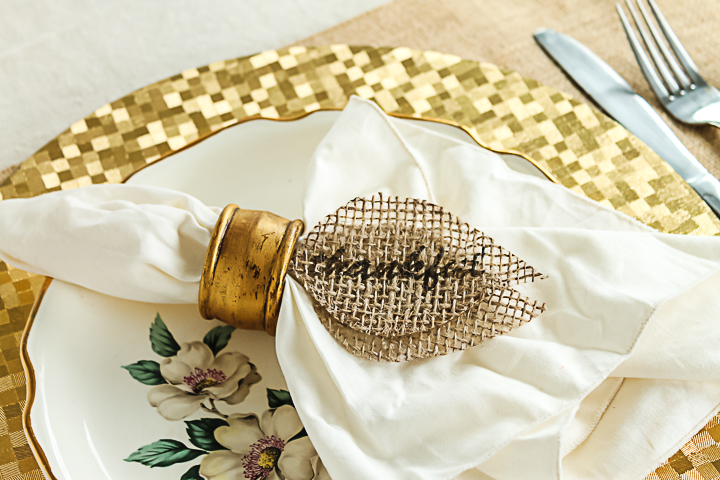
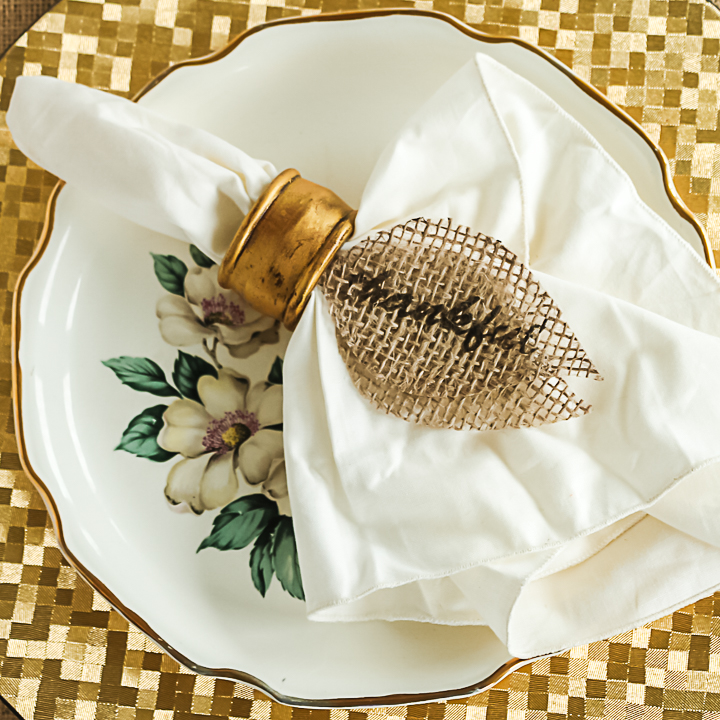
I used a few of these tucked into a napkin ring for a fun and festive Thanksgiving table setting.
I love burlap and this technique means even more crafting possibilities! So, be sure to try some burlap crafts for fall and any other holiday. I know they will look great in your home.
Make a few burlap leaves for your Thanksgiving table using this tutorial. Your table will look amazing and your guests will love them. Let your kids use any leftover burlap scraps to make this burlap turkey as well.
Love this fall project and want more? Try the links below as well!

Want to print the instructions for these leaves made from burlap? Try the card below!
Supplies
- Freezer paper
- Computer and printer
- Printable words for leaves
- School glue
- Scissors
- Paintbrush
- Iron
Instructions
Preparing Burlap for Printer
- Trim the burlap and freezer paper to the size of a regular sheet of printer paper using the scissors.
- Place the shiny side of the freezer paper down on the burlap and iron on the other side of the freezer paper. Be sure that all edges completely fuse with the freezer paper. You should not be able to lift them off of the paper. Trim any excess burlap you have around the edges and any loose strings.
- Run the entire sheet through your printer so that the leaves print on the burlap side.
Make the Leaves
- Leave the freezer paper attached. Lay a bead of glue around the inside edge of each leaf. Then use a paint brush to spread out and flatten as shown below.
- Lift the burlap from the freezer paper while the glue is still wet on the leaves. Leave the burlap loosely laying on the freezer paper until it dries. This will protect your work surface.
- Allow to completely dry. I recommend over night. Then trim around the inside edge of the leaves with your scissors. The glue made the burlap where it will not fray and you are left with adorable burlap leaves with words on them for your Thanksgiving decorating.

