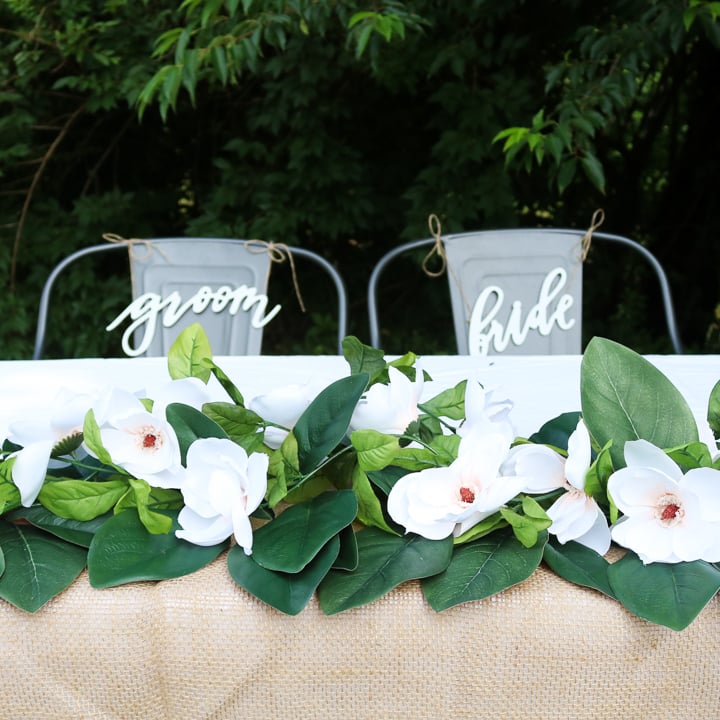
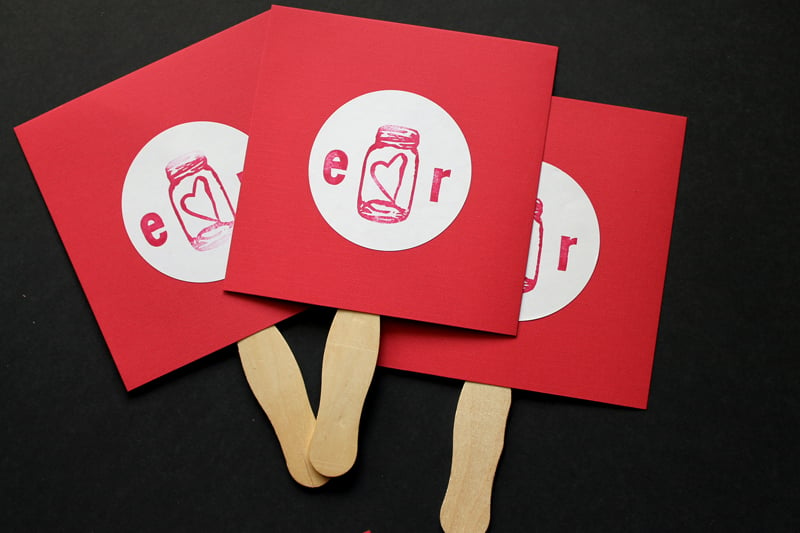
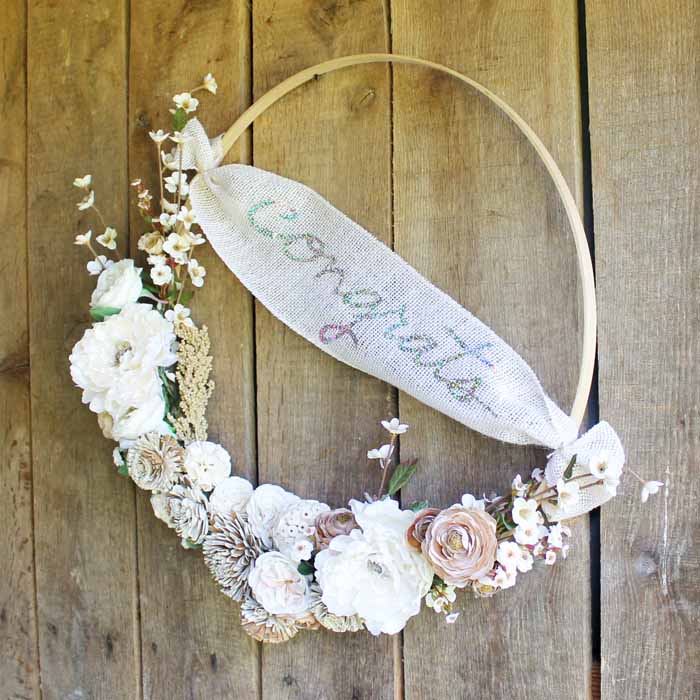
This DIY wedding photo prop will come in handy when my daughter gets married this summer. Yep that is right! My oldest daughter will be tying the knot this summer so we are in full on wedding planning mode. I will be sharing some of the projects here so y’all be sure to stay tuned. I think a fun wedding photo prop can really make the wedding photographs.
Note: This post was originally written in 2016 with a precut wooden sign. I’ve updated it to include instructions to cut your own sign using a craft laser. Not sure which craft laser to buy? It’s a big purchase and I recommend checking out the Laser Ready buying guide for more info on these versatile tools.
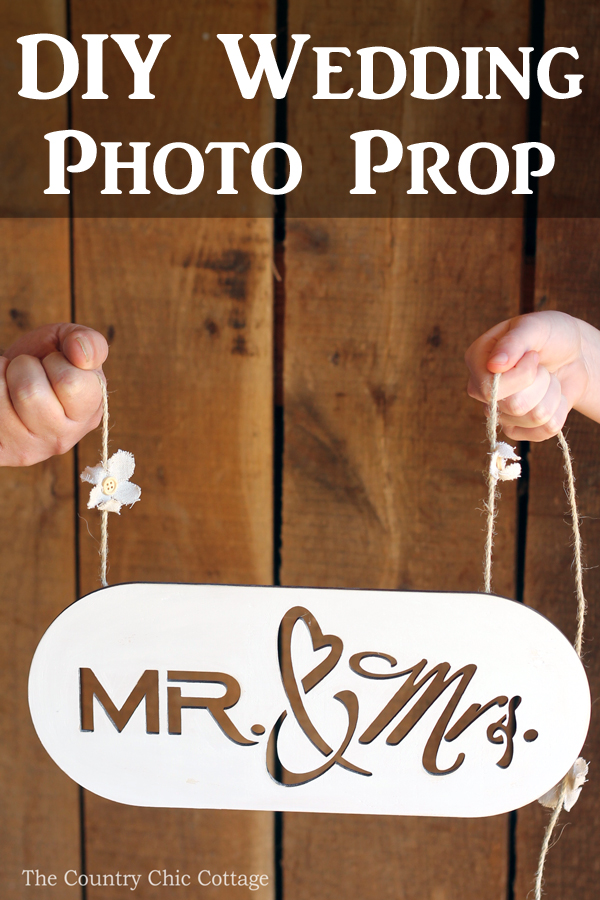
What better wedding favor than a photo of your friends at the event?! I love this idea for the younger crowd especially.
Plus, this really cuts down on expenses. Photographers could charge hundreds for a prop like this while I spent a fraction of the cost! Definitely check out my other wedding craft ideas, too. It’s a special way to add a personal touch and save a little money, too.
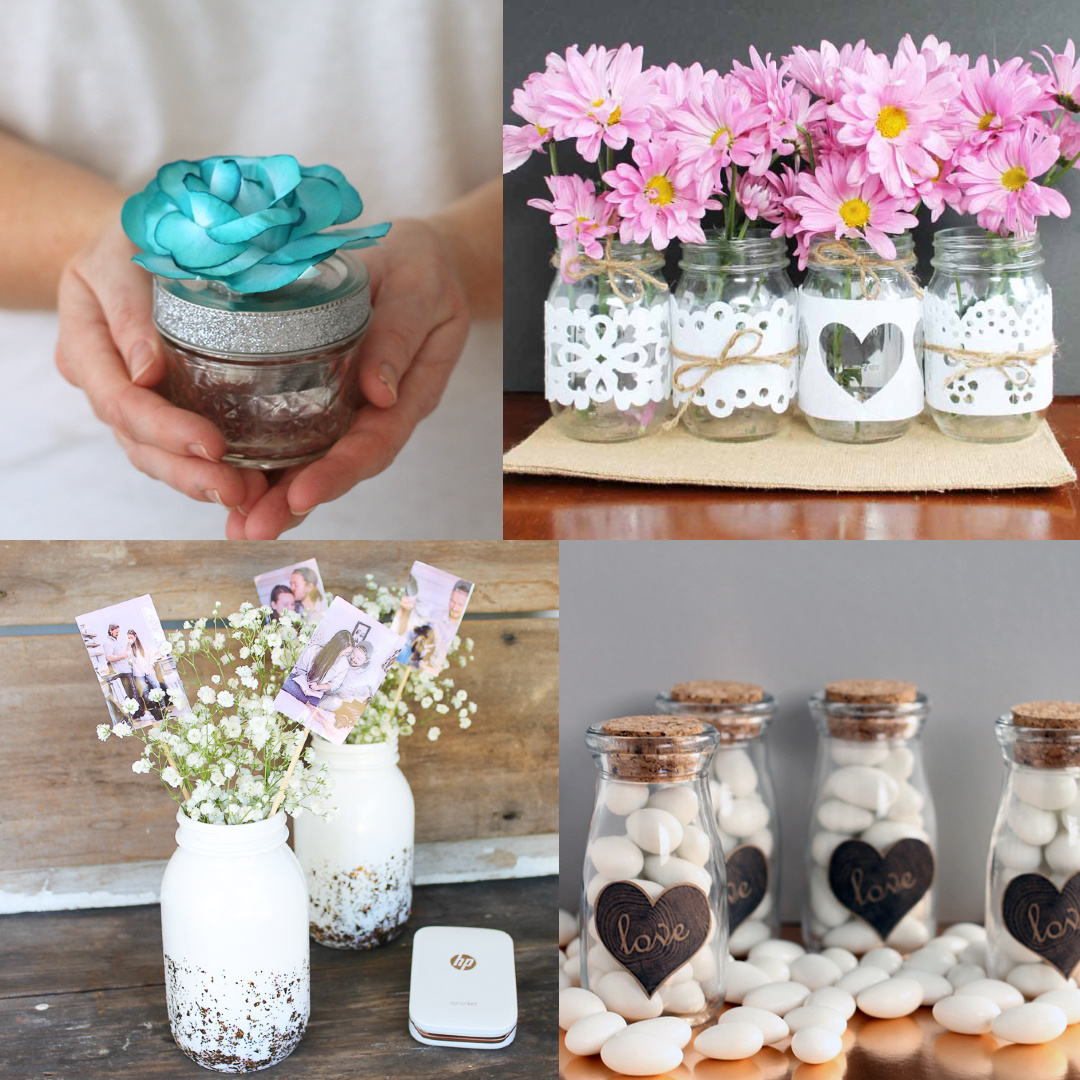
If you are looking for other wedding favors, these milk bottle candies would be so cute to hand out! I also have several treat bags in burlap and “French style”. Of course, if a mason jar wedding favors are more your style, I definitely have those too!
How to Make a Wedding Photo Prop
Supplies needed:
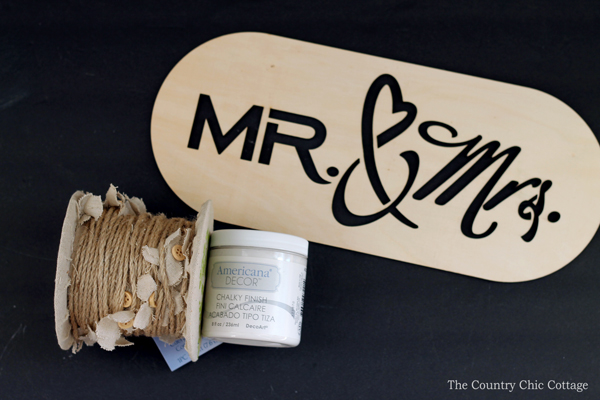
- Mr. & Mrs. cut file
- Craft laser such as a Glowforge or an XTool
- Wooden plank or laser ready hardwood
- Jute Garland (Ribbon can be used for a less rustic version)
- White Chalk Paint (Customize the colors to match your wedding)
- Paint Brush
- Sandpaper
- Hot Glue Gun
Instructions
Step 1: Make the sign
Using the cut file, cut a piece of wood with your craft laser. If you have a Cricut Maker, you could cut a piece of Cricut basswood with the knife blade. Note: The photo below is from a premade sign that is no longer available.
Step 2: Paint the sign
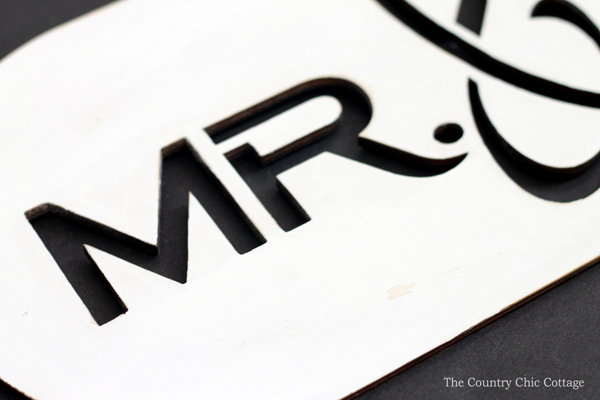
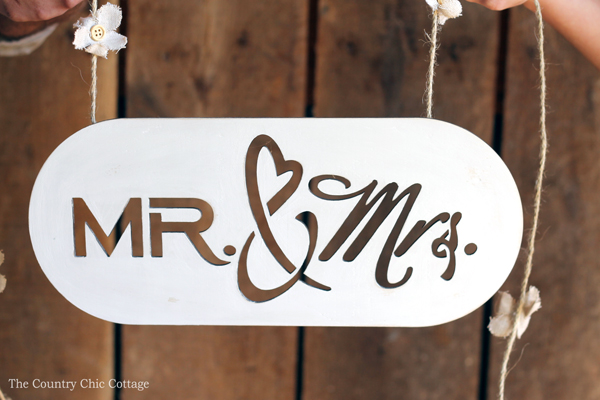
The sign is gorgeous all by itself without painting but I wanted it to be white. Paint it with couple of coats of chalk paint. I actually made sure NOT to paint down inside the laser cutouts, as it gives the sign more dimension. After both coats of paint are dry, you can go back with sandpaper and sand a few areas to bring out a more rustic look. You can skip that portion if you would like.
Step 3: Attach the garland
I then took the sign and used hot glue to attach it to the jute garland. I love with this jute twine that already has those linen flowers on it! It is so rustic yet pretty enough to be used at a wedding. You can substitute anything you would like for the twine if you do not love the rustic look.
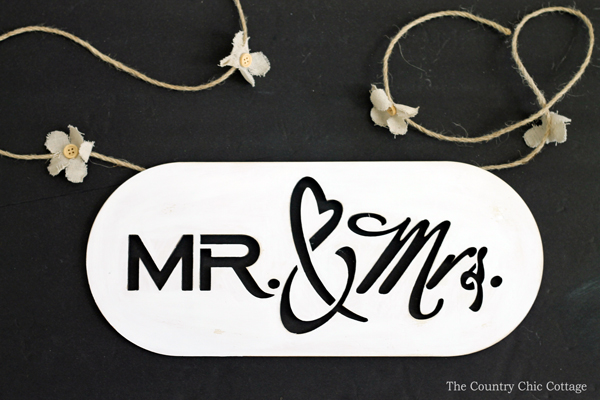
Your wedding photo prop is ready for the bride and groom. You can shoot a variety of shots with this fun sign. Or even use it as decoration at the reception or on the car they leave in.
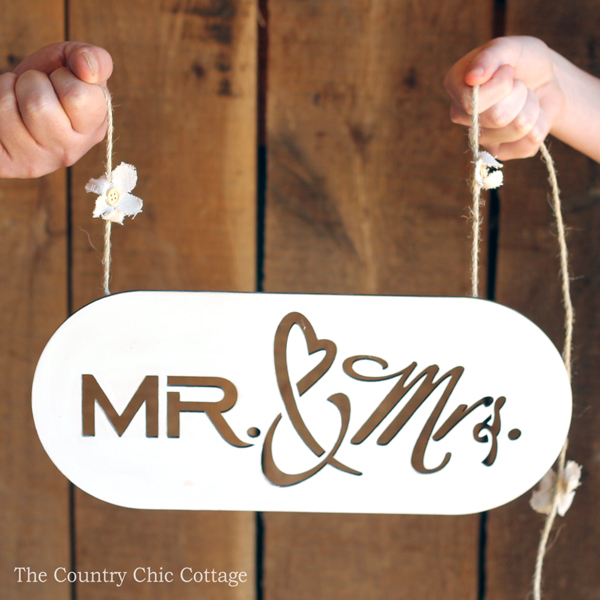
However you use this fun wedding photo prop, you can be proud you made it yourself!
More wedding ideas
Love this and want to make a photo booth at your wedding? Check out the links below:
