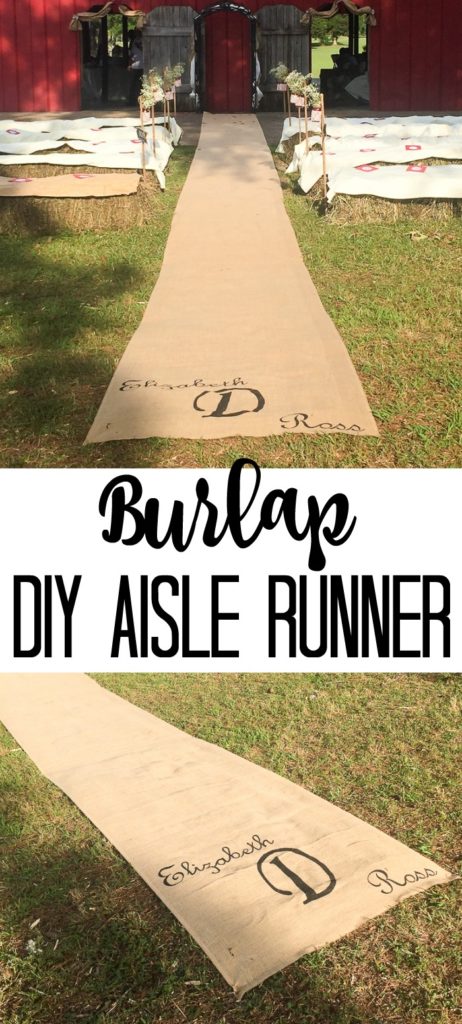
A DIY burlap wedding aisle runner is easier to make than you might–plus it’s rustic! I whipped up this beauty for my daughter’s wedding and I loved how it looked in the barn setting. You can even add a monogram and the couple’s name with my super simple method below. I even hunted around and figured out how to get the burlap for the cheapest price possible. Perfect for outdoor weddings!
If you’re in need of more wedding ideas, be sure to visit this list of DIY projects.
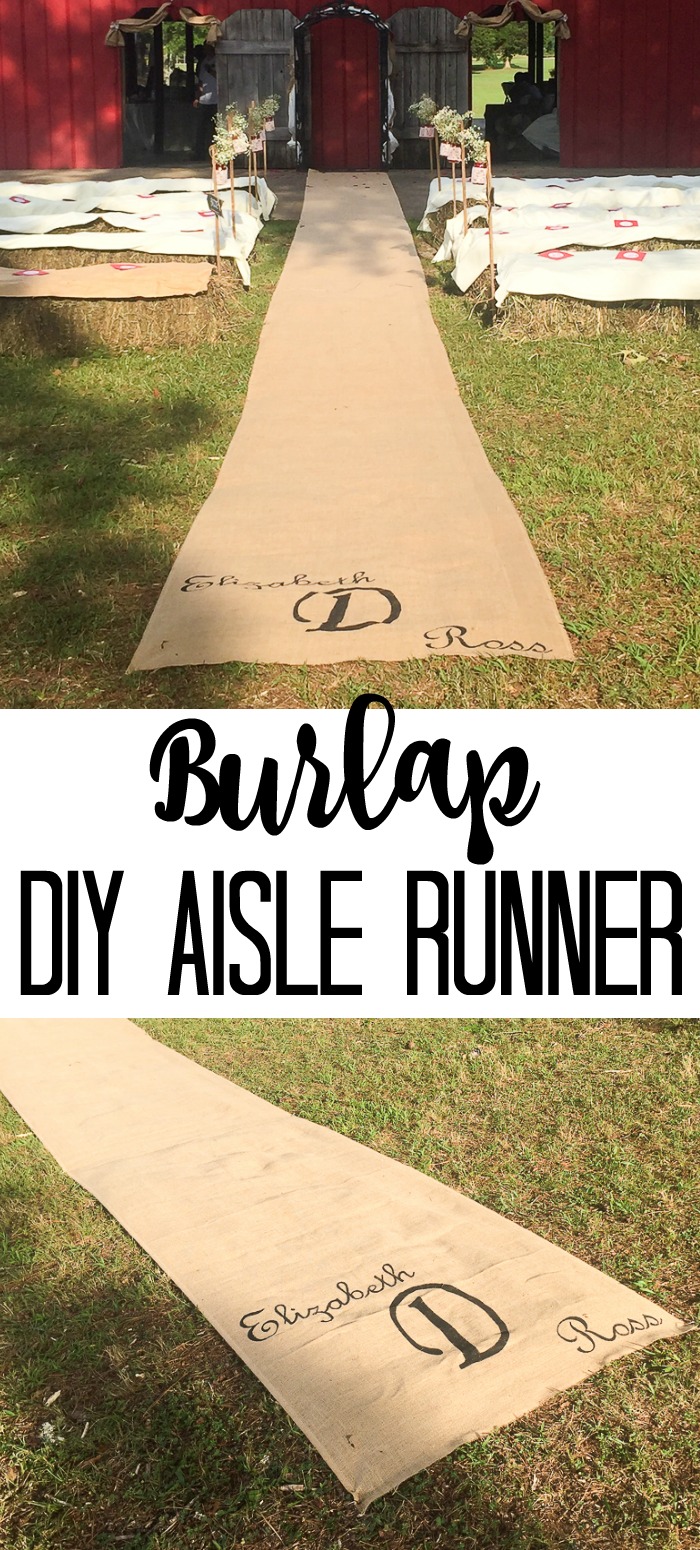
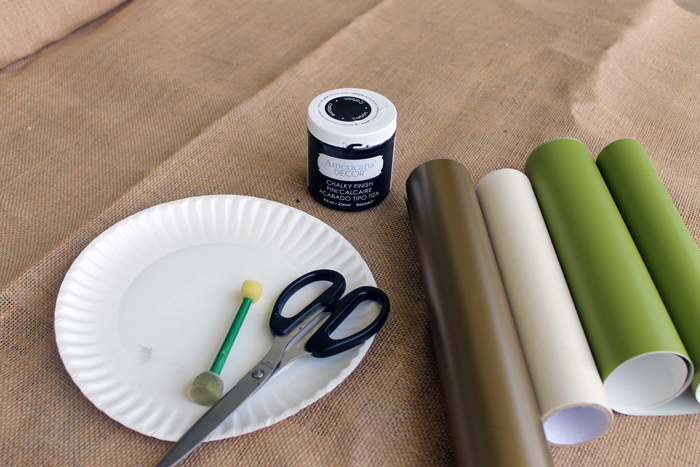
Supplies Needed to Make Your own Rustic Burlap Aisle Runner:
Links may be affiliate links which means you do not pay anymore.
- 40-Inch Wide Burlap: This link is to Amazon which was definitely the best price. I used 20 yards for my runner, but you can make it as short or long as you wish.
- Black Paint
- Paint Brush: I love these sponge pouncer brushes)
- Vinyl: In any color.
- Electronic Craft Cutter or Craft Knife: I used my Cricut and you can see which one I love here.
Note: You can use any color of paint for the lettering, but black shows up the best!
How to Make a DIY Wedding Aisle Burlap Runner:
Step One
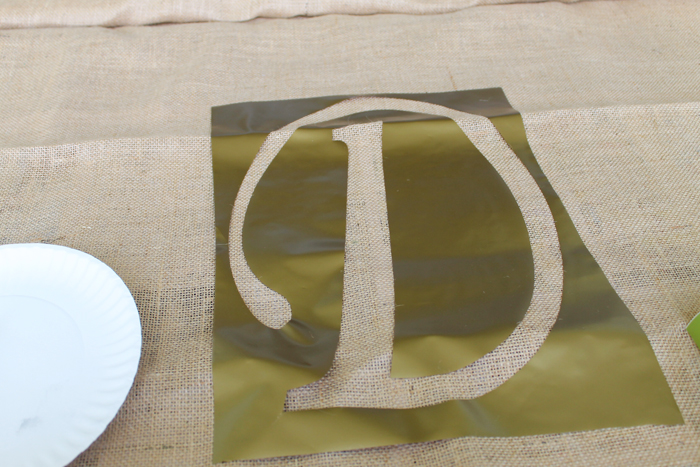
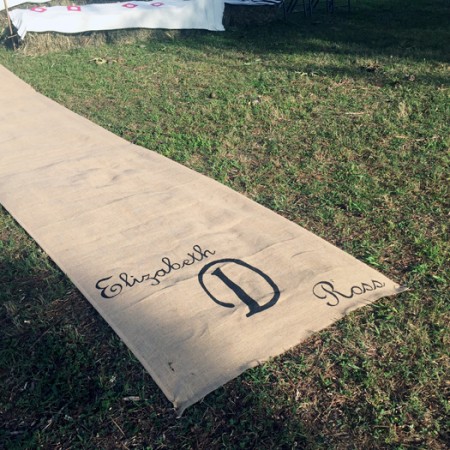
Start by designing your monogram and names in the fonts that you love. Cut them out from any vinyl. I used my Cricut machine for this project. In a pinch, you can use a craft knife and some patience to cut out a stencil for this project. The beauty of using vinyl for a stencil is that you can use absolutely any color that you happen to have on hand.
Step Two
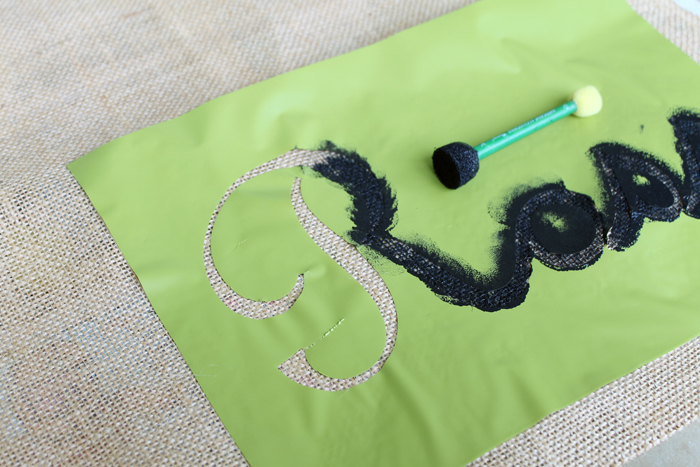
Adhere the vinyl to your burlap in the location where you would like it to go. Then use black craft paint to paint inside of your stencil. Remove the vinyl after your painting has been completed.
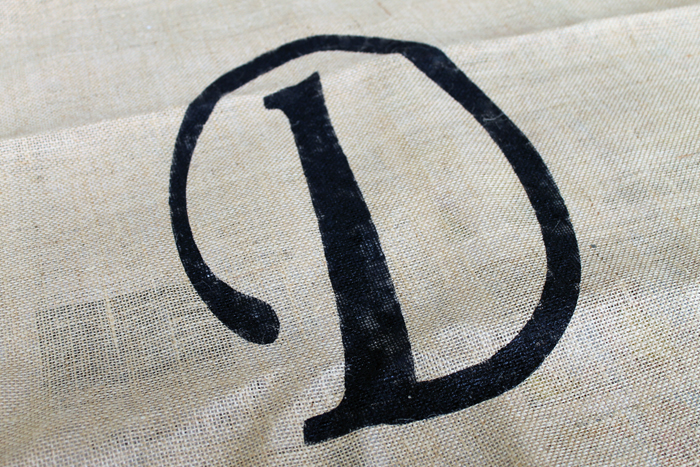
I love the pouncer brush for going straight up and down over the vinyl. This results in minimal seepage of paint under the vinyl.
Step Three
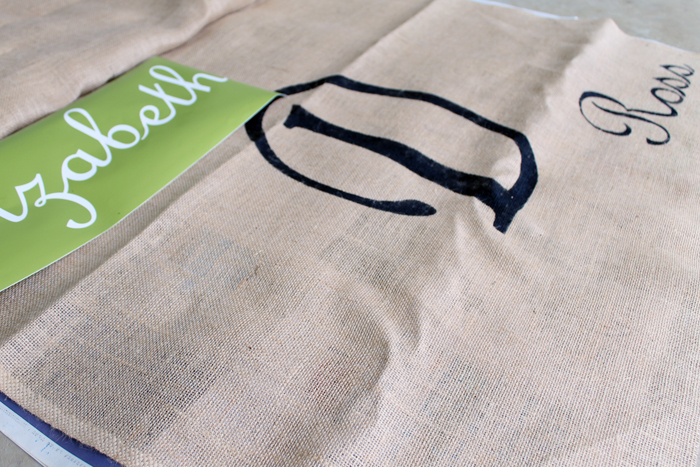
Continue to arrange each word on your burlap to get the look that you desire.
Step Four
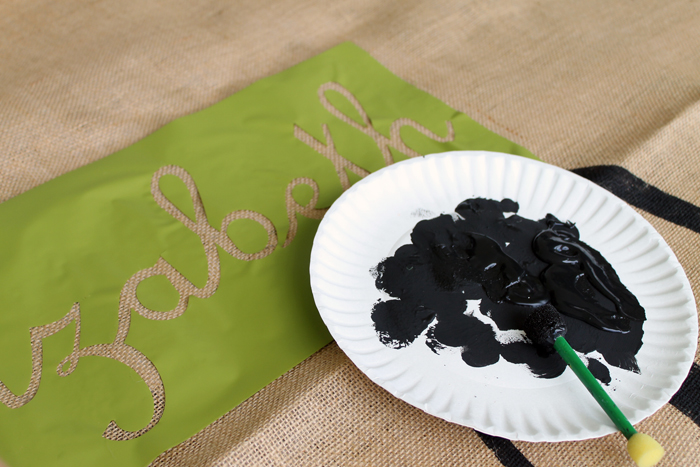
Don’t forget to protect the surface under your burlap with cardboard or newspapers. Remember the paint will seep through the burlap surface. After your painting is complete, allow drying completely before sewing multiple pieces of burlap together to create an aisle runner that is long enough for your needs. After it is complete, roll up your DIY burlap aisle runner until the big day. This will minimize wrinkles and leave you with a gorgeous finished product.
Step Five
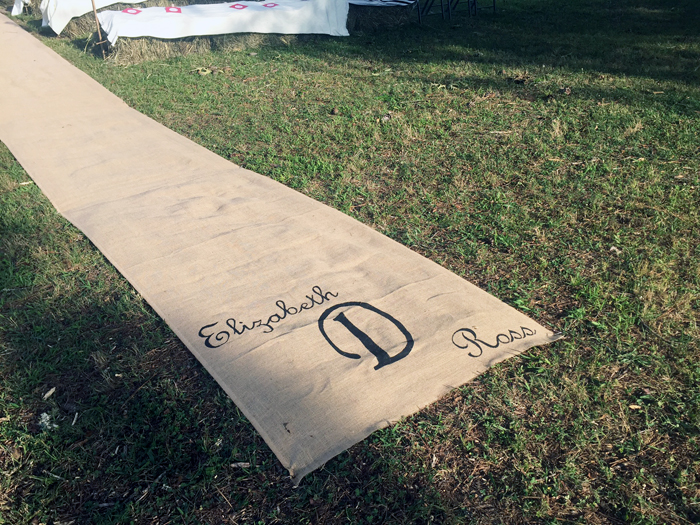
We used garden anchor pins to hold the runner in place for the ceremony. Just place them every few feet through the burlap and into the ground. This DIY burlap aisle runner is sure to be a hit at your rustic wedding! Add this project to your DIY project list. Want to see how this fit into the wedding? See the rest of the pictures here.
How to Use
Use this burlap wedding aisle runner for outdoor or indoor weddings when your theme and style is rustic or farmhouse. This DIY project is super easy and so versatile! You could even use white burlap or ivory white lace: beautiful!
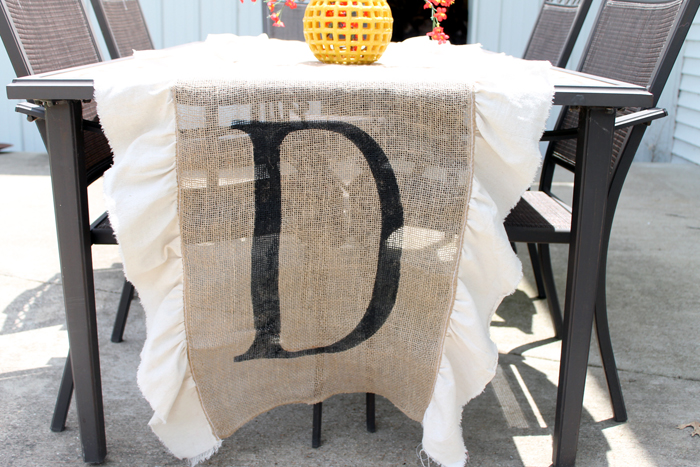
You can also use a smaller version of this DIY runner for tables.
Love Burlap and Want More Ideas? Click the Links Below!
- Monogrammed Burlap Table Runner Here
- Ideas for Wedding Aisle Runners
- 50 DIY Wedding Crafts
- Wedding Chair Reservation Signs
- DIY Wedding Gift Ideas
Supplies
- 40-Inch Wide Burlap This link is to Amazon which was definitely the best price. I used 20 yards for my runner, but you can make it as short or long as you wish.
- Black Paint
- Paint Brush I love these sponge pouncer brushes)
- Vinyl Any color
- Electronic Craft Cutter Or craft Knife: I used my Cricut and you can see which one I love here.
Instructions
- Start by designing your monogram and names in the fonts that you love. Cut them out from any vinyl. I used my Cricut machine for this project. In a pinch, you can use a craft knife and some patience to cut out a stencil for this project. The beauty of using vinyl for a stencil is that you can use absolutely any color that you happen to have on hand.
- Adhere the vinyl to your burlap in the location where you would like it to go. Then use black craft paint to paint inside of your stencil. Remove the vinyl after your painting has been completed.
- I love the pouncer brush for going straight up and down over the vinyl. This results in minimal seepage of paint under the vinyl.
- Continue to arrange each word on your burlap to get the look that you desire.
- Don't forget to protect the surface under your burlap with cardboard or newspapers. Remember the paint will seep through the burlap surface. After your painting is complete, allow drying completely before sewing multiple pieces of burlap together to create an aisle runner that is long enough for your needs. After it is complete, roll up your DIY burlap aisle runner until the big day. This will minimize wrinkles and leave you with a gorgeous finished product.
- We used garden anchor pins to hold the runner in place for the ceremony. Just place them every few feet through the burlap and into the ground. This DIY burlap aisle runner is sure to be a hit at your rustic wedding! Add this project to your DIY project list. Want to see how this fit into the wedding? See the rest of the pictures here.
Silhouette Tips and Tricks

Sign up for our email list and we will deliver weekly inspiration with tips and tricks for your machine right to your inbox!



WOW Angie awesome runner, you sure are a handy talented Mom of Bride.. Monograms are so beautifully done. Are you exhausted yet from making wedding goodies? Do I understand correctly, daughters’ wedding will be at your farm? Can hardly wait to see photos.
Was looking at burlap you got, looks like better quality burlap than buying at JoAnns or Hobby Lobby, nice clean edges so it won’t keep raveling. Might just have to get some myself for whatever needed to have on hand. Besides 40″ wide anything else specifically I should know to order?
Try to get some rest and have wonderful week
We actually did not have it on our farm. That would have been a ton of work!
Yes the burlap was great. It was just on Amazon and was 40 inches wide. It was basically a bolt so the full width so both edges were finished. A really great deal actually! I kept it and will be using it for projects!
i am new to Cricut.. I just purchased the Air 2 to use for my wedding projects and was already doing a burlap runner. Love this idea. My question is, how big is the “D” and the names. How do I put it on my project canvas? Anything will help.
THanks
try making your monogram 12 x 24 and use the larger mat. Then cut your names separately. Hope that helps!
This turned out so great! What a neat idea!
Would love for you to share this with my Facebook Group for recipes, crafts, and tips: https://www.facebook.com/groups/pluckyrecipescraftstips/
Thanks for joining Cooking and Crafting with J & J!
What a great idea! So cute, I love the monogram on it! I’m sure your daughter loved it!
What a beautiful runner! You did am amazing job :]
Blessings,
Edye | http://gracefulcoffee.wordpress.com
I love this idea! Perfect for a country wedding!
Such a great idea! Thank you for sharing at Merry Monday!
Just stunning and great tutorial, looks like anyone can do this!! I’ve chosen your DIY Burlap Aisle Runner as my feature this week over at the Friday Favorites Linky Party, swing by and check out your feature!!