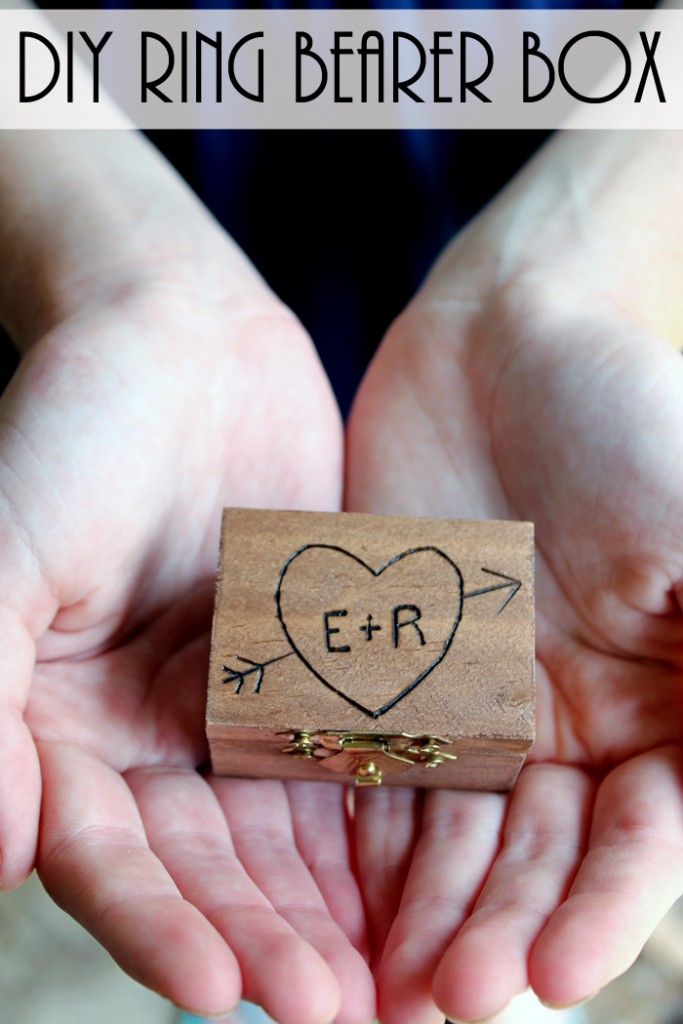
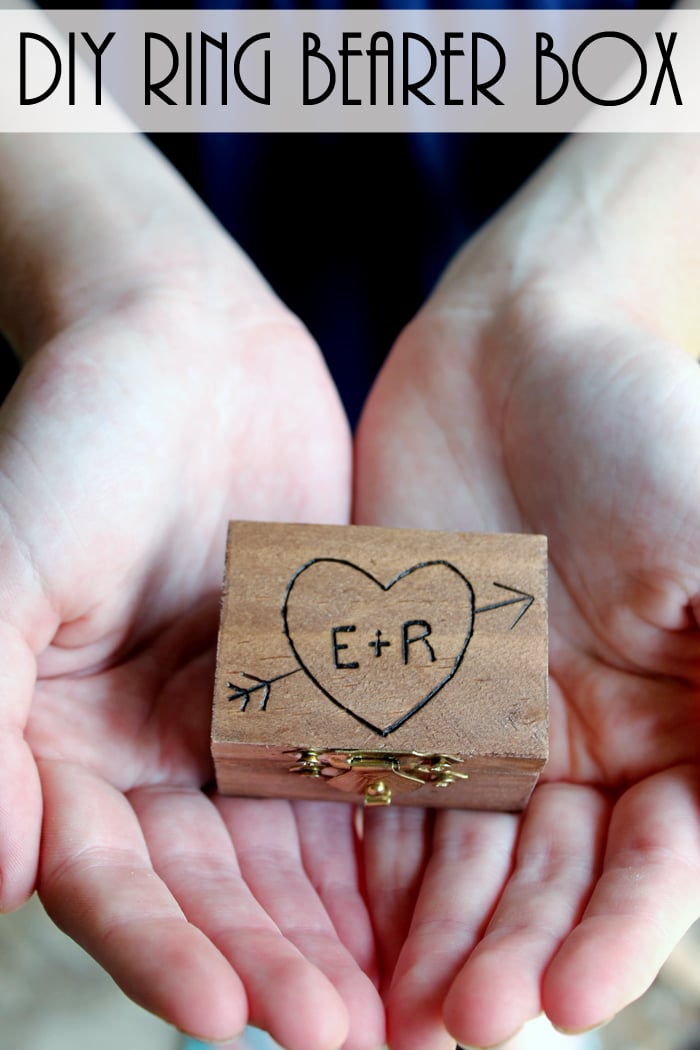
A DIY ring bearer box is the perfect addition to your DIY wedding. This rustic version worked perfectly at the rustic barn wedding we had a few weeks ago. I thought I would share here how to make this great box that also doubles as a memento for the couple after the wedding. This one was first posted over at Crafts Unleashed where I am a paid design team member but I thought I would post it here in case y’all missed it.
I have a ton of DIY wedding ideas on my site. After planning my daughter’s rustic barn wedding, I had plenty of DIY tips to share with brides!
Getting crafty with your wedding decor will save you a ton of money. Plus, you can add your own special touch and have a wedding that is completely and uniquely your own!
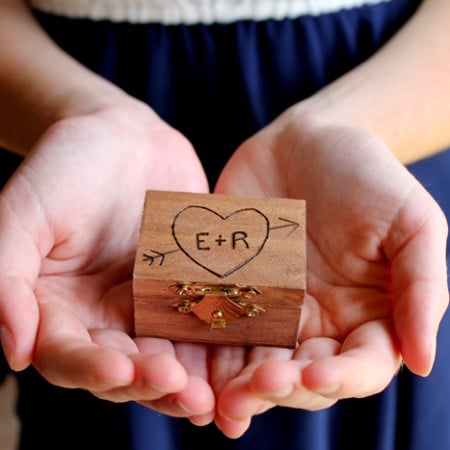
This ring bearer box is the perfect addition to your DIY wedding. With the wood-burned stain, you can add your names, the date, or another message on the box for the ring bearer to carry in style!
How to Make a Ring Bearer Box
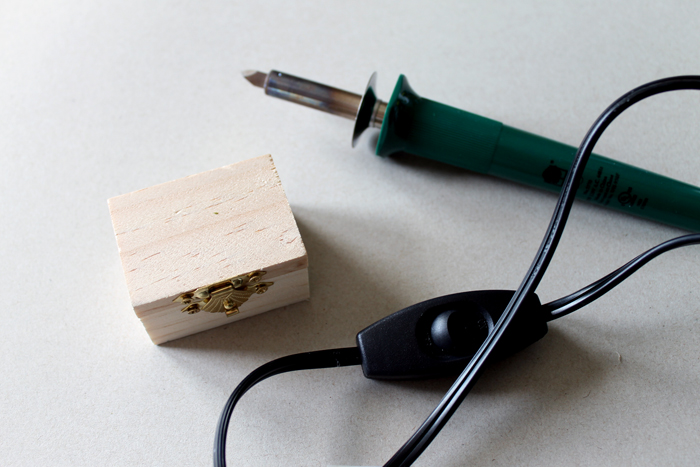
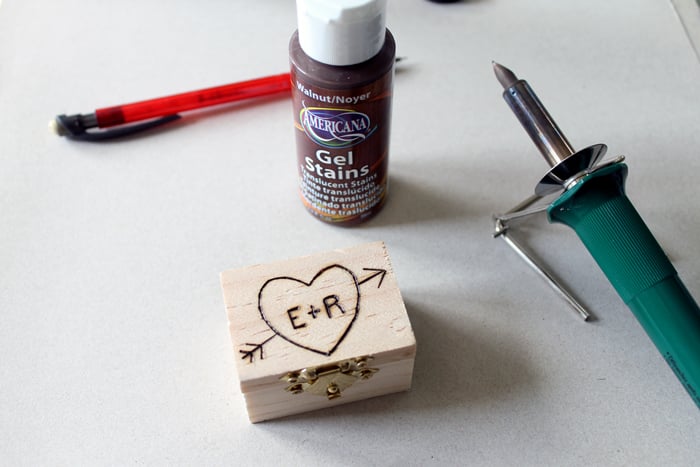
Supplies needed to make your own DIY ring bearer box:
Links may be affiliate links which means you do not pay anymore.
- Mini Unfinished Wood Box
- Wood Burning Tool
- Pencil
- Wood Stain
- Rag
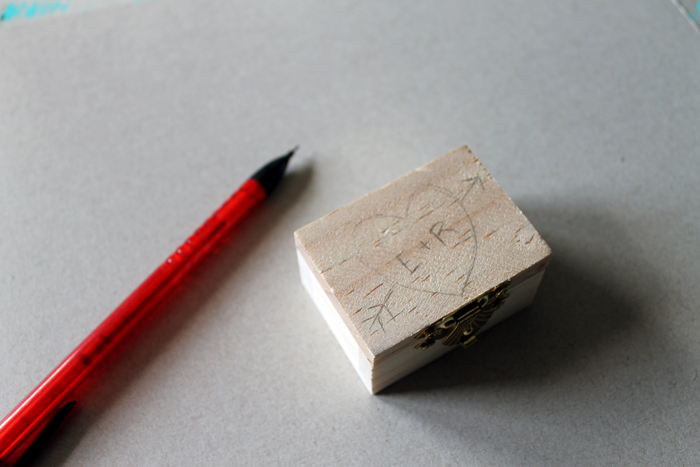
Start by freehanding a design on the top of the wood box with a pencil. Choose a design that will work well with the wedding theme.
Use the wood-burning tool to burn the design into the wood. The tool is just like using a pencil — it is just HOT! Be careful, go slow, and you will be left with an amazing design in your wood.
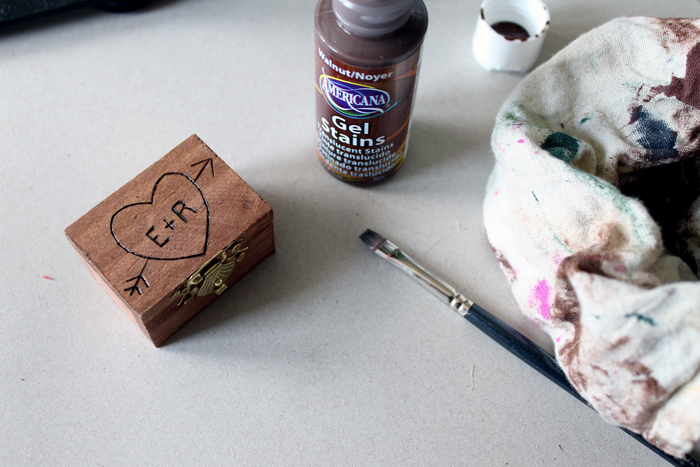
Cover the entire box (inside and out) with a stain. Wipe to remove the excess. Allow the entire thing to dry completely. I also added a small piece of fabric to the inside to protect the rings. I used hot glue to secure it.
Want to see all the steps for making this DIY ring bearer box? Check out the video below!
Order your supplies and get started making your own version today. A wonderful keepsake for your DIY wedding.
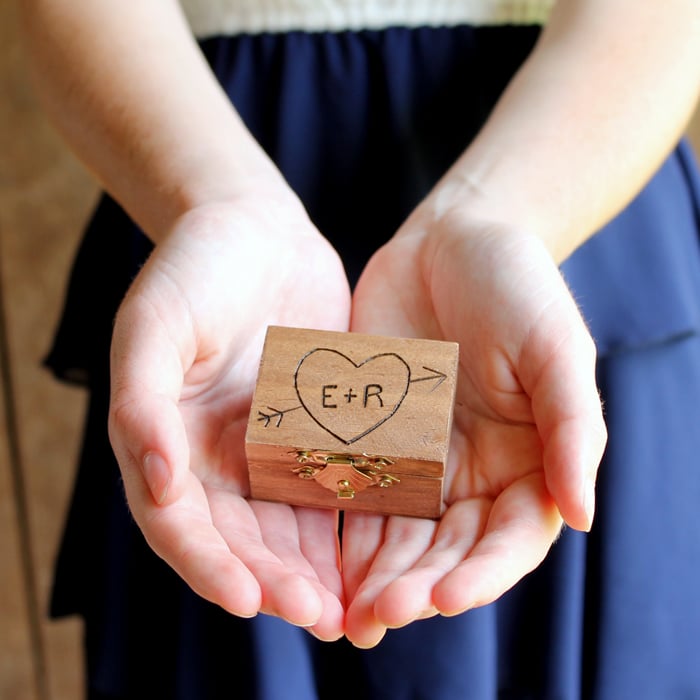
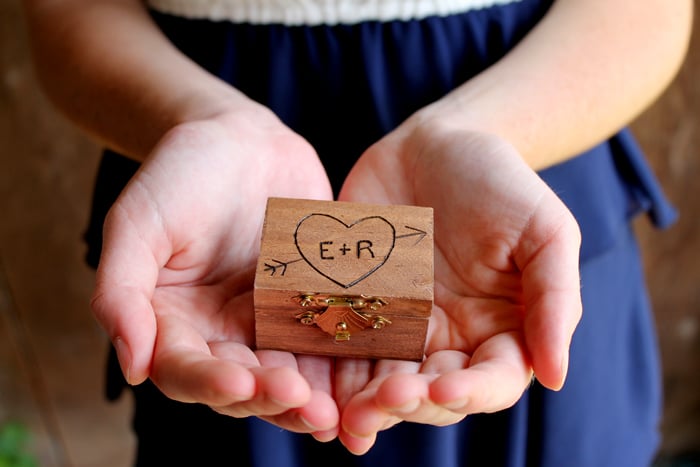
I love how this project turned out and the fact that it is super easy to make! A DIY ring bearer box is only a few minutes away.
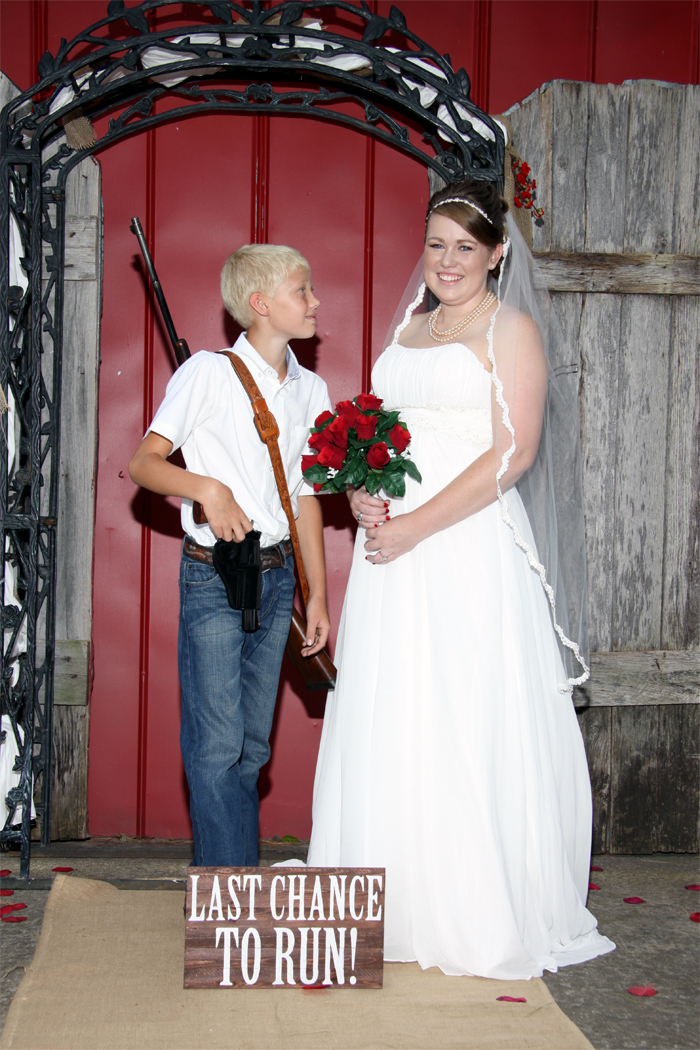
Make your ring bearer something to talk about with this last chance to run sign! Then you can also check out these other DIY wedding crafts.
Equipment
- Mini Unfinished Wood Box
- Wood Burning Tool
- Pencil
- Wood Stain
- Rag
Supplies
- Mini Unfinished Wood Box
- Wood burning tool
- Pencil
- Wood Stain
- Rag
Instructions
- Start by free handing a design on the top of the wood box with a pencil. Choose a design that will work well with the wedding.
- Use the wood burning tool to burn the design into the wood. Be careful, go slow, and you will be left with an amazing design in your wood.
- Apply a thin coat of stain over the entire box (inside and out). Wipe away excess. Allow the entire thing to dry completely. If desired, add a small piece of fabric to the inside to protect the rings. Use hot glue to secure it.

