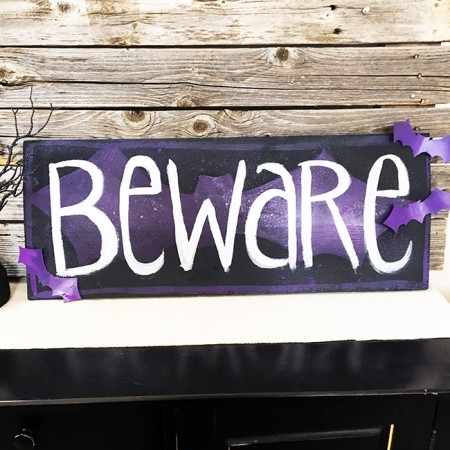
Here’s a great project that will use up some of your scrap wood and give you a fun piece of Halloween decor too! Use this tutorial to make a DIY Halloween Beware sign.
Crafting inspiration can come from nearly anywhere, and craft projects can use all kinds of materials – including pieces from the scrap pile!
Signs are the easiest projects to make from scrap wood because you often don’t need a lot of it. Today’s “Beware” Halloween sign project is a great example of what you can make when you dig through your scrap wood pile.
Some wood, paint, and a little drying time are all you need in order to make this DIY Beware Bat Sign for Halloween. Try pairing it with our DIY Halloween Wood or Trick-or-Treat sign to complete your Halloween decor.
Jen Goode with 100 Directions is back this month with a DIY beware bat sign that is perfect for Halloween! Add those bats to various parts of your decor for a spooky addition.
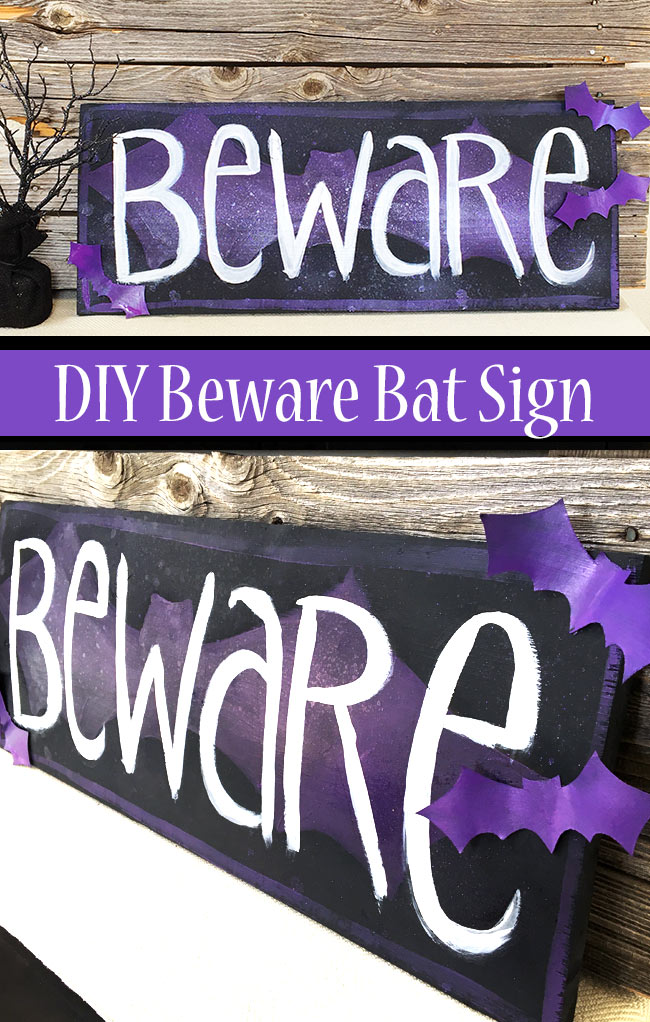
How To Make A Halloween Beware Sign
You won’t need many tools or a lot of time to complete this project!
Feel free to play around with customizing your sign to feature any kind of Halloween words you prefer. I went with the bat/beware theme because I love the look of bat decor. Plus, “spooky” seems to be my “go-to” on everything I make. I wanted to change it up a little bit this time.
Supplies Needed
Here’s everything you’ll need to make this DIY Beware Bat Sign For Halloween! I’ve included some handy links to make finding certain items a little easier and faster.
- Piece of scrap wood (mine is about 12″ x 30″ and 1″ thick)
- Paint (black spray paint, purple and white craft paint, and maybe some paint for sparkle)
- Pencil
- Black cardstock and glue (optional)
Project Instructions
If you have some black paper, you can add a few bats for fun, but just the painted sign will work on its own.
Instead of using a fancy template for this project, I did a lot of eye-ball sketching with a pencil to make this project work. I’ll show you how it’s done in just a few simple steps.
Step 1
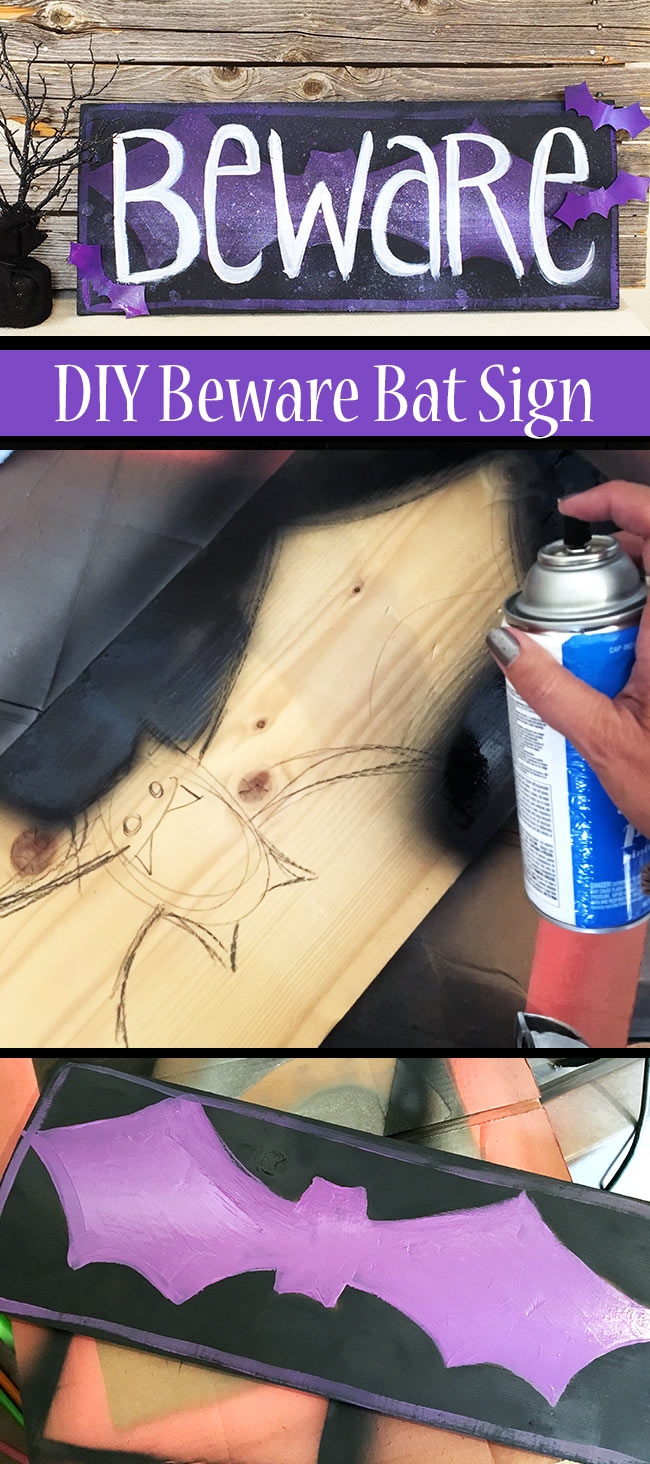
Lightly sketch your basic design right on the wood using a pencil. I started with the outline of the bat in the background.
Step 2
Using spray paint, quickly paint around the basic shape of your bat design, making sure to paint the edges of the board.
Note: I like to put the piece I’m painting on top of a piece of cardboard so I can easily rotate the art around without having to wait for all the edges to dry.
Step 3
Using a paintbrush and purple paint, brush in the shape of the bat. You don’t need to be perfect or exact with this design because you will be adding lettering over it.
Allow the paint to dry thoroughly before moving on.
Step 4
Using your pencil, sketch the word art you’d like on your Beware Halloween sign.
Step 5
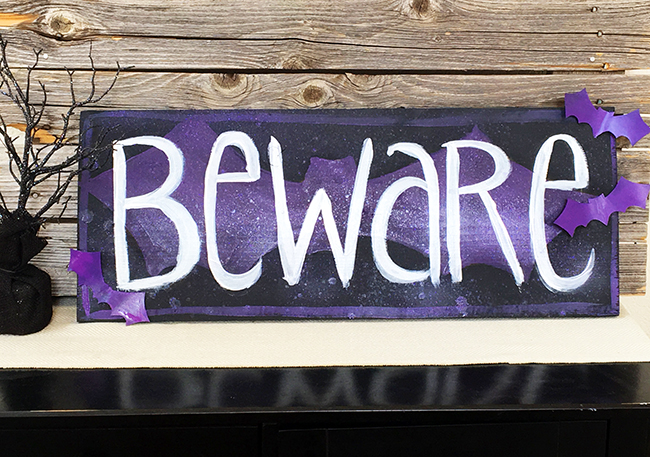
Use a paintbrush and white paint and paint over the pencil drawing of your word art. I love the painted, somewhat sketchy look, so I didn’t get too picky about the look of the letters.
For Halloween especially, you can get away with a fun, loose lettering style!
Step 6
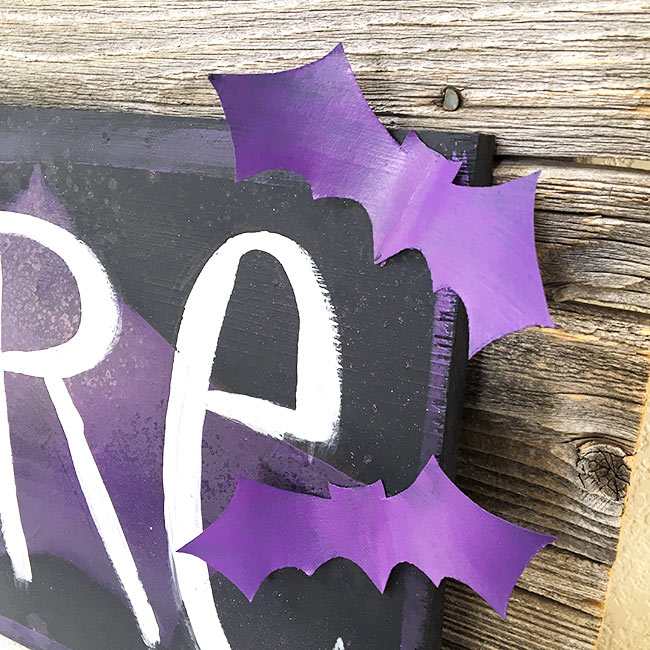
Optional, while the lettering is drying, cut out some card stock bats to glue onto your sign.
Note: If you would like them to be more weather resistant, use a spray sealer or paint the bats before adding them to the sign.
Once the lettering dries, glue the bats to the Halloween Beware sign.
Pro Tip: I had some leftover purple Glitter Blast paint that I sprayed over my sign to give it a slight sparkle. You could also use glow-in-the-dark paint to add an extra fun nighttime effect to the sign.
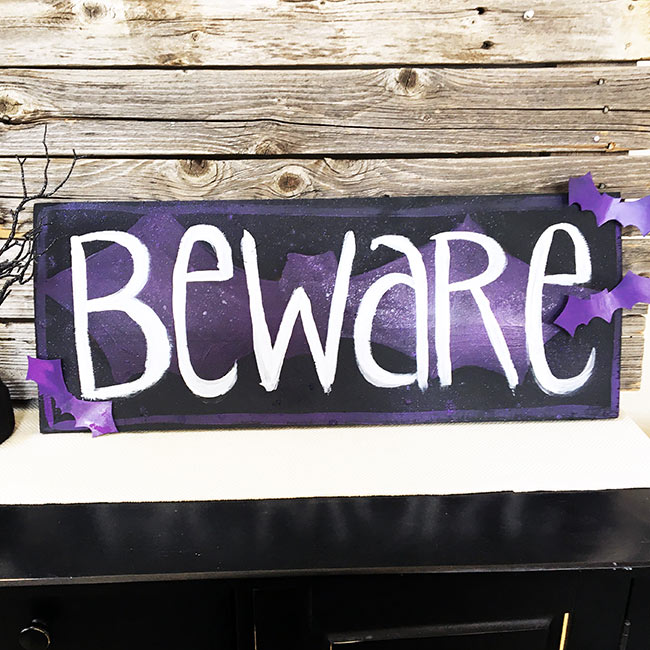
Have fun creating your own Beware Halloween sign by personalizing it to look any way you’d like. Happy Halloween!
FAQs
Here are a couple of questions that I see readers ask about making this bat cutout sign for Halloween. If you have a question, please check to see if I’ve already answered it below. Don’t see your question? Leave it for me in the comments!
What kind of paint is best to use for this project?
I chose spray paint because that’s what I had on hand, and it made quick work of this Halloween Beware sign. However, you can use craft paint and a paintbrush instead of spray paint if you’d prefer that method (or it’s what you have on hand).
Can I use a stencil to make the lettering for this sign?
You could use stencils or even pre-cut letters if you prefer. However, I hand-lettered the word on the board because it doesn’t need to look precise.
In fact, I prefer the hand-drawn look a bit more than the perfect lines of manufactured words – especially for Halloween projects. Go with what you like best, and it’ll look amazing (and unique) either way!
How do I make the bat cutouts?
I just eye-balled it and sketched my bats by hand. They really don’t need to be perfect.
However, if you’d like some help cutting your bat shapes, I have a bat template you can use to make the mini bats. Another option could be to use your Cricut machine, but in this case, sketching it by hand is probably the best use of your time.
Pro Tip: Fold your paper in half and cut out the bat along the fold to easily create a more symmetrical bat shape.
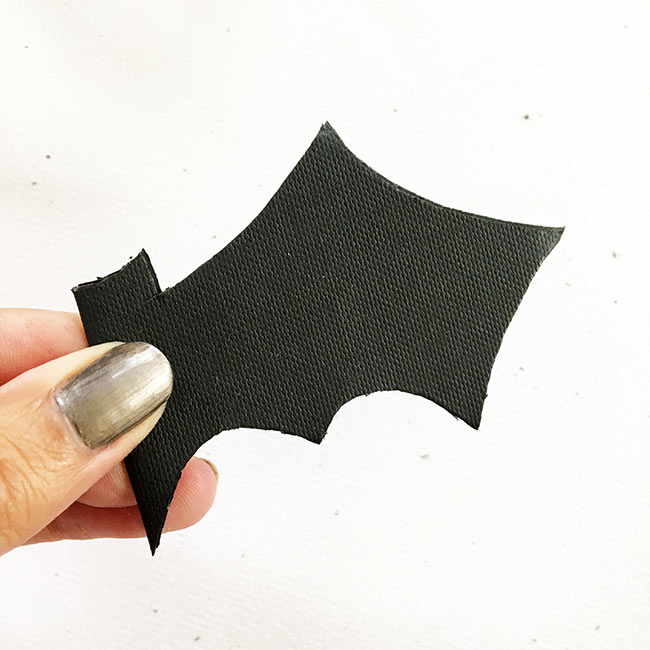
I hope you love this Halloween Beware sign project! Simple crafts like this one can draw the kids into crafting and make the best Halloween decorations.
More Halloween Decorations And Craft Inspiration
If you love this Beware Halloween sign, check out these other fun projects too!
Supplies
- Piece of scrap wood
- Pencil
- Paint black, white, purple, and glitter (optional)
- Black cardstock (optional)
- Glue (optional)
Instructions
- Use a pencil to lightly sketch your basic design right on the wood. I recommend beginning with the outline of the background bat.
- Paint the sign with spray paint, leaving the basic bat shape unpainted. Don't forget to paint the edges of the board, so your sign looks complete.
- Paint the shape of the background bat using a paintbrush and paint. Don't worry about making it look perfect. Allow the paint to dry.
- Sketch the word that you’d like on your Beware Halloween sign with your pencil.
- Paint your word with a paintbrush and white paint over the sketched word
- Optional, you can cut out some bats from cardstock to glue onto your sign while you wait for the paint to dry.Use sealant or paint on them if you want to make them weather-resistant. Once the lettering dries, glue the bats to the Halloween Beware sign.


Jen,
Your Beware sign has me turning back. I love your work.
Happy Creating
Super cute! Definitely love the added glitter touch…because everything is better when it sparkles right?
Chelsea | DoItYourFreakingSelf.com
This is so adorable!!! Love it! 🙂