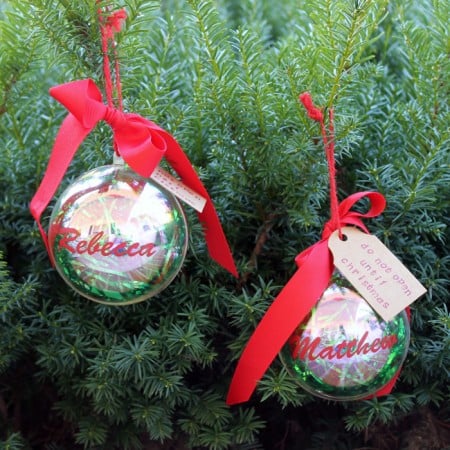
Looking for a way to gift money that’s a bit more fun than your standard envelope? Look no further than this money ornament project! These festive ornaments will add plenty of intrigue to your tree all season…as well as lots of joy on Christmas morning. 😉
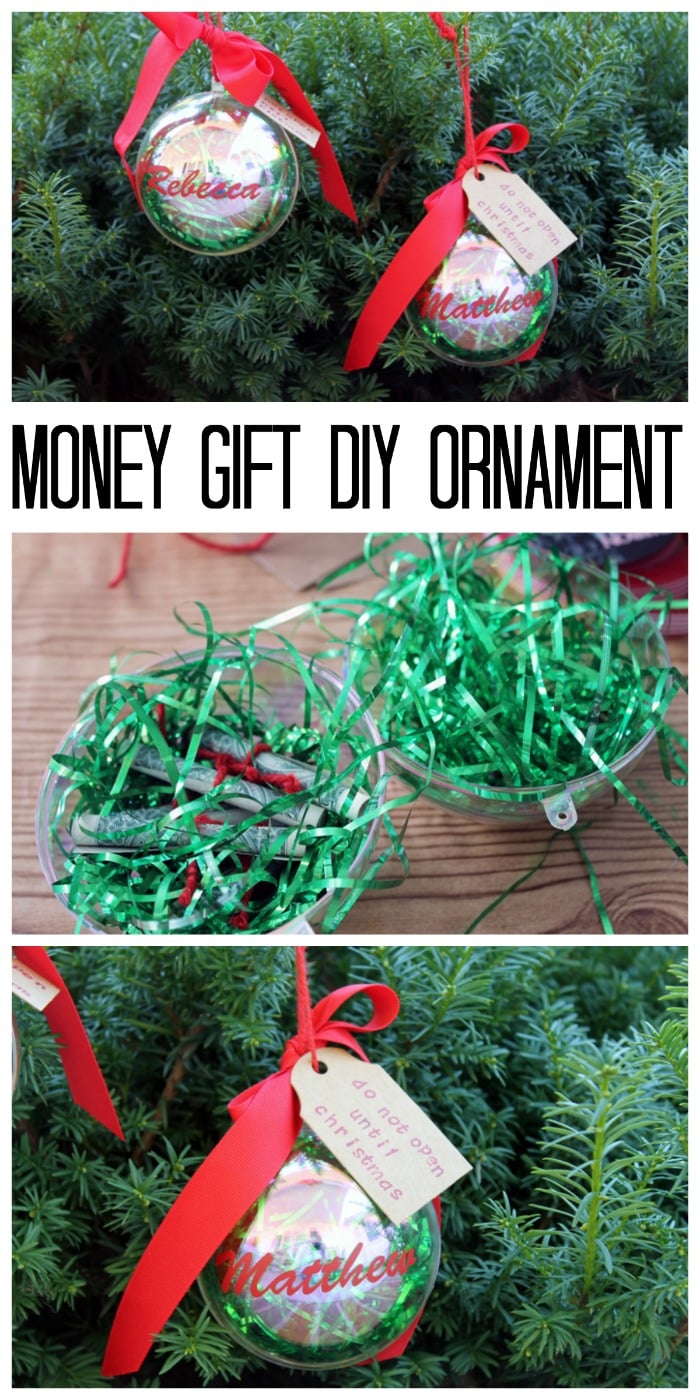
This is the time of year I start thinking about DIY gift ideas. The sooner you start planning for those gifts, the better off you will be during the holidays, trust me!
I do like to give my kids a bit of money for the holidays and I am always looking for unique ideas on how to do that. I came up with this ornament and thought I would share it here with you all.
Plus, this holiday ornament can also open up the discussion about financial planning or savings accounts and budgeting with your children. Financial literacy is the gift that keeps giving!
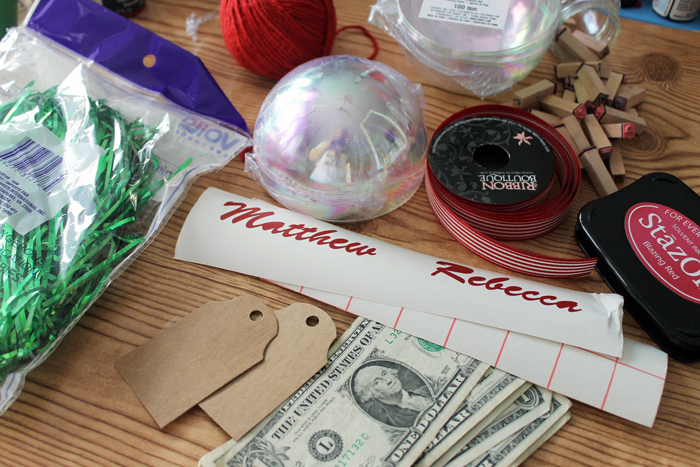
Supplies Needed to Make a Money Ornament:
- Two piece plastic ornament
- Vinyl cut into names or paint pen
- Transfer paper (optional)
- Shredded gift packaging
- Twine
- Ribbon
- Tag
- Stamps and ink (optional)
- Scissors
Step by Step Directions
Add the Name to the Ornament
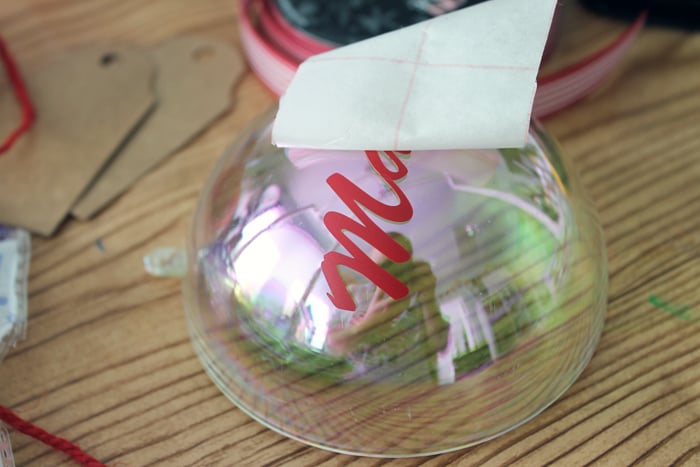
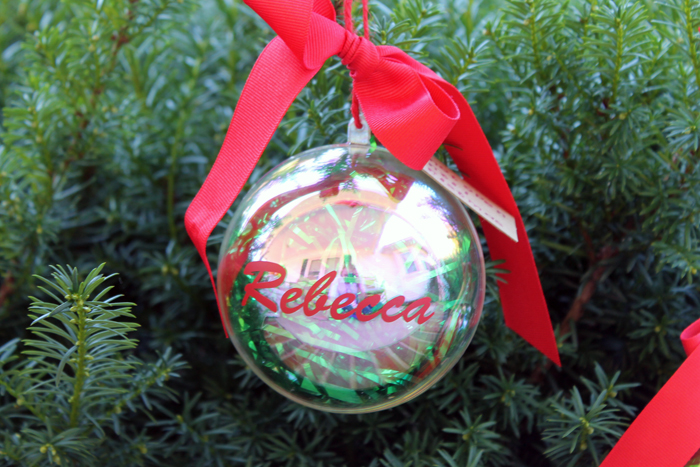
Firstly, you will need to add the name of your gift recipient to the front of the ornament. I’ve tried to skip this before and just remember who gets what, and it’s always complicated. Plus, your child will love seeing their name spelled out!
I used vinyl cut with my Cricut machine. It’s my favorite tool, hands down!
That being said, you don’t have to have a Cricut to make this money ornament. You could also write the name on the ornament with a paint pen. Personally, my handwriting is not good, y’all. I will stick with vinyl.
If you do vinyl, I highly suggest you use transfer paper to add it to the ornament as neatly as possible, as shown below.
Add the Money to the Ornament
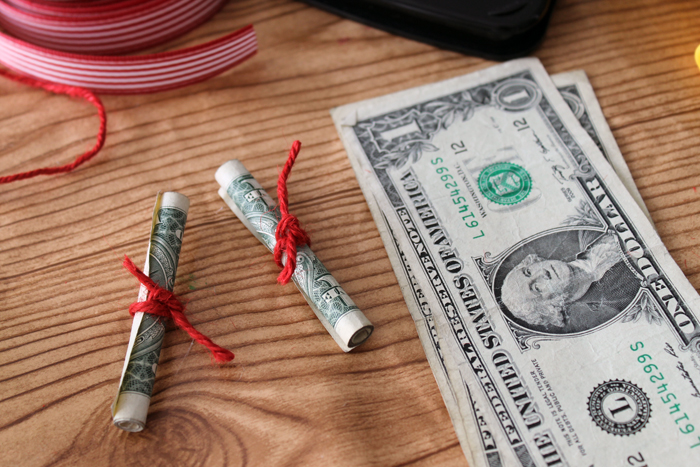
There are several different ways you can add the cash to the ornament. You could fold it into some fancy schmancy shape if you have the time and know-how.
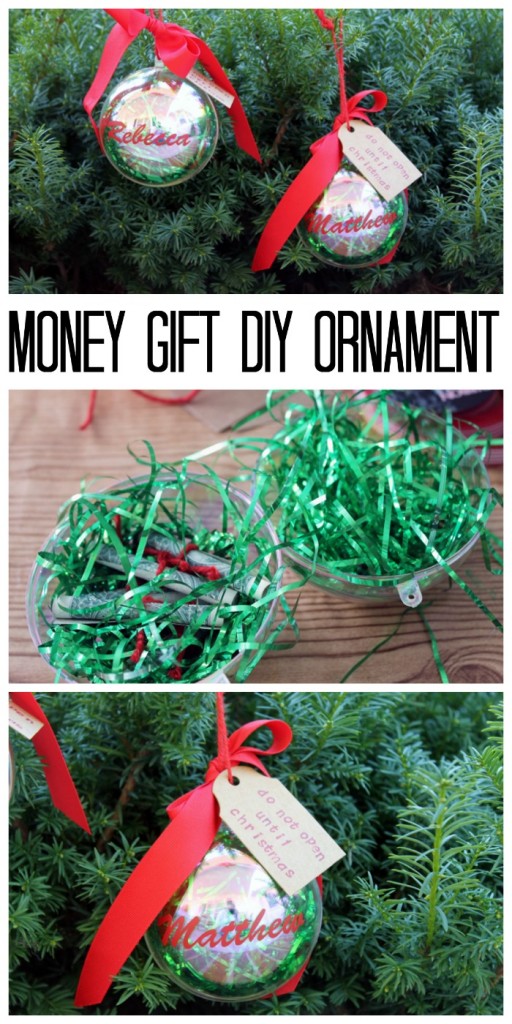
I like to keep things simple! So I opted to simply roll the money. You’ll want to roll the money tightly and then add some twine to hold it together.
You can roll an entire stack, or roll individual bills. I think it’s a bit more fun to open it up and see a bunch of separate rolls though!
Fill the Ornament
Fill the inside of the ornament with shredded gift wrap and the rolled money.
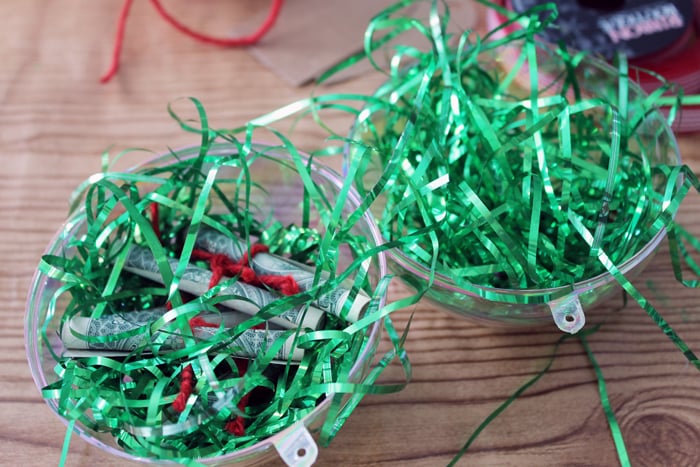
Add a Tag
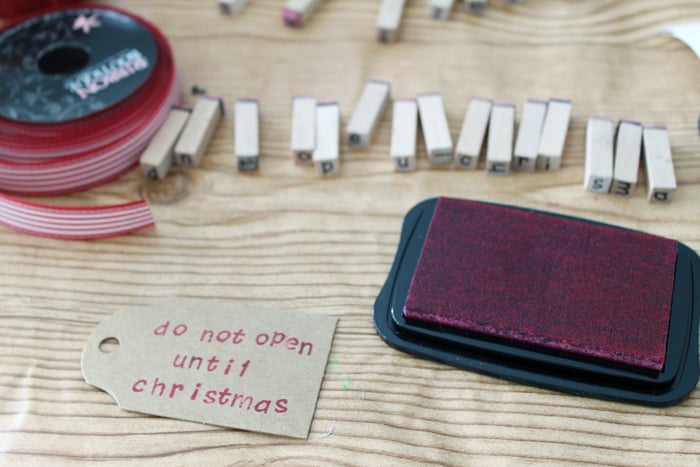
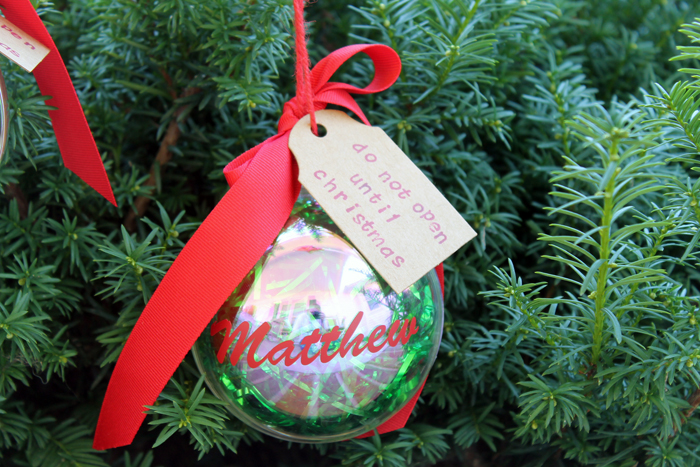
You will also need to make a “do not open until Christmas” tag. I used stamps and ink to create mine but you can definitely handwrite this tag as well.
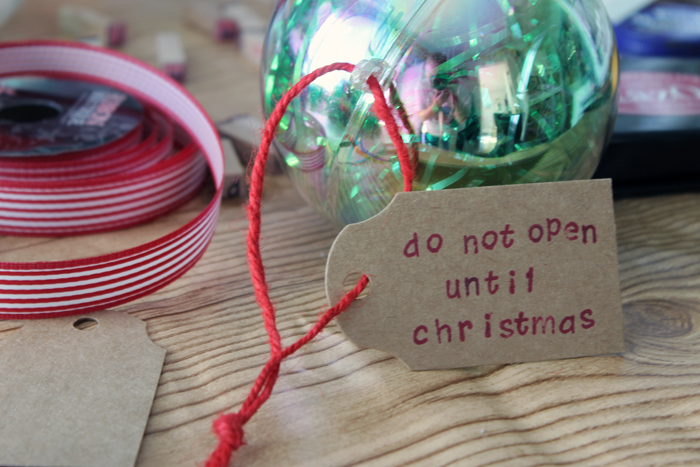
Close the ornament and tie on your tag with twine.
Embelish!
I also added a bow to the top of the ornament with ribbon.
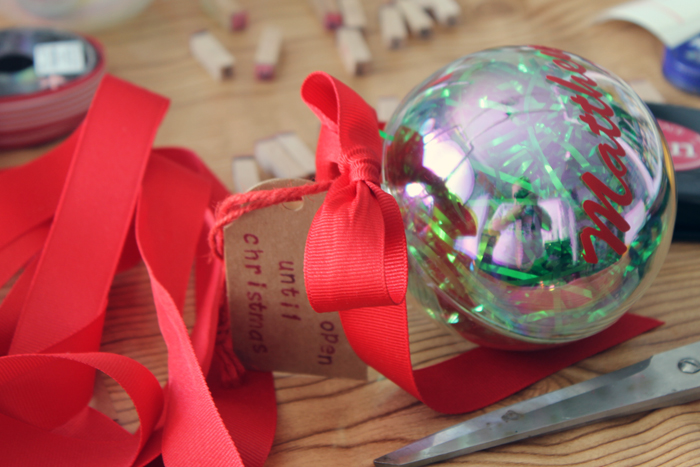
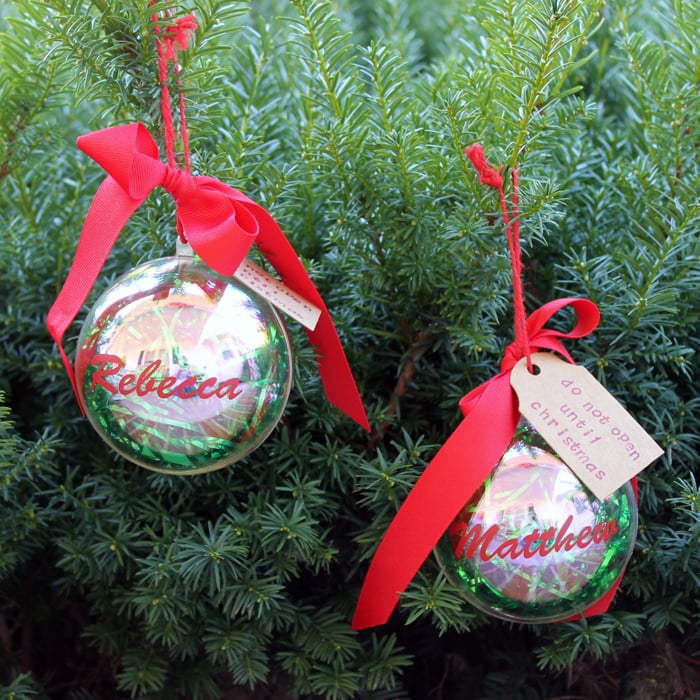
This fun money gift ornament is ready for your tree and for your kids to open this Christmas.
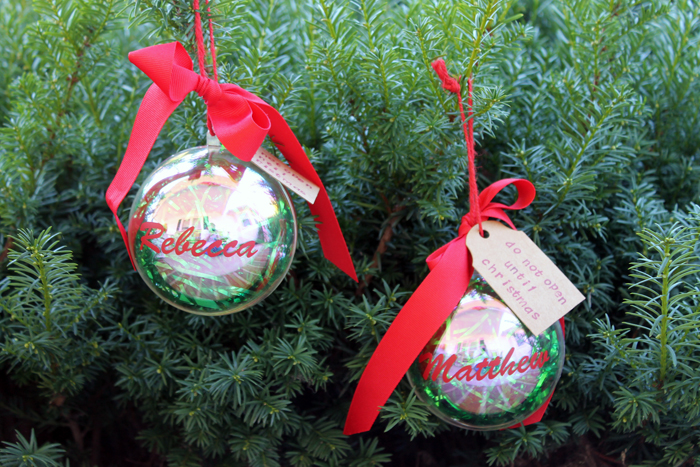
What else can I add in my money ornament?
This is a fun project because there’s so much you can do with it! I’ve done different things over the years. Here are a few ideas to get you started:
- faux snow
- wrapped small candies (like Hershey’s Kisses or wrapped caramels)
- colorful beads
- jingle bells
- photos
- gift cards (you need to find XL ornaments for this!)
- mini figurines
There are so many ways you can make this ornament personalized and fun. I would just recommend avoiding glitter as it makes a massive mess (trust me, I would know!)
How much money should I gift my child?
This question is highly subjective and depends on your personal situation and budget. I like to do a combination of wrapped presents and a money ornament, so I typically put less in the ornaments. I think $10 is a good starting point, especially for young children. Take them to the dollar store and let them pick out their own presents is a gift in itself!
More DIY Ornaments to Make
- Reindeer Fingerprint Ornament
- Diy Paper Ornament
- Vinyl Christmas Ornaments with a Cricut
- 5 Mason Jar Lid Ornaments
- DIY Stained Glass Christmas Ornament
Supplies
- Two piece plastic ornament 1 per child
- Vinyl cut into names or paint pen
- Transfer paper (optional)
- Shredded gift packaging
- Twine
- Ribbon
- Tag
- Stamps and ink (optional)
- Scissors
Instructions
- Add the recipient's name to the ornament. This can be done with Cricut vinyl or with a paint pen.
- Tightly roll your cash and tie it with twine.
- Fill the inside of the ornament with the shredded gift packaging, then add the rolled bills.
- Close the ornament.
- Create a gift tag (optional, but fun!)
- Add a bow and hang on the tree.



My 16 year old will love this idea.
I would love this idea.
This is such a cute idea!
I would love for you to share this with my Facebook Group for recipes, crafts, tips, and tricks: https://www.facebook.com/groups/pluckyrecipescraftstips/
Thanks for joining Cooking and Crafting with J & J!
Love this idea!
These are cute and practical! Thanks for sharing at Small Victories Sunday Linkup!
Love these, just perfect for someone who is hard to buy for! 🙂
What a fun idea – thanks so much for sharing. I always love seeing how people can make gifting money a little bit more interesting or unique.
-Lauren
Angie,
This is a great idea and I would love it if you stop by at Dishing it and Digging it link party at 4pm eastern and link up this awesome idea. http://diy180site.blogspot.com/2016/10/dishing-it-and-digging-it-link-party-120.html
This is such a fun little gift that I think I may just have to do it for the kids in my family!
Kate | The Organized Dream
What a fun way to give money this holiday season. Thanks for sharing on Merry Monday. Pinned.