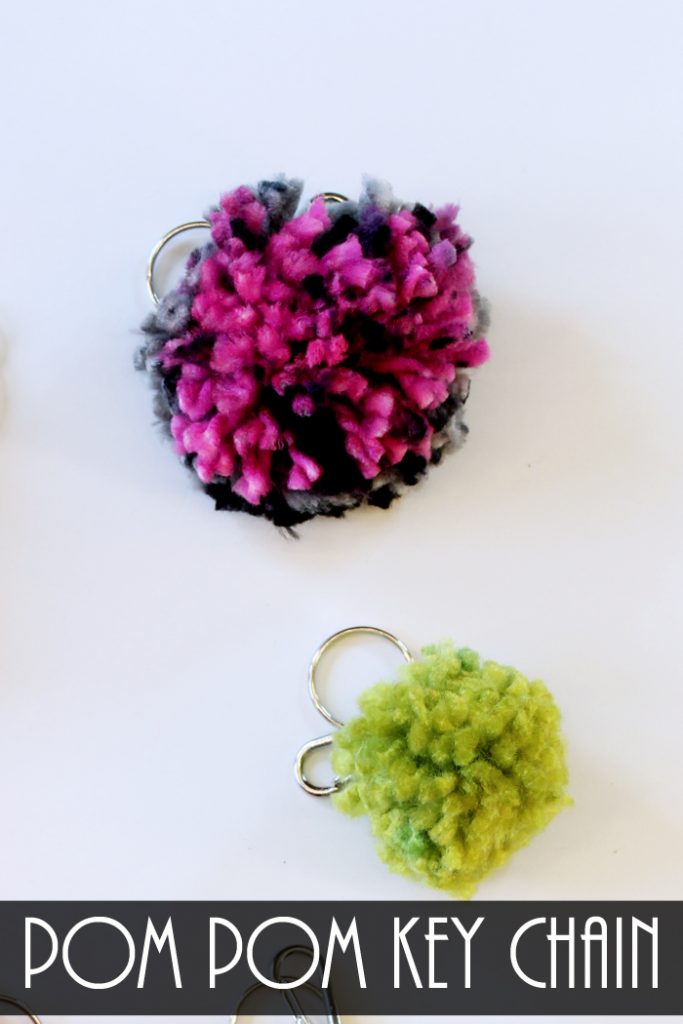
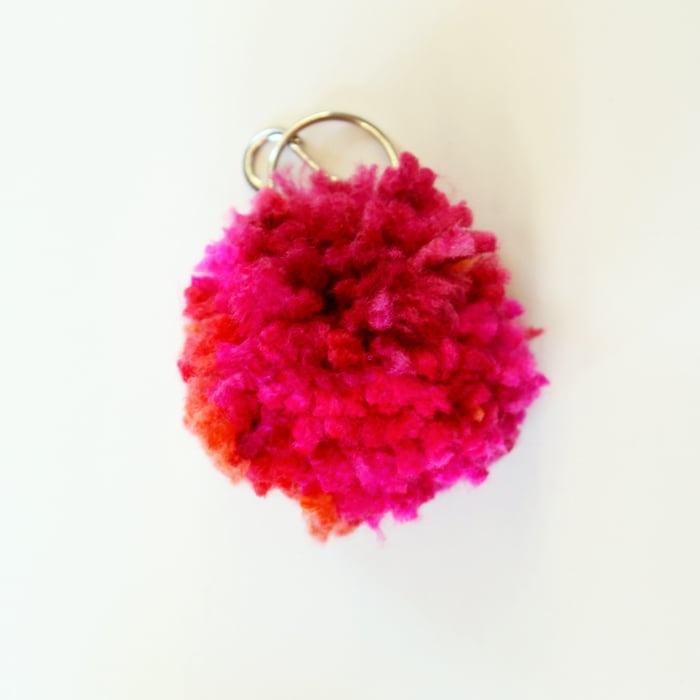
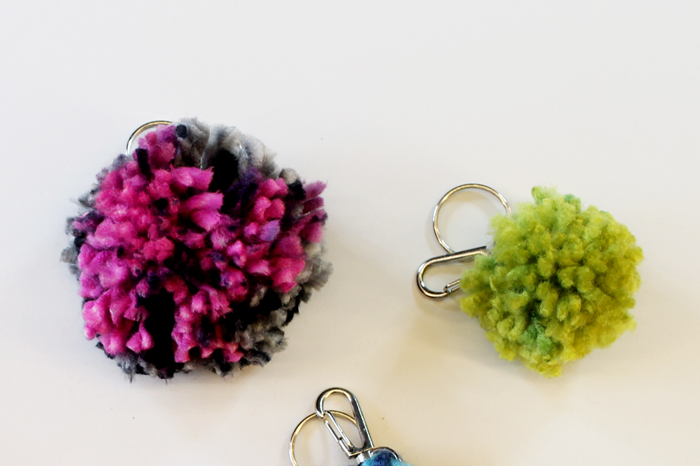
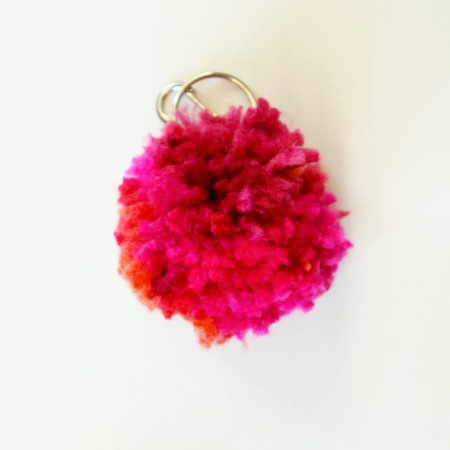
Pom pom keychains are super simple and super fun to make. We are actually using a pom pom maker and that makes this craft so easy. Give this project a try for your keys or just to hang on a backpack. This makes a great gift as well and the kids will love to help making them as well.
Looking for more kid-friendly DIY crafts? Try these clay pot crafts or try making your own straw rockets.
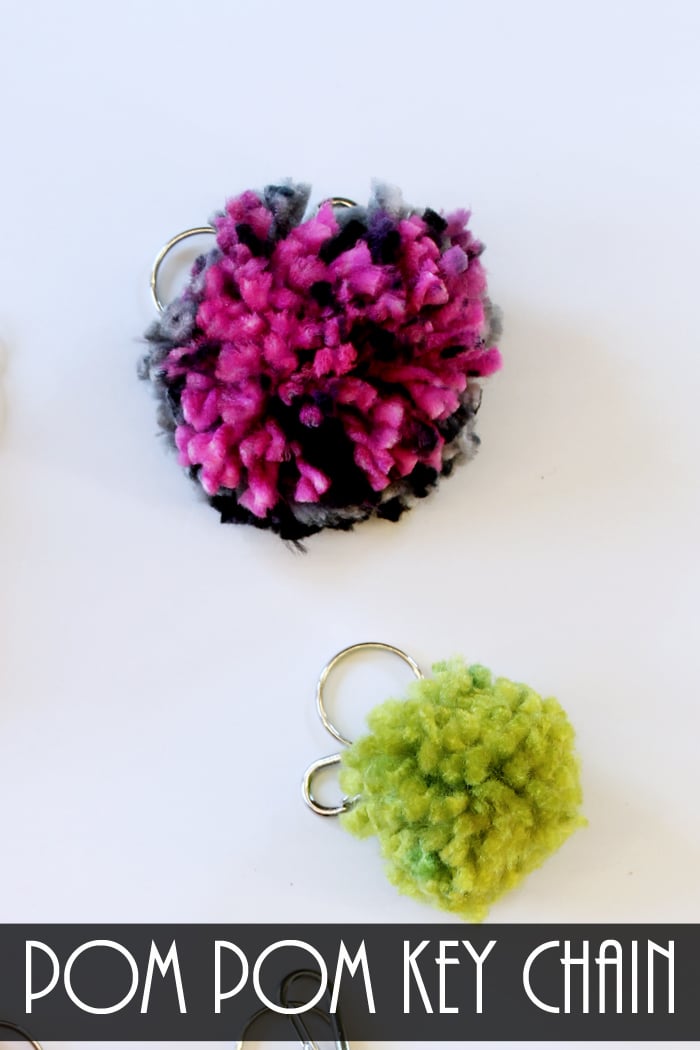
Make Your Own Pom Pom Keychains
These easy pom pom keychains are fun to make and fully customizable! Grab leftover yarn and a bag of keychains for a fun weekend craft.
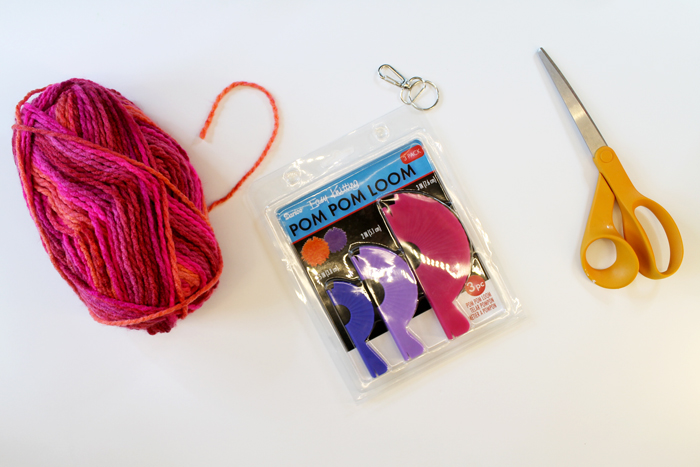
Supplies Needed:
Please note that links above may be affiliate links which means you do not pay any more.
How to Make Pom Pom Keychains
The key to this project is just learning how to use the pom pom maker correctly. There are three sizes included in the package, so just pick the one that best works for your project.
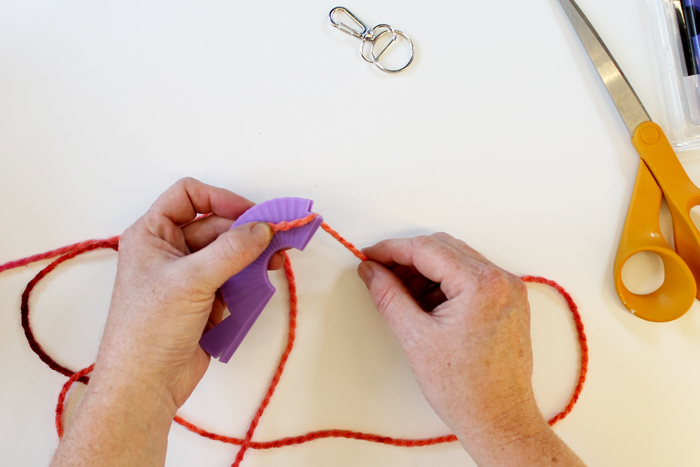
Step 1: Begin Yarn Pom Pom
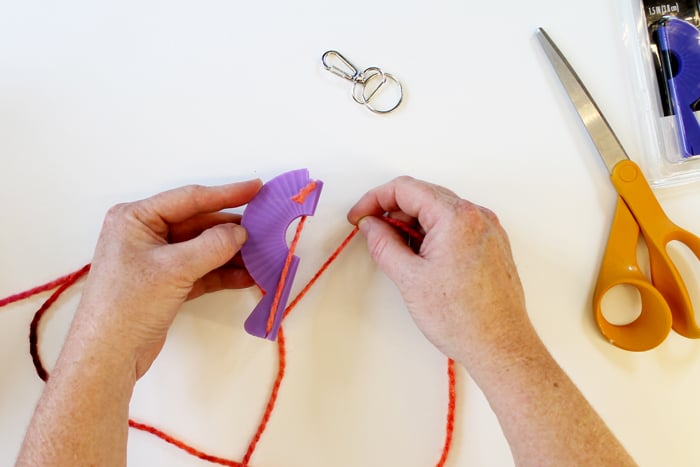
Hold it in your left hand. Start the yarn in the right notch and leave about a one inch tail as shown below.
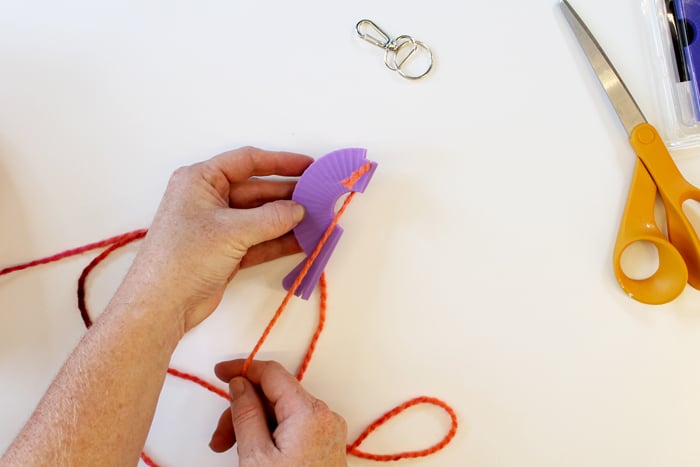
Step 2: Wrap Around Back
Wrap around the back of the maker and come through the center hole as shown below.
Step 3: Through the Notch
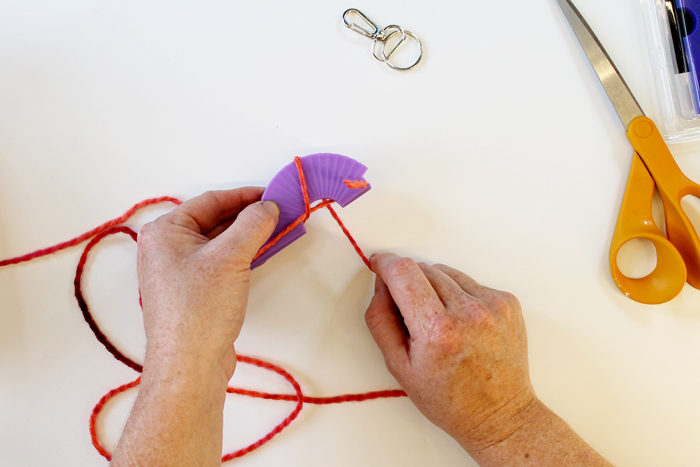
Go through the left notch as shown below.
Step 4: Back to Center
Then go through the center again and start wrapping around your pom pom maker.
Step 5: Wrap to the Right
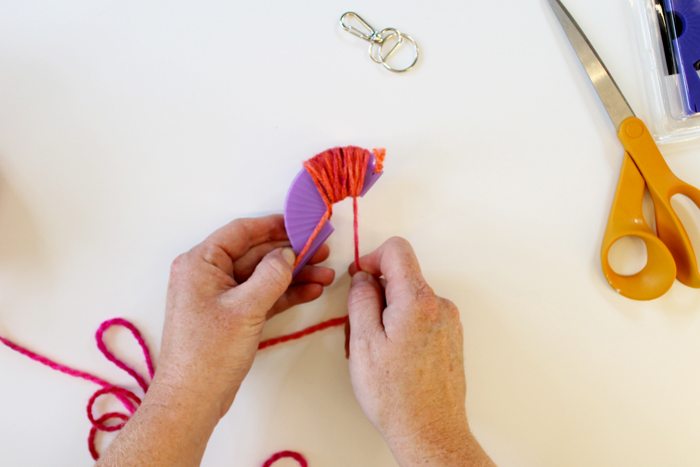
Start in the center and wrap towards the right.
Step 6: Wrap Back to the Left
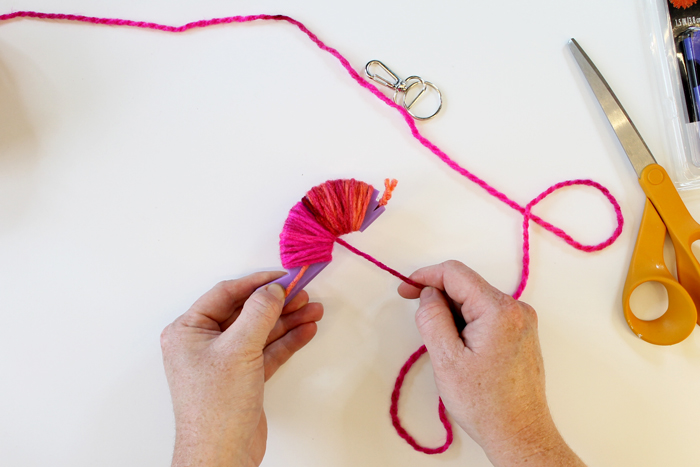
Wrap back around to the left covering the entire maker. Then wrap as much yarn as you would like around the pom pom maker. Remember that the more you wrap the fuller your pom pom will be.
Step 7: Finish Wrapping
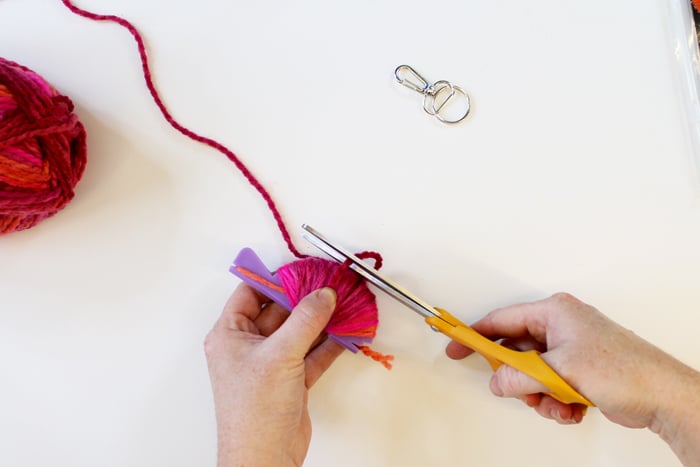
When you are happy with the amount of yarn, trim the yarn near the top as shown below.
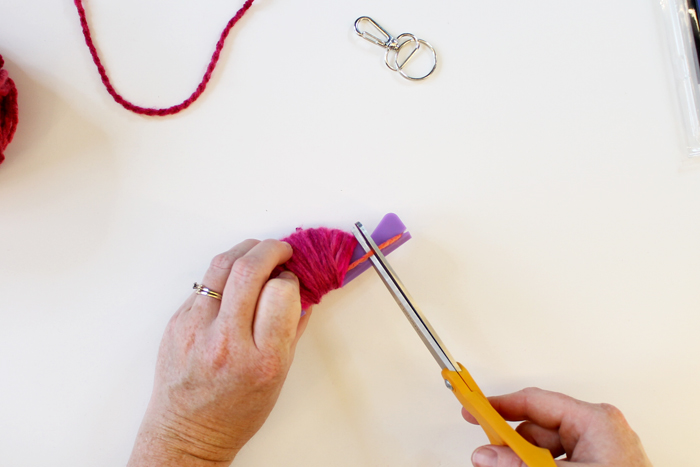
Step 8: Trim Yarn
Then flip the pom pom maker and trim the yarn that is wrapped in the notch on the back.
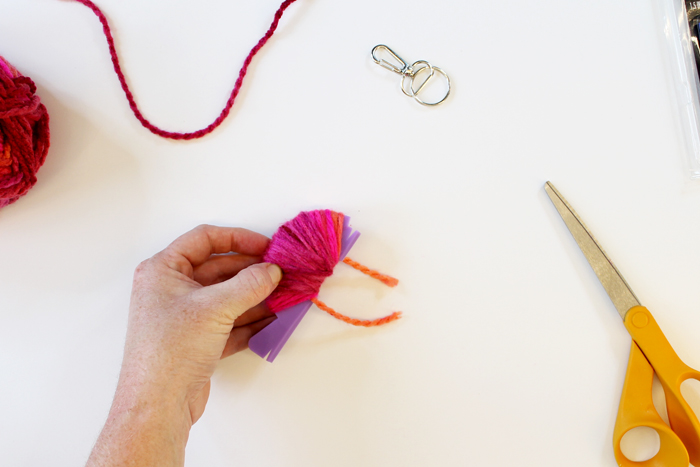
Step 9: Release from Tool
Pull the yarn out of both notches.
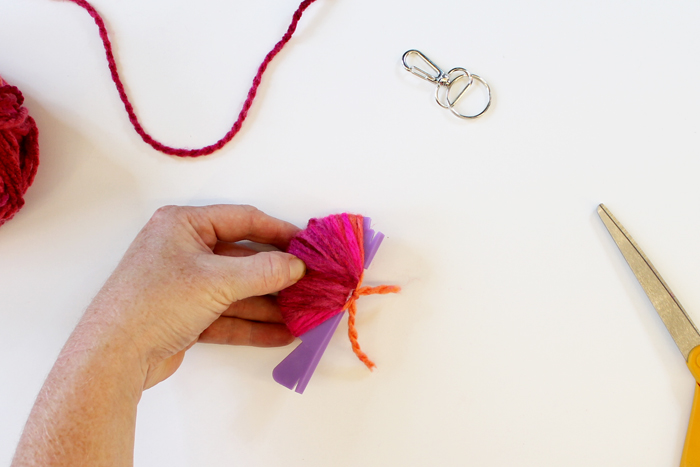
Step 10: Tie Ends Together
Tie the two ends that were in the notches as tightly as possible.
TIP: I found it is easier to tie on the keyring at this time. Just use those two ends to tie it on. My pictures are going to show it added later but after making several tying now works best.
Step 11: Cut the Ends
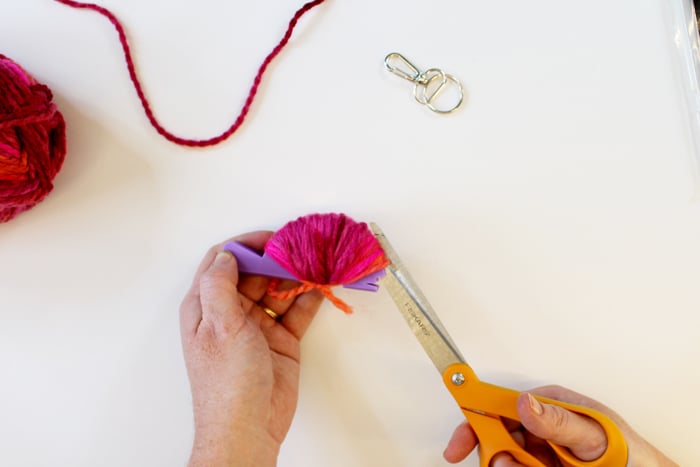
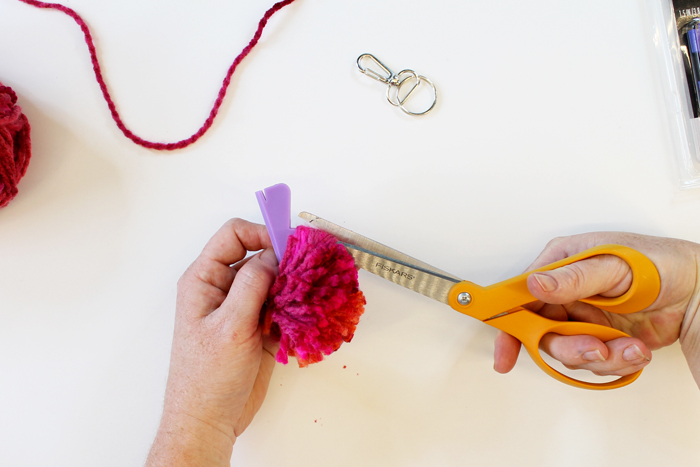
Run your scissors through the groove in the pom pom maker and cut the yarn strands.
Step 12: Continue to Cut Pom Pom
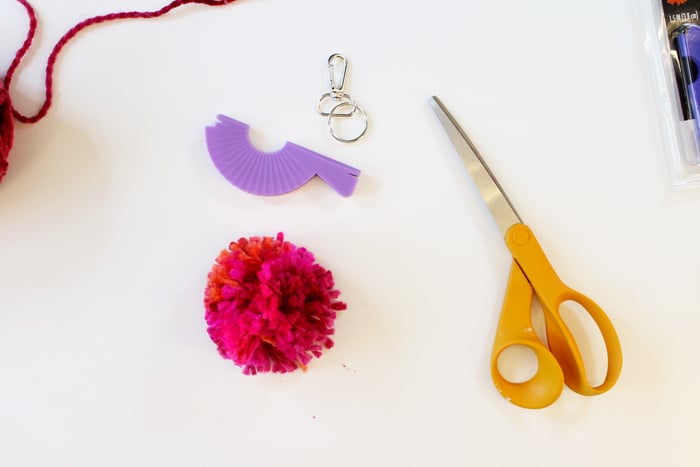
Continue all the way around the pom pom maker to remove the pom pom.
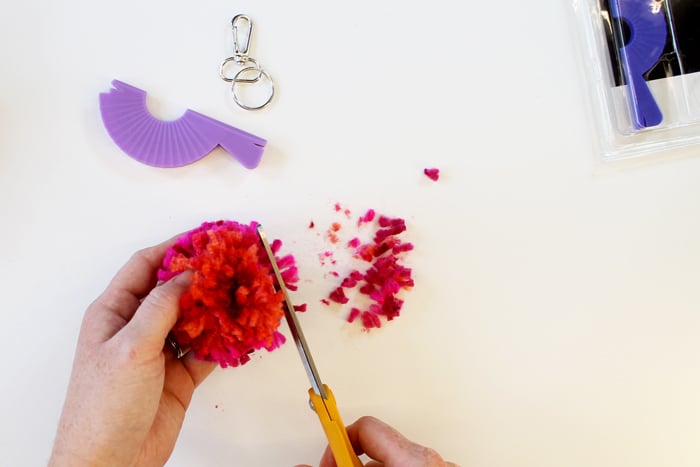
Step 13: Trim to Shape
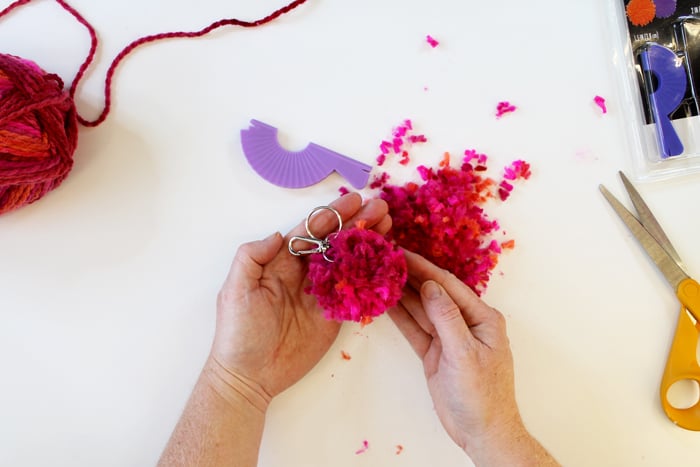
Now you just need to trim your pom pom.
Step 14: Light or Full
You can trim as much or as little as you would like. I like to trim mine quite a bit to make it appear fuller.
Step 15: Create Pom Pom Keychains
Now if you did NOT tie on your keyring above, you can now tie it on. I would recommend trying to find those original ends to make it as secure as possible. See above for an easier way to tie this on.
Pom Pom Keychains Make the Perfect Anytime Gift
Your pom pom keychain is perfect for anyone! These make great gifts and the kids can easily help with the easy to use pom pom makers. Now that you know how to make a pom pom keychain, who will you make one for?
Make them in tons of different colors to match your wardrobe! Don’t want to buy the pom pom makers? Try these methods for making pom poms.
Love these Pom Pom keychains and want more easy craft ideas? Try the links below!
- Rustic Wood Flag
- Fall Candles
- DIY Footstool
- Wooden Dollar Store Lantern
- Thankful Tree
- Watercolor Mason Jar Vases
Want to print the instructions for making these Pom Pom keychains? You can use the card below!
Supplies
- Yarn any color
- Pom Pom Maker
- Keychain
- Scissors
Instructions
- Choose the size of pom pom maker that you prefer and hold it in your left hand (if you are right-handed). Start the yarn in the right notch and leave about a 1-inch tail.
- Wrap around the back of the tool and come through the center hole.
- Go through the left notch, then go through the center again and start wrapping around your pom pom maker.
- Start in the center and wrap towards the right.
- Wrap back to the left.
- When you are happy with the amount of yarn, trim the yarn near the top then flip the pom pom maker and trim the yarn that is wrapped in the notch on the back. Pull each piece of yarn out of both notches.
- Tie the two ends that were in the notches as tightly as possible.
- Run your scissors through the groove in the pom pom maker and cut the yarn strands. Continue all the way around the pom pom maker to remove the pom pom.
- Now you just need to trim your pom pom. You can trim as much or as little as you would like. I like to trim mine quite a bit to make it appear fuller.
- Now if you did NOT tie on your keyring above, you can now tie it on. I would recommend trying to find those original ends to make it as secure as possible. See above for an easier way to tie this on.

