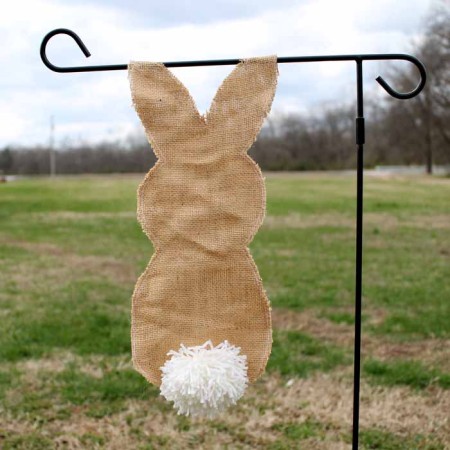
Add this adorable burlap bunny flag to your garden this spring. A rustic way to bring a little Easter to the outside of your home. It is easy to make and you will love the results! Download your pattern below and get started making an Easter flag for your home today.
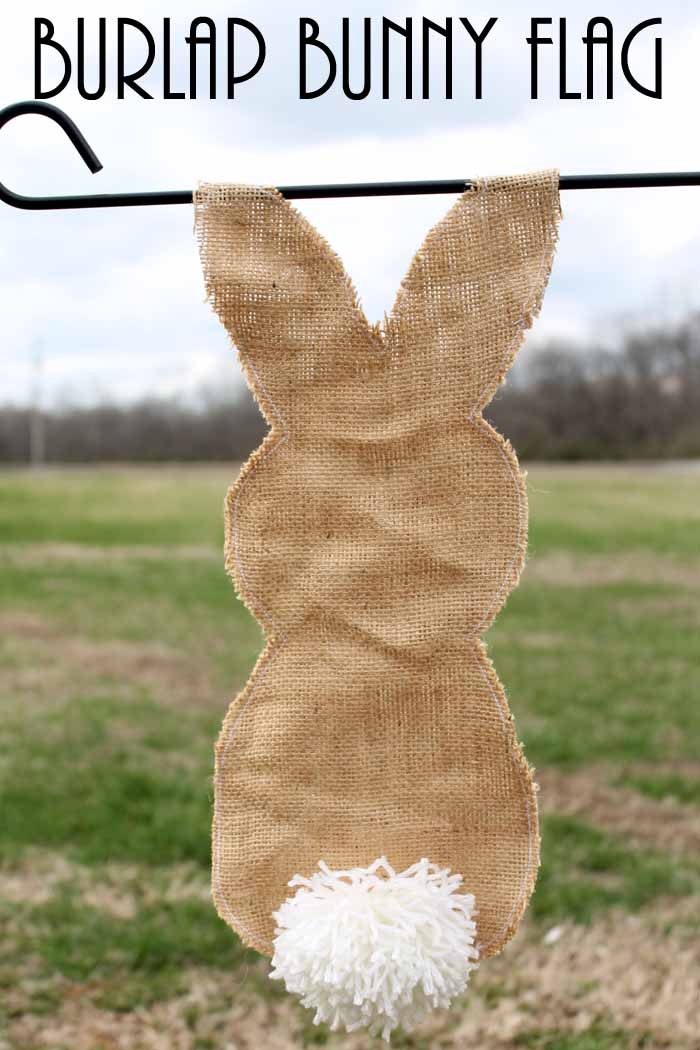
I love the personalized touch garden flags add to your yard. These are adorable little greetings for guests as they come up the front walk or as extra decor in your backyard.
This little bunny is perfect for outdoor Easter or spring season decor. This would look so cute near your front porch with a spring wreath to greet your visitors!
How to Make an Easter Bunny Garden Flag
Supplies needed to make your own burlap bunny flag:
Some links may be affiliate links which means that you do not pay anymore.
- Burlap (a tighter weave burlap is best)
- Bunny pattern (click here to download for free)
- Scissors
- Marker
- Yarn (in white)
- Pom pom maker
- Sewing machine
- Needle and thread
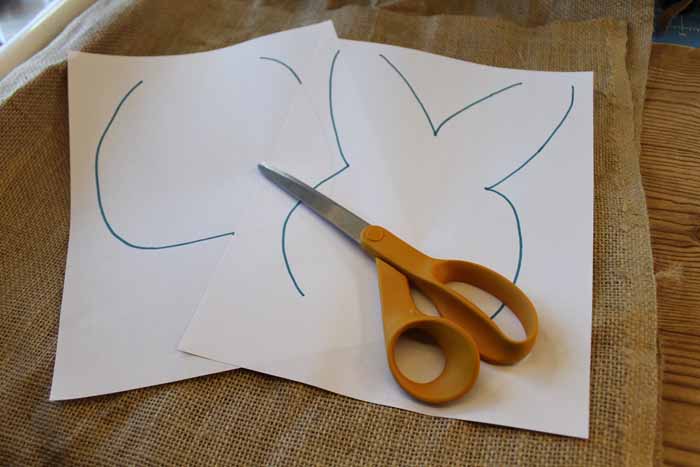
Start by downloading and printing your pattern here. Print on two sheets of paper and cut out. The pattern pieces should go together as shown below.
Take your burlap sheet and fold it in half. We will be tracing and cutting the pattern on a fold so each side stays together.
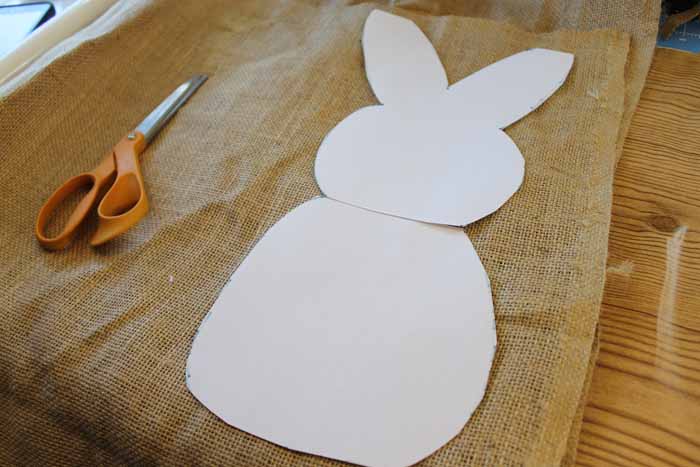
Place the ears portion of the pattern near the fold and trace around the entire pattern with a marker. Use scissors to cut out through two thicknesses of burlap.
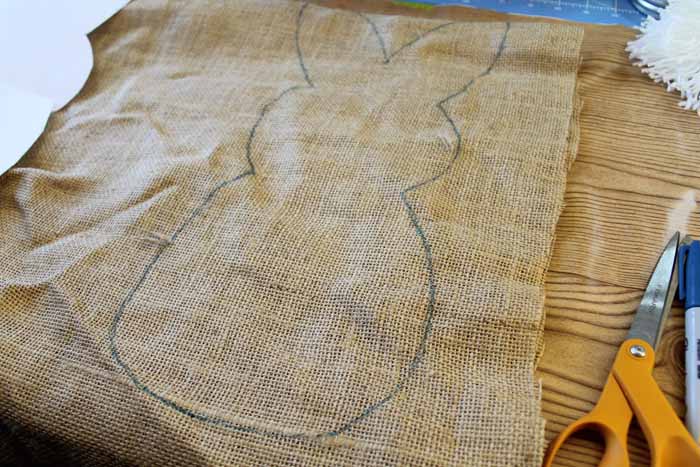
You will be left with two bunnies that are connected by the ears. Open them up and first sew around the ears with a zig-zag stitch. Leave about a 3-inch portion around the top of the ears unsewn. Do not sew this part as it will hang on the flag holder and you don’t want this area to fray.
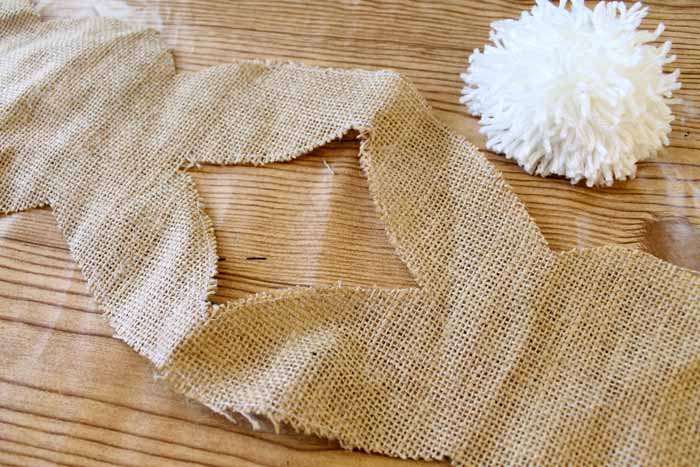
Fold together both burlap sides, and sew around the entire bunny, except the area for hanging. Your Easter flag is almost complete!
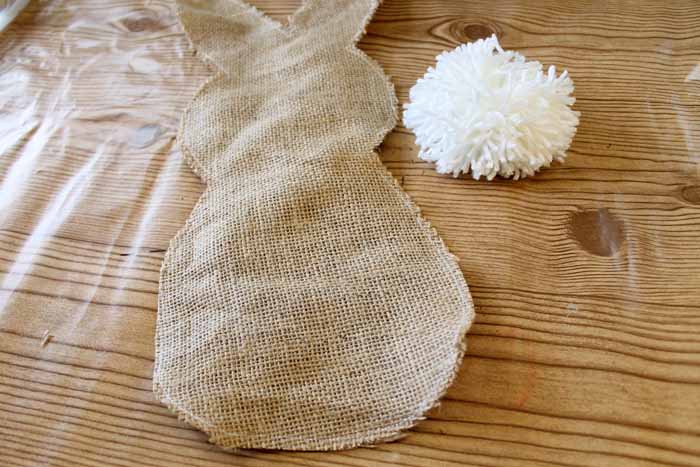
Make a bunny tail out of a pom-pom. Click here to see how to use the pom-pom makers.
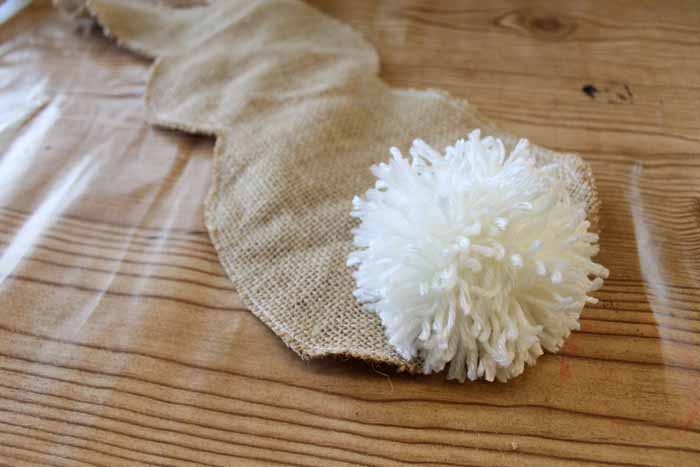
Make the largest one possible and use a lot of yarn to make it as full as possible. Use a needle and thread to sew it onto the front of your burlap bunny flag. You can sew one onto the back as well if desired.
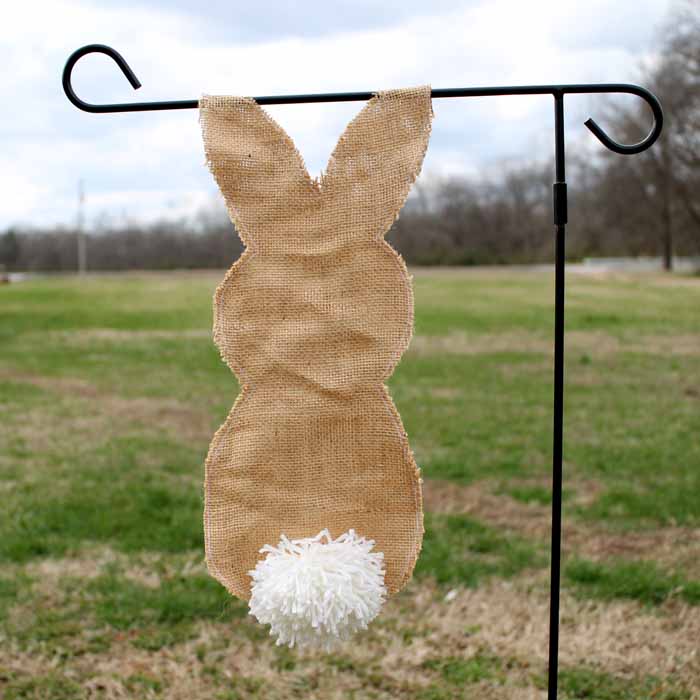
Hang this Easter garden flag outdoors to welcome spring. You will love the rustic touch that this burlap bunny flag gives to your sprouting garden. It is just too cute y’all!
Love the idea of using burlap for Easter? Check out these other projects as well!
- Burlap Bunny Easter Decor
- Burlap Bunny Easter Tray
- Burlap Table Runner for Easter
- Lace Bunny Burlap Canvas
- Rustic Peeps Bunny Garland
Supplies
- Burlap a tighter weave burlap is best
- Bunny pattern click here to download for free
- Scissors
- Marker
- Yarn in white
- Pom-pom maker
- Sewing machine
- Needle and thread
Instructions
- Download and print the bunny pattern on two sheets of paper and cut out. The pattern pieces should go together as shown below.
- Fold the burlap sheet in half. (We will be tracing and cutting the pattern on a fold so each side stays together.)
- Place the ears portion of the pattern near the fold and trace around the entire pattern with a marker. Use scissors to cut out through the two thicknesses of burlap.
- You will be left with two bunnies that are connected by the ears. Open them up and first sew around the ears with a zig-zag stitch, leaving about a 3-inch portion around the ears unsewn. (This part will hang on the flag holder.)
- Fold together both burlap sides, and sew around the entire bunny, except the area for hanging.
- Make the bunny tail by creating a large yarn pom-pom. See the link below for how to make these with yarn. Make the largest one possible and use a lot of yarn to make it as full as possible.
- Use a needle and thread to sew the tail onto the front of your burlap bunny flag. You can sew one onto the back as well if desired.

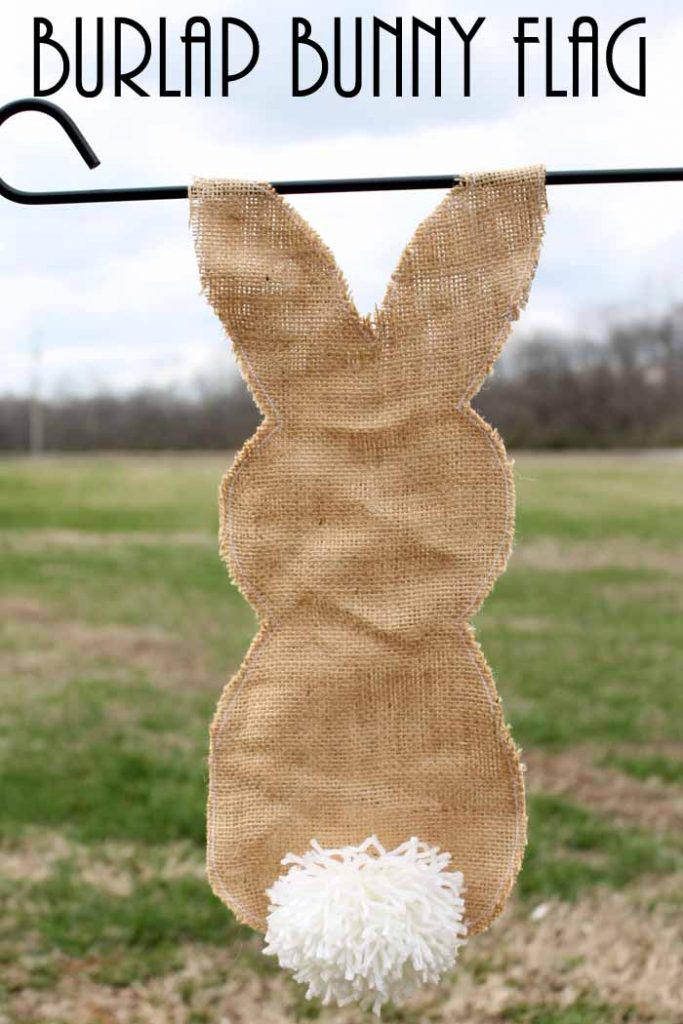


What a cute and easy yard decoration!
This totally caught my eye in the link up today . . wasn’t quite ready to break out the spring crafts, but this is just so cute! I’m inspired 🙂 Pinned!
Cute! What a great way to get ready and welcome spring:)
This is TOO cute! 🙂
I would love for you to share this with my Facebook Group for recipes, crafts, tips, and tricks: https://www.facebook.com/groups/pluckyrecipescraftstips/
Thanks for joining Cooking and Crafting with J & J!
This is so cute!! I just can’t wait for spring and here in Texas we are beginning to feel it. 😉
This bunny flag is simply adorable! What a sweet addition to any yard.
I added heavy duty iron-on interfacing before stitching the bunnies together. This really helped keep the burlap from bunching as well as more support for my large pompon.
That is a fabulous idea!
How much burlap do you need?
It really just depends on how large you are making your flag.