Have you used Cricut SnapMat? Do you know it is the easiest way to use scraps with your Cricut? I will teach you how to use Snapchat and trust me; you’ll love how easy it is to use!
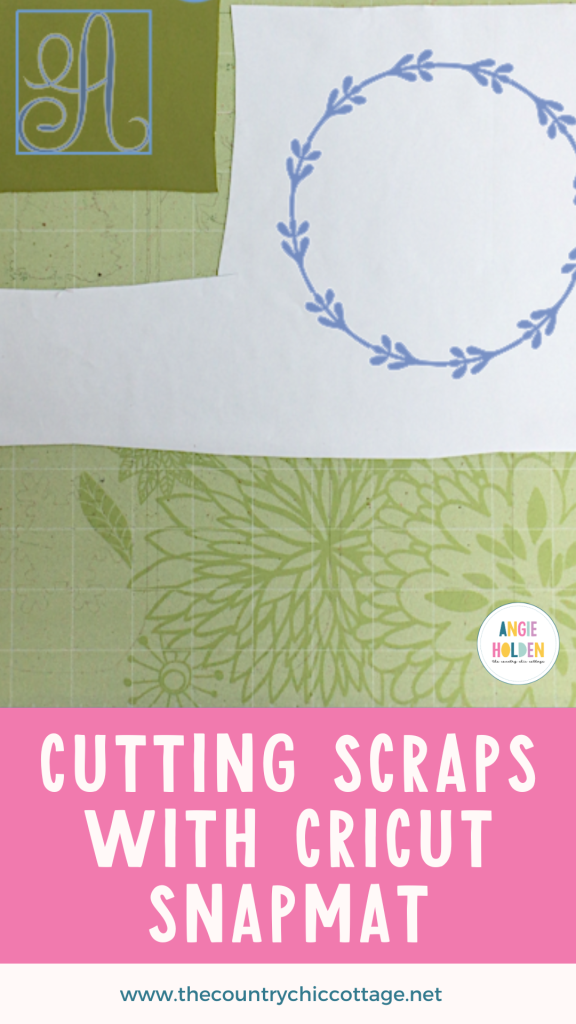
I didn’t even know what SnapMat was before I went to a Cricut event with a class on the iOS app. Before that, I had no idea this was possible! You will be floored as well, I am sure! Read on and then give it a try for yourself.
What Devices Use Cricut SnapMat
First of all, this technique will only work with Cricut Explore and Cricut Maker projects as long as you have an Apple mobile device. So, break out your iPhone or iPad to start. Make sure you have the Cricut Design Space app downloaded onto your device, and then gather those scraps you have been saving for a rainy day. You know what I’m talking about! The scraps you keep them thinking you will use someday, but you get so mad because it is so hard to position those cuts just right. Not anymore!
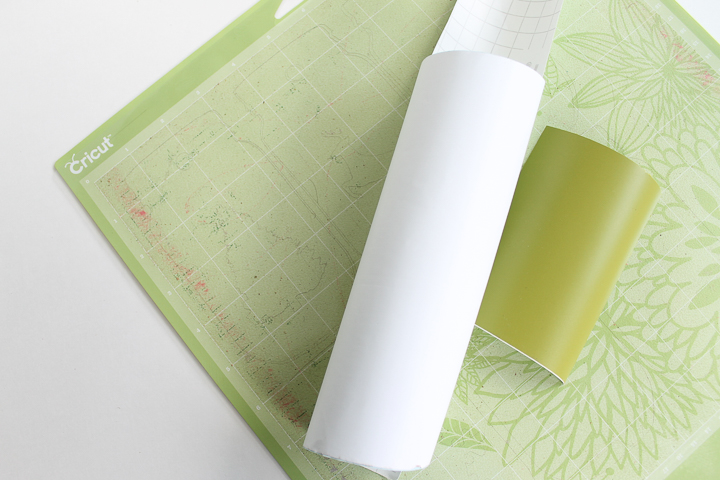
How to Use SnapMat with Your Cricut
I like to follow along with a video when learning new things, so I shot a quick video on how SnapMat works when cutting with your Cricut machine. You can watch that below.
Can’t watch the video or missed some of the steps? You can also see more about working with Cricut SnapMat below.
Working with SnapMat in the Cricut Design Space App
I used scrap vinyl for this example, but this technique will work for almost any material you can cut with your Cricut. I say almost because it is not available when cutting Smart Materials without a mat.
Step 1: Create your project in Cricut Design Space
Create your project in Cricut Design Space. You can use your mobile device to make your project, or if it’s easier for you to design on your computer, you can do that; just make sure you save it into the cloud so you can open it on your device.
When you are ready to cut your project, open it in the iOS app and click “Make.”
Step 2: Place your scrap materials on your mat
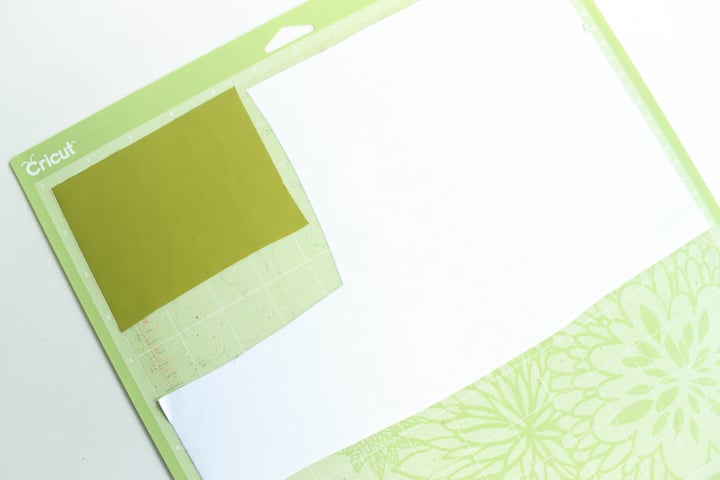
Place the materials on your mat. The great thing about using SnapMat is it doesn’t matter where or how you put material on the mat, just make sure it’s stuck down onto the mat really well.
Step 3: Choose how you want to cut your design
Once you click “Make,” you’ll see a screen similar to the one below.
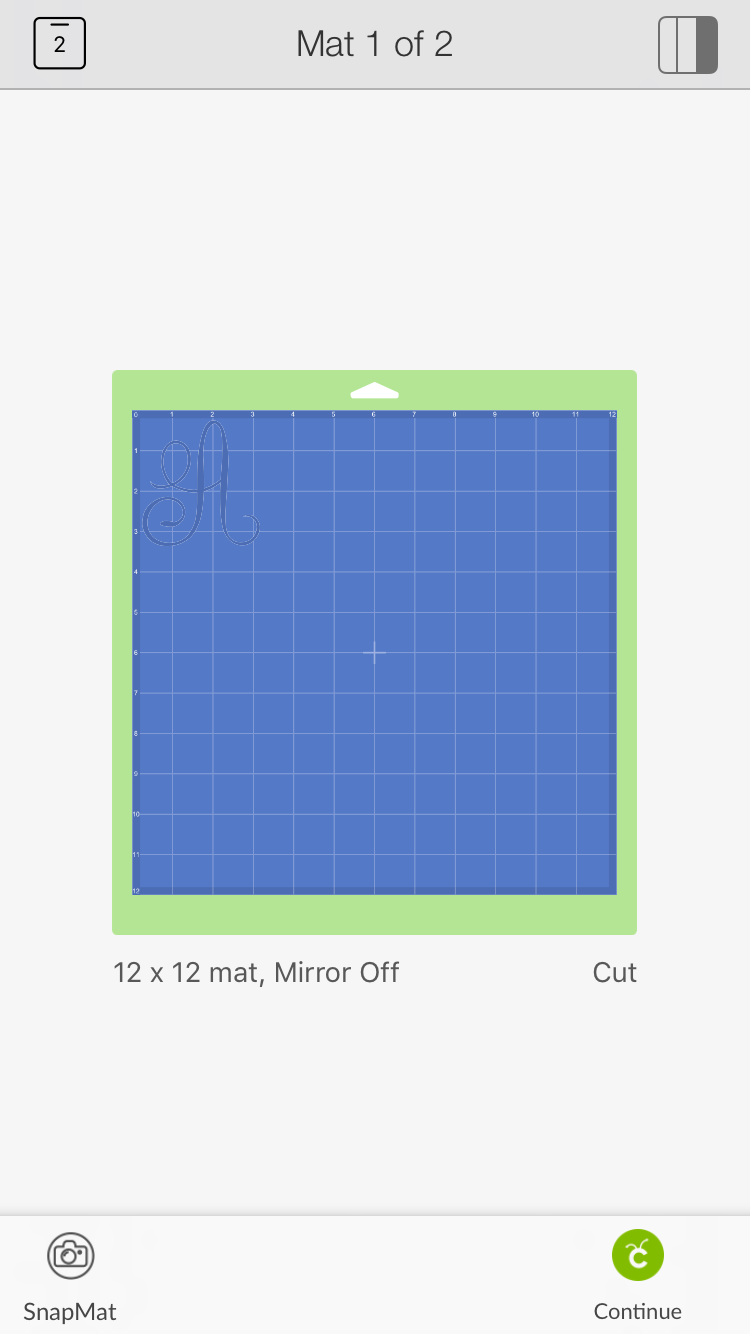
Fairly standard, however, there is that SnapMat button in the corner. Click it! Now, you have a screen that looks something like the image below.
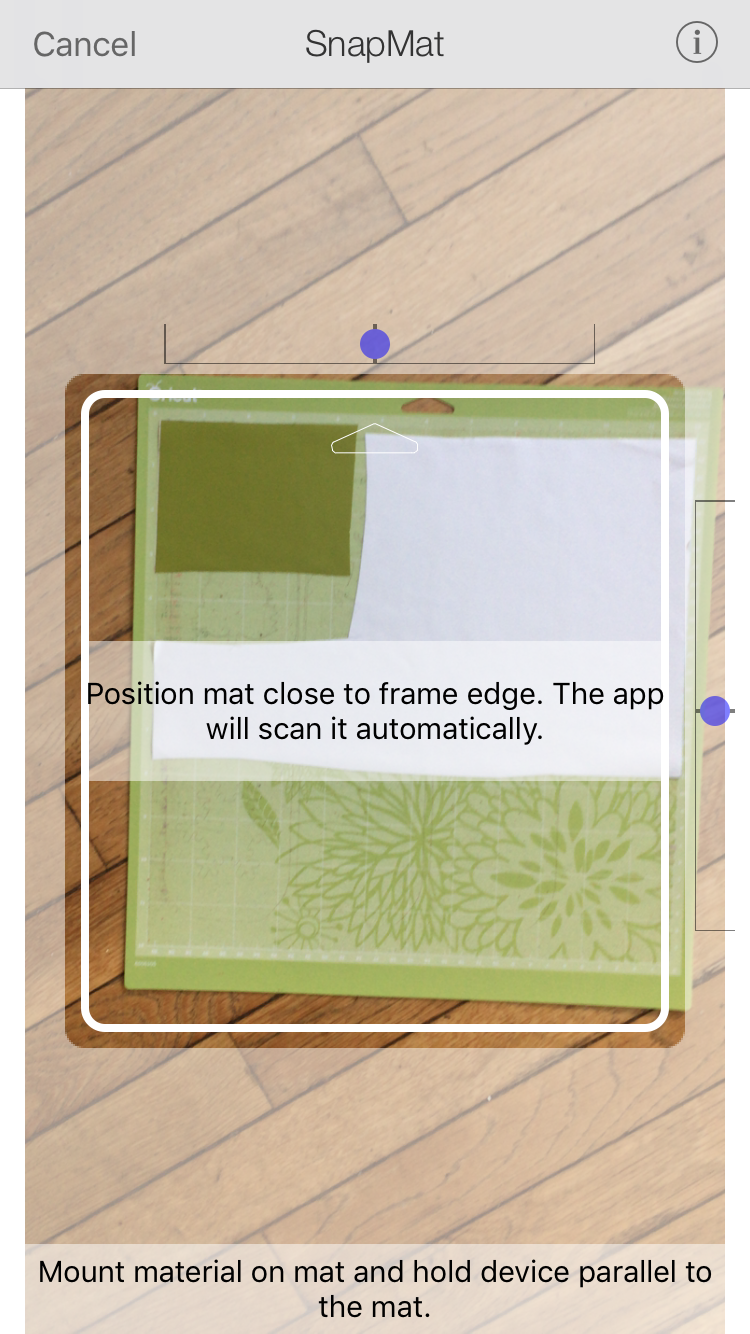
It is using your camera to take a picture of the mat! It may take some practice, but you must hold the mat fairly steady in that square.
If you’re having difficulty holding it steady, lay your mat on the floor and use the edge of a table or chair to set your phone on.
Step 4: Let Cricut SnapMat do it’s job
Once in position, the app will do all the work for you. Putting the mat on the floor makes it easy to get the whole mat into the frame to capture the image.
If you have a problem with the photo, you can always select retake in the top left corner and snap another photo.
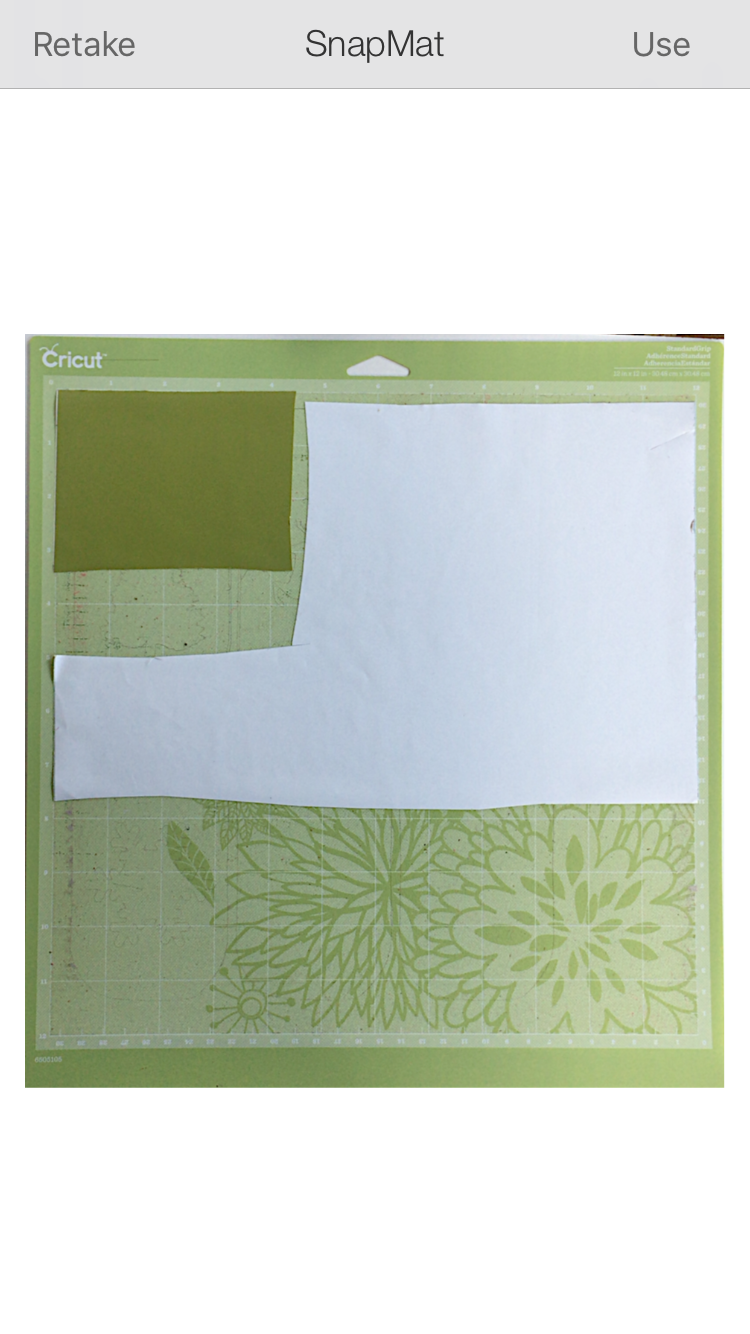
Now, the app has a picture of the exact mat I am using! Tap “Use,” and your pieces will be put onto the SnapMat image.
Using Multiple Mats
If you have multiple mats on your project, only one will be placed on the mat image. Please keep reading to learn how to get them all on one mat.
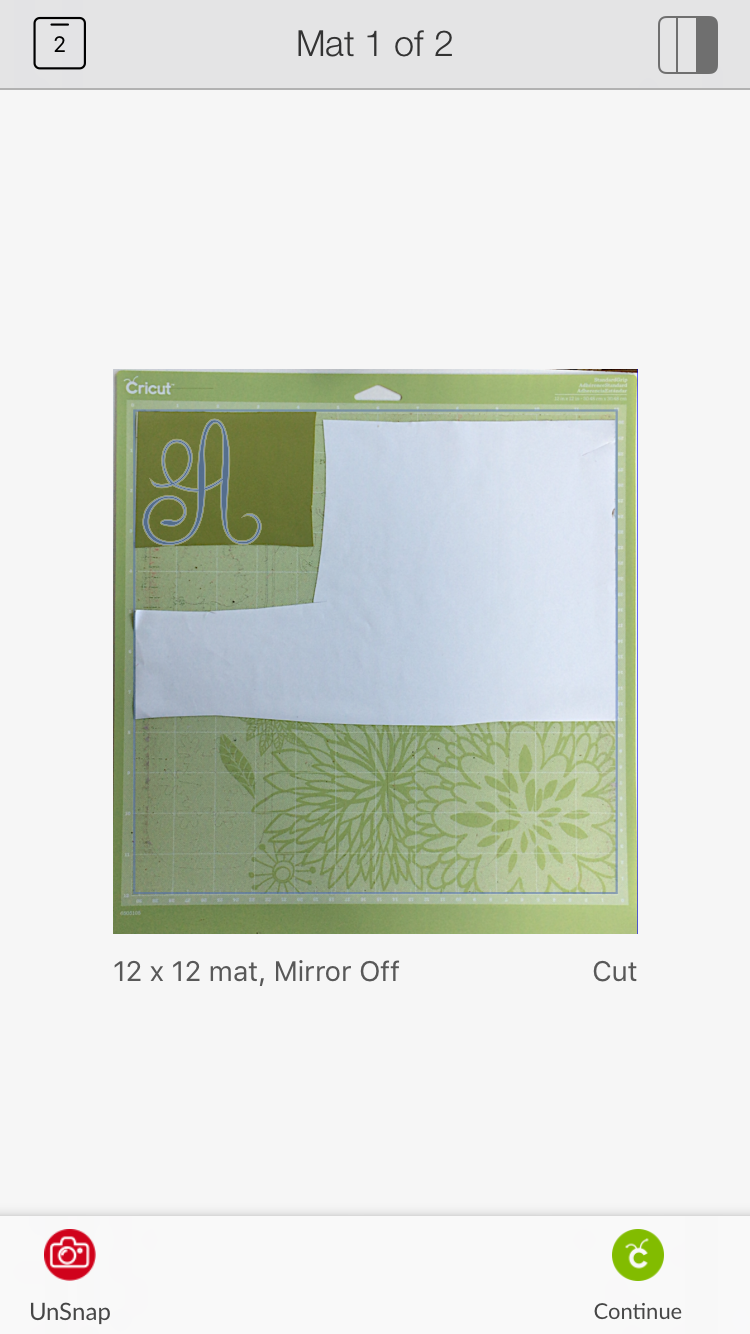
Click the mat in the upper corner to see all of your mats. Head to each one not on the SnapMat (one at a time).
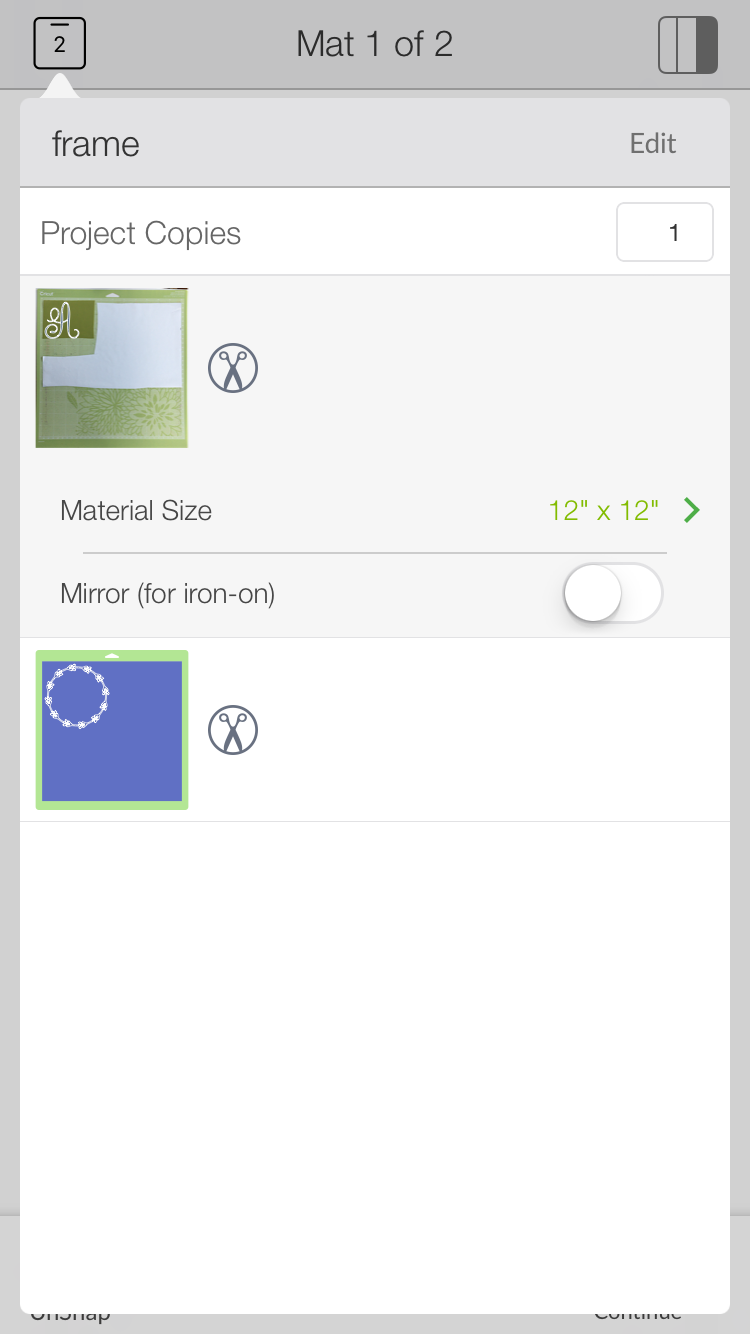
Click the image that is being cut, and those three dots will appear in the corner. Click those.
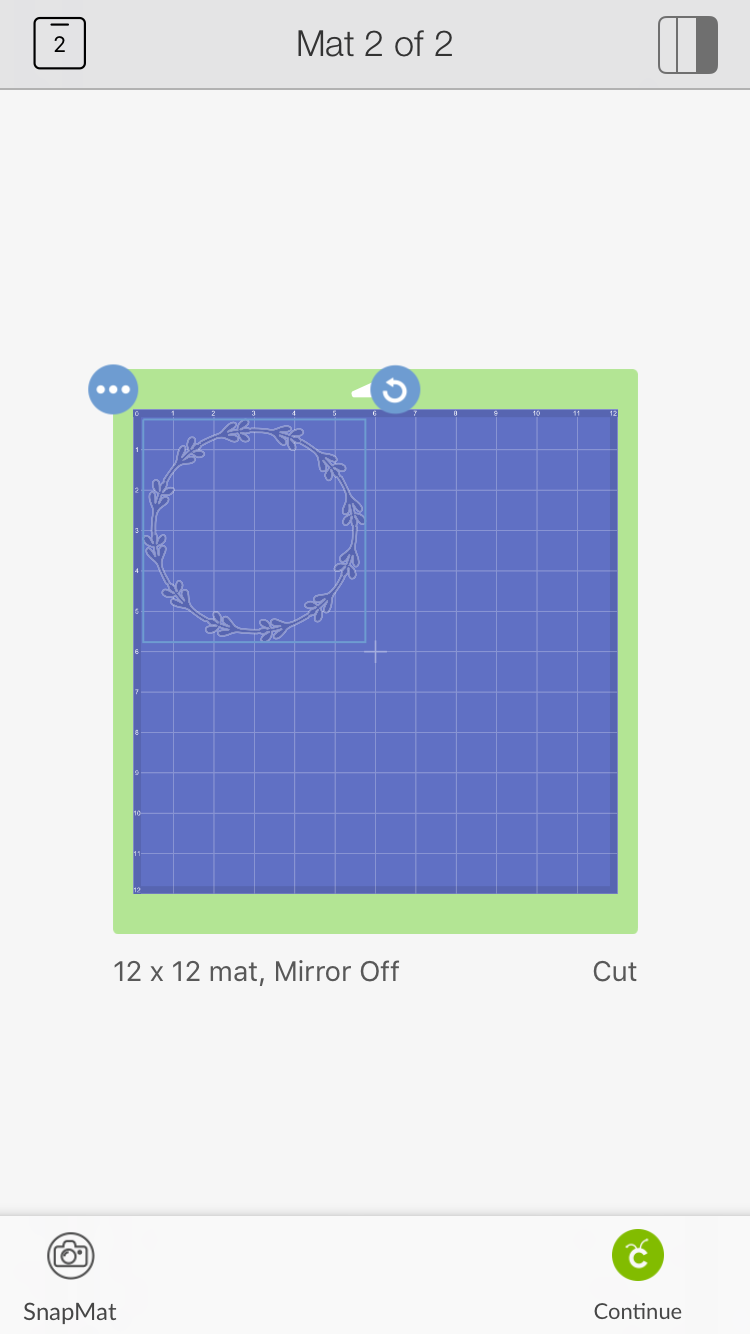
Select “Move to another mat”:
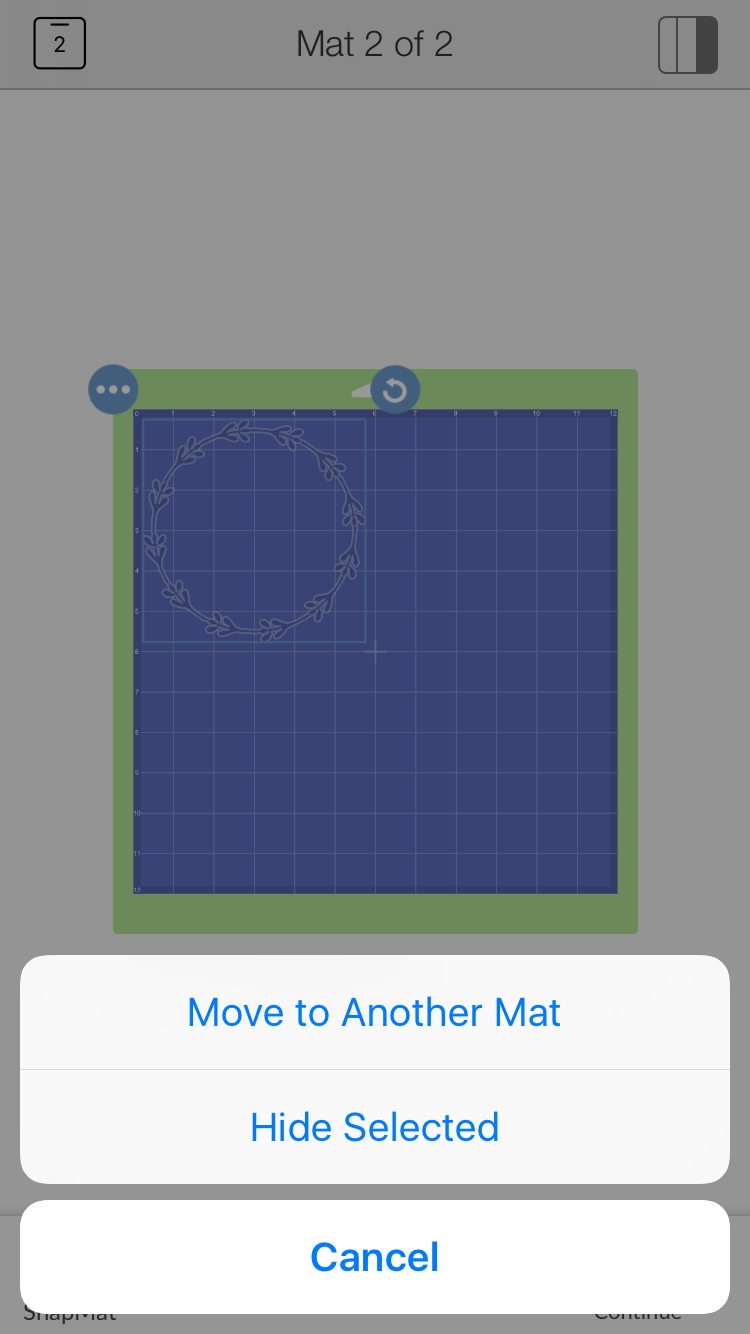
Pick the mat with your SnapMat (in the photo below, Mat 1).

Repeat until all of the cuts desired are on your Cricut SnapMat. Don’t worry that they’re all on top of each other. We’ll move them where they need to be next.
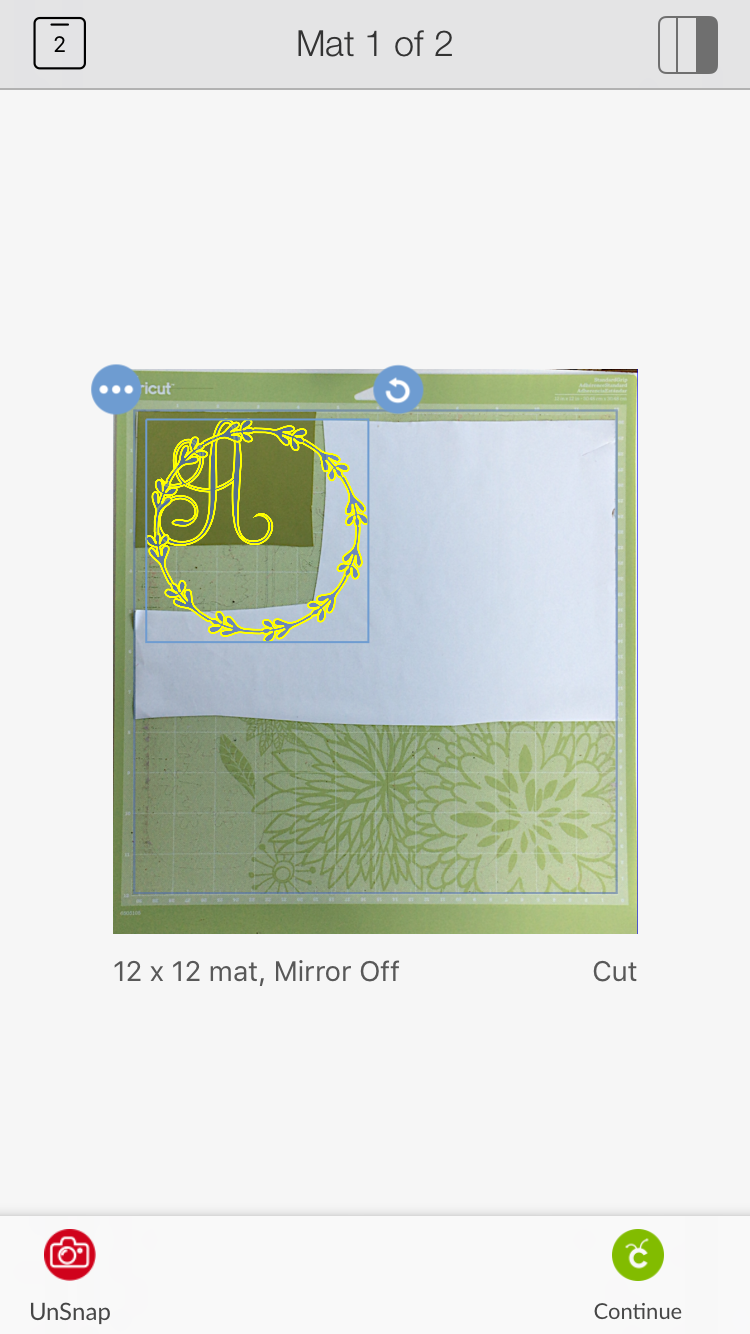
You can now drag those elements into position. You can see how they will cut right on the mat and move them to the scrap that makes sense for each one. I realized that my “A” was a little large, in fact, for my scrap piece. I had to go back to my design and resize. You cannot resize on the mat screen. It would be nice, but I think it’s safer since ensuring you’re not messing up sizing on something multi-layered would be hard. However, now both pieces can be cut from my scraps!
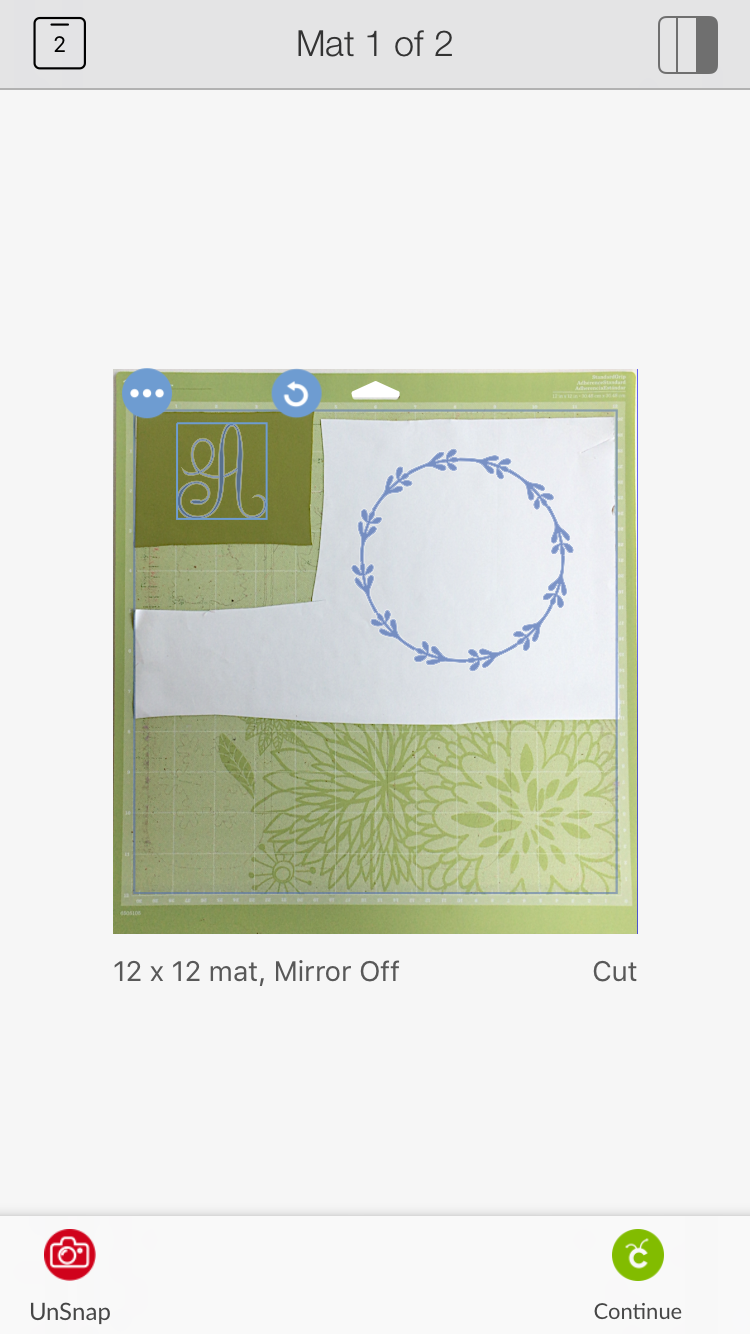
If you didn’t know, you can hook your device directly to your Cricut via Bluetooth, and then you just have to click continue to cut. Your computer or device may ask you for a code the first time you connect via Bluetooth. The code for all Cricut machines is 0000.
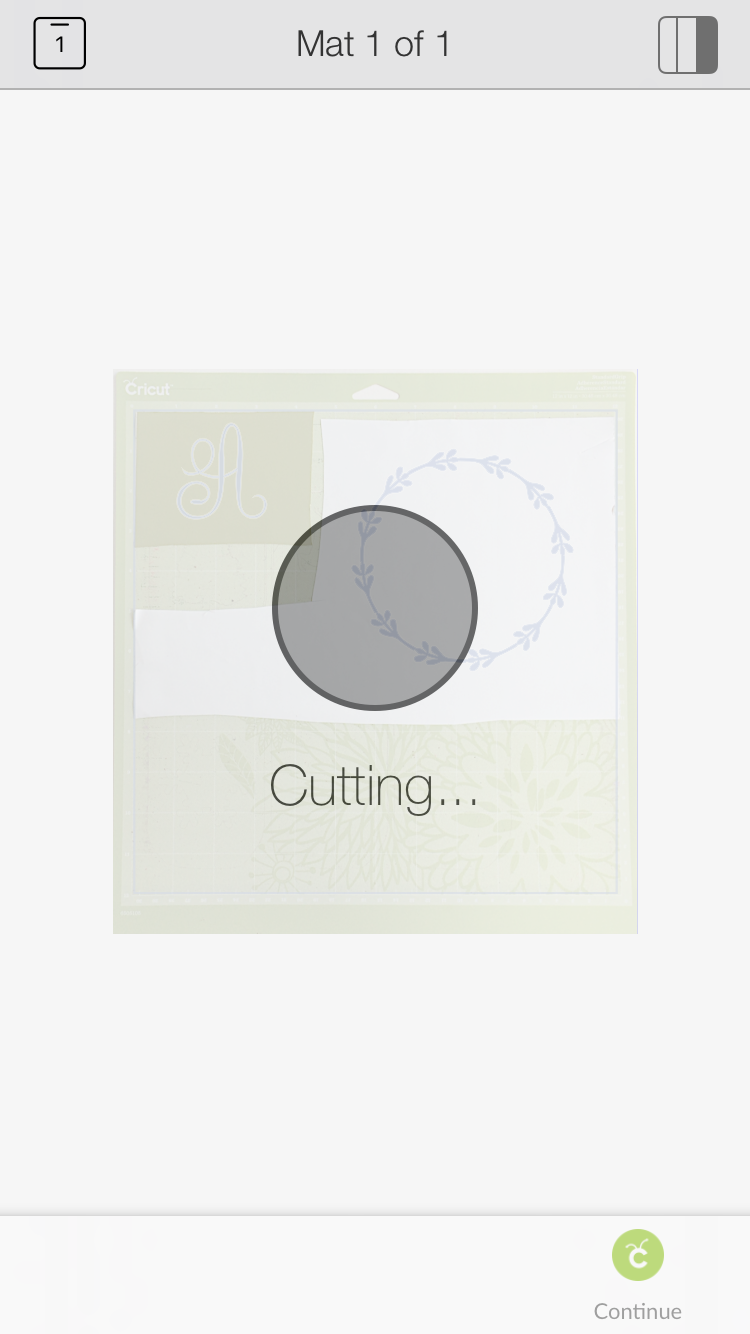
How does it work? One word…..perfectly!
Y’all, I have been throwing away small scraps because of the hassle of cutting them correctly. It was such a pain, and I could never get it right.
Not anymore! I will be cutting all of my scraps with Cricut SnapMat. So, if you have trouble with your Cricut not cutting in the right place, this may be the solution for you!
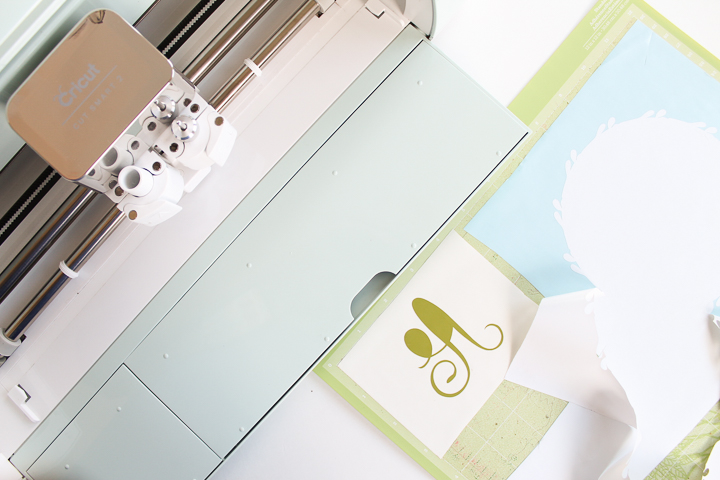
So, tell me, is your mind blown? I know mine was when I first learned this technique. Y’all enjoy and give this a try for yourself. In the comments below, we would love to hear if it worked for you!
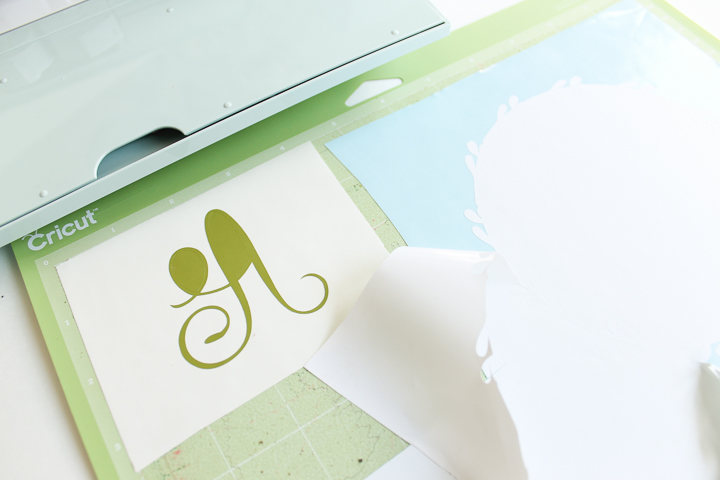
Tips for using Cricut SnapMat
- Connect your device to your Cricut via Bluetooth before you start; this will save you time once you have everything in your SnapMat photo.
- Use extra lighting – I found that placing my mat on the floor to take the photo really helped to have an extra light on.
- Be patient. The Cricut SnapMat capture is very sensitive to movement – the blue dots on the side of the capture screen work like levels. You need to have them both on the center mark to capture the photo of your mat.
- You can only use one SnapMat image capture at a time. If you have multiple mats with scraps, you’ll need to arrange and cut the first mat and then take a new photo capture with a second mat.
Love this Cricut SnapMat tutorial and want more ideas?
Try these projects below!




New to Cricut?

Sign up for our email list to download the Beginner's Guide to Cricut Design Space for FREE today!
Sign up to get the guide emailed to you!


Wow. What a thorough and easy to understand tutorial. Now I want to try this. Looked at snap to mat and just shook my head. I was busy making cards. Love this! My favorite part is NO video. I think videos waste my time.
Time to share with my sister(s) It’s all their fault I have a cricut.
Hi. I’m new to this. Just purchased my Maker. The blade cuts through the vinyl backing of my heat transfer vinyl. What am I doing wrong?
What brand of vinyl are you using and what setting on your Maker?
Thank you so much. I am a newbie and searching for these type of tips.
WOW! Who knew? I’m still getting the hang of using my Cricut. Do you happen to have ALL the directions in a printable format? I’d love one that way I can go step by step.
You should see buttons at the top of this post and one is a printer. That should allow you to print!
I just got my Cricut Maker for Christmas, and came across your blog a few days ago. This would be so nice to use, however I am an android girl not an apple girl. Why does it seem Cricut nor anyone else make apps for androids that work with Cricut Design Space.. It also seems that Design Space works smoother and effortless on Apple vs. Android.. Just odd to me.. LOL.. Thank you for all the great ideas and tips, this is a little bit mind blowing..
Hi Angie, am I able to print without printing all these ads?
Try the print button at the top of the post. Once that opens, just print the pages you need and not the last pages that have the ads.