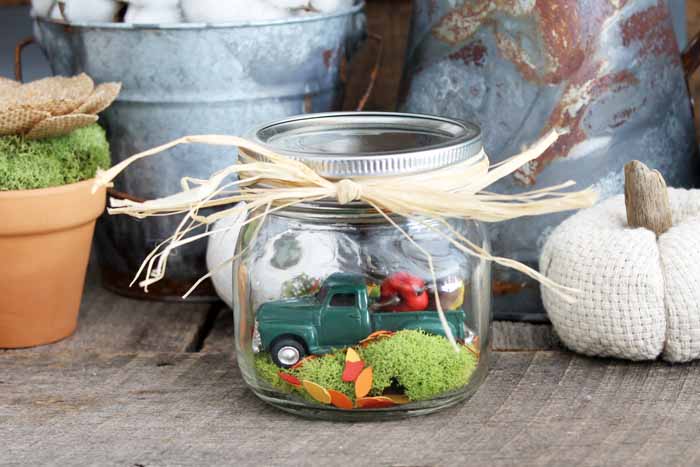
Fall decor is so much fun since the colors and textures provide endless inspiration! This fall indoor fairy garden also doubles as a non-traditional fall snow globe. Learn how to make it yourself in just minutes.
I love fairy gardens! They’re whimsical and beautiful and add a touch of fun to your decor.
I’ve made several, including my Mini Fairy Garden, Fairy Garden Terrarium in a Mason Jar, and Make a Fairy Garden with a Pool! Each one is special in its own way, and they all have a fun dose of character.
Today I have a new indoor fairy garden tutorial to share with you. It’s inspired by classic symbols of fall.
This fall snow globe is the perfect indoor fairy garden for autumn. Plus, it’s so easy to make! You will have your own adorable mason jar craft to add to your fall decor in just minutes. And it looks wonderful lit up next to my Simple Fall Fairy Light Luminary!
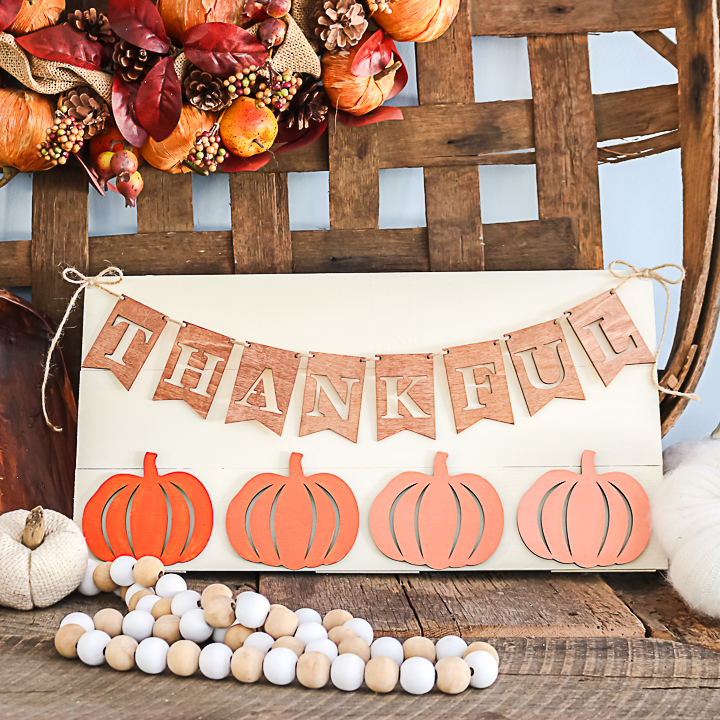
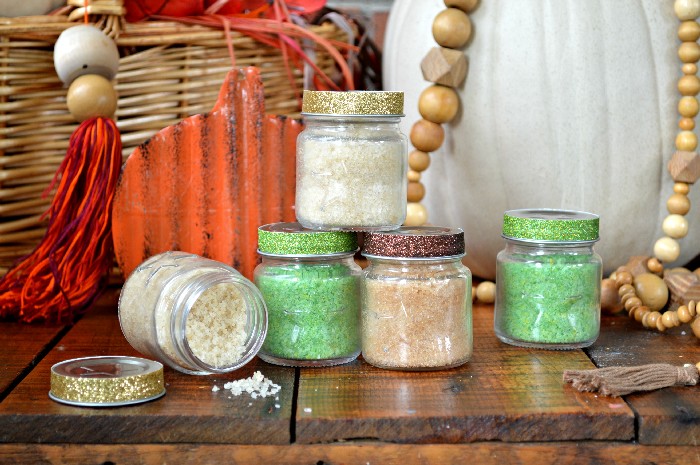
Note: If you want to make even more autumn-inspired crafts to round out your fall decor, try my Fall Mason Jars, Fall Wooden Sign, and Easy DIY Pumpkin Door Hanger.
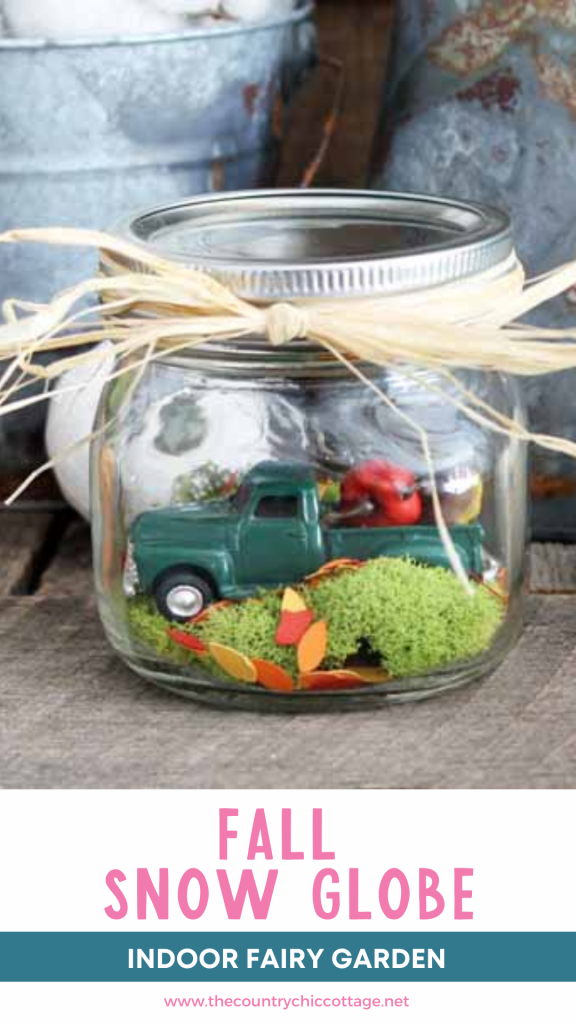
How To Make A Fall Snow Globe
I love crafts that come together easily, and this one is a terrific example. It’ll be ready in less than 10 minutes!
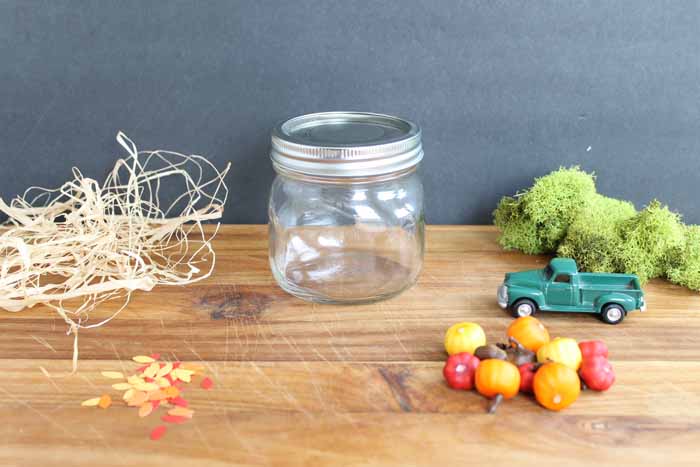
Supplies Needed
Here’s what you’ll need to complete this project. I’ve even included a few handy links to make it faster to find certain items.
- Mason jar – wide-mouth jars work best
- Vintage truck miniature
- Miniature pumpkins
- Moss
- Paper leaves – DIY instructions below
- Hot glue and glue gun
- Raffia
Video Tutorial
This project is so quick and easy that I thought I would share the process in a short video. You can watch that below!
Fall Snow Globe Instructions
So easy, right? If you can’t watch the video or missed some of the steps for this fall snow globe, follow along below.
Step 1
Add moss to cover the entire bottom of your jar and hot glue into place.
Step 2
Add a couple of pumpkins to the back of your truck and secure them with hot glue.
Step 3
Then put the truck on top of the moss in the jar and secure it in place with hot glue.
Step 4
Drop small leaves into the jar. These are easily made with yellow, orange, and red card stock. Step-by-step instructions for making leaves are below.
Step 5
Then screw the lid onto the mason jar.
Step 6
Tie the raffia around the lid and trim any excess with scissors.
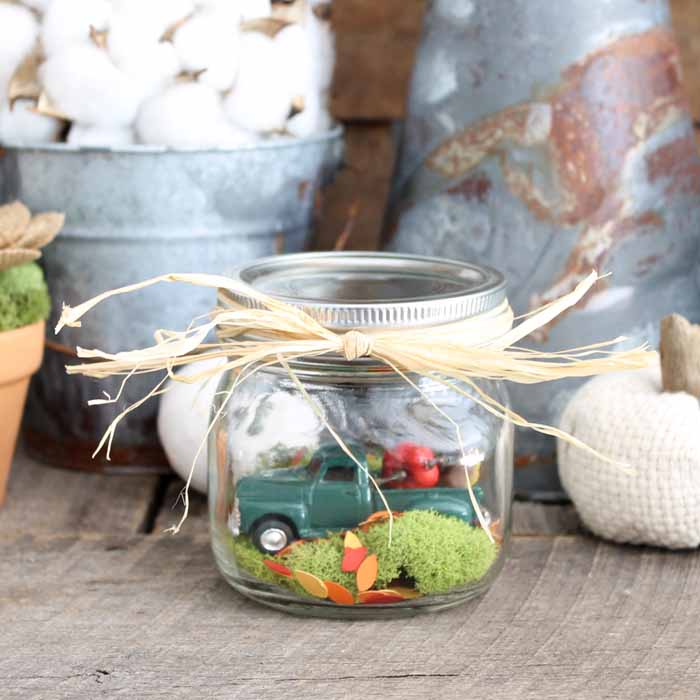
Your fall snow globe is ready to display around your home.
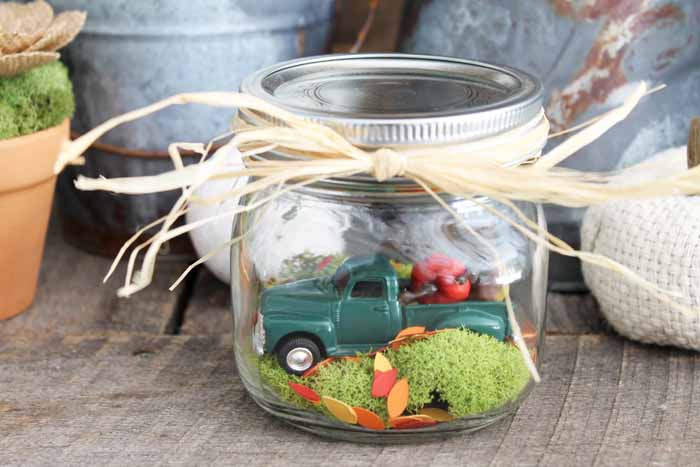
Make this indoor fairy garden to add to your decor or give as a DIY gift. It’s easy to make a few of these in just minutes!
DIY Paper Leaves
You probably have everything you need to make your own paper leaves for this project. Check out these easy DIY paper leaves to add to your fall snow globe and other cozy fall decor.
Supplies needed
- Cricut machine
- Cardstock in your choice of fall colors
- Light or regular grip cutting mat
- Weeding tools (optional)
Step 1
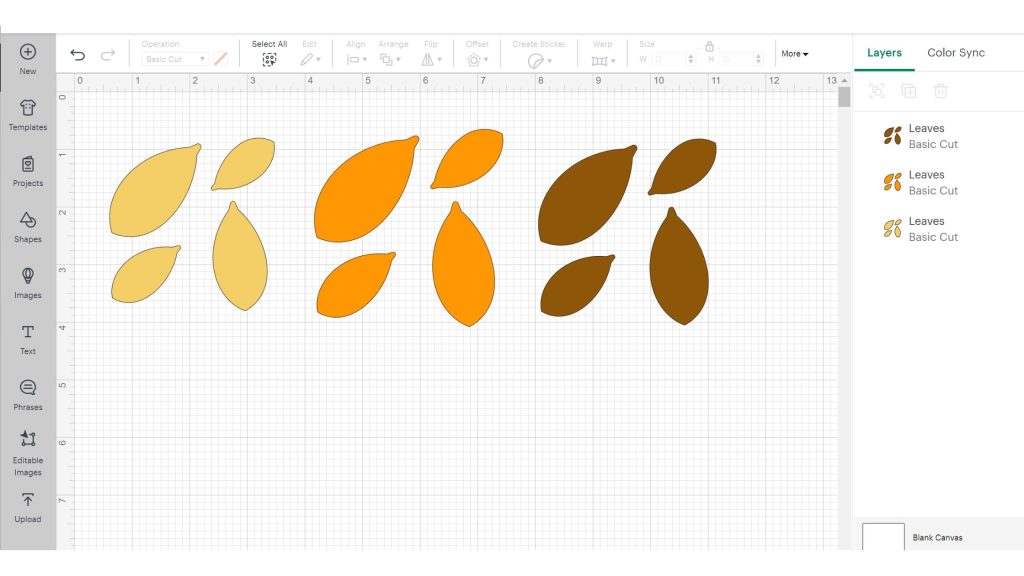
To make leaves for your fall snow globe, start by opening Cricut Design Space. There are several leaf designs in Cricut Design Space to choose from. I’m using design #M37A01621 to make my leaves. Just be sure to resize them before cutting so they match the perspective of your fall snow globe.
Step 2
Once you have your leaves sized on your canvas. Go ahead and make your leaves by adding cardstock to your cutting mat and cutting out as many as you’d like.
Step 3
Weed the excess cardstock from your leaf cutouts and add them to your fall snow globe.
FAQs
Do you have questions about this fall snow globe? Please check below to see if I’ve already answered them, and leave them in the comments for me if you don’t see them.
How do you lay out a fairy garden in a globe?
This particular design doesn’t require much laying out because there aren’t many pieces. Start with your container, add the base (moss), then insert the truck and add accessories. Package it up with raffia and call it done.
If you choose to make a more complex design, follow the same general process until it looks the way you want it to!
How do I maintain this fall snow globe?
There’s nothing you need to do! Since nothing is alive inside the mason jar, there’s no need to water anything. I do recommend keeping your completed fall snow globe out of the sunlight, though, so the sun doesn’t fade the items inside.
Can I change the fall snow globe after I make it?
Yes! You can open the jar, move things around, or replace items as the season progresses. Maybe add a mini-Jack-o-lantern as it gets closer to Halloween? The possibilities are endless!
More Crafting Inspiration
Do you love this and want more fall mason jar craft ideas? Try the links below!

A Year of Jar Crafts

Sign up for our email list to get a FREE book with an entire year of jar crafts! 12 months, 12 crafts, tons of fun!


That’s so stinkin’ cute!
Possibly the cutest snow globe ever! I love the truck.
This is the cutest thing EVER!!! LOVE LOVE LOVE IT!
This is an adorable project! Where did you get your little truck?
It was one we have had for a while. I think maybe the Tractor Supply Store.
This is so darn cute!!!
Thank you for stopping by to share on #OMHGWW this week!
Have a great week!
This is super cute, I love how you put it together and that it all fits neatly into a jar. Great job.
So adorable! I love the green-blue truck color accented by the fall colors.
If I thought could find little truck like yours would make this for sure, so doggoned cute. Is such an adorable decoration, would be nice to have each Fall.
How do you think up all the wonders you do?
Happy weekend
Thanks Jane! And I have no idea! They just come to me!
Could you help me locate the stems of cotten , please.
I got those at a local store but I know Hobby Lobby has them.
Awesome! Thanks for the idea!