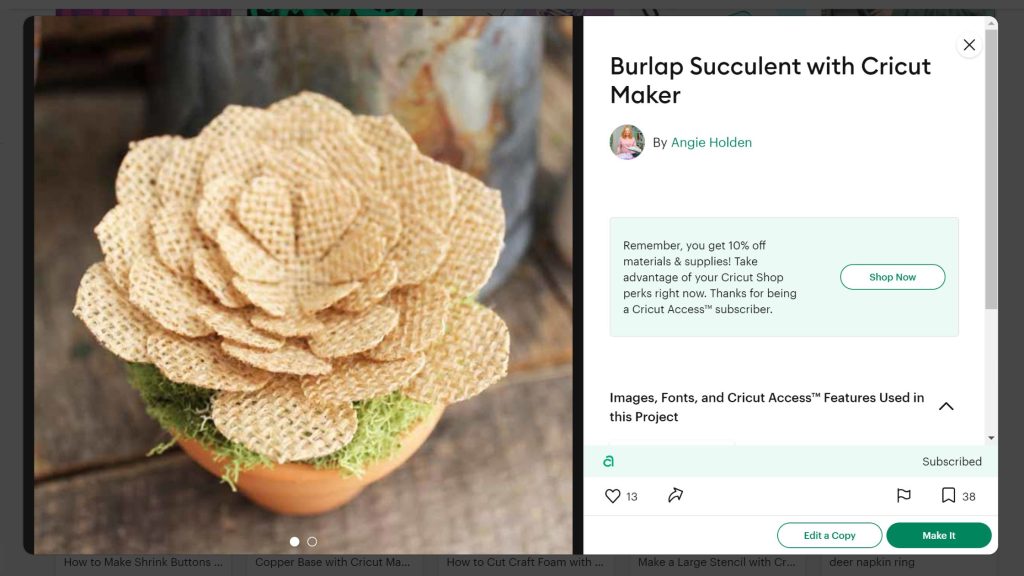
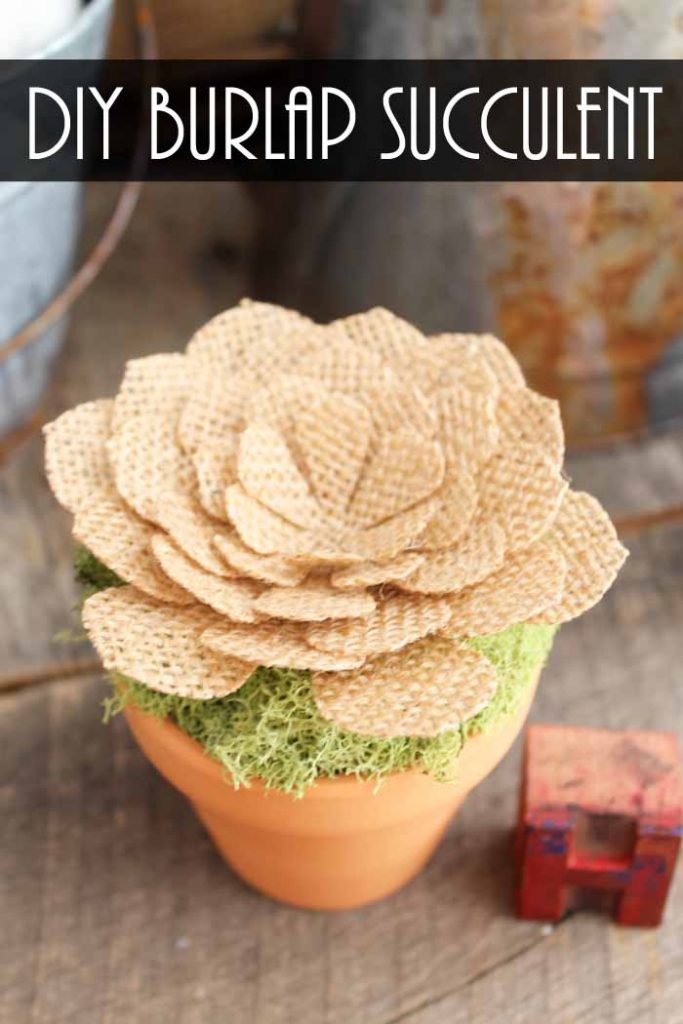
I did it! I made this burlap cactus succulent decor with my Cricut Maker. It took a bit of trial and error; however, I am thrilled with the results. So if you have ever wanted to learn how to make burlap fabric flowers, this is the post for you!
The bonus? This burlap will not fray–that’s right! Amazing, huh? This is one of my favorite fabric plant projects! You can use this tutorial to cut burlap with your in any shape actually. This is one of the most fun Cricut projects!
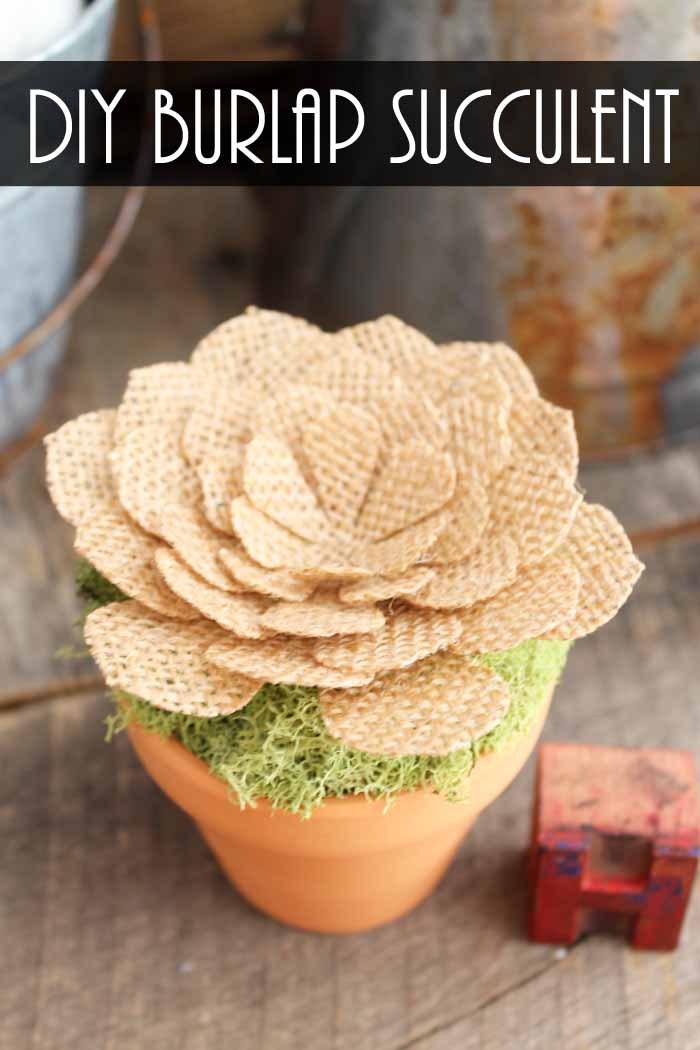
How to Make Burlap Fabric Flowers
Are you wanting to add a little more charm to your home? This rustic, burlap cactus succulent is a fun and crafty DIY way to decorate your home with artificial indoor plants.
Bright shades of green from the moss and the orange terra cotta pot create an earthy color palette that is great with a variety of decor!
Supplies Needed
Some products may have been given to me free of charge however all projects and opinions are my own.
- Burlap – A fairly tight weave works best.
- Tacky glue
- Pouncer brush
- Wax Paper
- Cricut Maker: Want to see the difference between the machines? I compared the Cricut Maker and Explore here. NOTE: My recommendation is to use the Maker for all fabric projects including this one.
- Cricut strong grip transfer tape
- Cricut green mat
- Cricut rotary blade
- Terra Cotta Pot
- Styrofoam Ball
- Moss
- Hot glue and glue gun
- Cricut Succulent File
Note: Feel free to paint designs on the terra cot with your choice of paint. You can make or buy woven macrame knots for a cute hanging basket in the window or kitchen!
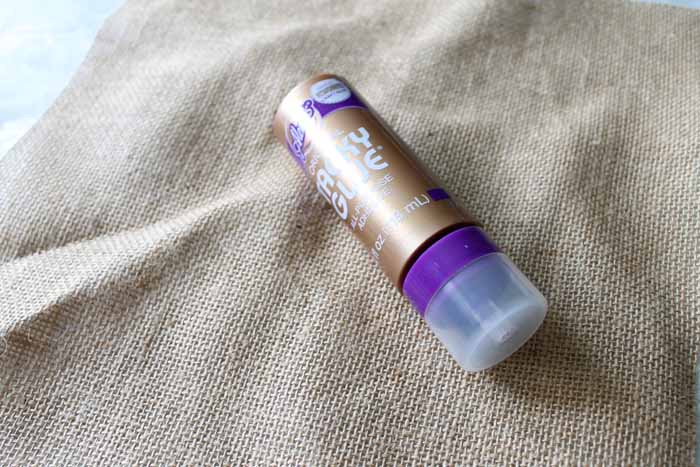
Make Your Own Cactus Succulent
I experimented quite a bit to get this technique correct and I thought it would be best to shoot a video. You can watch me below talking about cutting burlap with a Cricut Maker.
Now, did you miss any of the steps? Feel free to watch again or I will try to get the most important details for making your own burlap succulent decor in the instructions below.
Step 1 – Prep burlap
Start with a 12 x 12 square of burlap and lay it on some wax paper to protect your work surface. Mix half tacky glue and half water. Then use a pouncer brush to apply this mixture all over your burlap.
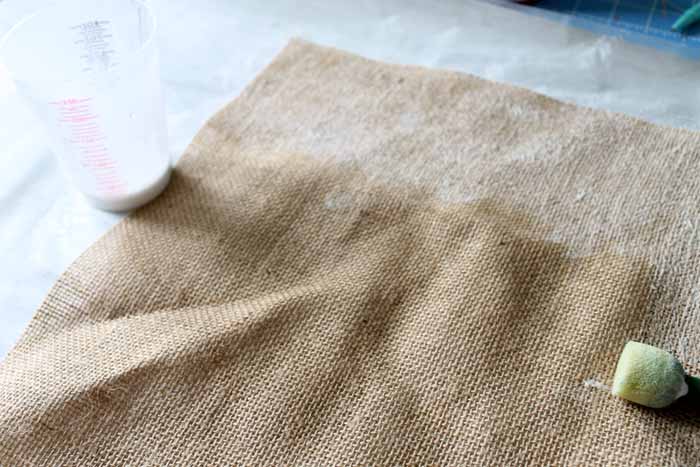
Step 2 – Add burlap to cutting mat
Allow the glue on the burlap to dry. This will take at least overnight. Then just peel your stiff burlap from the wax paper sheet. Now we have to get this stiff material to stick to a Cricut mat.
Apply strong grip transfer tape to the back of your burlap. Then place the non-sticky side of your transfer tape down onto your mat. Press it down really well. You can even use a brayer or rolling pin here.
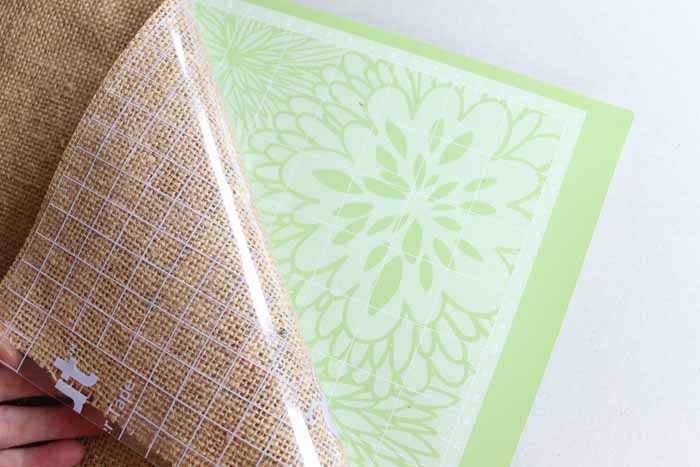
Step 3 – Access file and resize
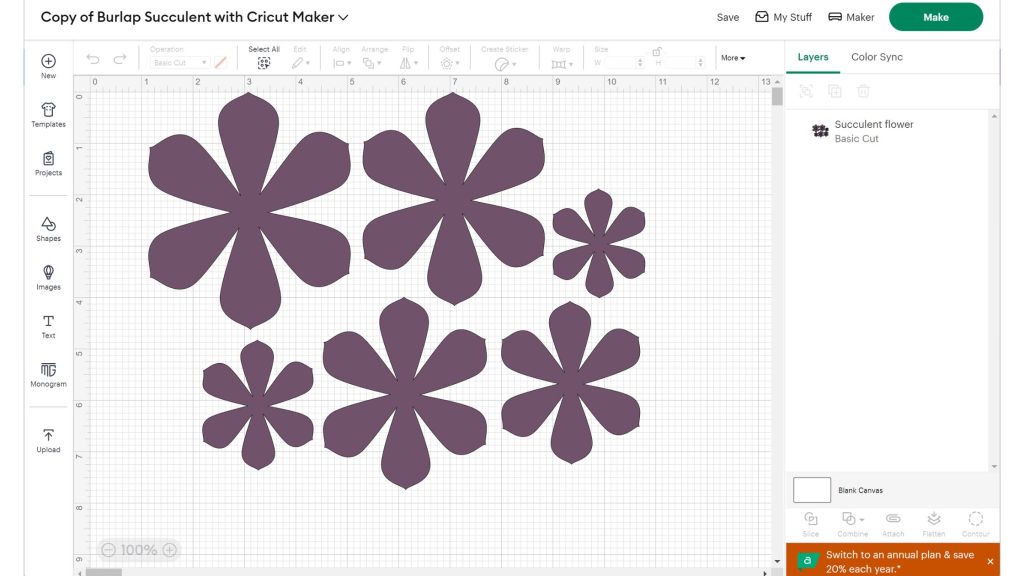
Access the succulent cut file in Cricut Design Space. Click on Edit a Copy to place the design on your canvas.
Then resize so that your smallest piece is not less than 1 ¾ inches. This will ensure that the pieces are large enough to be cut by the rotary blade.
Step 4 – Choose the fabric setting
Now you can choose two different cut settings and both have pros and cons:
- Heavy duty fabric – this is done with the rotary blade and will give you perfect cuts. The blade, however, will dig into your mat on those curves. This could potentially shorten the life of your mat.
- Medium fabric – also with the rotary blade and you will get great cuts. However, there will be some strings that will be uncut and you will have to use your scissors to complete those. The mat however will be in better condition.
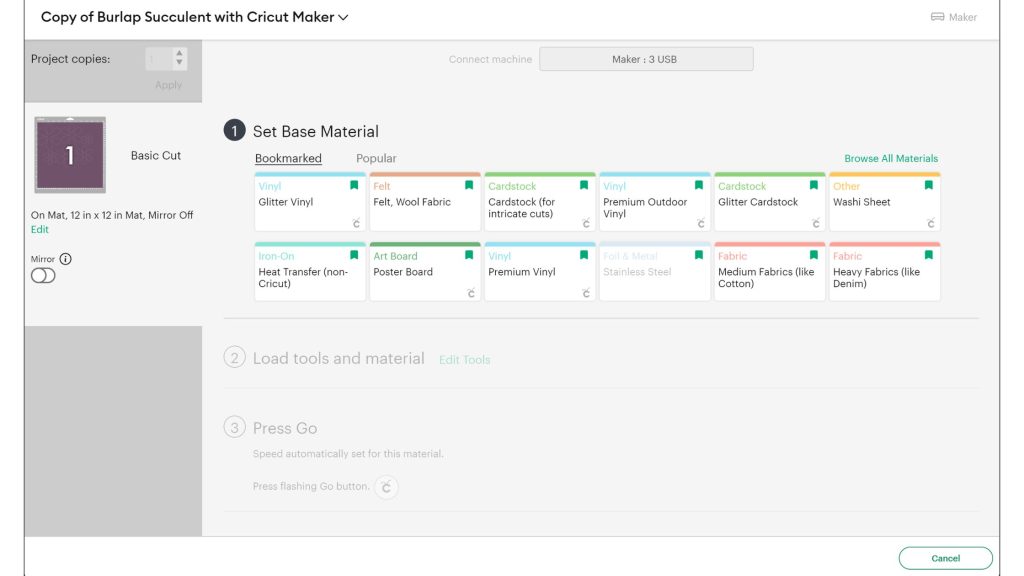
Also, note that I do not recommend the burlap setting as this stiff version did not work well with it. Now, make your choice, and then cut your succulent pieces with your Cricut Maker. No Cricut Maker? Sorry, I do not recommend any other cutting machine for these fabric cuts as the rotary blade is only for the Maker and is the only thing I have found to make this project.
If you find a way to make it on another machine, please let us know in the comments.
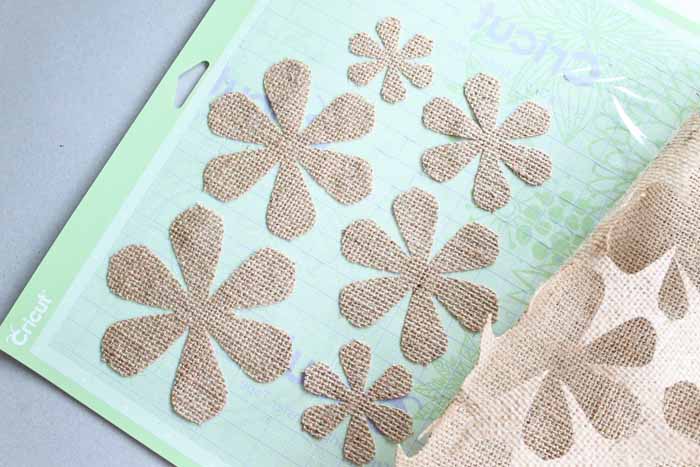
Step 5 – Remove excess burlap
Then you can just peel back your excess burlap and you are left with gorgeous burlap succulent pieces.
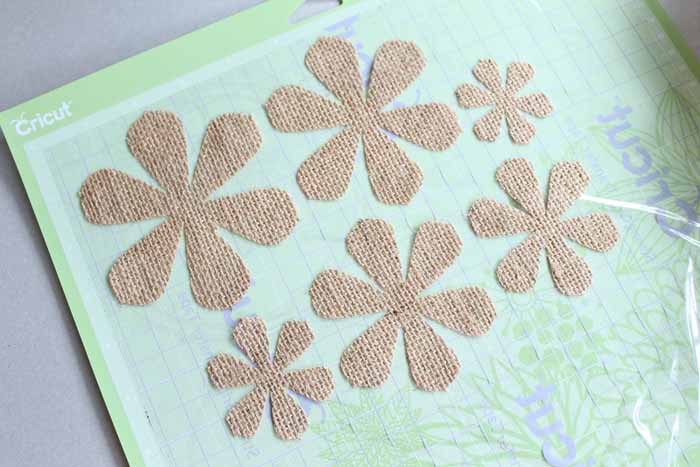
Step 6 – Remove cut pieces from mat
Carefully, remove each piece of burlap from the transfer tape. Then you can remove that transfer tape from your mat as well. These stiff pieces will not fray and are perfect for this burlap succulent decor.
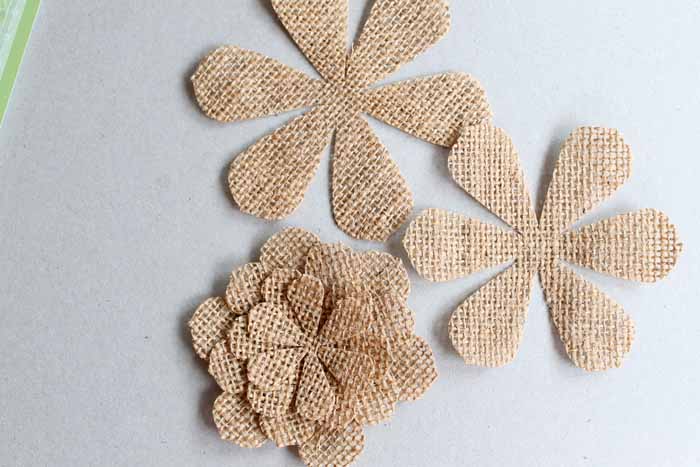
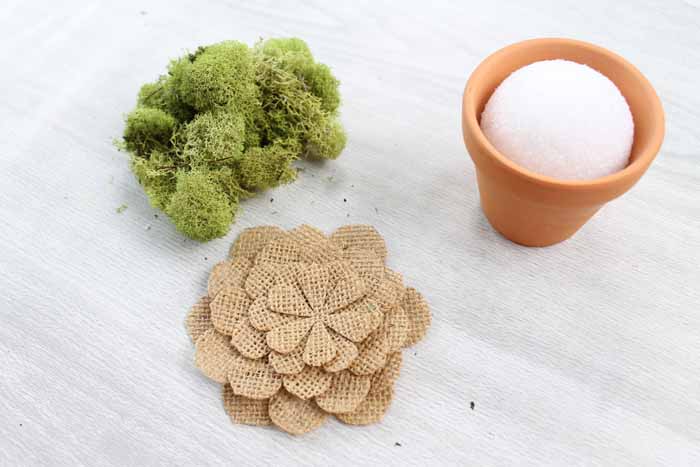
Step 7 – Prep the container
Now, let’s complete this burlap cactus succulent decor. Add a styrofoam ball to a terra cotta pot as shown below.
Then, use hot glue to secure moss around the outer edges.
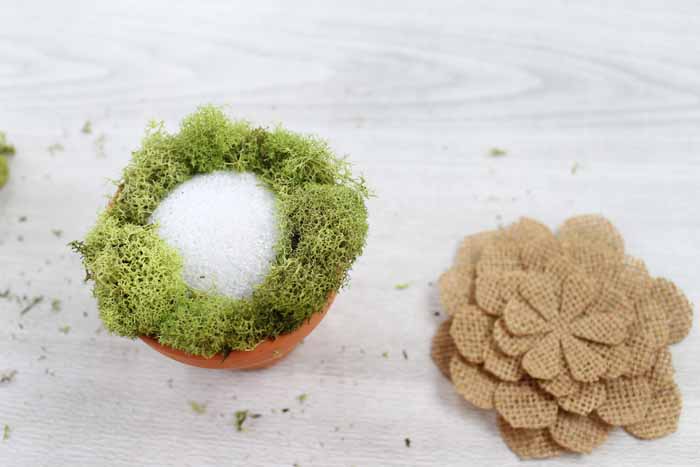
Step 9 – Attach succulent pieces
Next, start with the largest succulent piece and glue to your ball in the center ONLY! This will allow your petals to be free and not glued down. Continue stacking the pieces as shown below and gluing only in the center.
As you can see, we turned each piece so that it fills in the gaps of the petals on the piece before it.
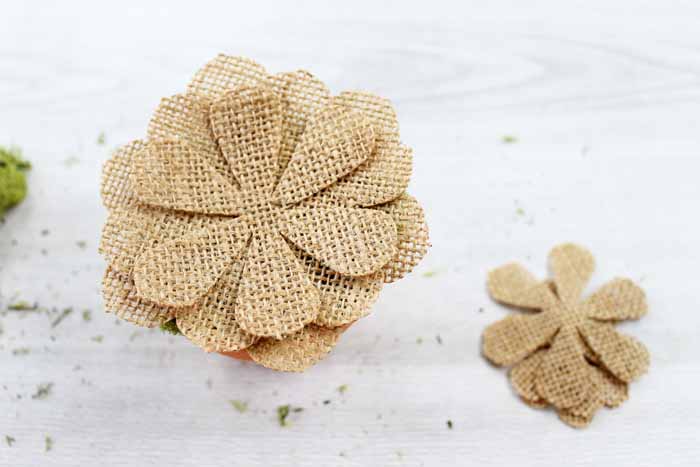
Step 10 – Fold petals and finish
Continue until you have secured all of the burlap succulent pieces into place. You can then fold up the petals of your project to make it look more realistic. Add more moss under the bottom petals if needed to hold them up and not have any of the styrofoam ball showing.
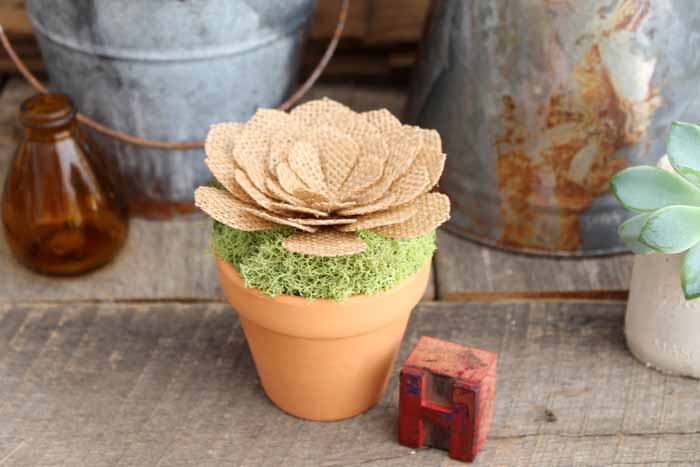
This burlap succulent decor is now ready to be displayed around your home. I love the way this one looks and it may very well be one of my favorite projects of all time.
So, tell us, are you going to try to make your own plant decoration?
How to Use
So, now you know how to make burlap fabric flowers. You can use this method to decorate the interior of your home with some fun crafts such as this fun burlap succulent. If you are throwing a party, rustic, or garden-themed occasion then decorate the tables with some burlap plants!
You can also gift these little succulents to loved ones for the holidays or as party favors.
More Projects using Burlap
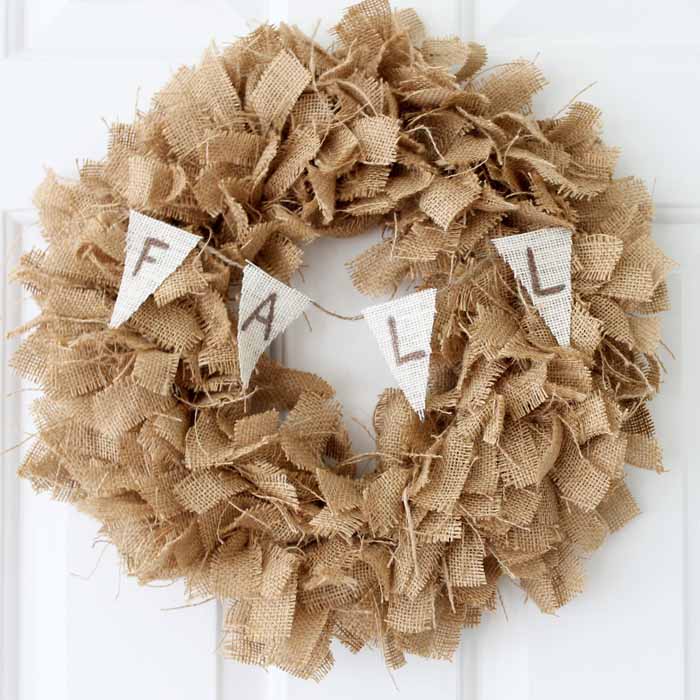
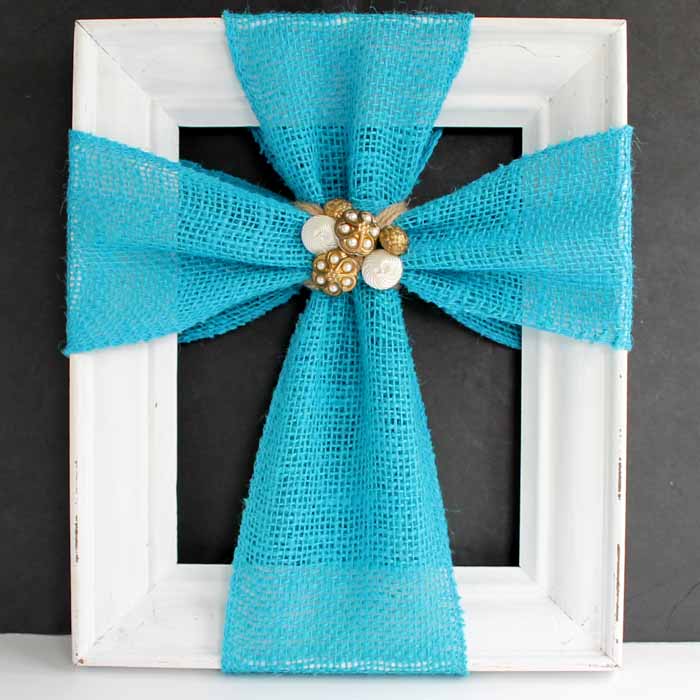
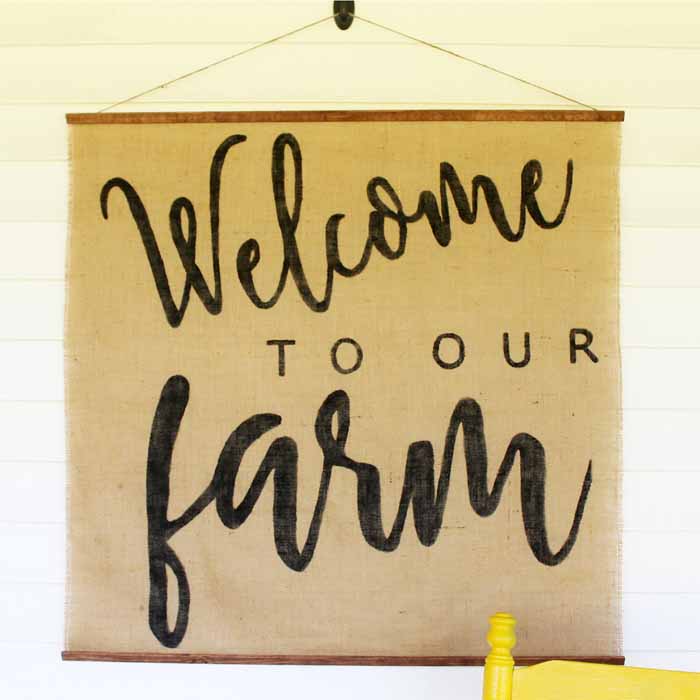
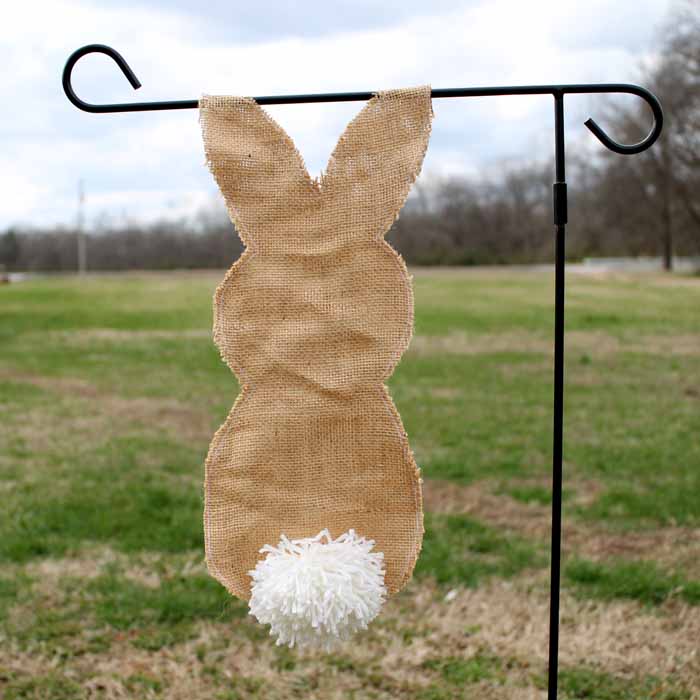
Love learning how to make burlap fabric flowers and want more ideas? Try the links below!
New to Cricut?

Sign up for our email list to download the Beginner's Guide to Cricut Design Space for FREE today!
Sign up to get the guide emailed to you!



Love this! So pretty!
Angie,
This is such a great idea and so pretty. I love your tip in the video on how to get the burlap stiff. I would have never though of that. Can’t wait to try this.
This is too cute! 🙂
I would love for you to share this with my Facebook Group for recipes, crafts, tips, and tricks: https://www.facebook.com/groups/pluckyrecipescraftstips/
Thanks for joining Cooking and Crafting with J & J!
This is so cute. I definitely need a Cricut Maker.
Is there anything a Cricut Maker can’t make these days? Wow, impressive it cuts burlap and bonus points for no frayed edges! Your burlap succulent is adorable, what a great idea. Pinning! Thank you for linking up with us at the #HomeMattersParty this week.
A very fun way to decorate a pot. And the use of the burlap is so rustic and pretty.
Thanks for sharing your lovely project with us this week at Inspire Me Monday at Create With Joy, Angie.
Congrats – you’re one of our Featured Guests this week! #301
Loving your burlap succulent.
It is a fabulous tutorial
Thanks for sharing the tips how to stiff the burlap fabric 🙂
great tutorial! thanks!