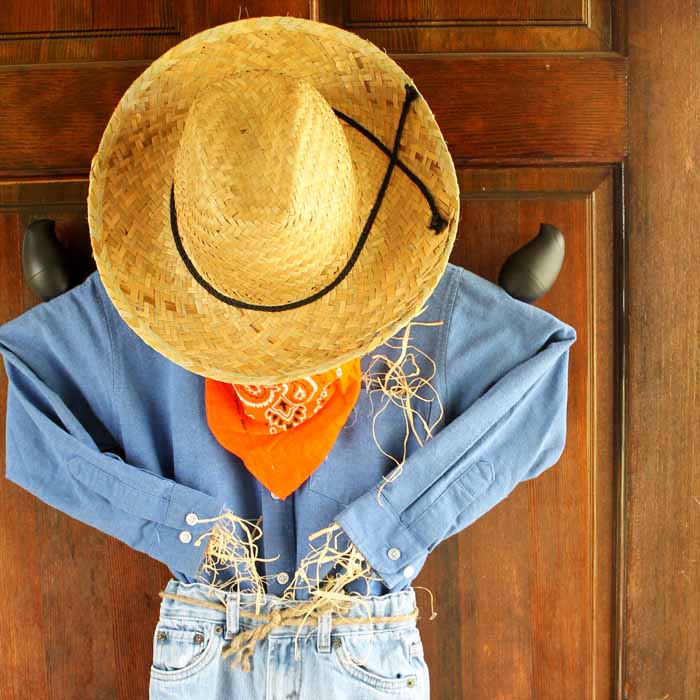
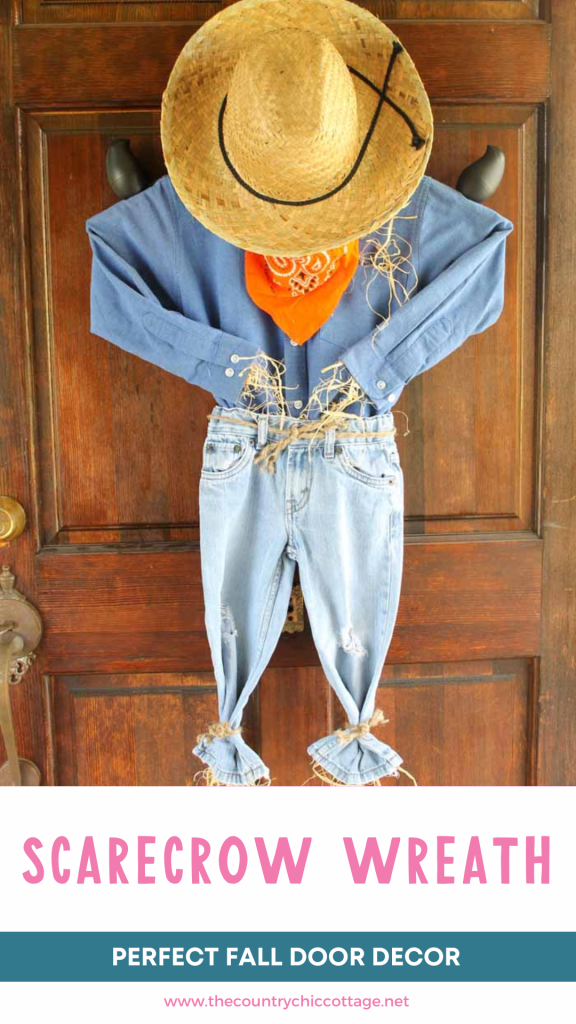
Are you ready to see how to make an adorable scarecrow wreath? Then you will love this tutorial because today, I am showing you how easy it is to make your own scarecrow wreath using items you probably already have at home. Plus, the best part is that this project is customizable! So, the sky is the limit when it comes to how sweet or scary you want to make your scarecrow wreath for the fall season!
Scarecrow Wreath Video Tutorial
Want to see how I made this fun scarecrow wreath? Check out the quick video below, where I show you how to make it!
Can’t watch or missed some of the steps? Have no fear! I have the complete step-by-step instructions for this Halloween scarecrow below.
How To Make a Scarecrow Wreath
This scarecrow wreath may very well be one of my favorite projects of all time! It will look great hanging on your front door and is one of those projects you can keep up all fall season long!
Supplies Needed To Make Scarecrow Wreath
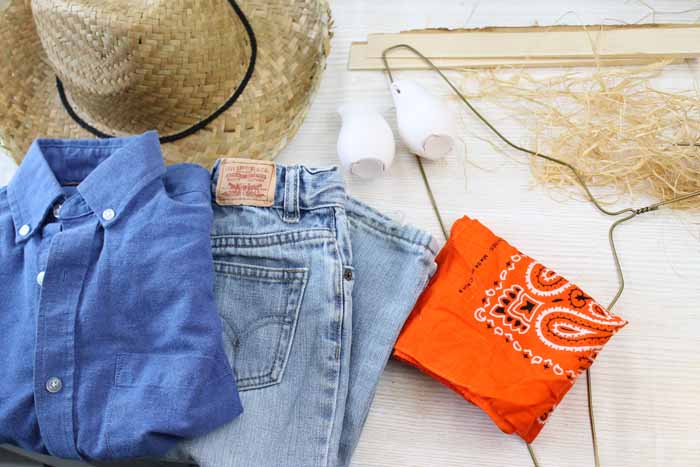
- Lightweight Bird or Crow Figurines (I recycled 2 old Birdie by OLIKA containers, but you can use fake crows or wood crows instead)
- Clothes hanger
- Small shirt and pants (find them at a thrift store!)
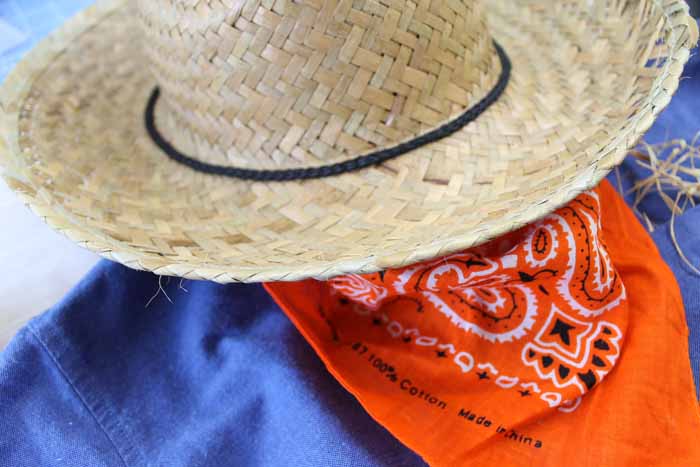
- Straw hat
- Bandanna
- Raffia
- Wood shims or other scrap wood pieces
- Rope
- Black spray paint
- Hot glue and glue gun
- Scissors
Step 1: Paint Your Crow Figurines
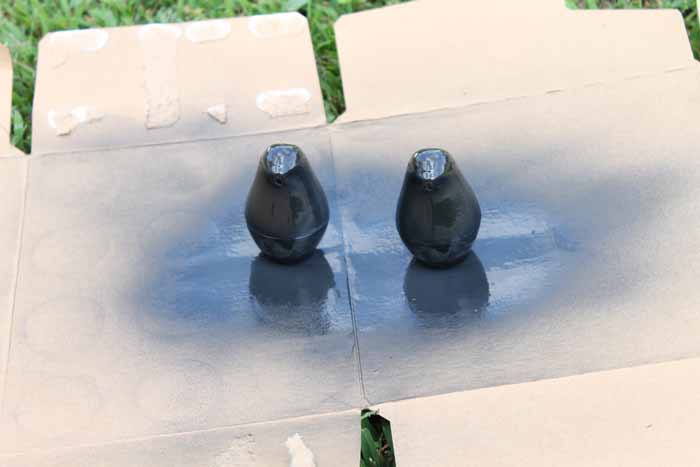
Start by painting your bird or crow figurines with black spray paint. Be sure to get complete coverage and then let them dry completely before handling.
NOTE: If you are using birds or crows that are already black, you can skip this step.
Step 2: Hot Glue Wood Shims To Hanger
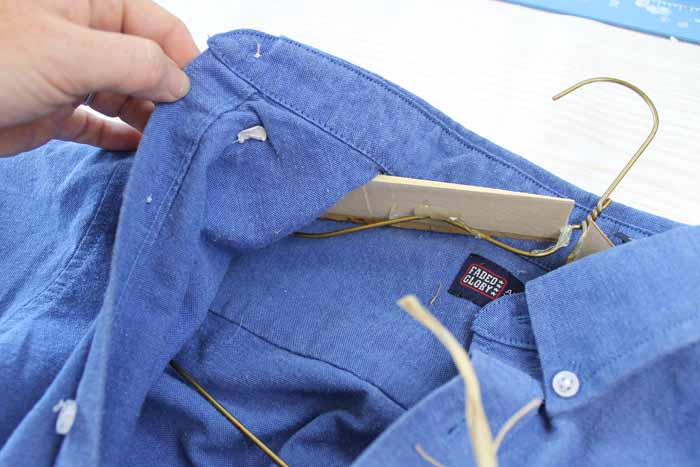
Start your wreath by adding wood shims or other scrap wood pieces to the top of your hanger on both sides. Use hot glue to secure them in place. These will make a perch for your birds later.
Add your shirt to the hanger once the wood shims have been glued into place.
Step 3: Add Raffia
Add raffia in the pocket with hot glue. You can trim any strands to size with scissors.
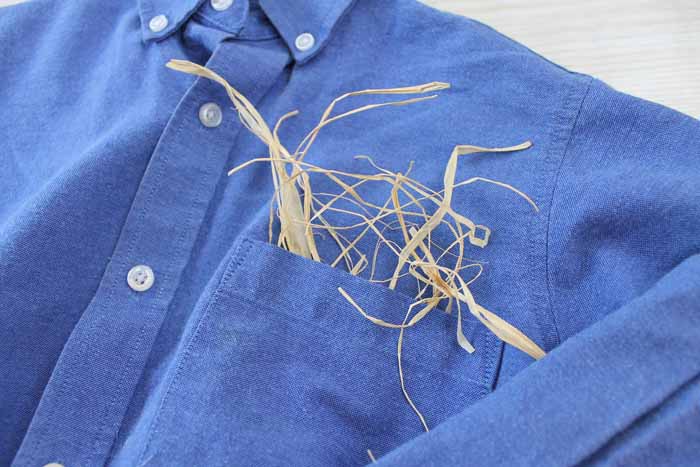
Step 4: Add Raffia To Arms & Add Pants To Wreath
You will also want to add raffia under the arm cuffs of both arms. Be sure to secure the arms to the shirt with hot glue so that they stay in place.
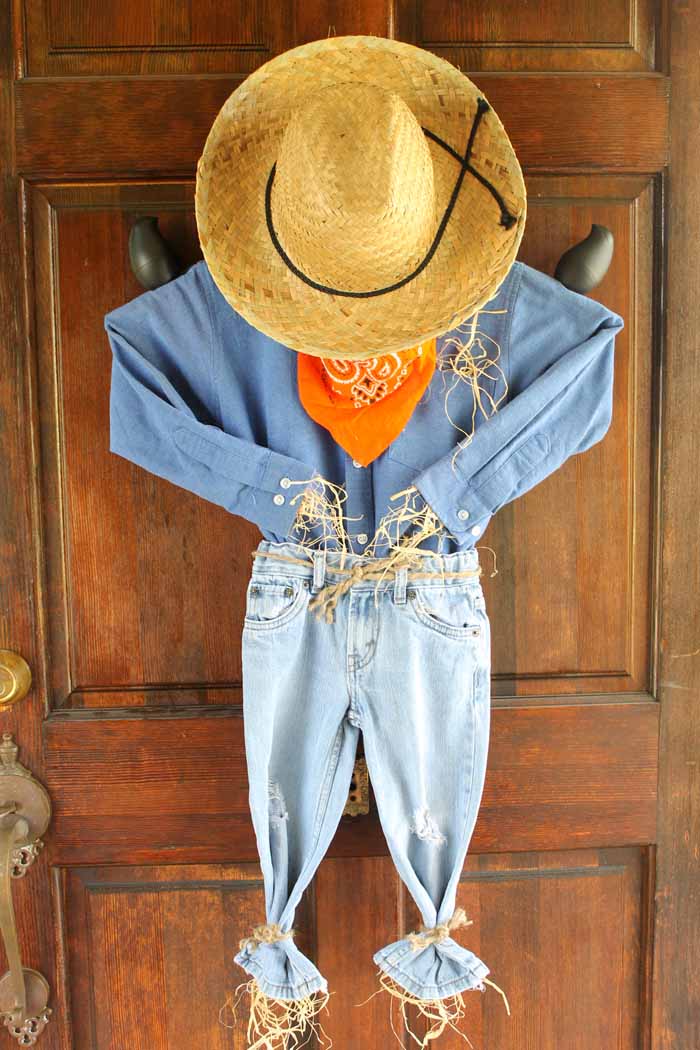
Then, add on your pants with a bit of additional hot glue. Give your DIY scarecrow a rope belt as well.
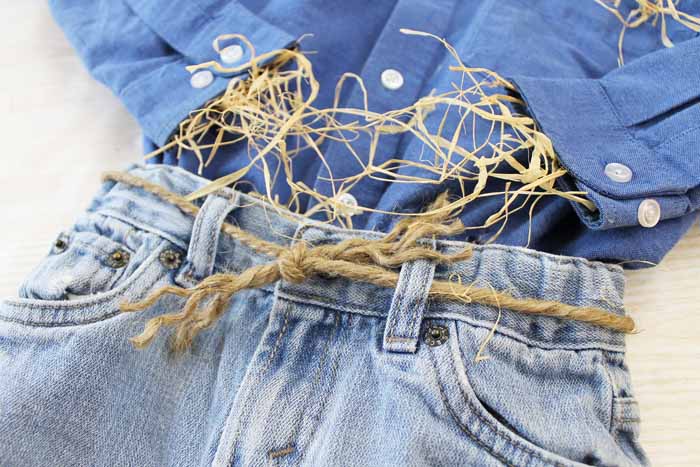
Step 5: Add Raffia & Rope To Pant Legs
Tie both legs with a bit of rope, and then add some raffia with hot glue inside the cuff of the pants.
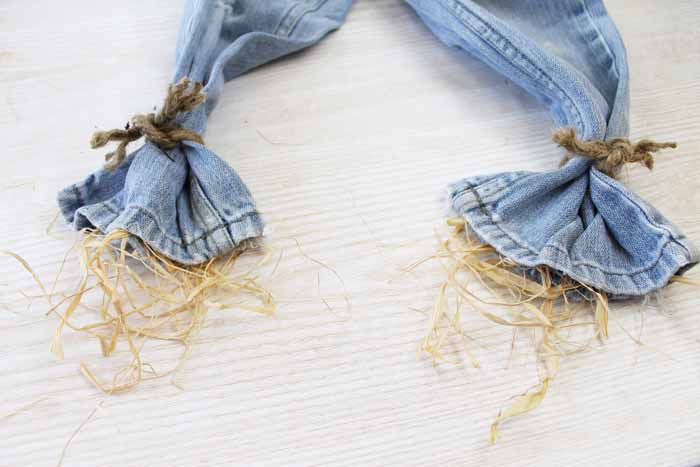
Step 6: Tie the Bandanna Around the Hanger
Tie a bandanna onto the clothes hanger “neck.”
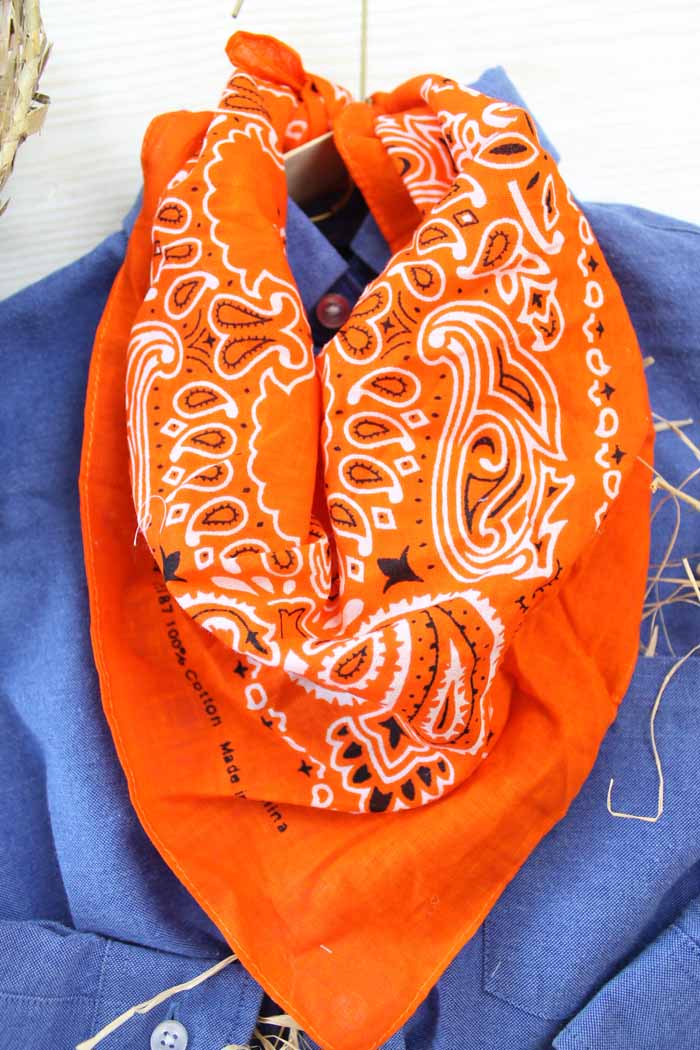
Step 7: Add Hat
Add your hat to the hanger as well. I found that I could just set it on there once I added it to the door; however, you can secure it with hot glue if you wish.
Step 8: Hot Glue Crow Figurines To Shirt
Now it is time to add on your crow figurines! Add some hot glue to the bottom and secure to both shoulders. You may have to go inside the shirt and add some hot glue from the shirt to the wood as well.
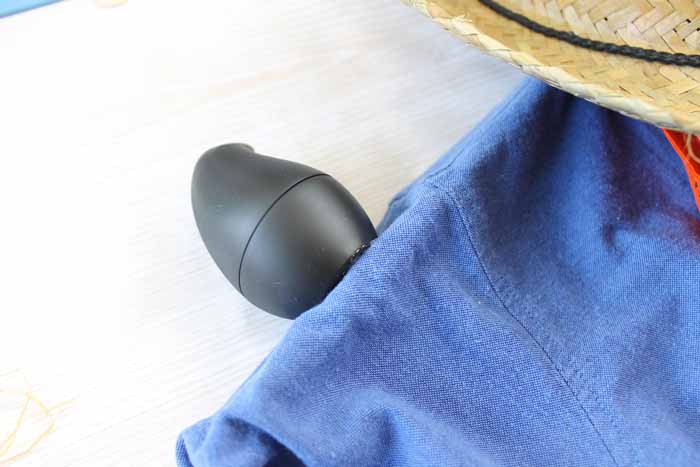
Once your crow figurines have been placed on both shoulders, your scarecrow wreath is ready for your front door!

You will love how this scarecrow decoration looks and the touch of fall it brings to your decor.
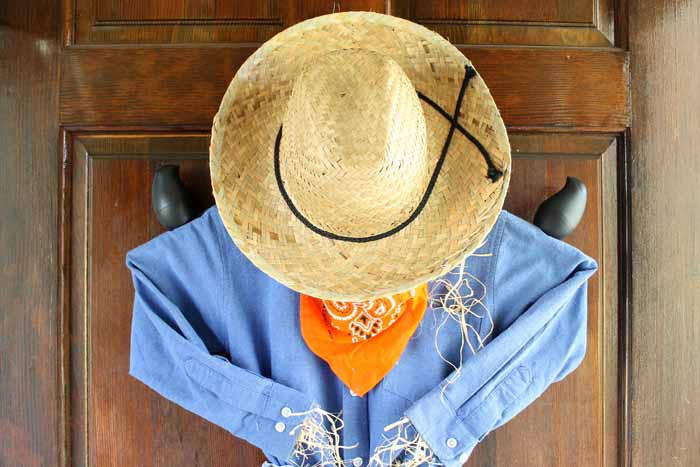
You just learned how to make a scarecrow wreath this season! Get started on your own, as you are sure to love the results!
FAQs About Scarecrow Wreath
If you have questions about this scarecrow wreath, I have answers! If you don’t see your question answered below, please leave it in the comments!
Where Can I Buy Shirts And Pants For This Project?
When buying the clothes for this project, I recommend going to the thrift store!
I Don’t Have Wood Shims, What Could I Use Instead?
If you don’t have wood shims, you could cut the following materials and use them instead:
- Cardboard
- Foamboard
- Balsa Wood
Can I Decorate The Hat?
Absolutely! You could decorate the hat with leaves, flowers, pumpkins, or anything else you love!
How Did You Hang The Wreath?
I just hung it on my regular wreath hanger on my front door. Since this scarecrow wreath is made with a hanger, it’s easy to hang on any hook!
Does This Wreath ”Move” On Your Door?
No, I have found that the scarecrow wreath stays in place on my door. However, if you want more security, you could add some Command Strips to the back so it’s more adhered to your door.
5 More Scarecrow Crafts
Did you love this scarecrow wreath and are looking for more scarecrow crafts? Then check out the projects below!
- Halloween Candy Bowl: Clay Pot Scarecrow
- Dollar Tree Scarecrow: Make DIY Fall Decor On A Budget!
- Scarecrow DIY Halloween Treat Bags
- Coffee Can Scarecrow
- Burlap Scarecrow Garden Flag


The scarecrow wreath looks so adorable!! I really like it, I think I’m going to make one for myself =)
Super cute idea- very original and unique! The little black birds added to the shoulder’s are adorable.
Oh what a cute idea!
I would love for you to share this with my Facebook Group for recipes, crafts, tips, and tricks: https://www.facebook.com/groups/pluckyrecipescraftstips/
Thanks for joining Cooking and Crafting with J & J!
this wreath is super creative, and i almost missed those birds (which are genius) bc they were against your dark door. i like your project even more now!
b
Those are really cute! I didn’t know about the birdie sanitizer, but cool that it has wipes in the bottom too. Love your ideas of how to recycle them! Pinned.