Jen Goode from 100 Directions is back this month sharing how to make these Christmas bird ornaments. Whip some up for your tree in just minutes!
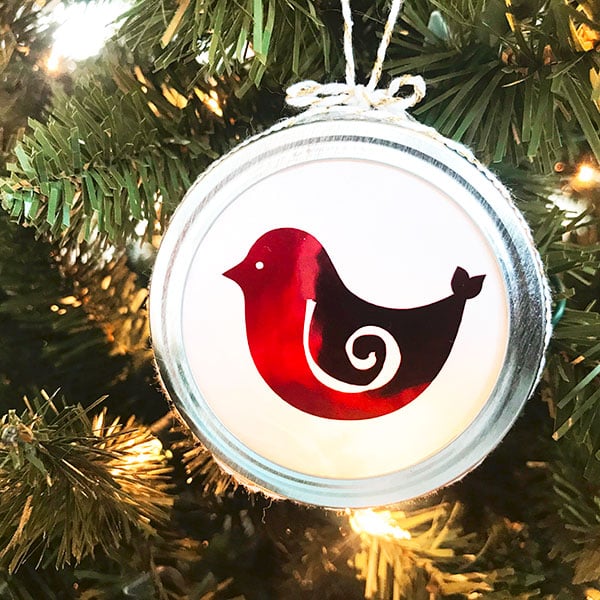
Make beautiful Christmas bird ornaments like these in just minutes! Make these as red birds, blue birds, gold birds, or any other festive color you choose. These cut-out Christmas cardinals will look beautiful hanging on your tree. If you have a Cricut machine, an extra mason jar lid, and metallic vinyl, this ornament could take less than 20 minutes to make!
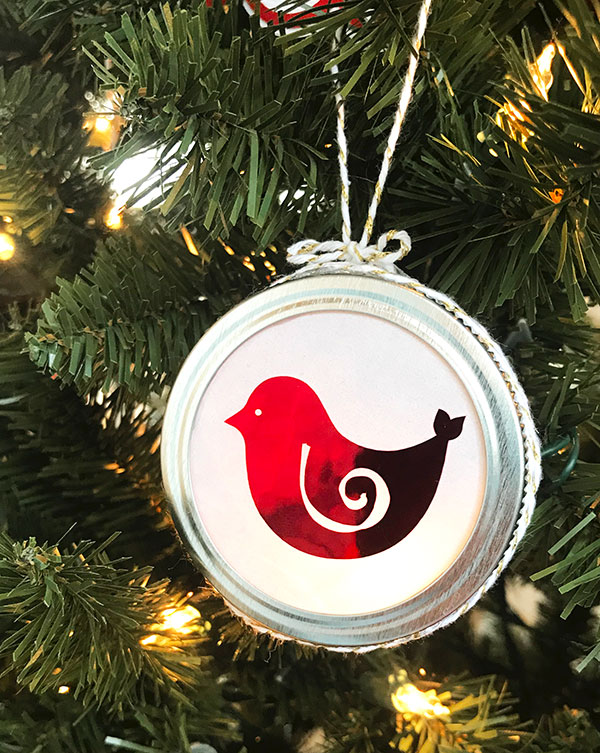
It’s time to get ready to decorate the tree! Do you love making your own Christmas Ornaments? Today I’m sharing how to make Pretty Christmas Bird Ornaments in minutes. Grab some pretty metallic vinyl and let’s make some tree decorations.
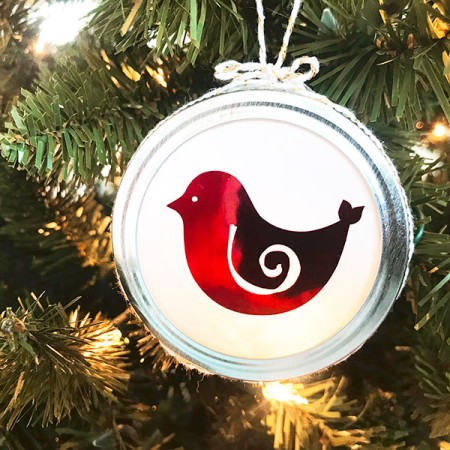
I like to make my own ornaments to add to my tree every year. I also love to include an ornament on gifts along with the bow as a keepsake. These pretty bird ornaments are quick to make and you can personalize them with names and customize with your own favorite colors. If you want to add more color to the ornament, try using a different background paper. I used vellum so the lights from the tree will shine through the ornament.
If you love ornaments as much as I do, try this Love Bird Ornament, sublimation ornaments, or SVG files to make your very own.
How to Make Pretty Christmas Bird Ornaments
Supplies needed for Christmas bird ornaments:
Please note that some links below may be affiliate links which means that you do not pay anymore however a portion of your purchase will got to support this site.
- Cricut Machine with Cricut Design Space software (see the difference between the machines here)
- Little bird design by Jen Goode – available in Cricut Design Space
- Red metallic foil vinyl
- Vellum or other background paper
- Mason jar lid
- Twine
- Glue
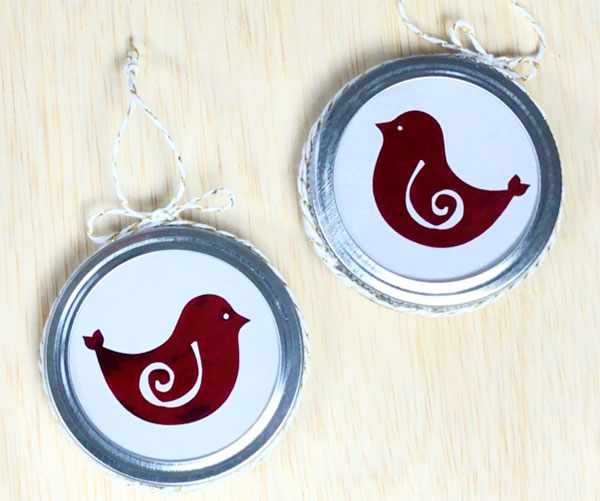
Instructions
Open the pre-designed Cricut Design Space canvas to get the design already sized and ready to go. If you can’t access this website, you will need to look for image #M39BCB82 and create a circle to cut as well.
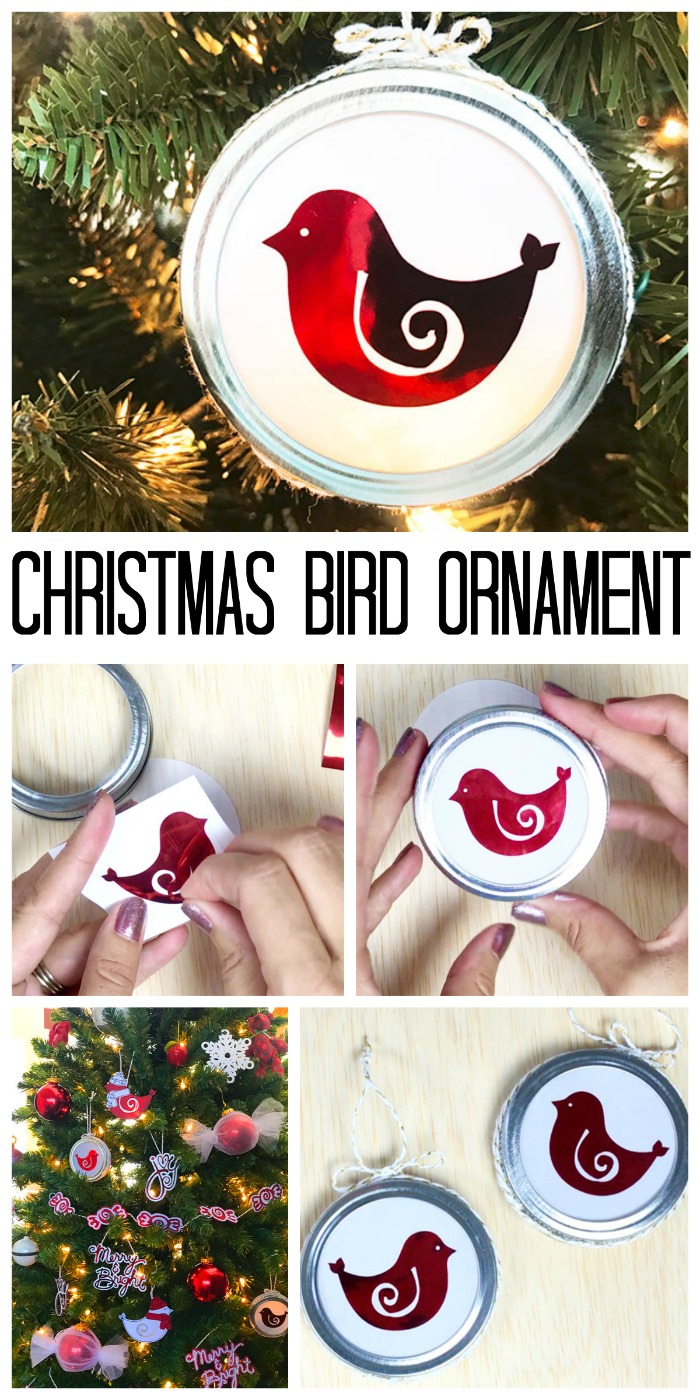
Follow on screen instructions to cut out the bird and the circle. Weed the bird design to show only the bird, removing the eye circle and wing design.
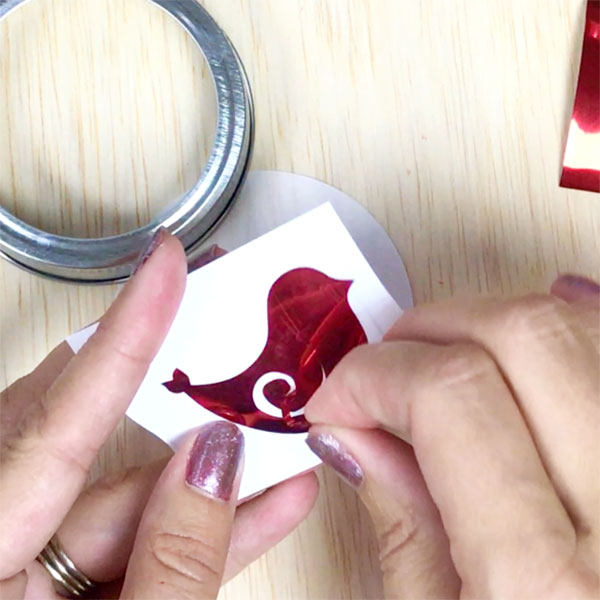
Place the bird on the circle cut out.
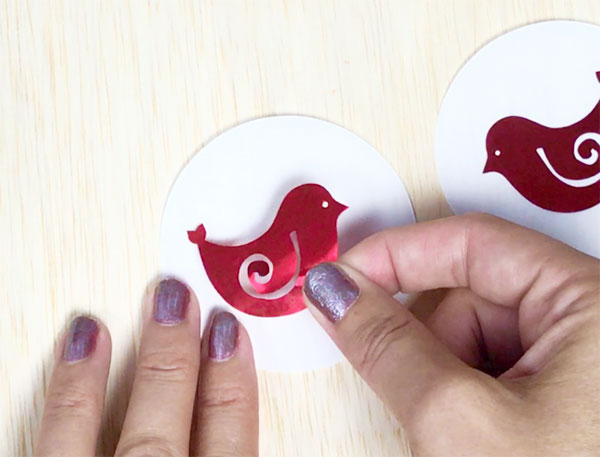
Add glue to the inside rim of the mason jar lid.
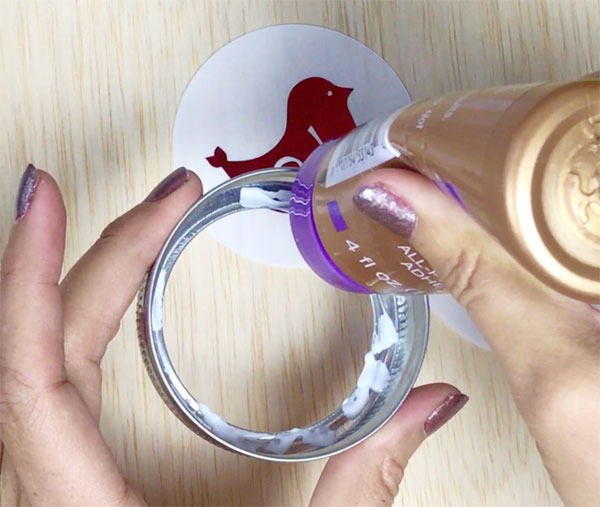
Place the circle art you just created, inside the lid with the art facing out.
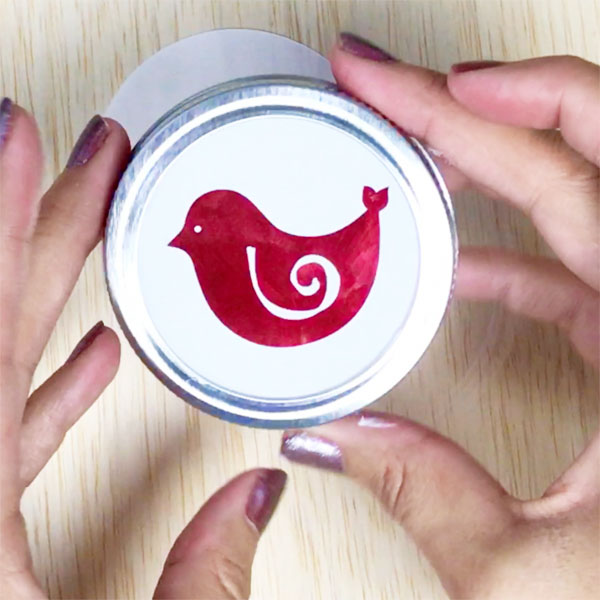
Add a little glue (I used hot glue) to the outside of the lid and wrap twine around the lid. You can do this step before you add the art, if you prefer. Make sure to start and stop the twine at the top so you can tie the excess twine into a hanging loop or bow. Note: if you add a bow to your ornament, add a little glue to the knot to make sure it holds in place and doesn’t come un-tied.
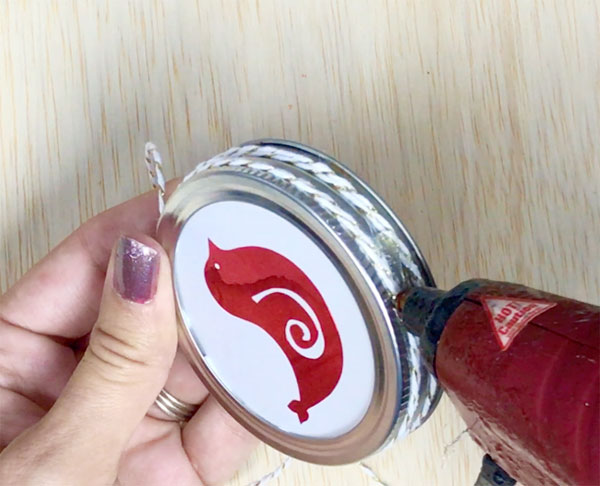
Love this and want to watch the video? Watch these Christmas bird ornaments being made in the video below!
Love this and want more ideas for your tree?
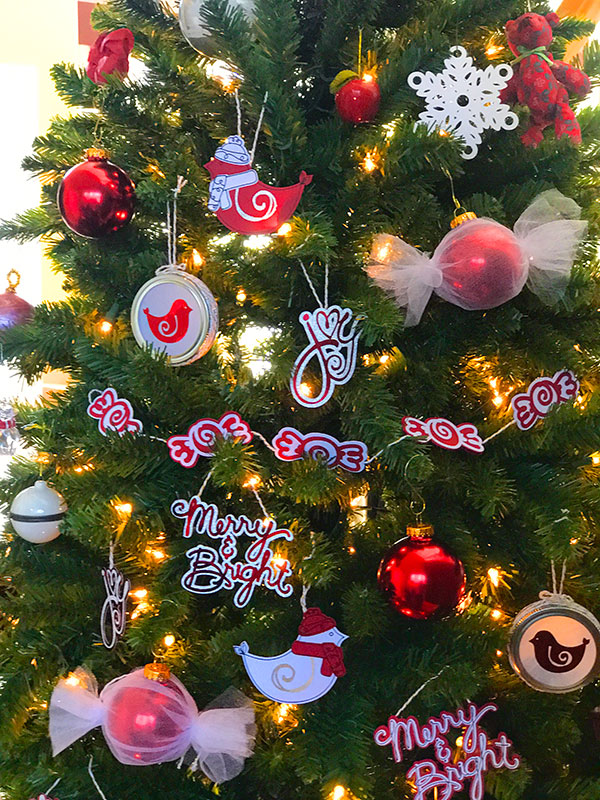
If you like this ornament, I made a whole set you make! Check out the Christmas ornaments I created on my blog.
You can a make whole tree of pretty Christmas bird ornaments. Make a bunch of red birds or make a variety of birds in all kinds of colors. You can paint the mason jar lid to add more color if you’d like, too.
Love this and want more Christmas ideas? Try the links below!
- 5 Christmas Placecard Ideas
- Baby Photo Frames with Footprints
- Felt Christmas Decorations
- Candy Cane Wreath
- Snowman Decorations
Supplies
- Cricut Machine with Cricut Design Space software (see the difference between the machines here)
- Little bird design by Jen Goode – available in Cricut Design Space
Instructions
- Open the pre-designed Cricut Design Space canvas to get the design already sized and ready to go. If you can’t access this website, you will need to look for image #M39BCB82 and create a circle to cut as well.
- Follow on screen instructions to cut out the bird and the circle. Weed the bird design to show only the bird, removing the eye circle and wing design.
- Place the bird on the circle cut out.
- Add glue to the inside rim of the mason jar lid.
- Place the circle art you just created inside the lid with the art facing out.
- Add a little glue (I used hot glue) to the outside of the lid and wrap twine around the lid. Make sure to start and stop the twine at the top so you can tie the excess twine into a hanging loop or bow.
- When the glue has dried, hang your ornament on the tree!
Notes
New to Cricut?

Sign up for our email list to download the Beginner's Guide to Cricut Design Space for FREE today!
Sign up to get the guide emailed to you!


Those are so incredibly pretty Angie. We have loads of lids at home too and love making our own decorations.