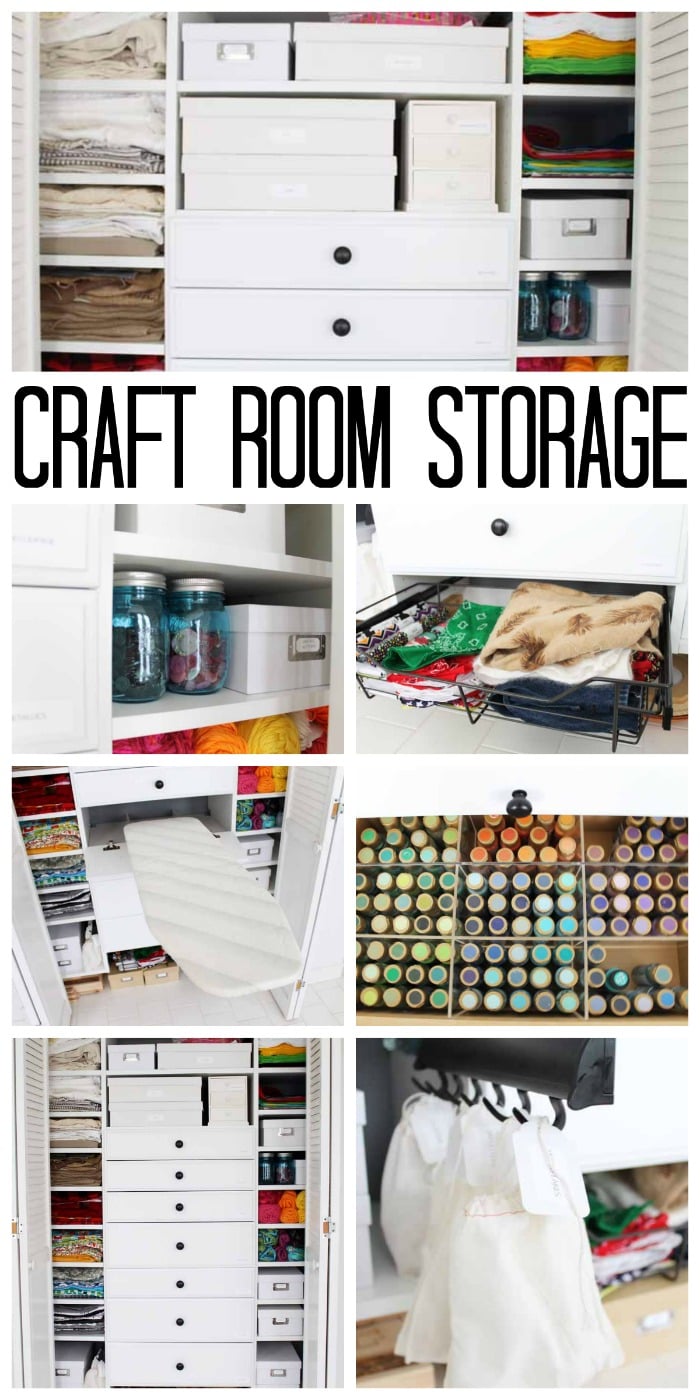
Are you ready to take your craft room storage to the next level? Let me help! I have packed this post with tons of tips and tricks as well as a peek inside of my craft closet. Even if you have a tiny space, you can make this system work for your creative endeavors. This post is sponsored by EasyClosets; however, all projects and opinions are my own.
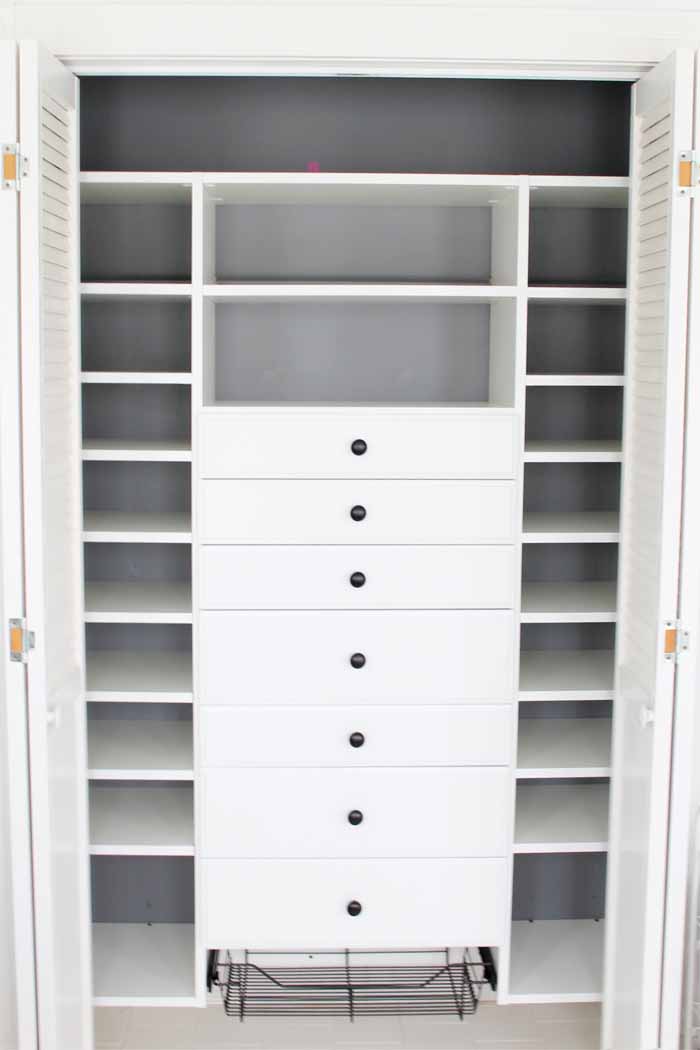
We started with the design and installation of my custom closet from EasyClosets. We left it with a tiny sneak peek inside, and this is what it looked like empty:
Now do you want a full tour of the closet and all of the functionality? Just watch the video below!
Craft Room Storage
Awesome right? I am in love with my new space. Here are a few pictures in case you missed any of the storage ideas in the video. We will start at the top of the closet and work our way down.
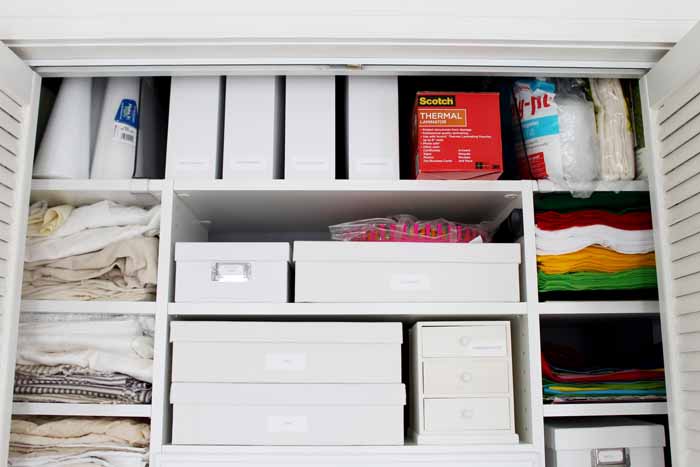
The top shelf of the closet system is lower than the door frame. This gives me space to get items all the way from the top of the shelf to the ceiling.
This was just one of the great suggestions that came from a designer at EasyClosets that really made this space work. Utilizing every inch of space you have is essential when storing craft supplies.
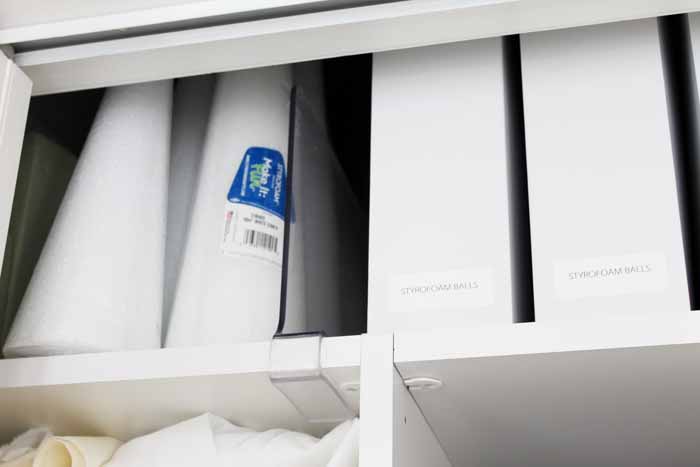
Across the top, I used both magazine holders as well as those clear shelf dividers from EasyClosets that you can see in place below.
It turns out that thinking outside of the box when it comes to closet supplies gave me some really great options for craft room storage, like the addition of a valet pole right inside the closet.
It is perfect for hanging fabric that is waiting for a project or even a bag of craft supplies when you get back from the craft store.
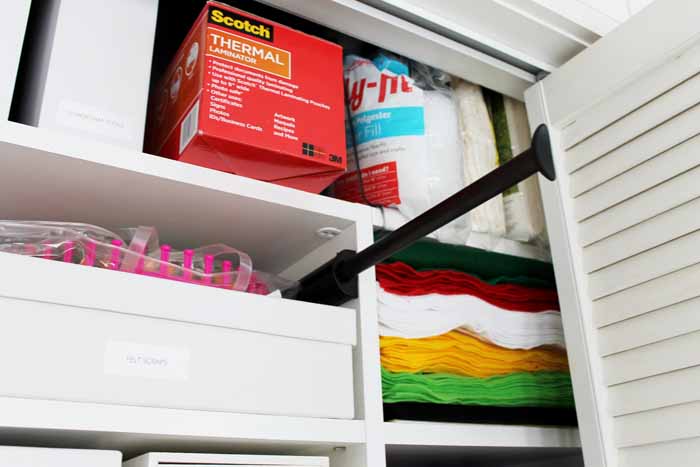
The shelving system itself is fully customizable. You can choose how wide each section is and where to place your drawers and shelves. I ran adjustable shelves down both sides and drawer storage as high as I could get it in the center. I love the idea of drawers where my craft supplies can be organized, stored, and out of sight.
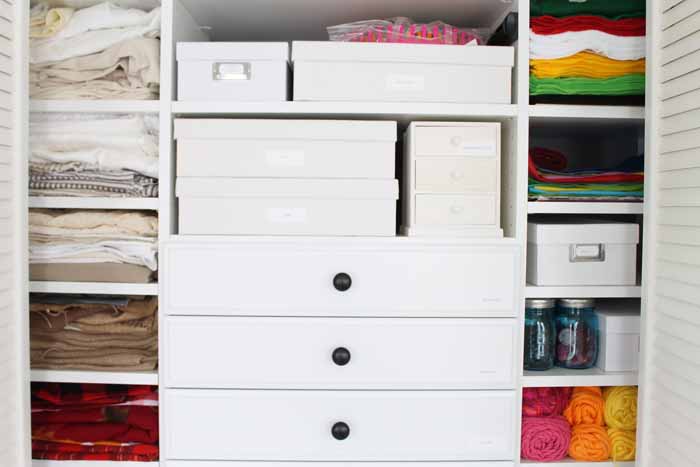
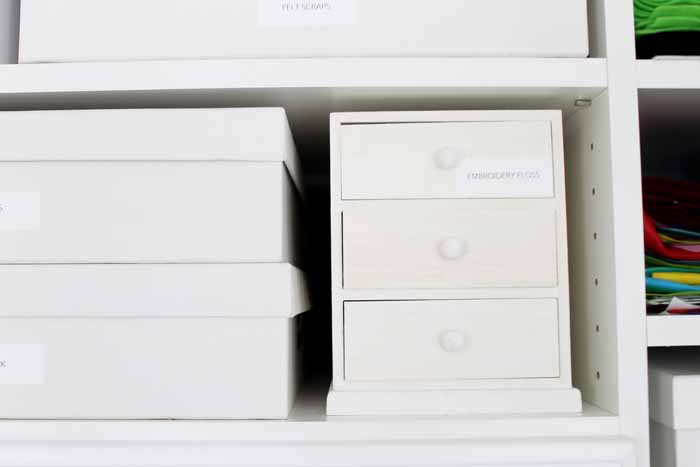
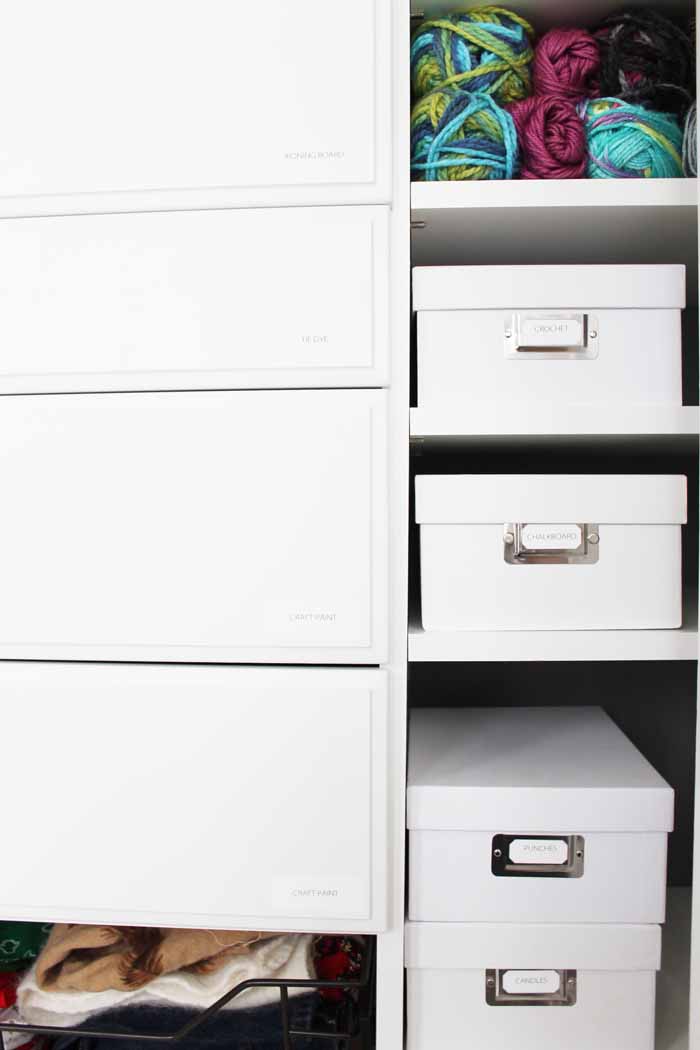
White containers really pull the closet together nicely. There are a few of these small wood chests for smaller items.
And then these larger white containers are actually 12 inch by 12 inches so they can hold the larger items.
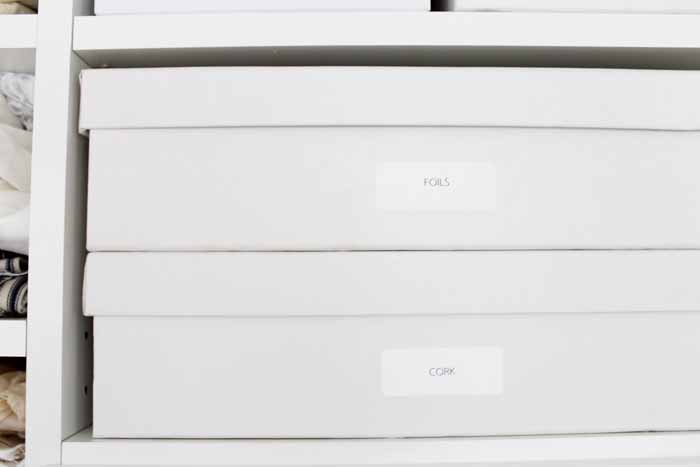
White containers that are shoe box size are a middle ground between the two.
One tip when it comes to craft room storage is to label EVERYTHING! Trust me. You will want those labels so you are not hunting down your craft supplies every time you want to use them.
Things like yarn and fabric can be stacked for storage. It looks neat as is and when grouped by color is organized as well.
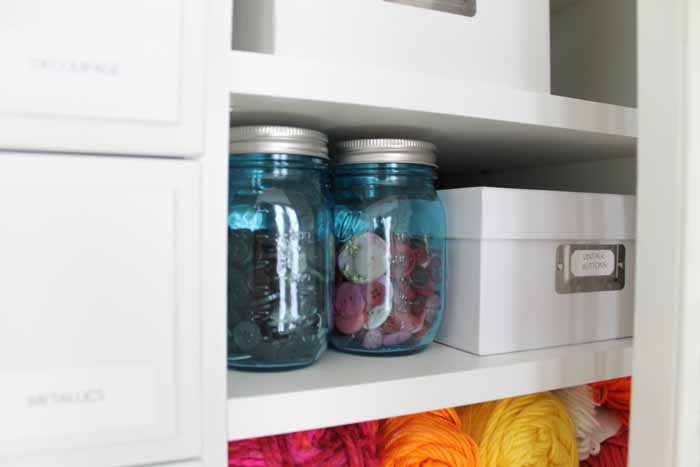
I, of course, couldn’t have any craft room storage without a few mason jars. I used a few jars to store my buttons. They are extremely versatile for storing a wide range of craft supplies as well.
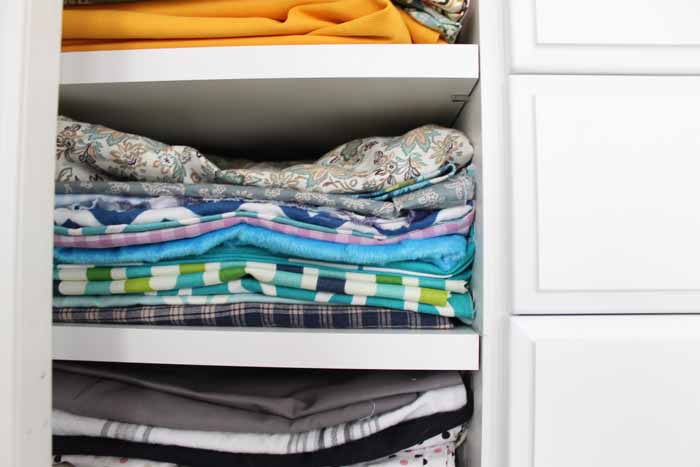
The left side of the closet is for fabric – just fold and add to adjustable shelves. Adjustable shelves are perfect in cases like these! It makes it easy to change your mind and readjust the storage as your needs change. In the case of fabric, shelving is perfect as you are able to stack the fabric but the items on the bottom are easily accessible.
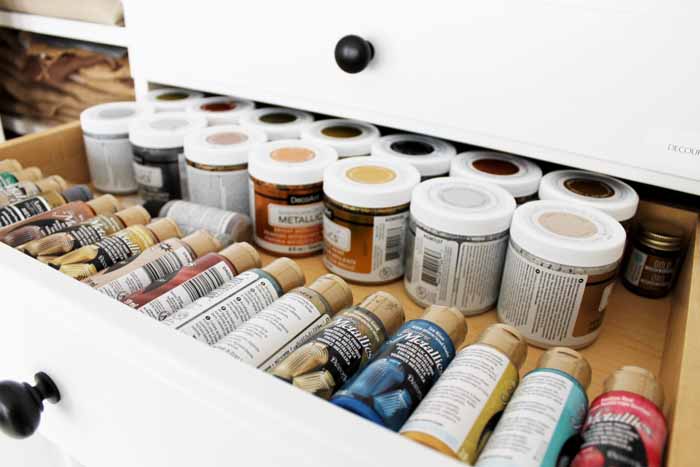
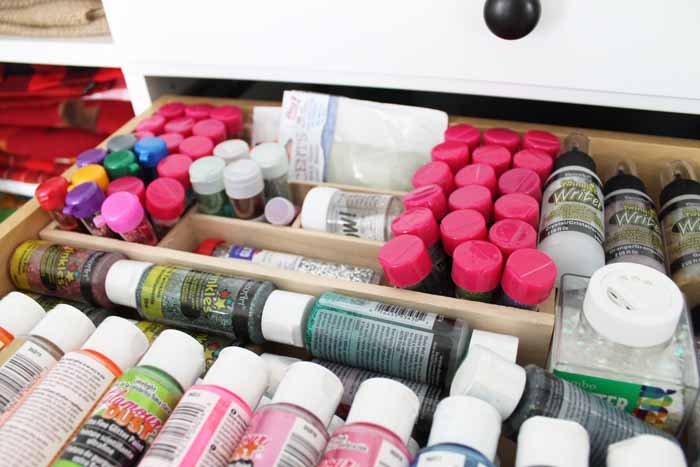
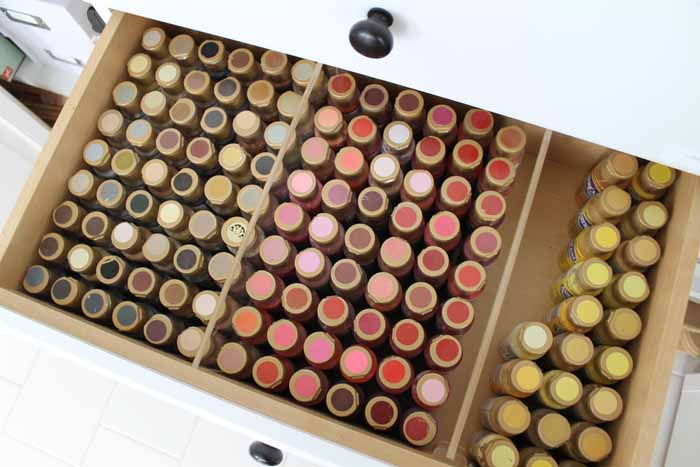
Now let’s move onto the drawers. I used several of the 5 inch drawers in my design. These are typically used for jewelry storage but work great for craft supplies. I was able to stand up some of my paints and others laid down in the drawer perfectly.
I used dividers in some cases to divide up the supplies for additional organization. Here I used a small wood divider to organize all of my glitter.
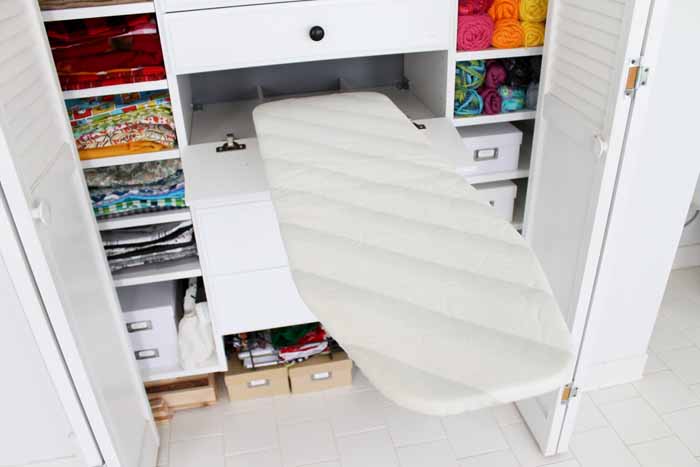
The next “drawer” is not really a drawer at all. You flip down the front and SURPRISE! It is an ironing board! This is hands down the best thing that I added to my custom closet design. It is a crafter’s dream to have an ironing board handy at all times.
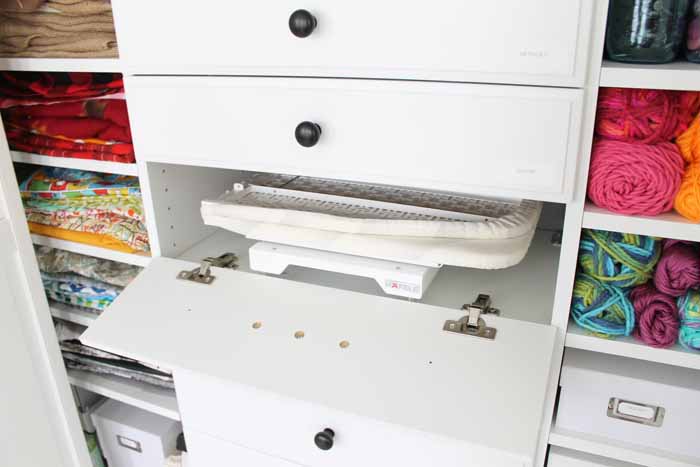
This one just folds out and you are ready to iron your fabric for sewing. Best decision ever.
Doesn’t this alone make you want to design your own closet at EasyClosets? Did you know that you can click here to start your design for free? Design the closet of your dreams and even get help from their professional closet designers. It never hurts to dream y’all.
I was also able to utilize some EasyClosets dividers on the next few drawers. These dividers are for the 8 inch drawers. The first divides the drawer into nine equal parts. So perfect for organizing paints and so much more!
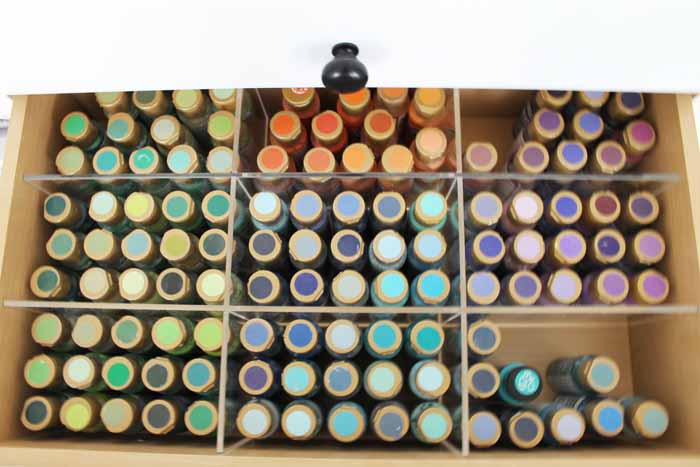
The other type of divider is versatile. You can add as many or as few of these dividers as you would like to any 8 inch drawer in any location. Here I divided up this drawer into three sections. You could make smaller sections for smaller supplies or larger ones if needed.
We talked a little bit above about utilizing every inch of space you have when storing craft supplies. The floor is no exception to this rule y’all!
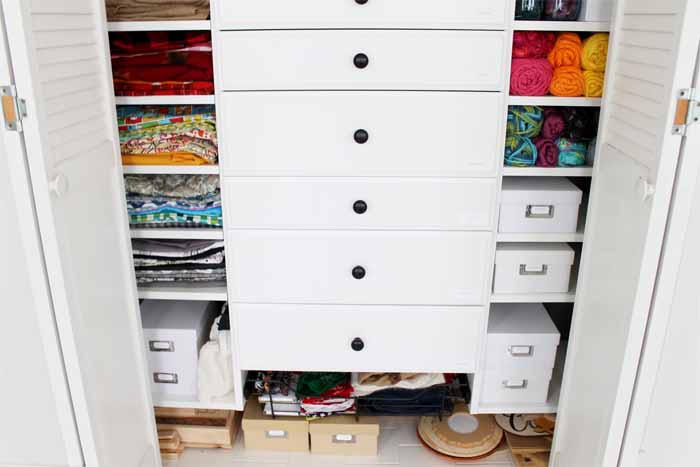
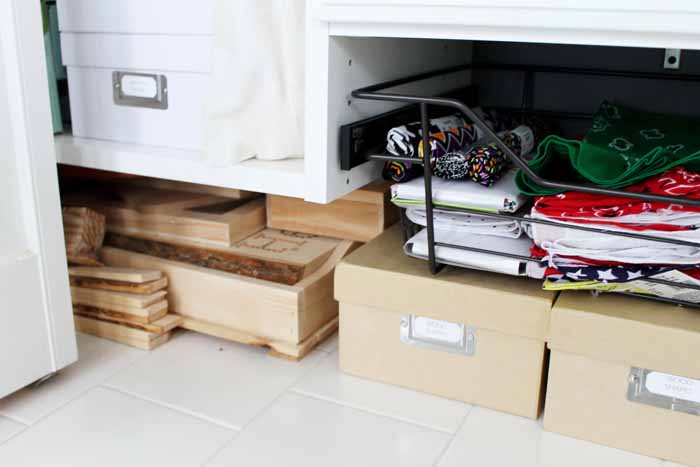
I used the floor for larger wood objects and a few additional boxes.
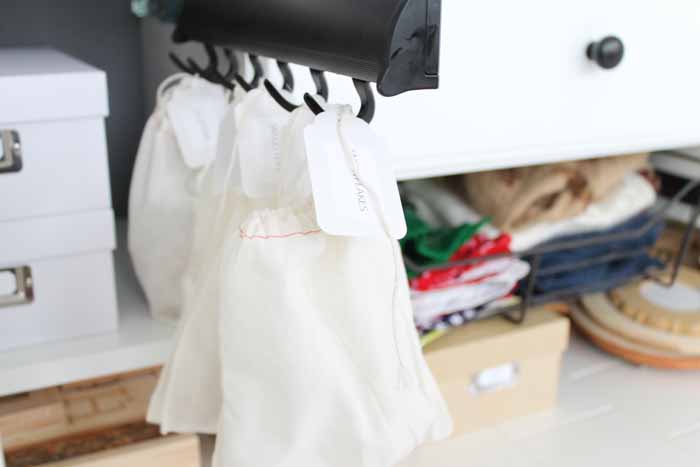
One of these low shelves is also where I added a tie rack. Why a tie rack in a craft closet? Why for organization of course! I hung small bags that contain small wood pieces all organized by type. This makes them accessible and I love that they are not all thrown in a box. You could also use this for ribbon, tapes, thread spools, and more.
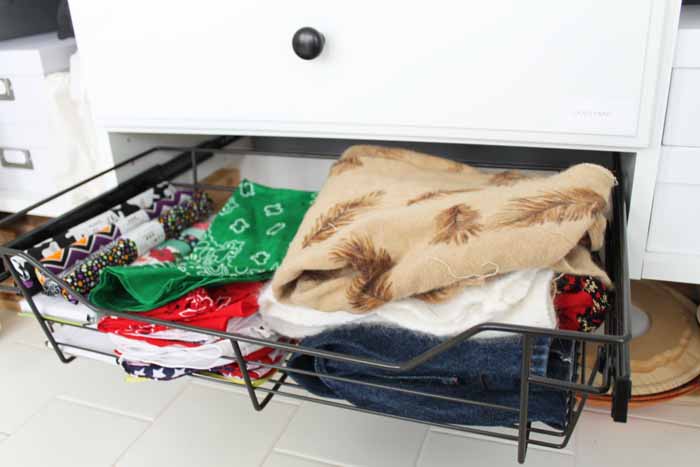
I was also able to work in a wire basket under the drawers. If you are a fan of open storage instead of closed, EasyClosets has these in several widths and heights as well. I could see an entire closet filled with nothing but wire baskets with craft supplies in each. Heavenly right?
Now that your tour is complete, I would love to hear what you think. Will you be using any of these ideas for your craft room storage? Maybe creating a craft closet of your very own?
Designing Your Own Craft Closet
If you want to see just what your closet can look like, be sure to head to EasyClosets to design the space of your dreams. With their design tool, you actually get pricing in real-time so you can add and take away features to see what they do to your budget. I, for instance, worked in things like soft-close drawers and oil-rubbed bronze hardware. These might not be for you, however, there may be other upgrades that you just can’t live without!
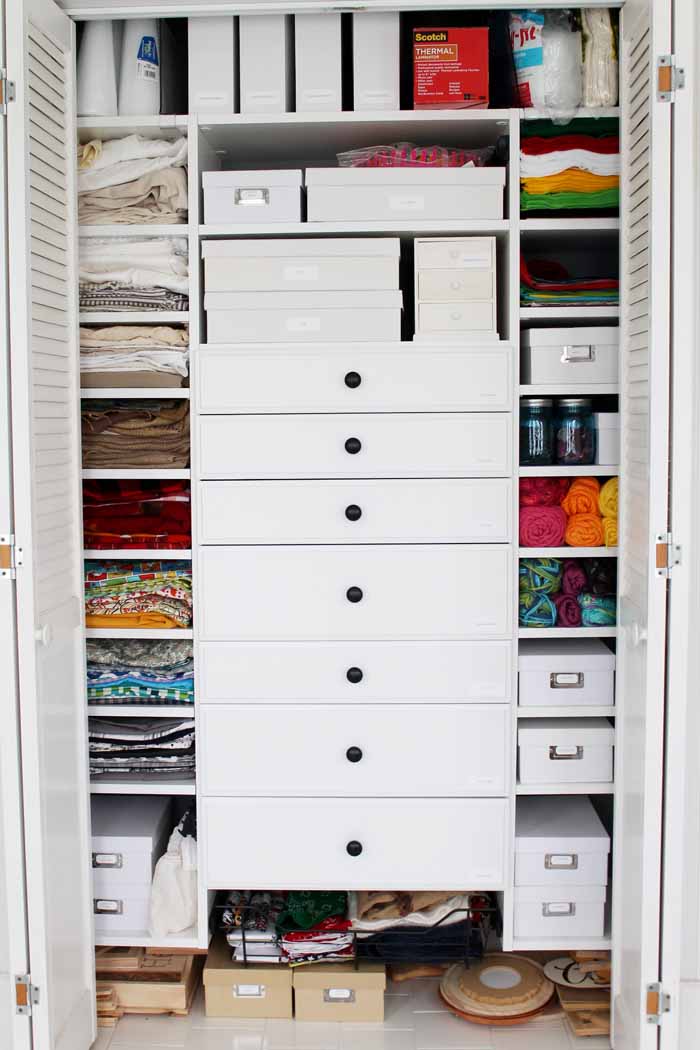
Create your dream closet and get organized for the new year now! A custom closet organizer can make a huge difference in your craft room storage. You can fit so much in a small space when it is neat and organized!
Declutter Your Home in 31 Days!

Clear the clutter and organize your home with our daily emails! Every day for a month we will send you a prompt to declutter! Sign up for our email list below to get started.


Thank you for sharing your idea. One of the main thing faced by craft workers will be that, they take more time on searching their craft supplies from a bundle of stuffs. So this is very good idea, where everything is placed in appropriate places and neatly, so that we could get everything quickly and arrange everything separately.
I’m so envious. Every crafter’s dream closet! i think the ironing board might be my favorite bit though. I get so lazy setting ours up and it makes the most horrible noise in the process.
Wow, this looks like a dream come true! I love that you have a hidden ironing board that you can store away too. I love your storage! Visiting from Sweet Inspiration Link Party.
Hi Angie, I’m visiting from Starfish Cottage. I really enjoyed the video–EXCEPT there was like a three minute lead-in ad that I couldn’t skip–and then 15 seconds after you started there was another ad, but this one was skippable. (The first one was for custom made doors in the $3,000 range–just not happening!) I liked that you then showed and told us again about most of the stuff in the video. It does look like a dream! My son’s getting married in a few months, so maybe I’ll have the space after that . . . Thanks for sharing!
That closet is absolutely awesome Angie! I love how organized and handy everything is. Easy to find, right at your fingertips!
Love the craft storage idea or what little I could see. The car commercial kept popping up and it wouldn’t play the whole video??
You may have to watch the ad or look for an arrow to skip it!