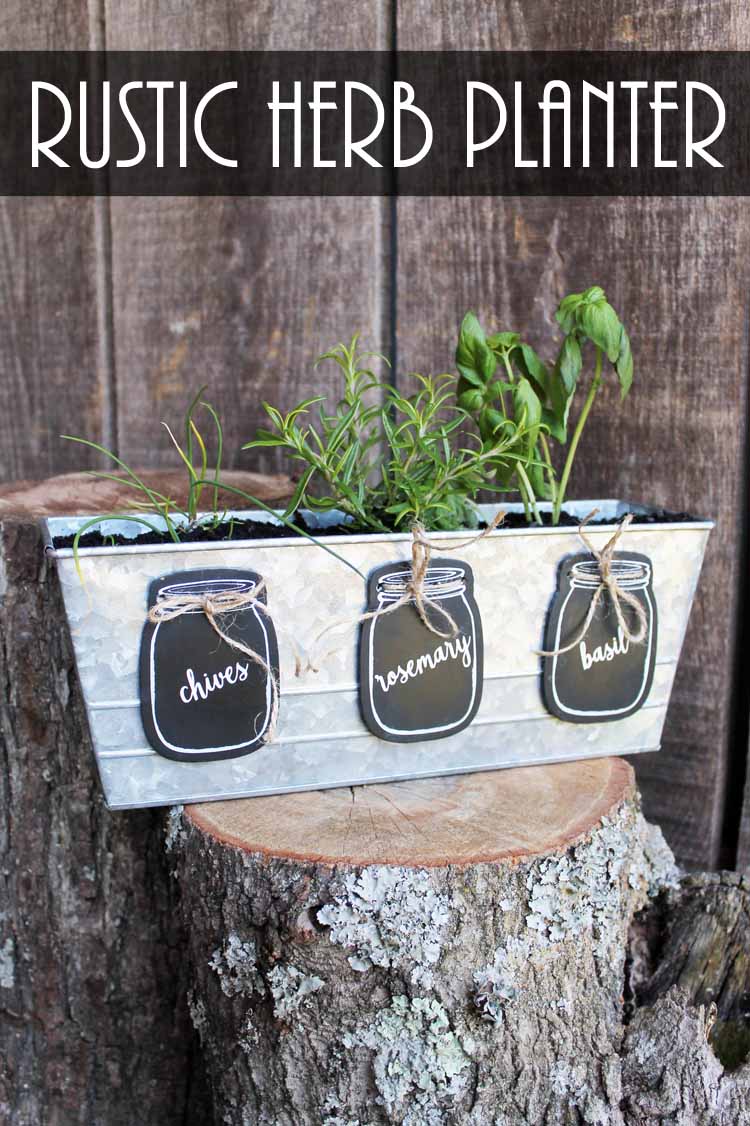
These rustic mason jar-shaped plant markers are the perfect way to add a touch of charm and character to any outdoor space. Not only do they look great, but they also make it much easier for you to remember which plant is which. Plus, making them yourself is an easy and fun craft project. Read on for everything you need to know about creating your own DIY plant markers!
Gardening is in full swing, and you want to make sure your plants can be easily identified. Labeling them with plant markers is not only helpful but also adds a touch of rustic charm to any outdoor space.
Trust me – the worst thing is getting all your plants in the ground or container and then forgetting which one was which! Been there, done that!
Not to mention, the cute mason jar shape of the plant markers gives them a rustic feel that’s perfect for any outdoor setting. Yes, mason jar lovers everywhere need a set of these!
Note: If you want a different style of plant markers, take a look at these DIY metal garden markers I made with my Cricut.
This post was originally published on June 22, 2018; however, I am republishing it with instructions to make these DIY plant markers with a craft laser and cutting machine.
How to make plant markers
Making these DIY plant markers for your garden is a fun and easy way to label your plants! These plant markers are shaped like mason jars, giving them a rustic vibe that will look lovely in any garden.
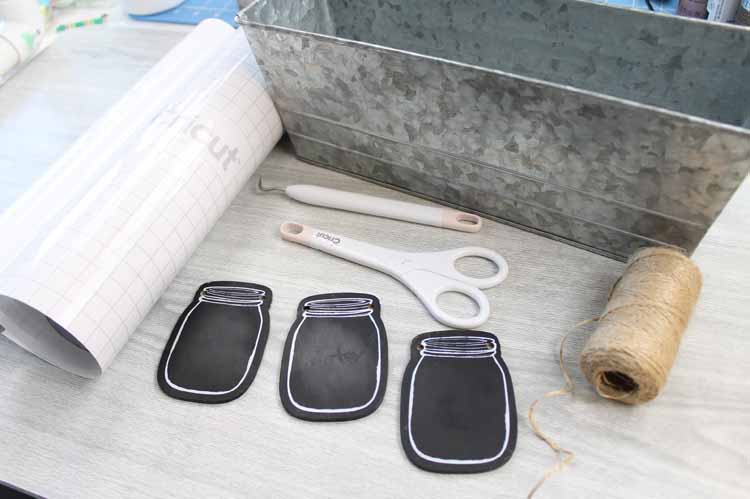
Here’s what you’ll need to make these DIY plant markers:
Supplies needed
- Galvanized metal planter
- Jar cut file
- Craft Laser (see the options available in craft lasers)
- Proofgrade basswood
- Scissors
- Twine
- Black or chalkboard paint
- Outdoor vinyl
- Transfer tape
- Weeding tools (optional)
- Drill and drill bit
- Plant markers cut file (click here to access)
- Cricut machine (here’s the difference between Cricut machines)
DIY plant marker instructions
Just follow these step-by-step instructions and get ready to use your DIY plant markers to label your flowers and herbs!
Step 1
Using the jar cut file, cut your mason jar shapes using your craft laser out of basswood (or even acrylic) and paint them black (or any color). Be sure to paint the edges of the cut pieces.
Alternately, you could use you Cricut Maker with the knife blade to cut the jar shape out of wood.
Step 2
While the paint dries, upload the DIY plant marker file to Cricut Design Space. You’ll want to size the mason jar outline to match the size you cut the wood pieces. Cut both the plant name (ungroup to choose which ones you need to cut) and the jar outline with vinyl.
Note: I have more information on uploading files to Cricut Design Space here. Be sure to size the words correctly before cutting them to fit your tags. Cut from permanent vinyl.
Step 3
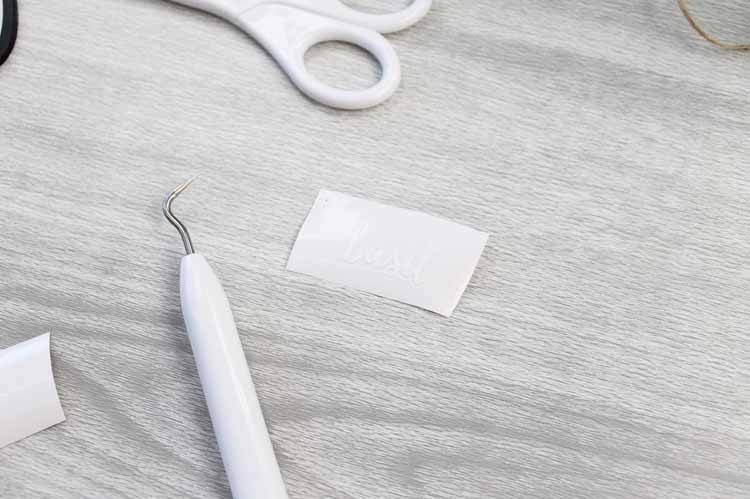
Once cut, start weeding the excess from the vinyl on each label. Weeding tools make this job a bit easier, but they are optional.
Step 4
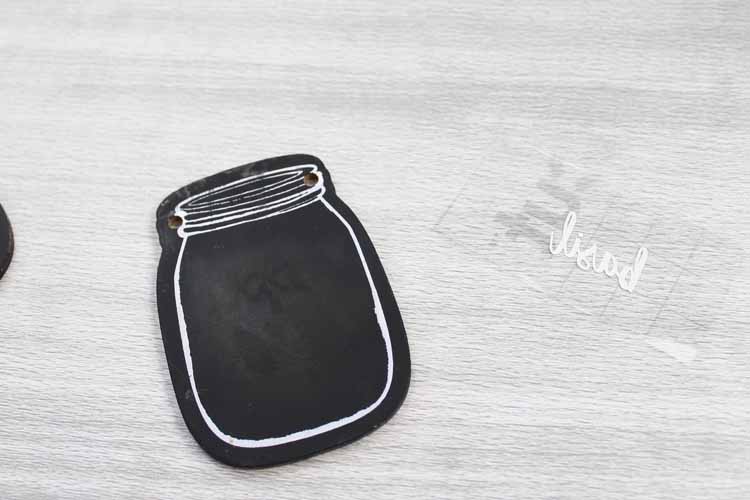
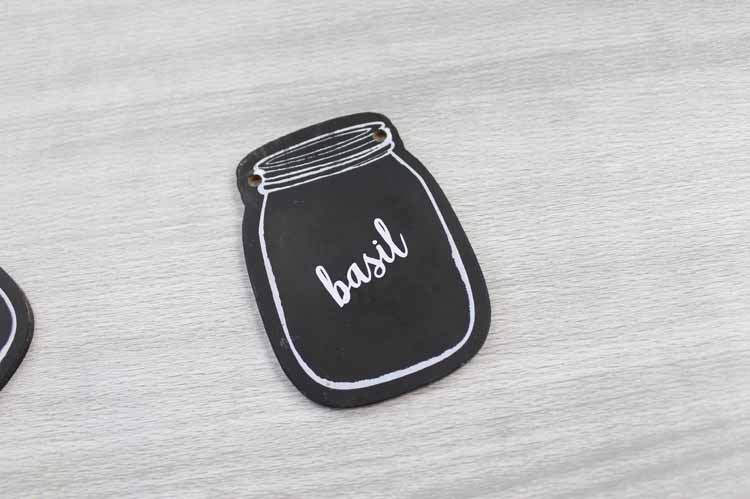
Apply transfer tape to the vinyl and carefully remove the backing paper. Then, apply each word to your garden markers using the transfer tape.
Tip: Be sure to press the vinyl down well.
Step 5
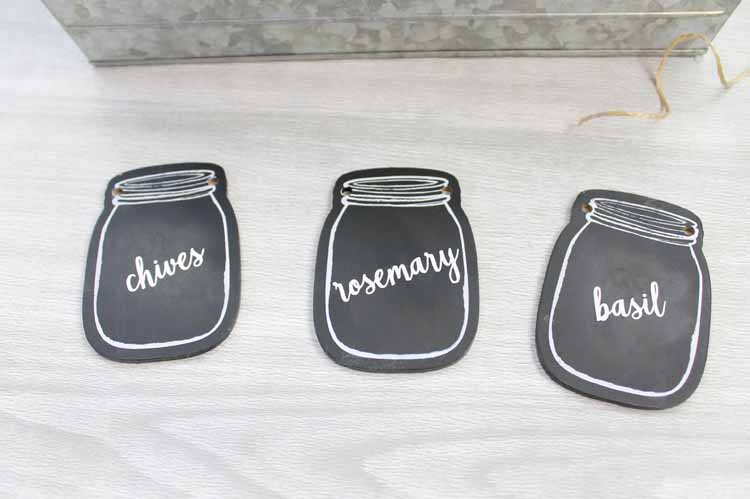
Repeat the steps above for as many plant markers as you like.
Step 6
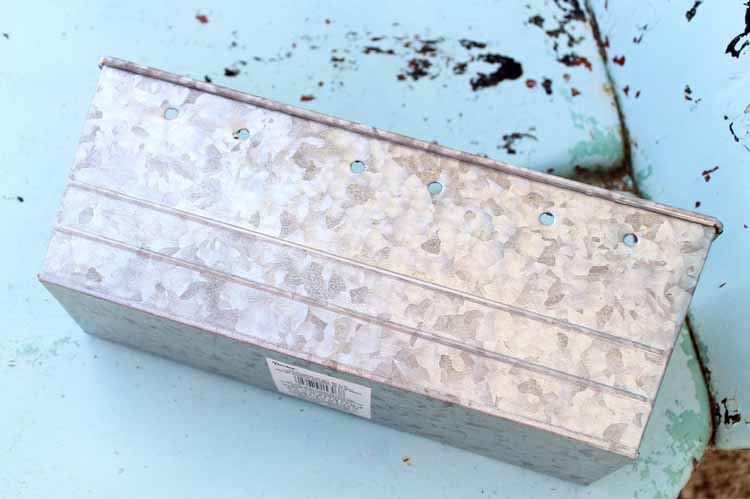
If you want to attach your DIY plant markers to a planter, use a drill and drill bit to drill holes where the holes are located in the wood mason jars. Then, clean up any sharp exposed edges with a grinder. Use caution, as the edges of the holes will be really sharp.
Step 7
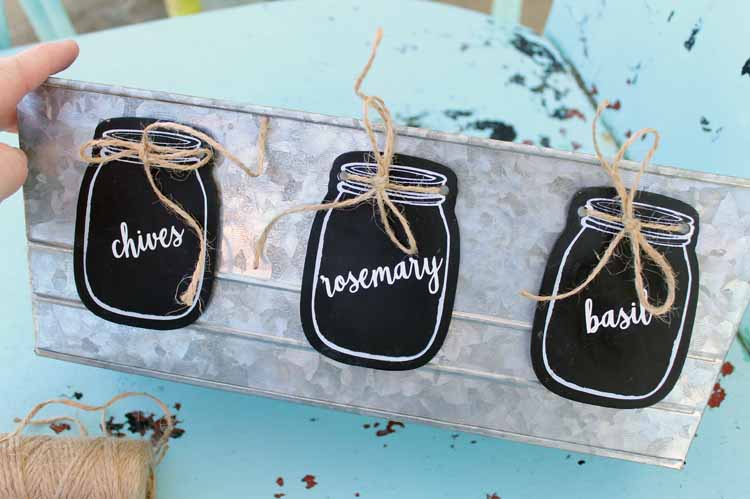
Finally, just use twine to tie on your plant markers. Fill the planter with dirt and add in plants or start some herbs from seeds!
FAQs
If you have questions about making these DIY plant markers, I have answers for you! Please leave your question for me in the comments if you don’t see it already answered below.
Can I use another shape to make these plant markers?
Yes, absolutely! I just chose the mason jar shape because it gives them a rustic vibe. You can choose any shape you like and use the same instructions above.
Can I use permanent outdoor ink to write on the tags?
Yes, you definitely can! Just be sure to use an ink that’s designed for outdoor use so it doesn’t fade in the sun or rain.
Can I use these as indoor markers?
Yup, you can use these plant markers indoors too!
Is there an alternative method for attaching the labels to my planter?
Yes, if you don’t want to drill into your planter, you can use hot glue or strong adhesive (such as E6000) to attach the labels.
Do I have to cut my own tags?
Nope! If you find a precut shape or tags that you like, feel free to use them instead of cutting your own.
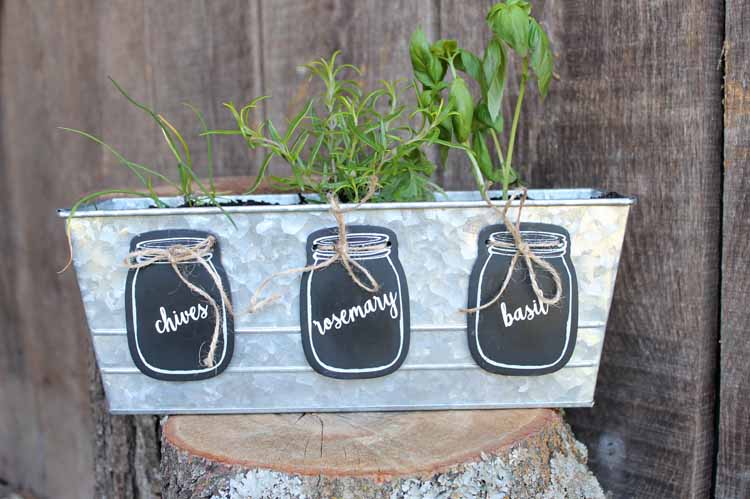
Making your DIY plant markers is a great way to keep track of all the plants in your home or garden. With just a few supplies and some time, you can make these mason jar markers for your flowers and herbs!
These plant markers are perfect for any mason jar lover in your life. Make a set for yourself and one to give as a gift!
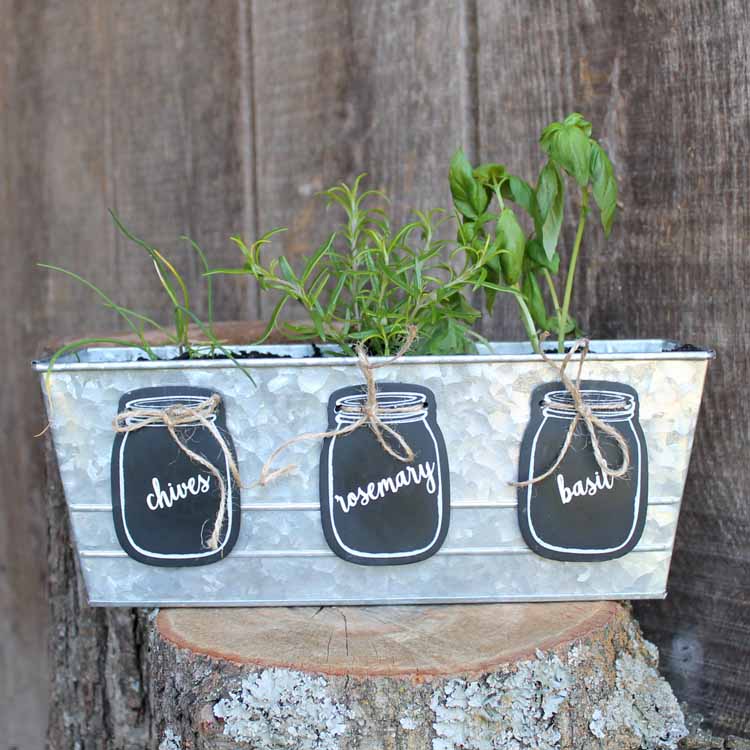
I hope this tutorial has helped you learn how to make your own DIY plant markers.
Happy crafting!
More gardening ideas
If you love this project and want to DIY more gardening crafts, we have those for you! Just follow the links below.
- How To Make A Sublimation Flag For Your Garden
- Container Garden Ideas Perfect For Summer
- Gnome Painted Garden Rocks
- Hanging Herb Garden: DIY Guide and Benefits
- How To Make A Fairy Garden With A Pool
A Year of Jar Crafts

Sign up for our email list to get a FREE book with an entire year of jar crafts! 12 months, 12 crafts, tons of fun!


Those jar tags are the cutest!
Ok Angie…I NEED to do this yesterday…I just love the whole package!!! Sending hugs and I will miss you guys next week…but I am sure we will do this again for the Fall!!!