Today I thought I would share how to make bath bombs in any shape that you desire. Yes you can mold any object in your home then make bath bombs in that shape. This is a super fun craft for party favors, gifts, and so much more. I am going to use a starfish as my example but just imagine the possibilities!
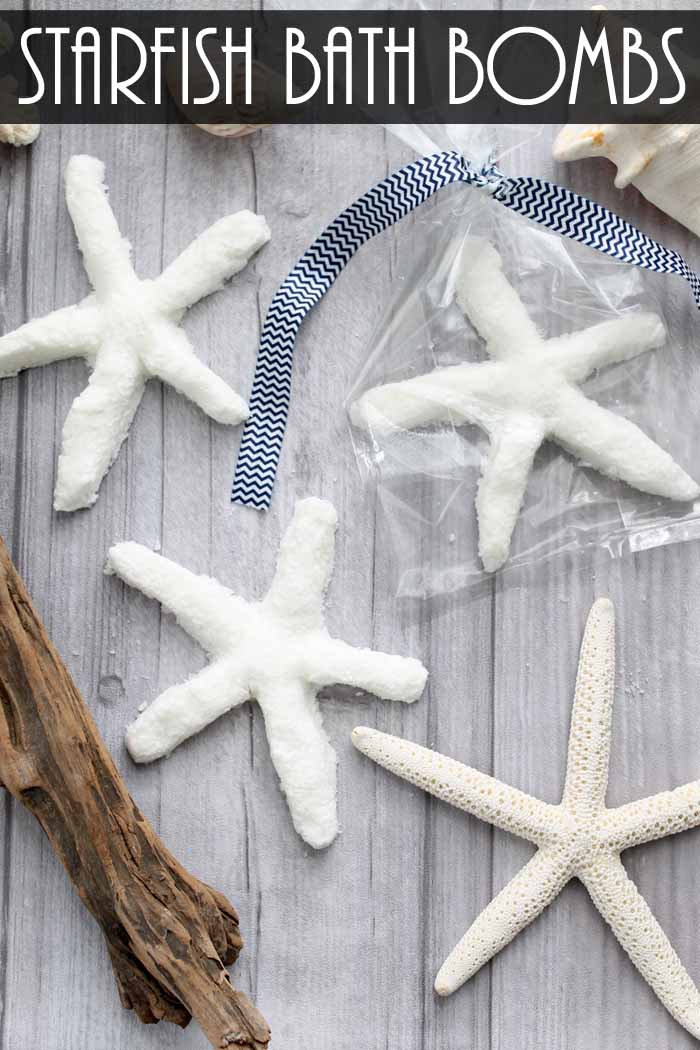
Supplies to make DIY bath bomb molds:
Some links below may be affiliate links which means that you do not pay anymore, however, we will earn a commission from your purchase.
- EasyMold Silicone Putty
- Starfish
- Measuring cup or scale
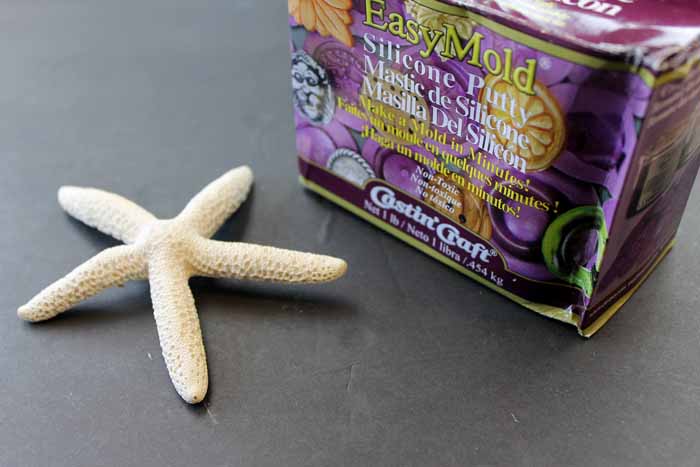
Making a DIY bath bomb mold:
First read over the directions that come with the putty. The tutorial is below but reading the directions first will give you a greater chance of success. Then measure equal parts of the purple and white putty. This can be measured by weight or volume.
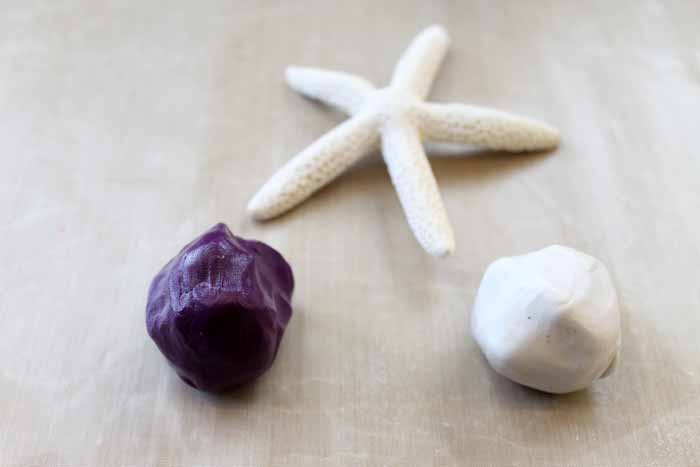
Knead the two products together well with your hands. You should mix until there is a uniform color and no marbling.
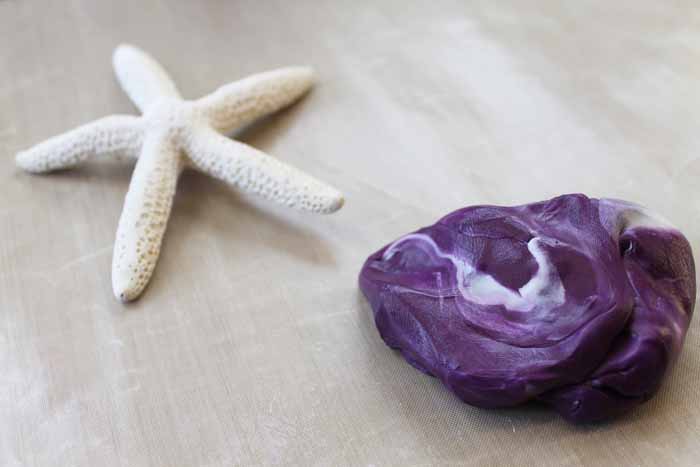
Be quick when working with this product as it sets up fast! Flatten your mixed putty.
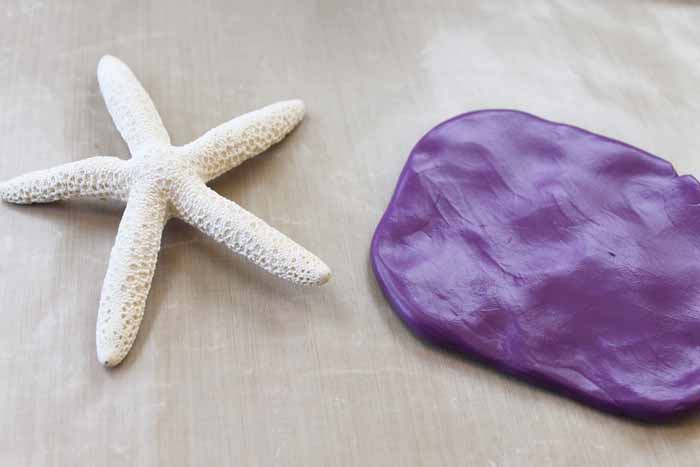
Add the putty all around your starfish or other object as shown below. All areas need to be covered. Then allow to set up according to the package directions.
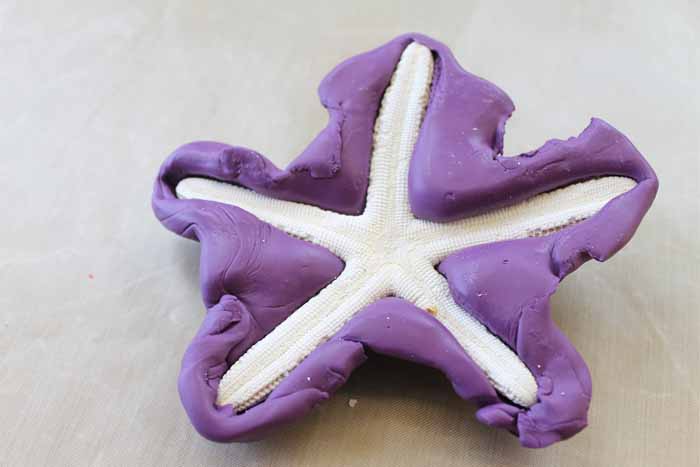
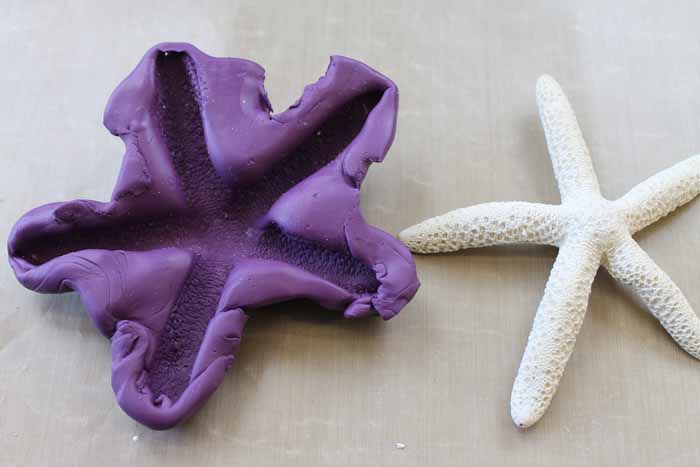
Once cured, remove the object from the putty and you have a bath bomb mold!
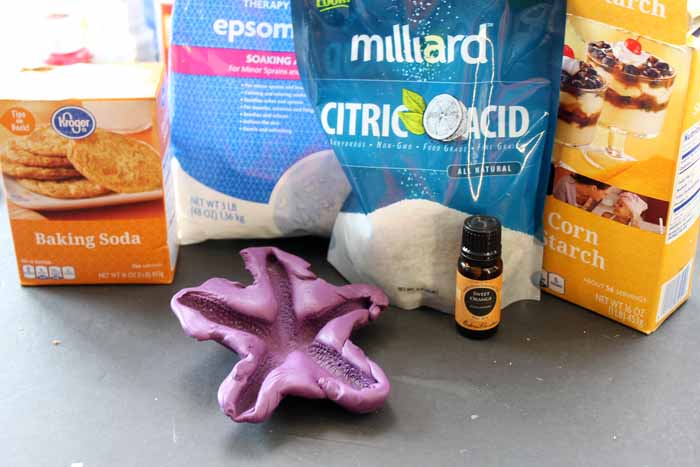
Supplies to make bath bombs:
- 1/4 cup Epsom salt
- plus 1/4 cup corn starch
- plus 1/4 cup baking soda
- and 1/4 cup citric acid (equal parts of all 4)
- Orange essential oil (or another scent)
- Water
How to make diy bath bombs:
First mix the Epsom salt, corn starch, baking soda, and citric acid in a bowl. NOTE: This recipe makes about five of the starfish molds shown. Next add in 5-10 drops of essential oil to scent and stir well.
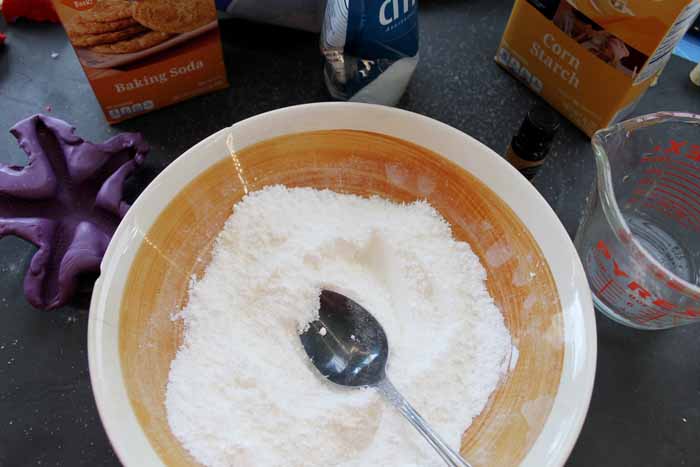
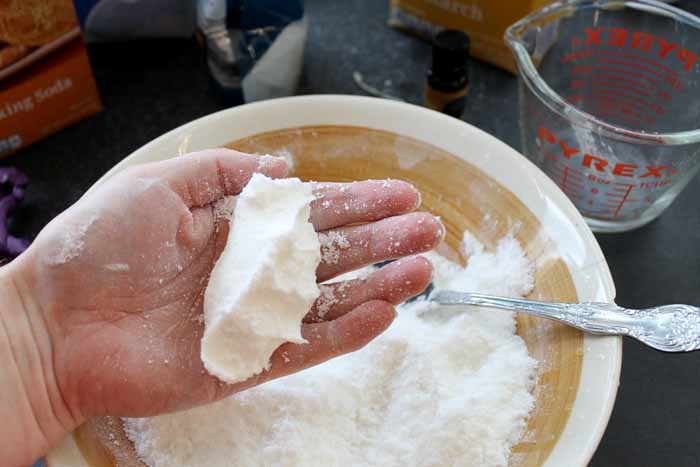
Then start slowly dripping in water. NOTE: Every time liquid is added the citric acid will fizz. This is okay! Drip in a few drops of water at a time and mix well. Try to mold the mixture in your hand as shown below. Repeat until the mixture sticks together like in the image below. It should be fairly dry and powdery but will mold well when squeezed. Be sure not to get the mixture too wet.
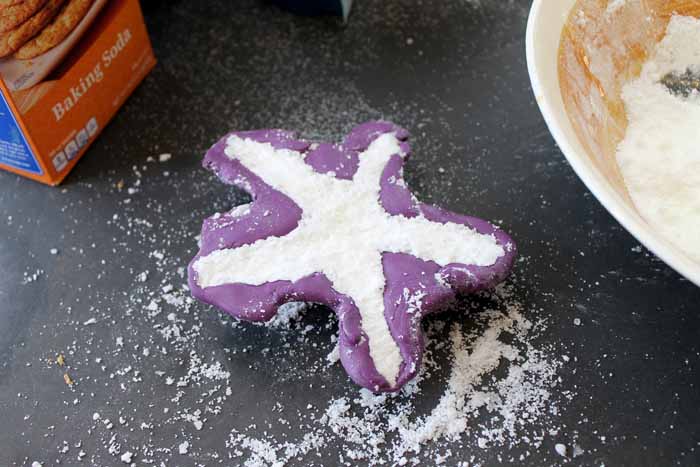
Press the mixture into the bath bomb mold you made above. Press well and get into all of the nooks and crannies. Place the entire thing into the fridge for one hour.
Pop the entire bath bomb out of the mold and allow to air dry for a day or two before handling.
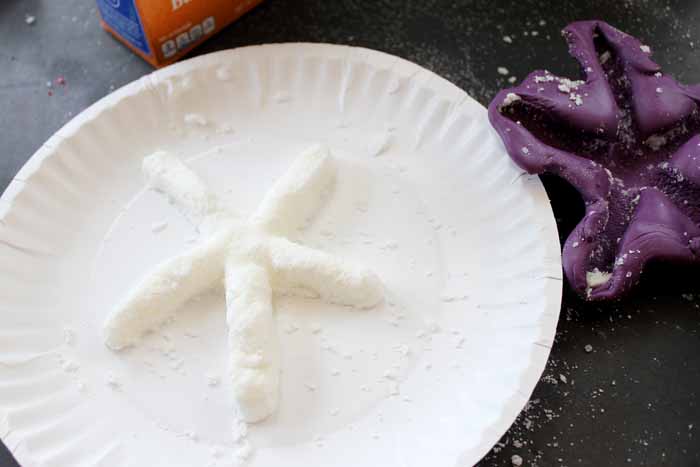
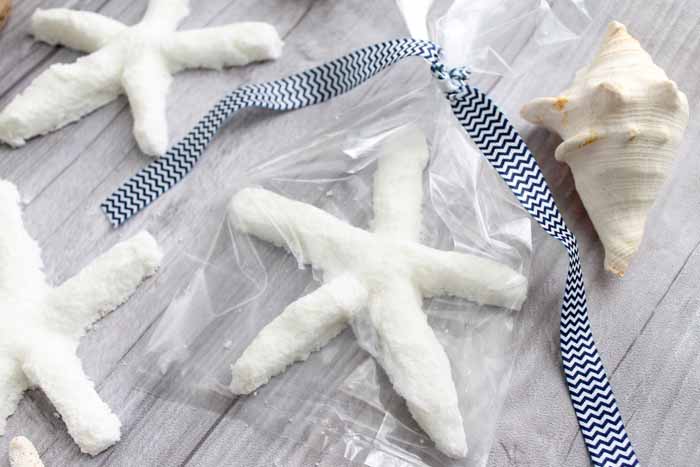
Then just package up for party favors or gifts!
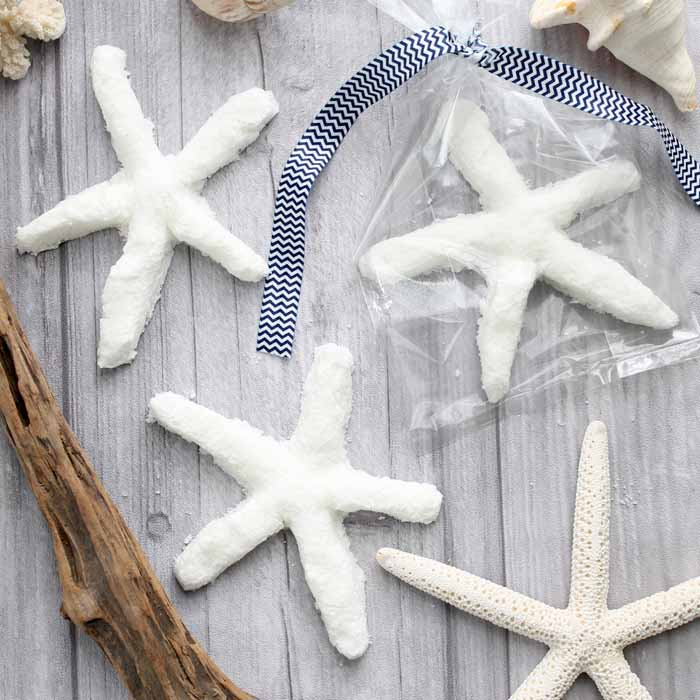
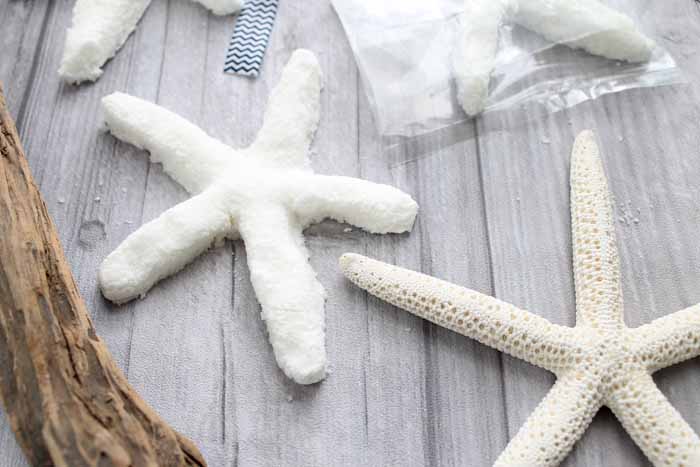
You can see our bath bomb starfish next to a real one below. Turning any object into a bath bomb mold has never been easier!
Now that you know how to make bath bombs, what occasion will you be using this tutorial for? What shapes will you create?
Supplies
Supplies to make bath bomb molds:
- EasyMold Silicone Putty
- Starfish
- Measuring cup or scale
Supplies to make bath bombs:
- 1/4 cup Epsom salt
- plus 1/4 cup corn starch
- plus 1/4 cup baking soda
- and 1/4 cup citric acid equal parts of all 4
- Orange essential oil or another scent
- Water
Instructions
Making a bath bomb mold:
- First read over the directions that come with the putty. The tutorial is below but reading the directions first will give you a greater chance of success. Then measure equal parts of the purple and white putty. This can be measured by weight or volume.
- Knead the two products together well with your hands. You should mix until there is a uniform color and no marbling.
- Be quick when working with this product as it sets up fast! Flatten your mixed putty.
- Add the putty all around your starfish or other object. All areas need to be covered. Then allow to set up according to the package directions.
- Once cured, remove the object from the putty and you have a bath bomb mold!
How to make bath bombs:
- First mix the Epsom salt, corn starch, baking soda, and citric acid in a bowl. NOTE: This recipe makes about five of the starfish molds shown. Next add in 5-10 drops of essential oil to scent and stir well.
- Then start slowly dripping in water. NOTE: Every time liquid is added the citric acid will fizz. This is okay! Drip in a few drops of water at a time and mix well. Try to mold the mixture in your hand as shown below. Repeat until the mixture sticks together like in the image below. It should be fairly dry and powdery but will mold well when squeezed. Be sure not to get the mixture too wet.
- Press the mixture into the bath bomb mold. Press well and get into all of the nooks and crannies. Place the entire thing into the fridge for one hour.
- Pop the entire bath bomb out of the mold and allow to air dry for a day or two before handling.
- Then just package up for party favors or gifts!
Love this idea and want more? Try the links below!
- Mason Jar Bath Bomb
- The Best Bath Bomb Recipe
- Peppermint Soap and Bath Salts
- Bubbling Lavender Bath Salts
- Lush Homemade Bath Bombs


