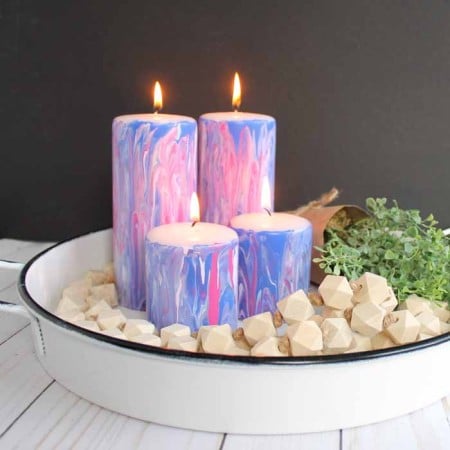
Marbling with acrylic paint is a hot new trend. I can see doing this easy craft on just about any surface frankly. Today I thought I would try the technique on candles for a fun home decor accent. They turned out amazing and I can’t wait to share the technique with you! This post is sponsored by Testors, however, all projects and opinions are my own.
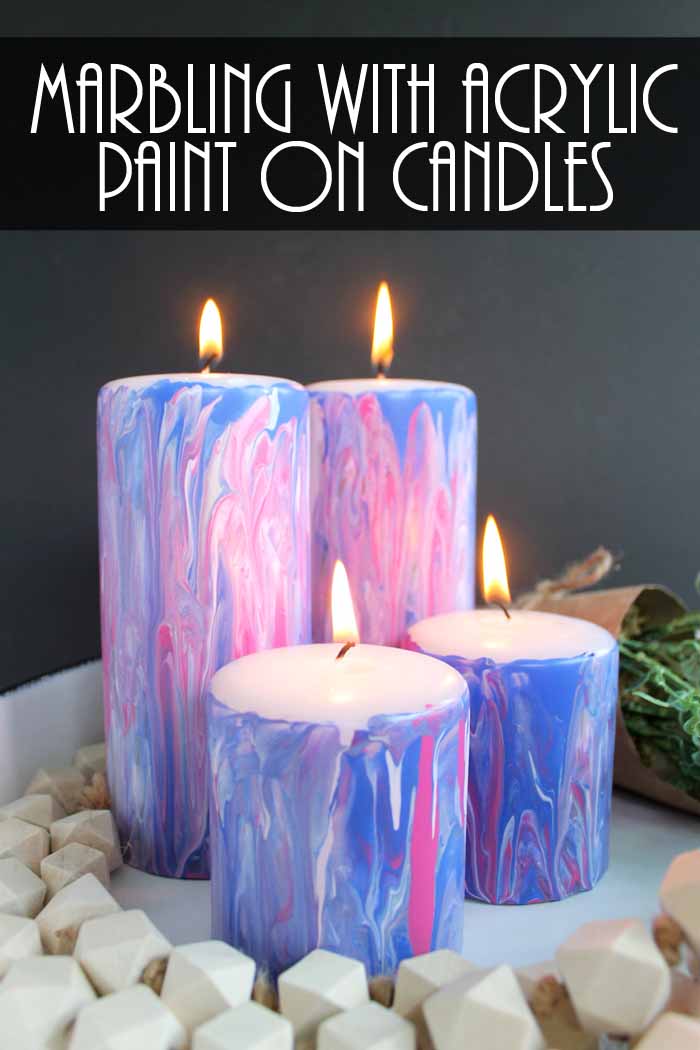
I love using candles to accent my existing decor. The great thing about this project is that you can customize the colors to anything you like.
This would be a great gift for a birthday party, housewarming, or to simply change up the decor around your home.
You can make this project with any size candle, including tapers, votives, and pillar candles. Pair them with DIY candle holders, and you’ve got a brand new look for a fraction of the cost from home decor stores. If you choose to make your own candles, I’ve got a great tutorial on homemade beeswax candles.
Here are a few other great DIY candle ideas:
- Photo Transfer Candles
- Custom Candles in a Jar Shape
- Make Mosquito Repellent Candles
- How to Make Jar Candles for Fall
How to Make Marbled Candles
Are you ready to see how I used this product to create these fun candles? In the video, I show you how to make a marbled wooden sign, but you can use the same technique on candles as instructed below.
Can’t watch the video or missed some of the steps? Just follow along below!
Supplies needed for marbling with acrylic paint:
- Testors Marbling Medium
- Testors Craft Paint (in your choice of colors)
- Candles
- Craft sticks
- Disposable cups (both large and small)
- Cardboard box
- Painter’s tape
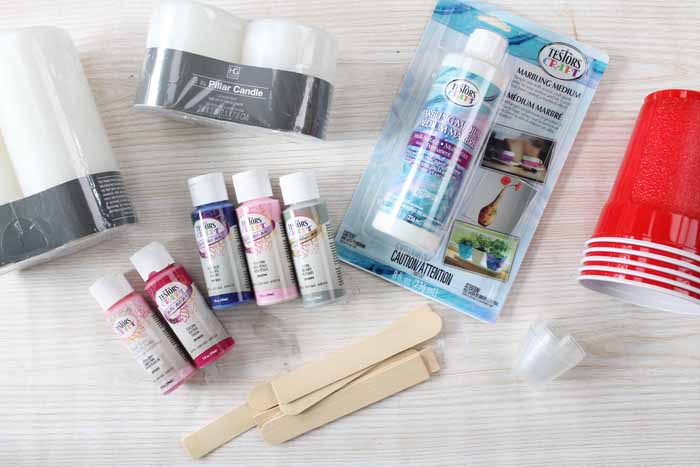
You will also need to protect your work surface as marbling with acrylic paint can be a bit messy. I like to put my projects inside of a cardboard box.
What is a marbling medium?
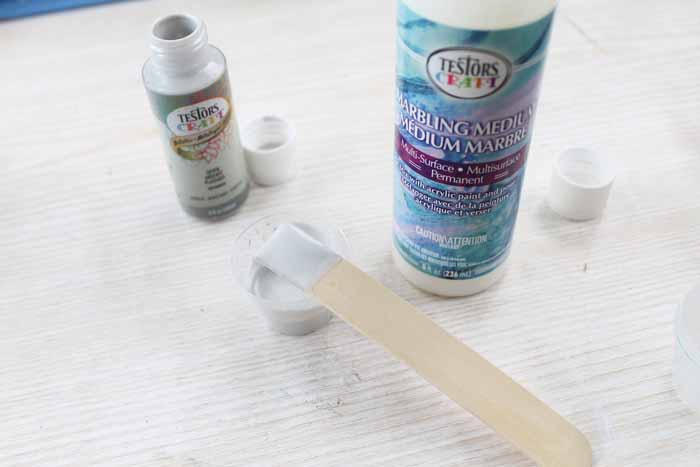
First of all, what is marbling medium and why do you need it? Testors Marbling Medium is a product that you mix with craft paint to help create those gorgeous marbled effects. It helps the colors to flow smoothly side by side without mixing. This helps to create the marbled effect on just about any surface.
Instructions for marbling candles with acrylic paint
Step 1: Mix the marbling medium
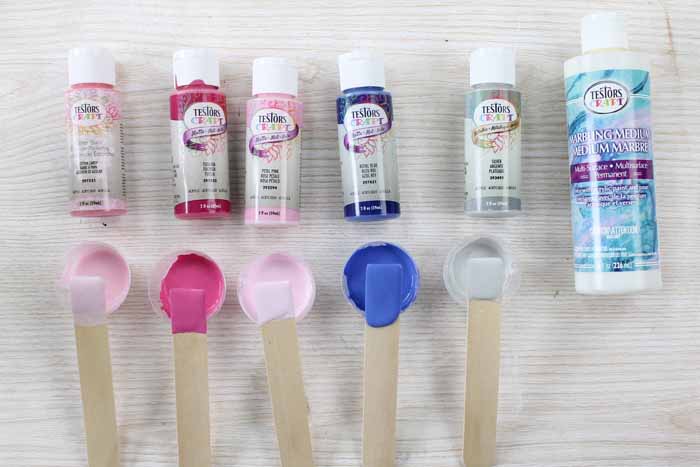
To use the marbling medium, just mix it in a 1 to 1 ratio with craft paint in small disposable cups.
Continue with as many colors as you want to use on your project. Allow these to rest a few minutes to minimize air bubbles.
In the meantime, you can cover any areas where you don’t want to paint with painter’s tape. I covered just the top of my candles.
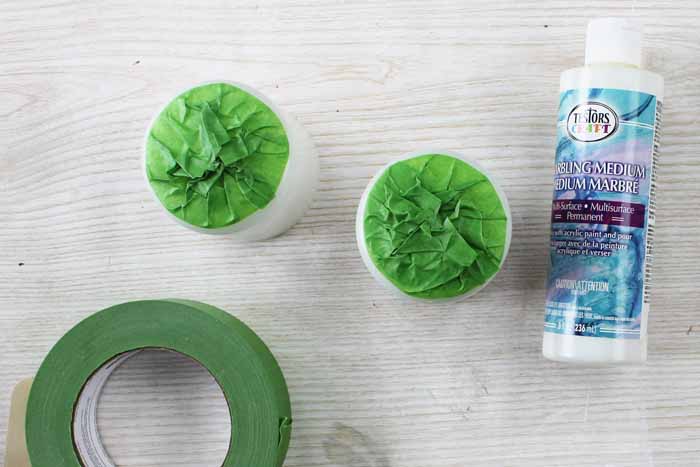
Step 2: Paint the candles
Now it is time for the fun part. Start randomly dripping the mixed paints all over your candles. The paint will immediately start to run together and marble because the sides are not flat.
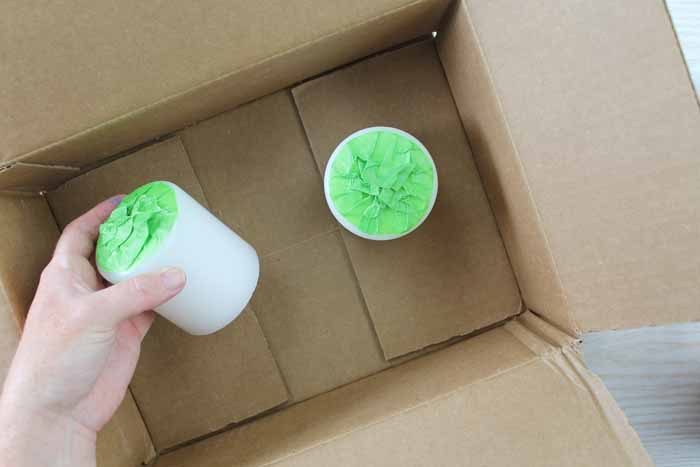
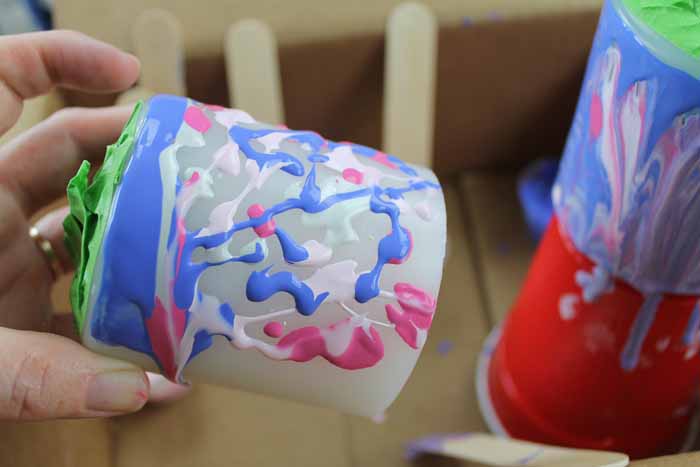
I like to use my craft sticks that I used for stirring to push the paint around some as well. This helps me to get every surface covered.
Once you have painted all the way around your candle with paint, use a large disposable cup to hold the candle up while it continues to drip and dry.
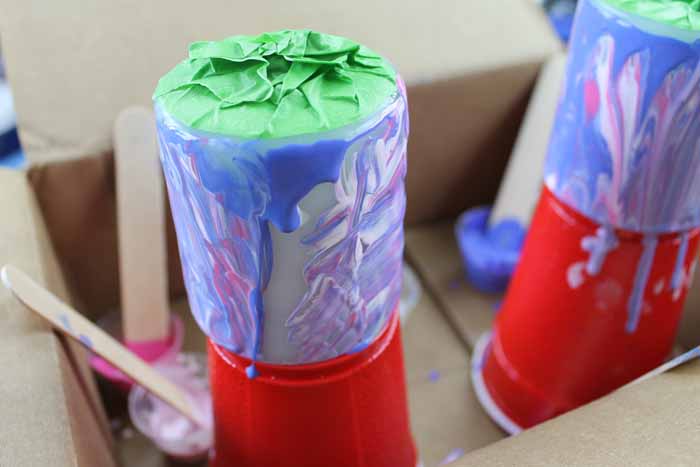
Use the cup to help you turn the candle all the way around and check for any areas that still need paint. Add more paint or use a stir stick to push around the paint that is already on the candle to cover those areas as desired.
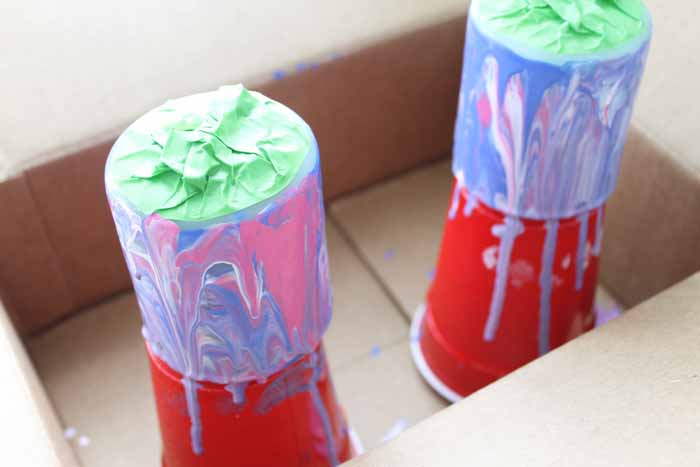
Set aside and allow to dry for about 24 hours. Carefully remove from the cups once dry and cut away any excess dried paint with a craft knife. Then enjoy your marbled candles!
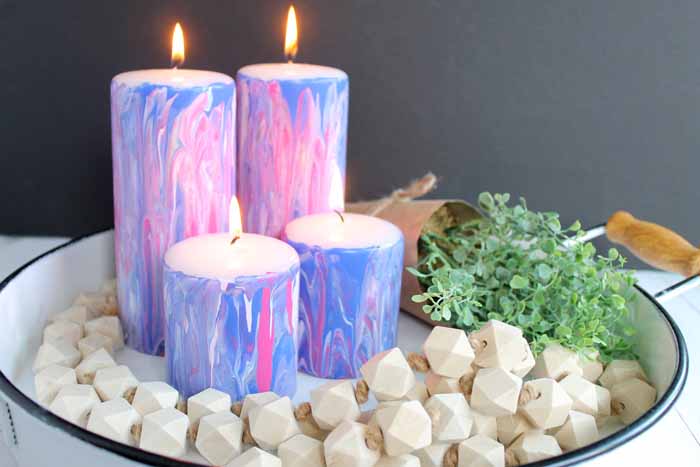
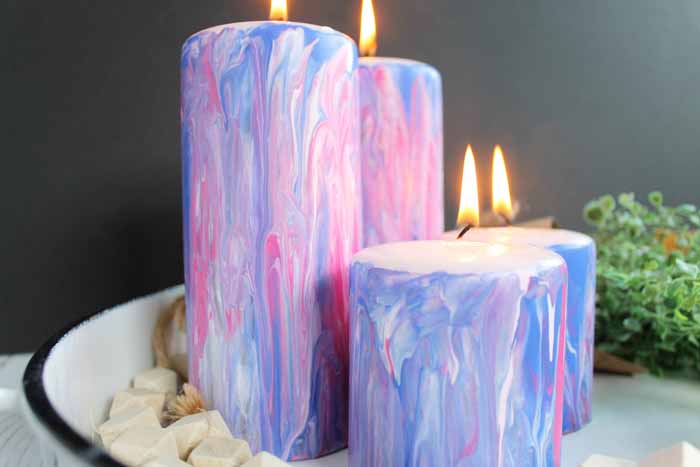
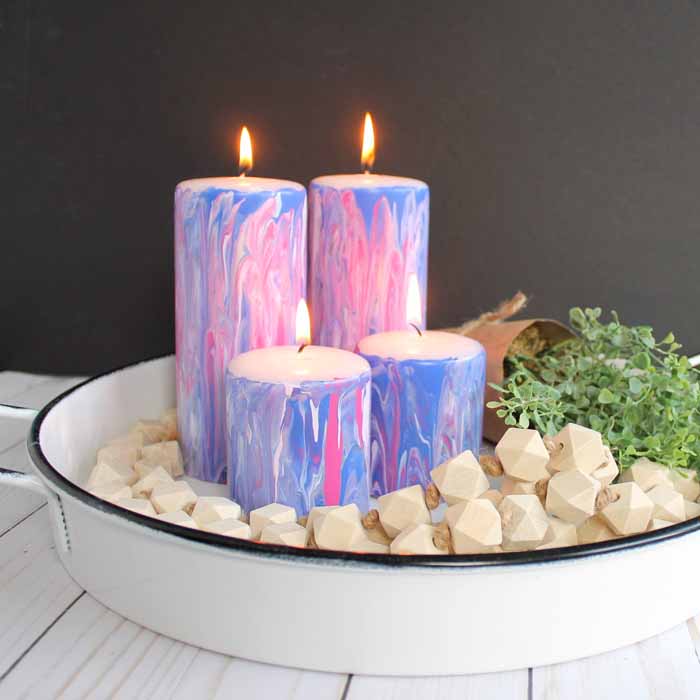
Just look at those amazing colors and patterns! Who knew marbling with acrylic paint could be so easy?
What surfaces will you try this technique on? Create art for your home or decorate any plain surface all within a few minutes! I hope y’all enjoy this technique and will use it to create some fun craft projects of your own. Be sure to pick up Testors Marbling Medium to make marbling with acrylic paint even easier!
Supplies
- Testors Marbling Medium
- Testors Craft Paint in your choice of colors
- Candles
- Craft sticks
- Disposable cups both large and small
- Cardboard box
- Painter’s tape
Instructions
- In small disposable cups, mix the marbling medium with your selection of paint colors in a 1 to 1 ratio. Allow to rest for a few minutes to minimize air bubbles.
- In the meantime, cover any areas where you don't want to paint with painter's tape. I covered just the top of my candles.
- When the air bubbles have settled, begin dripping the mixed paints all over your candles. The paint will immediately start to run together and marble as the sides are not flat.
- Use craft sticksto push the paint around sthe candle to cover the surface.
- Once you have painted all the way around your candle with paint, use a large disposable cup to hold the candle up while it continues to drip and dry.
- Use the cup to help you turn the candle all the way around and check for any areas that still need paint. Add more paint or use a stir stick to push around the paint that is already on the candle to cover those areas as desired.
- Set aside and allow to dry for about 24 hours. Carefully remove from the cups once dry and cut away any excess dried paint with a craft knife. Then enjoy your marbled candles!


Super pretty effect! I have so many plain candles that it’d be fun to give them a colorful update. Visiting from Pretty Pintastic Party.
Love the effect. I think it would look awesome on a large canvas as a background for a portrait. Mmmmm I’ll have to give it a try
Those are so beautiful! Pinned.
I love paint marbling and have tried it on lot’s of things, but never candles. These are really cool. I’ve got some plain pillars that are going to soon get a (Halloween) makeover.