Time for another installment of cutting trials with the Cricut Maker. Y’all really seem to enjoy these so today we are going to talk about 10 things you didn’t know the Cricut Maker could cut. What can a Cricut Maker do? So many things and I hope to share them all with you over time. I hope there is at least one thing on this list that really, really surprises you. Grab your Cricut Maker or Maker 3 and make some of these projects below. This post is sponsored by Cricut, however, all projects and opinions are my own.
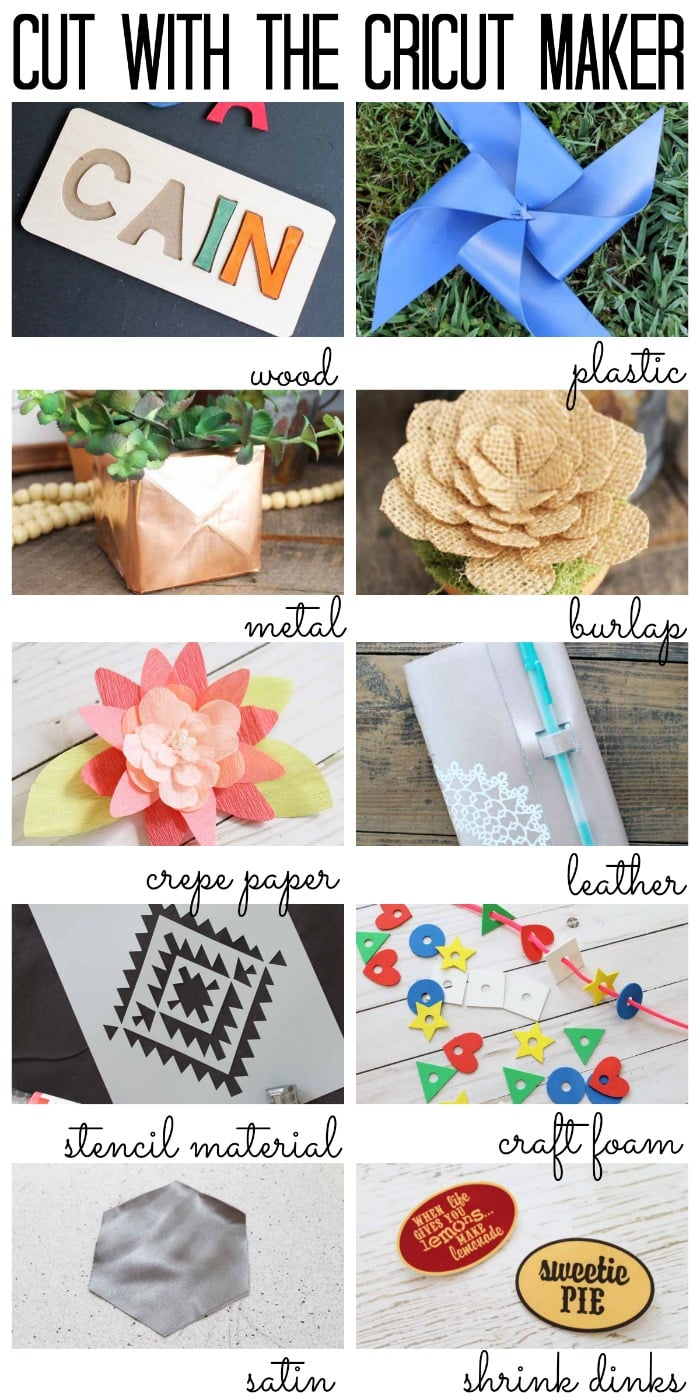
What Can a Cricut Maker Do?
There are so many things that Cricut Maker machines can do. It is hard to list them all! Today we are covering 10 materials and how they are cut with the Maker and Maker 3. You can click around in the table of contents above or read the entire post.
Video Tutorial
Want all of the information below in video format? Just watch below!
Can’t watch the video or want more information? Follow along below!
What can a Cricut Maker cut?
Cutting Wood with the Cricut Maker
The top thing that I want everyone to know is that Cricut Makers can cut wood! Can I get a hallelujah? Yes it is time to make all the custom designs you love right in your own home. You will need the knife blade for this one but it is well worth it. Imagine cutting 1/16″ basswood right from your computer into any shape you can imagine. Oh yes! This is all possible with the Adaptive Tool System™ that only comes with the Maker line of machines.
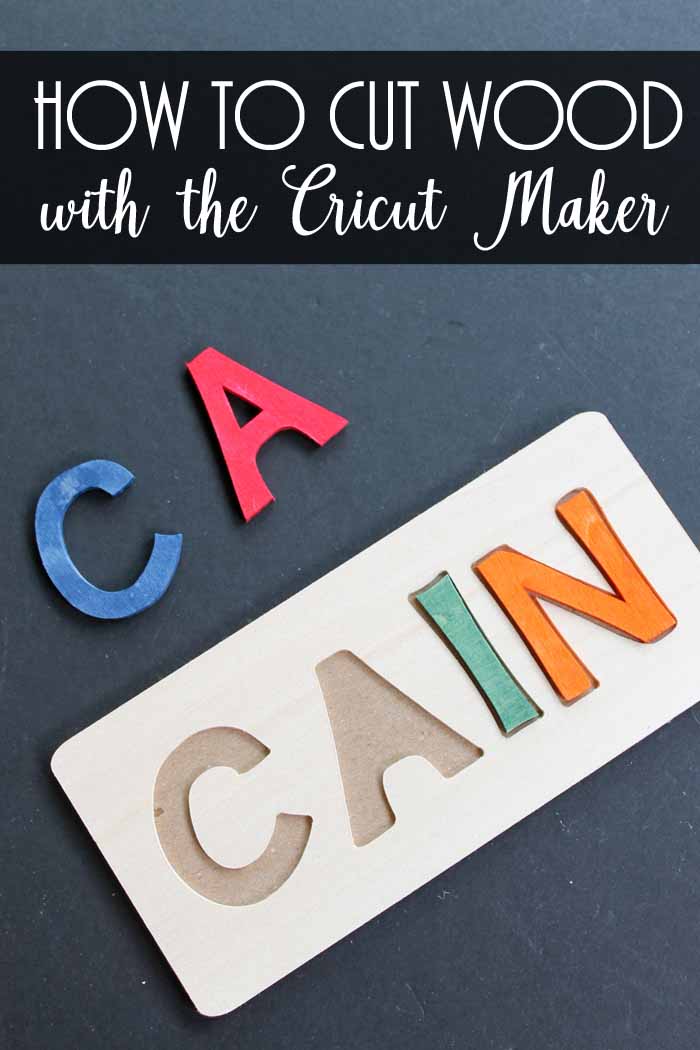
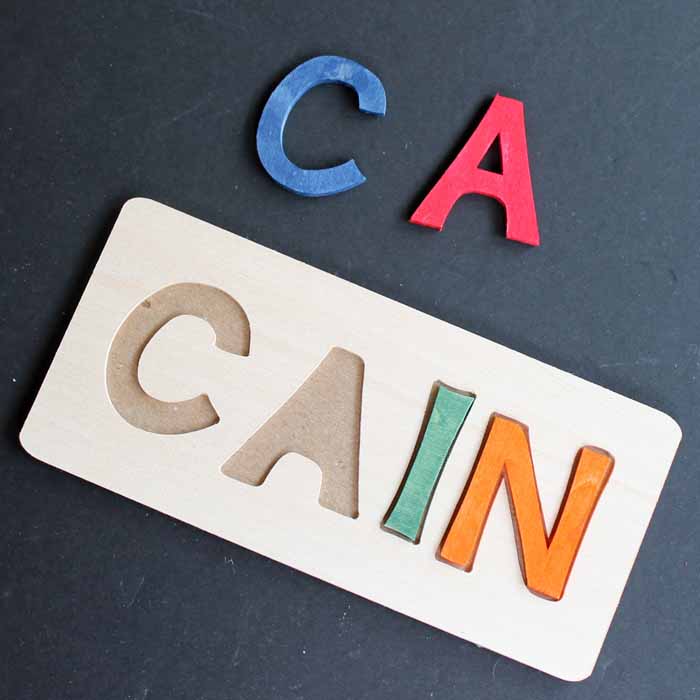
Want to make this puzzle? You can get the full instructions on this blog post. That includes instructions for designing the project as each one will be custom and different. With Cricut Design Space, it is easy to design your own projects like this one. You can actually click here if you would like a beginner’s guide to Design Space.
Cutting Plastic with the Cricut Maker
Now that you know that the Cricut Maker can cut wood, but what about cutting plastic? I did some experiments with two different types of plastics this time. The first is Maker’s Plastic TM and the second is Heatform moldable plastic sheets. They both cut great! For experiments with thicker materials, I find it easy to use the knife blade and the settings for the Heavy Chipboard. This does many passes to get a good cut. You can then pause the machine and check the cut to see if it is complete. Then just write down the number of passes for your next project.
Need more information on checking the cut? Click here to read more!
Remember the Knife Blade is for thicker materials up to 2.4 mm! Do not go over this thickness when experimenting!
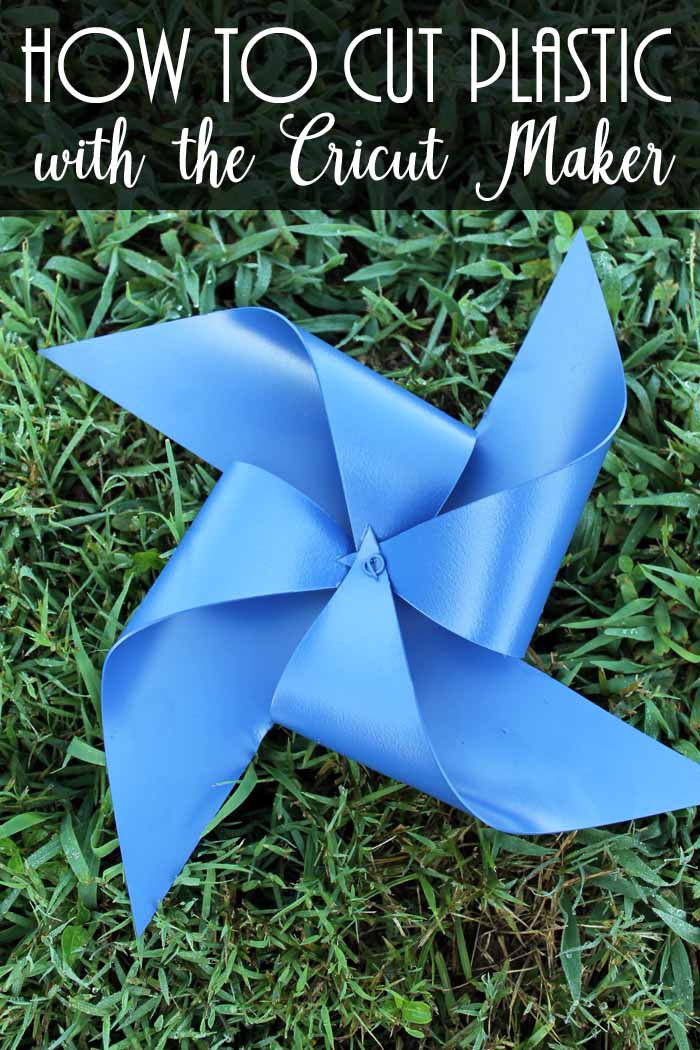
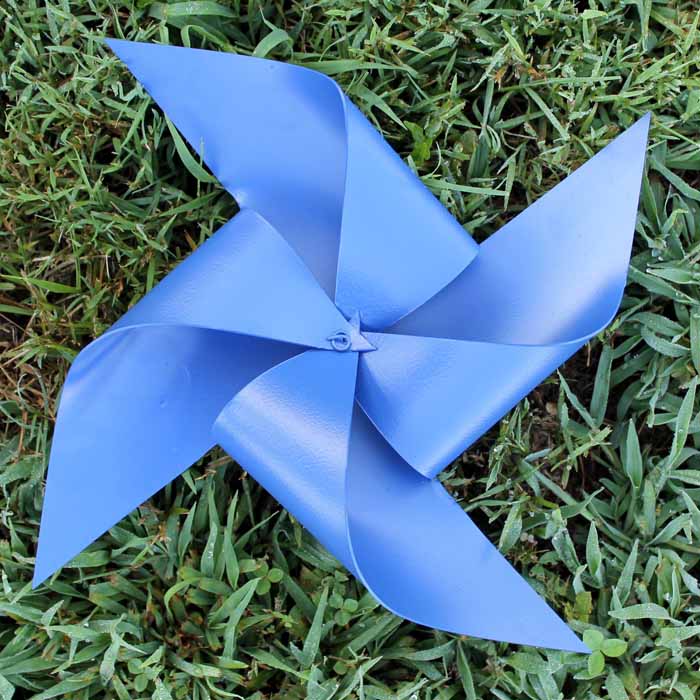
I actually wanted to make a project with this one! So I used this cut file to cut a pin wheel. The moldable plastic material can actually be bent using a hair dryer. I bent it into place and used a wire to hold everything. It is also paintable! So I painted it up for my garden! All that is left is to add it to a stake and let it spin!
Cutting Metal with the Cricut Maker
I couldn’t stop there! I moved on to 40 gauge copper and put my machine to work. This next project both cut and scored the metal for an embossed look. Yes the Cricut Maker did all of this! The scoring wheel is great for embossing heavier materials like this. I love the idea of changing up my projects with some metal accents.
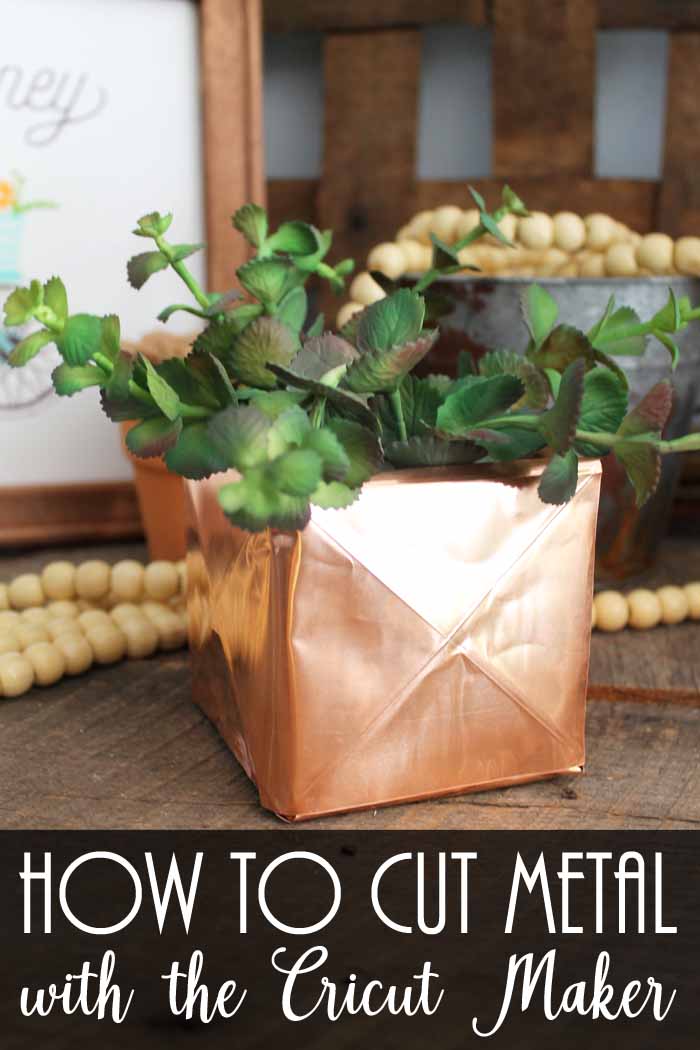
A little advice when cutting metal, first of all use your light grip mat. This material is thin and you don’t want to damage it when lifting from the mat. Also, when your cut is complete, be sure to use a spatula or a XL scraper to help lift the material. Go slowly to not damage your pieces.
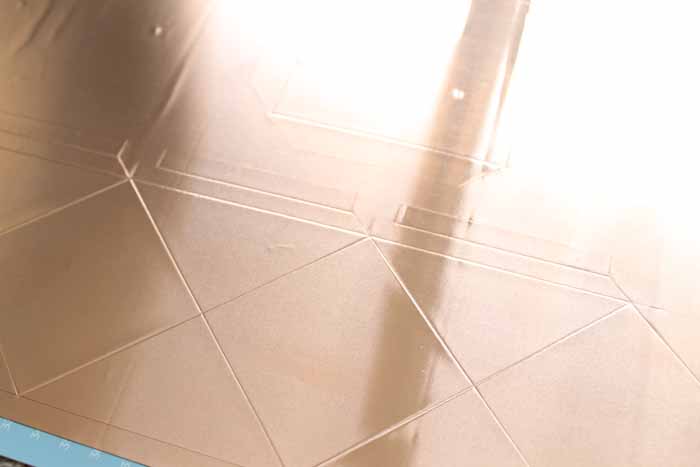
Want to make a cute vase or metal box like this one? You can access the design file in Cricut Design Space, and then break out your Cricut Maker. Be sure to CAREFULLY fold along the score lines as they are easy to miss. Once everything has been folded, assemble the bottom and sides with a little glue. You have a cute accent piece to add to your home decor and it is made from a gorgeous copper as well.

Cutting Burlap with the Cricut Maker
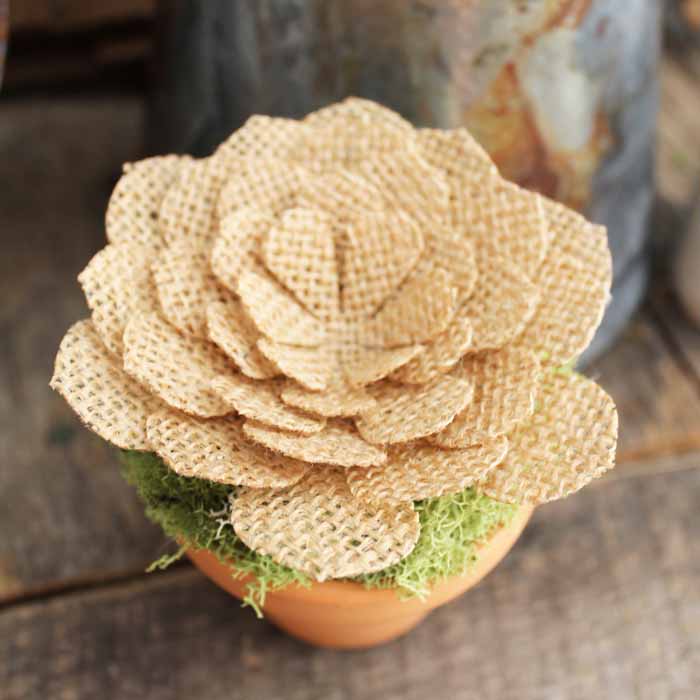
I, for one, cannot get over the projects I am able to make with burlap now. I developed a method where I stiffen the burlap then cut it for fray free pieces that can make any design you desire. This one is so perfect for home decor and more!
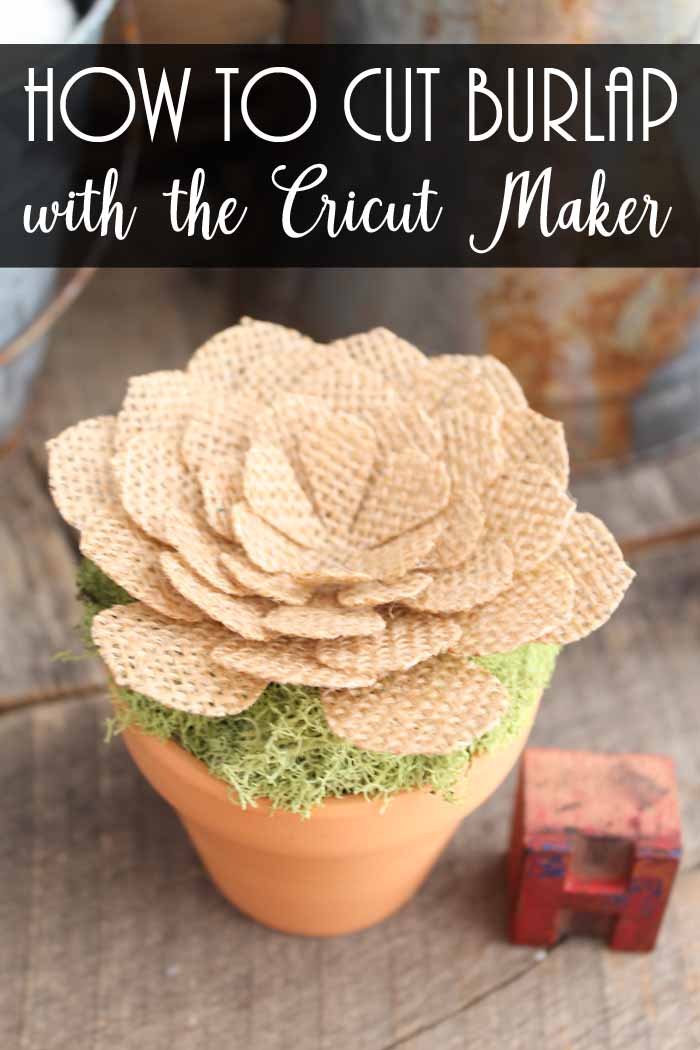
Click here to see more about the method as well as get a cut file for this cute little succulent.
Cutting Crepe Paper with the Cricut Maker
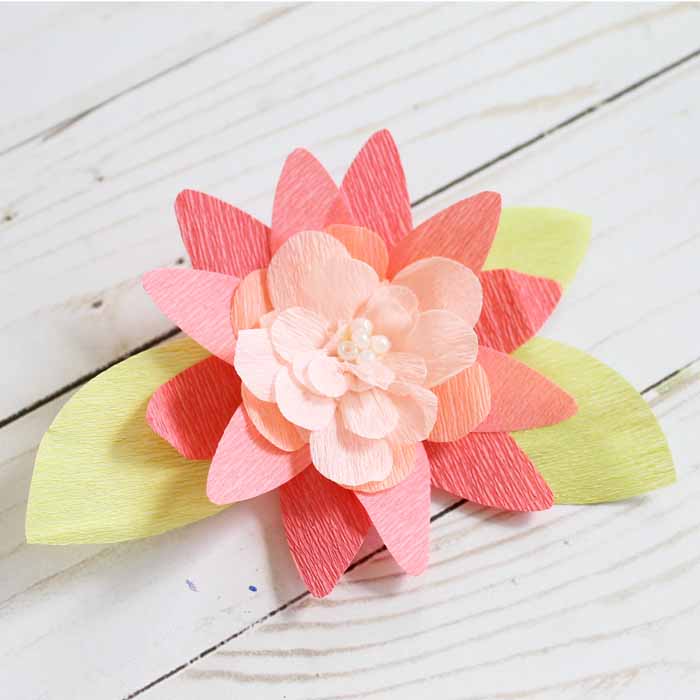
I wanted to explore delicate Cricut Maker materials in this post as well. After all, I have shown the Cricut Maker can cut thick materials, what about the thinnest of the thin? I picked up some extra fine crepe paper to try it out. This was my first time cutting this thin paper and boy was I impressed! The machine used the rotary blade to get perfect cuts without dragging and lifting the paper off of the mat.
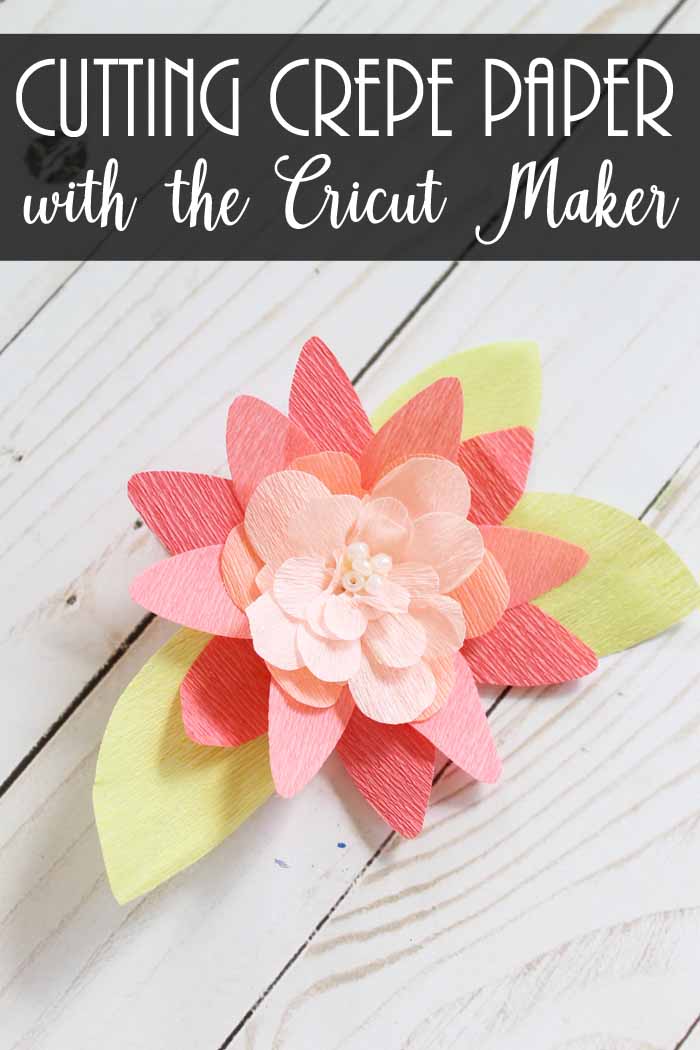
I would recommend using the light grip mat as well as being cautious when lifting your pieces. They are delicate and you will need to use care. Otherwise, feel free to use my cut file to make this pretty paper flower and add it to a barrette!
Cutting Leather with the Cricut Maker
With the Cricut Maker knife blade, I was successful in cutting leather and I have not looked back. I have cut a few different thicknesses and brands and so far so good. You can actually pick up the Cricut leather here to get started.
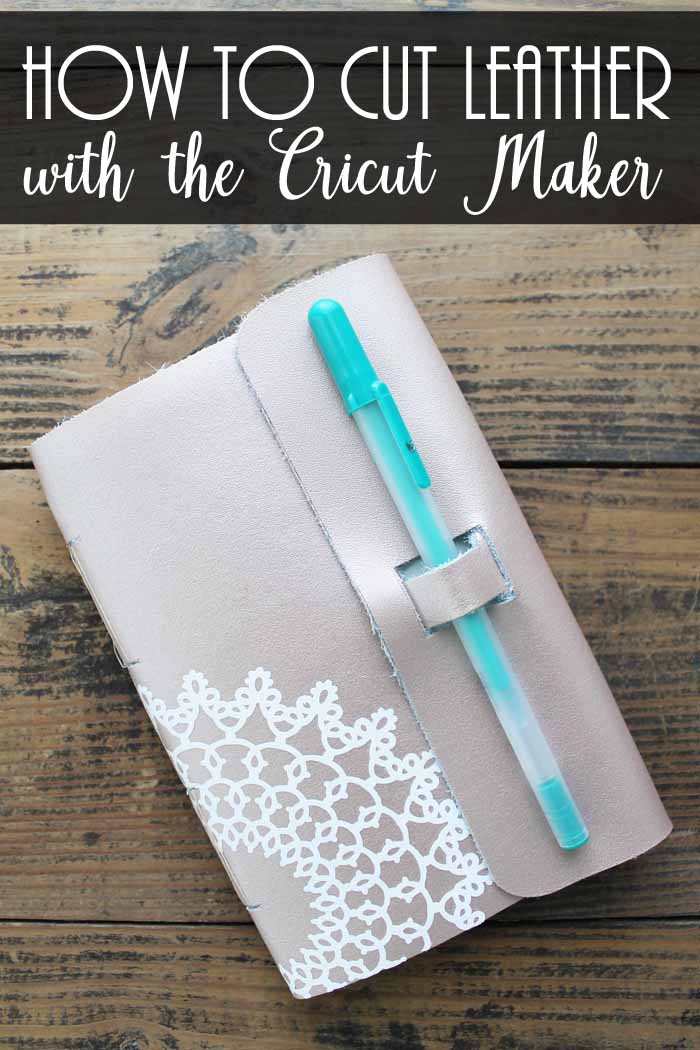
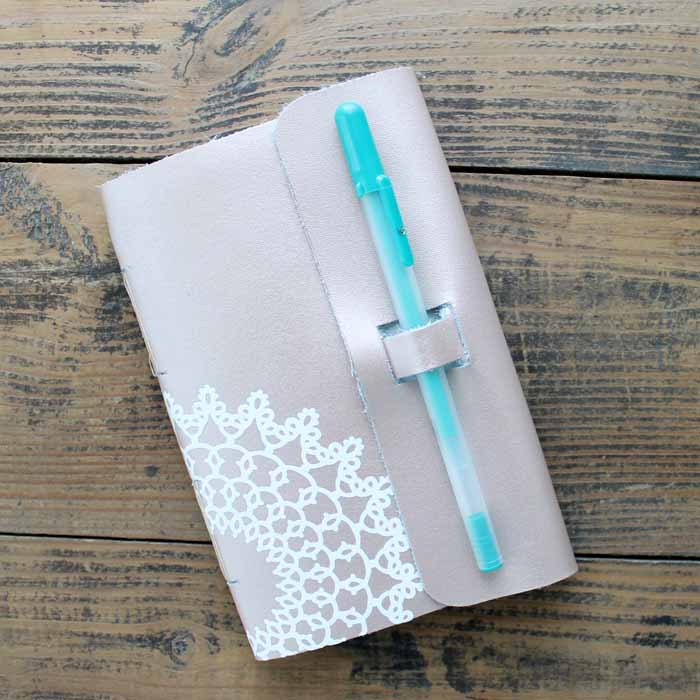
Want to make this leather journal? No problem! Click here to see how to make it!
Cutting Stencils with the Cricut Maker
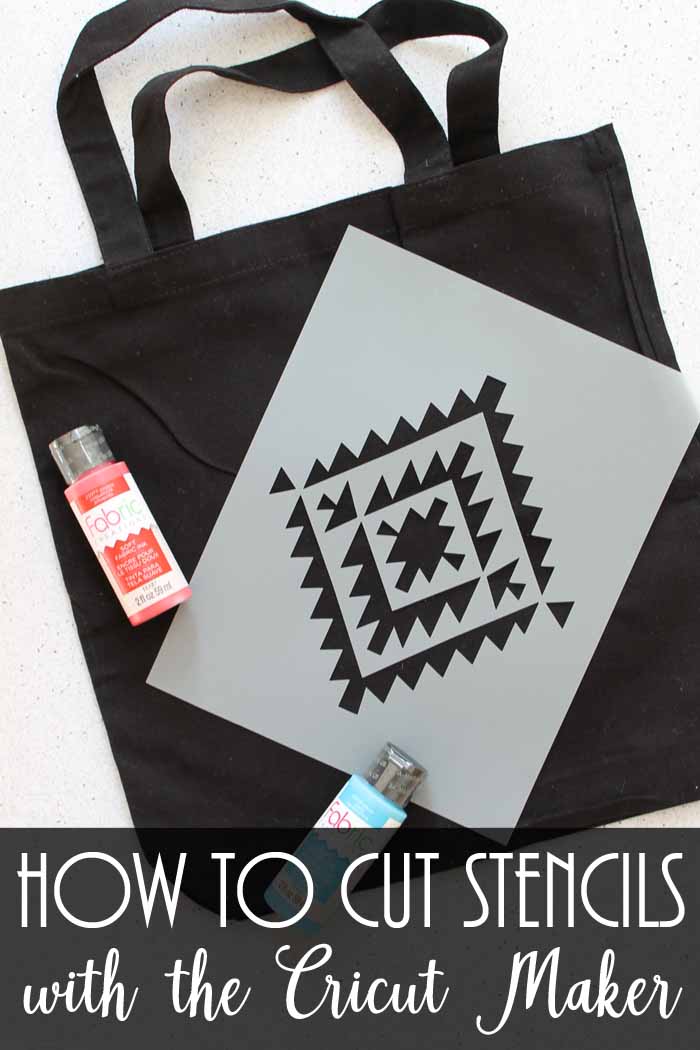
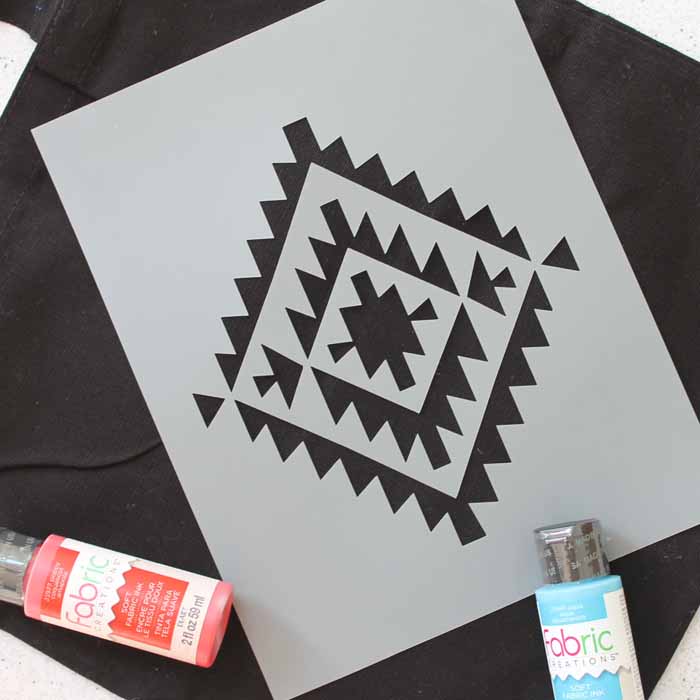
I get asked all the time about cutting stencils with the Cricut Maker machines. The answer is yes you can! I used a 4 mil stencil material then cut it with the Maker. I was able to make a gorgeous stencil and now it is ready to create something fun!
The stencil material setting in Cricut Design Space did not give me optimum results. After some experimenting, I found that the copper metal setting worked, and the cuts were perfect. So, if you are having trouble with one material, you might try a setting for a different material as an experiment. Just be sure to write down what works so you will have it for next time.
Cutting Craft Foam with the Cricut Maker
I also get a ton of questions about cutting craft foam. I have done some experiments but thought I would really put it to the test for today with a fun project. Here, I cut a ton of different shapes to make a lacing activity that is perfect for teaching those little ones their fine motor skills.
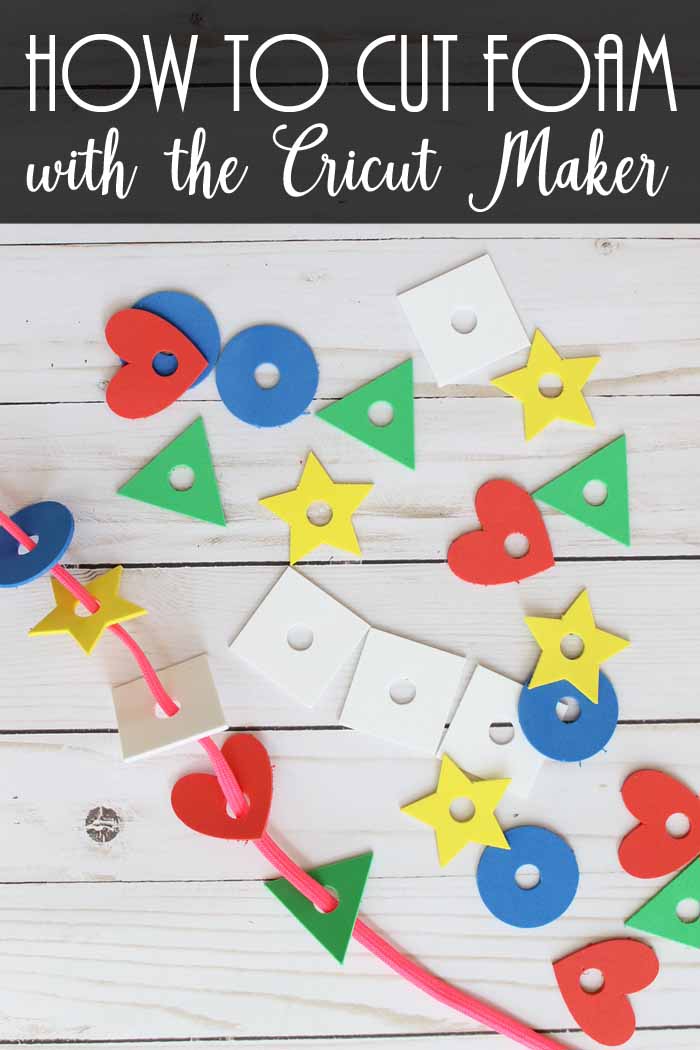
The cut file for this project is in Cricut Design Space. This is a great way to test out a material quite frankly. I was able to cut a ton of different shapes and really put the craft foam to the test. The foam cut great! I hate cutting craft foam by hand as I can never get the cuts perfect. The Cricut Maker, however, gets them perfect every time. I would recommend the knife blade for cutting craft foam and not the deep cut blade.

Cutting Delicate Fabrics with the Cricut Maker
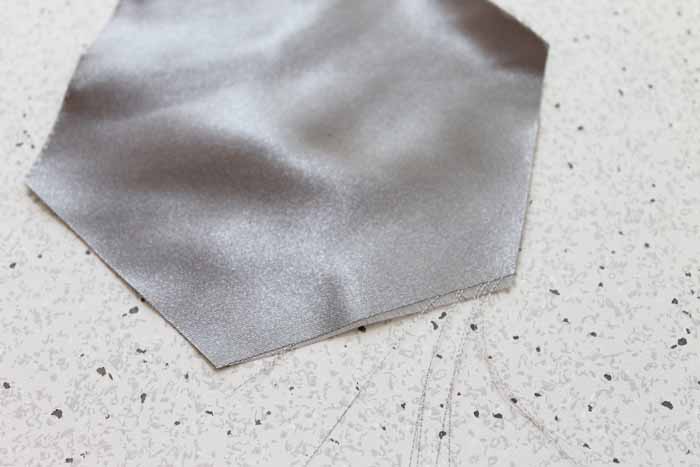
The rotary blade on the Cricut Maker has revolutionized the cutting of fabric. This allows you to cut virtually any fabric without backer. I do however get questions most often about delicate fabrics and if the machine will work on those. Yes, yes, yes! I actually cut lace in this post but am back cutting some satin today.
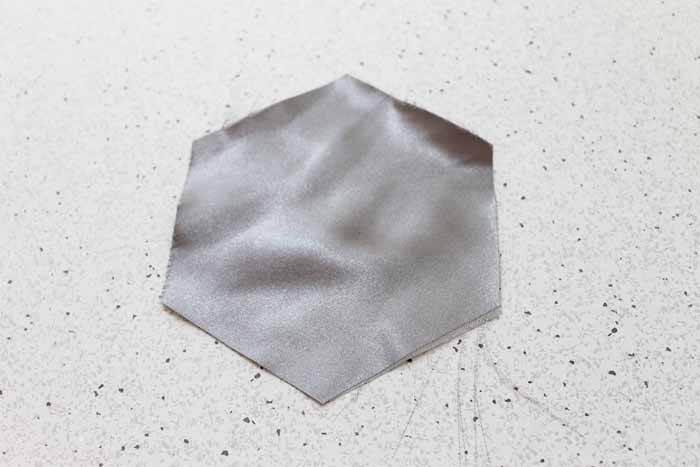
I used the fabric mat and rotary blade along with the proper material setting for this one. It cut perfectly! The only thing I would say is be careful when you lift from your mat. The mat is sticky and will pull at the fibers causing fray around the edges. This is okay if you are allowing for it in your seam allowance but I thought you should be aware.
Cutting Shrink Plastic with the Cricut Maker
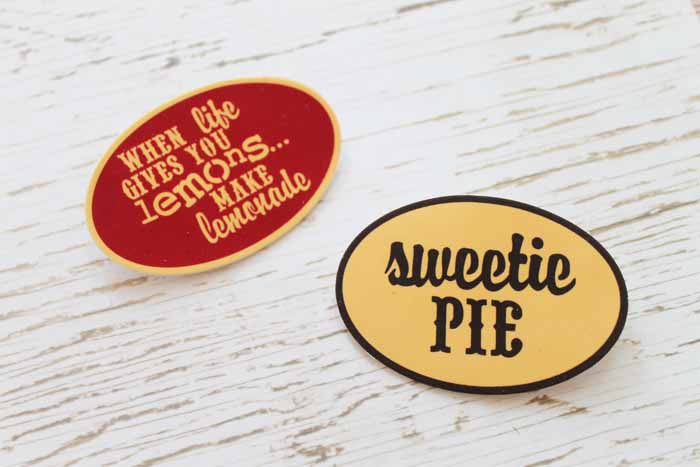
Do you remember shrinky dinks as a kid? Well they are back and in a big way! They have some that are printable and that is perfect for the print then cut feature of the Cricut Maker. You can grab a cut file for the buttons shown below to test it out for yourself.
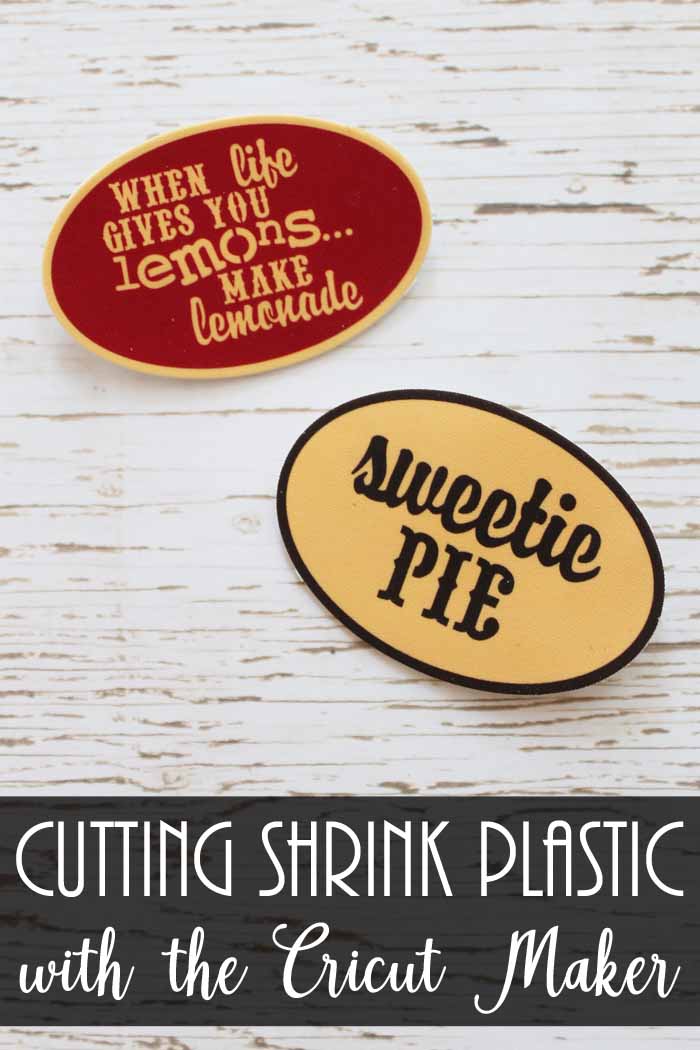
When cutting shrink plastic, there is no specific setting. If you are doing the print then cut feature, however, you can cut as many times as you like. The registration lines show the machine where to cut so you can cut over and over again and it will cut in the same place. I would recommend starting with the copper metal setting and doing more passes if needed.
If you don’t know, shrink plastic starts out as a really thin, cuttable sheet. You then bake it for a few minutes after cutting and it turns into a think plastic piece that can be used for buttons and so much more. You will be hooked after using it once!
So, which of these Cricut Maker materials will you be cutting? What else would you like to see me try to cut with my machine? And which of these surprises you the most? What can a Cricut Maker do? Oh so much!
Want to know how the Maker stacks up against the Explore? See my post here!
This is a sponsored conversation written by me on behalf of Cricut. The opinions and text are all mine.




Wow! I had no idea that the circut could cut all this!! PInned.
I would love to have a cricut. I’ve spent the past few days hand cutting stencils (for flour sack towels) and it really takes a lot of time and precision. Enjoyed this post!
NO. WAY. This is so amazing!! I had no idea a Cricut could do all that!! My Cricut is really old–the smaller one that came out before the 12×12. So I’m obviously a little behind the times in the Cricut world. ha ha I love these ideas!! Pinning!
#sharingtimelinkup
Hi
Does the Cricut Maker cut 24g metal?
Thanks
ILA
The thickest I have cut is 40 gauge copper. I don’t think 24 gauge would work but I have not tried it.
So…a copper foil 1.25 mil. thick [125 gauge] would be a possibility?
I’m needing to cut that thickness of foil for an overlay to glue onto stained glass and solder into lead lines. I’ve always used an Xacto in the past, but those projects weren’t as detailed as the the one I’m working on right now–and behind-schedule on!
Any help I can get would be *so* appreciated!
I definitely think it would do it! You will just need to be really careful when getting it off the mat. You might even use an old worn out mat so that it doesn’t stick as agressively.
Can the cricut Maker cut things I haven’t printed? For example Illustrations 300 grams paper that I printed professionally in a diferente studio?
Thanks,
You can use a method called snapmat to do that. Here is an example of how that works: https://www.thecountrychiccottage.net/the-easiest-way-to-use-scraps-with-your-cricut/
Do you keep a separate knife blade that you use for the wood or metal? I would think that some materials would dull the knife blade quickly and make it unable to cut the materials that are cut with less force. What has been your experience with how well the knives hold up after doing all these different materials?
I had cut a bunch of projects and just now changed my knife blade. So I think it holds up well!
What type of plastic / where did you buy the plastic for the pin wheels? So excited to try!!!
It is heatform and you can find it here: https://www.eti-usa.com/heatform
Hey, can a maker cut acrylic?
I am actually testing some right now! Stay tuned!
Did it work for acrylic?
I am finalizing a video and post about that now so stay tuned!
Can the maker cut Plywood? I can’t find any information on this.
It would be too thick for the machine.
Can the Cricut Maker cut felt?
Definitely! You can see more about it here: https://www.thecountrychiccottage.net/cutting-felt-with-cricut/
Which blade did you use for the Shrinky DInk?
You can use the fine point. The deep point may be a little better. I have actually been running a few more experiments with it the past few days to perfect the settings.
where did you buy your copper sheet from?
I get mine at Hobby Lobby.
I just got my Cricut and I’m so lost, for instacne how do I make decals for a car window? I download the image in clipart, put it over into the Cricut app and print then cut, I can’t get it to cut the decal out as I guess a stencil, it only cuts out as one big sticker, any info will be apprecited
You have flattened to a shape if it is a big sticker. If you want small pieces, remove the background.
I think I’ve figured it out, a lot of times when I just want to save not print and save it just shows a grey or black box on the cut side, what am I doing wrong?
You are not removing the background. One screen before that you need to remove the background from your image with the tools.
I would love to see a video about iron on lettering to personalize kids bags, pillowcases, aprons, and other fun projects.
Thanks for the suggestion! I do have a variety of those types of projects on my site but not specifically for children 🙂
I was wondering can’t seem to find it anywhere can the circut do embossed thread lettering? Like a name to put on a stocking not vinyl?
Do you mean like the puffed embroidery? The Cricut machine doesn’t do embroidery but you can use it to cut Puff HTV 🙂