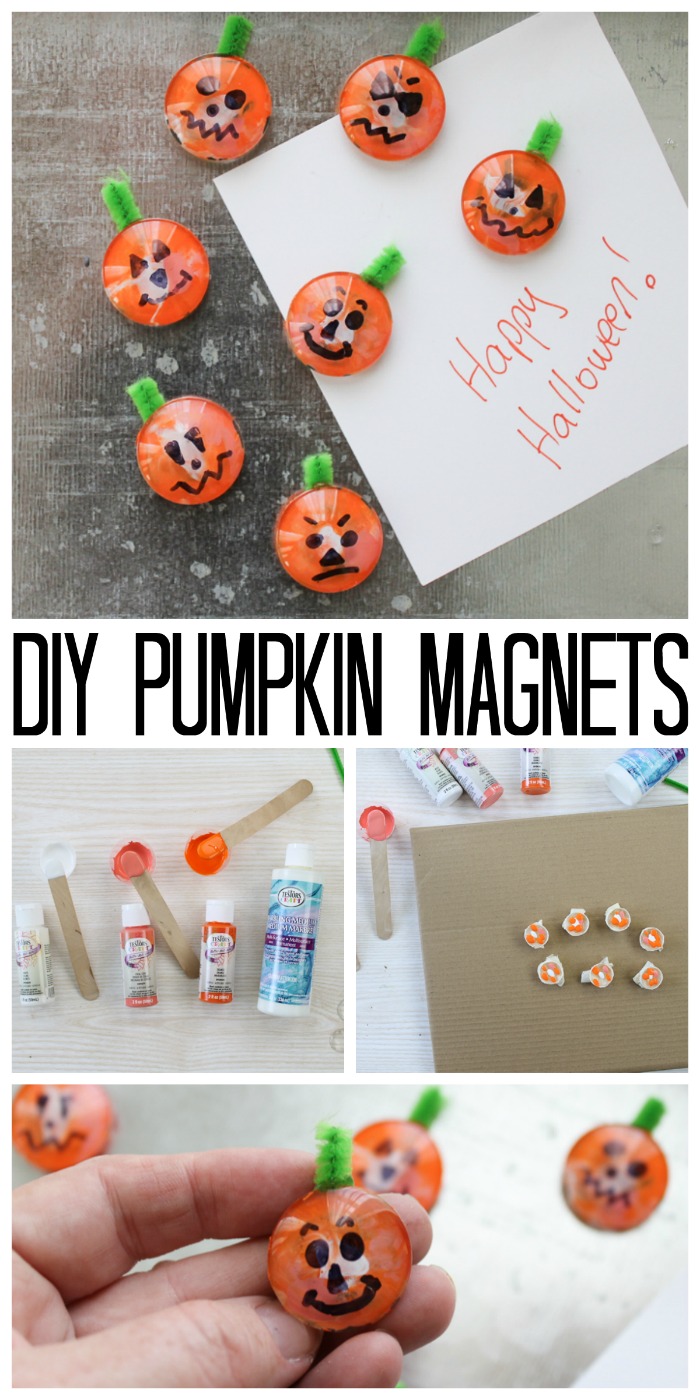
This Halloween magnet craft is so much fun to do with the kiddos! Check out this easy and adorable magnet pumpkin craft.
If you’re on the search for easy Halloween crafts for kids, look no further than this pumpkin magnet craft.
I wanted to include a kids’ craft in my Testors Crafternoons series because, let’s be real, nothing is more fun than crafting with kids! So, grab the kids and include them when you’re planning an afternoon of fun crafting.
Follow along below as I show you just how to make these adorable marbled paint magnets. This post is sponsored by Testors Crafternoons. However, all projects and opinions are my own.
Planning a Testors Crafternoons
First and foremost, you will need to plan your party! We shared some Halloween lanterns last week that are perfect for a Crafternoon.
Today, we have these fun pumpkin craft magnets. You can combine the two into one ultra-fun party or have two different crafting parties: one for kids and one for adults.
These magnets are great for kids to make but the paint will need some time to dry. Be sure to plan a few more easy Halloween crafts for kids during the time your paint is drying. Trust me, there is nothing worse than bored kids!
Invite your guests, pick up your supplies, and then get ready for some fun! Testors Crafternoons are perfect at any time of the year!
Supplies needed to Make Halloween Magnet Craft:
- Glass rocks with a flat side
- Testors Marbling Medium
- Testors Craft Paint (I used white, coral, and orange.)
- Magnets
- Adhesive
- Black permanent marker
- Green pipe cleaner
- Hot glue and a glue gun
- Craft sticks
- Small disposable cups
- Masking tape
Pumpkin Craft Video Tutorial:
Want to see just how to make these easy Halloween crafts for kids? I made a short video explaining the process. If you are a visual learner, this one is definitely for you.
Can’t watch the video or missed some of the steps? Just follow along below!
How to Make this Halloween Craft for Kids:
You will want to mix your paint with the marbling medium to start. Mix equal parts of each in small disposable cups.
Be sure to shake your products well before pouring then allow the mixed product to sit a while before using to allow any air bubbles to rise to the top.
You can actually do the mixing if you want to and hand the kids mixed cups of paint for their projects.
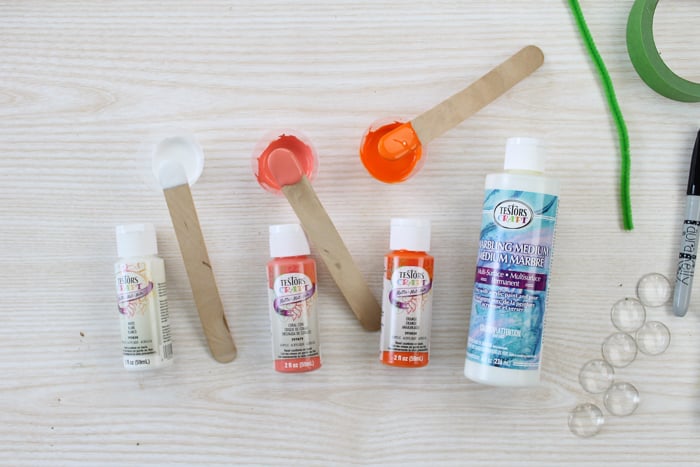
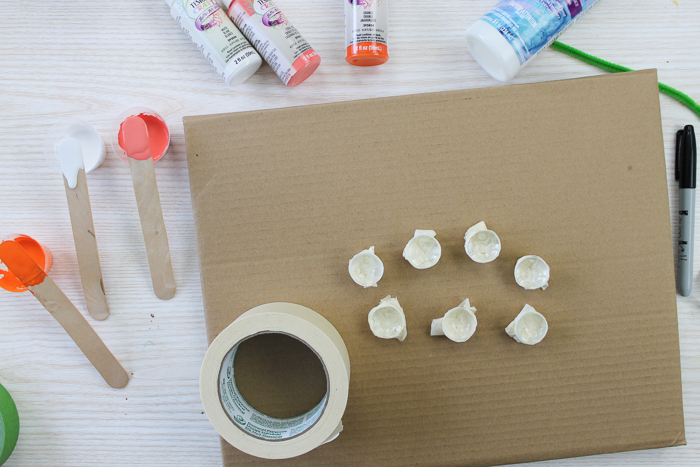
While those are resting, you can start masking off your glass rocks. Just mask off the domed area and leave the flat area exposed.
You will also want to make sure these will sit fairly level after the tape is added.
Pro Tip: Protect your work surface well. Here, I’m using cardboard but you may want to use drop cloths or cheap tablecloths for a large group.
Now you can begin to add your paint to the flat surface of the glass rocks. This is where the kids come in! Let them drop paint on the glass rocks however they want to.
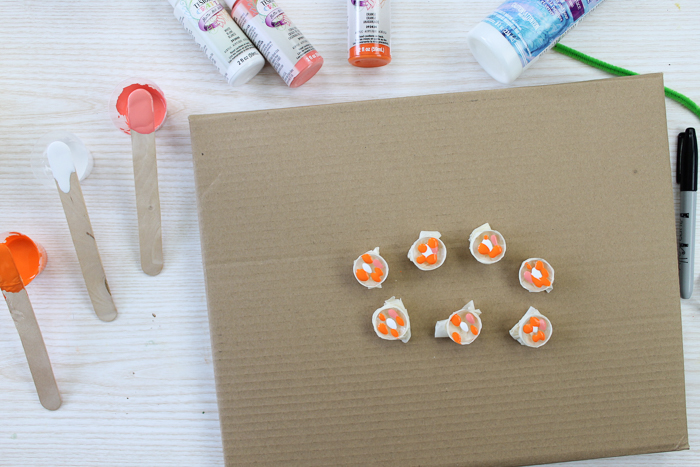
They can then swirl the paint with another craft stick or simply tilt the magnets until the paint runs together.
Either way, you just want to make sure the entire flat back is covered and then set them aside to dry. Make sure they are fairly flat when drying.
Pro Tip: This drying time is when you will want to have some more easy Halloween crafts for kids up your sleeve to help pass the time so no one gets bored.
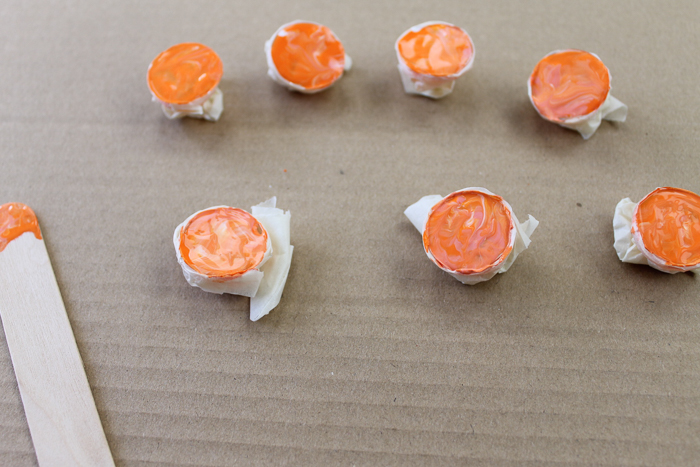
Once the paint is dry, remove the masking. If any paint seeped onto the domed portion, scrape it away with a craft knife.
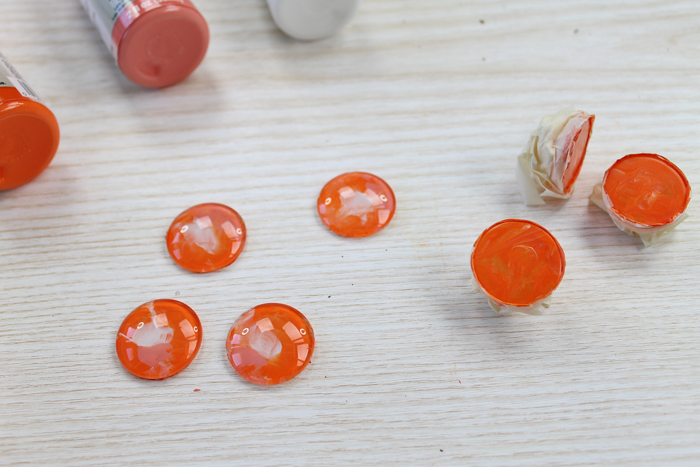
You will be able to see that gorgeous marble paint finish through to the front of your project. How amazing is that?
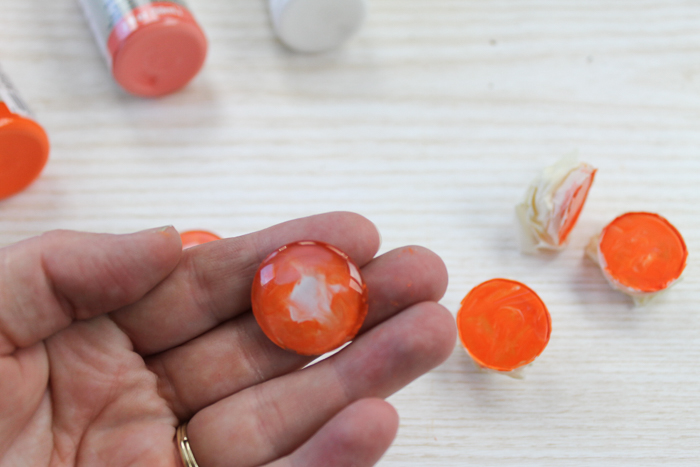
Use a strong adhesive to attach your magnets to the back of each one.
Important note: kids should NEVER handle magnets.
An adult should do this portion of the Halloween magnet craft. I used a quick set adhesive so that the dry time would be minimal.
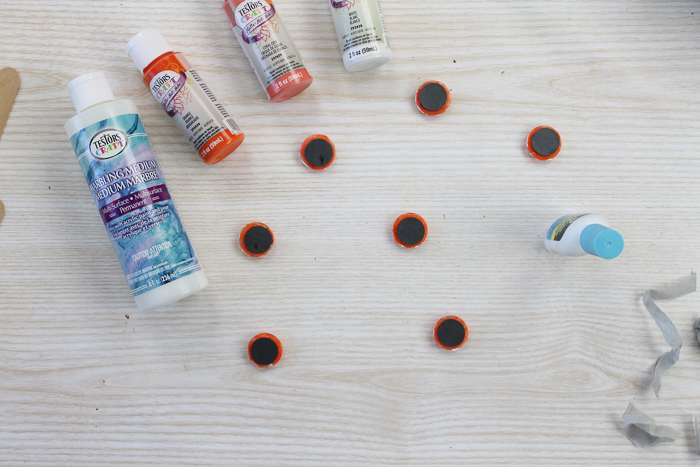
Then hand the kids a permanent black marker and let them go crazy drawing faces on their creations.
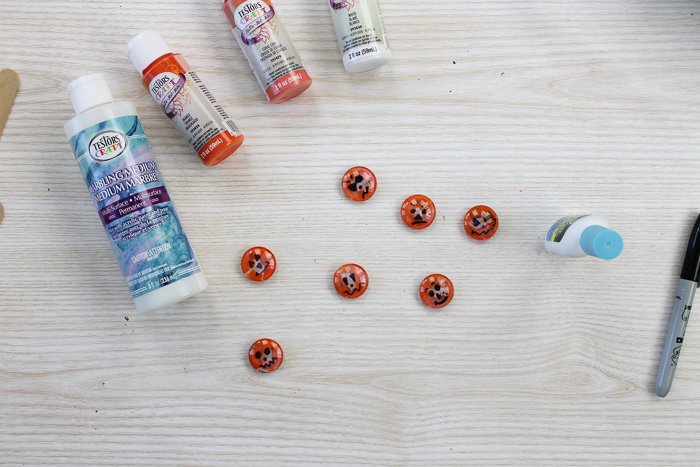
Cut small pieces of pipe cleaner and add them with a bit of hot glue for the stems. An adult should do this portion of the craft too.
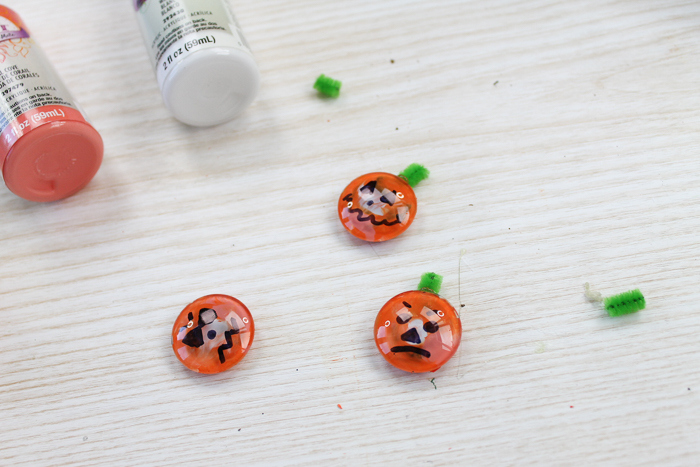
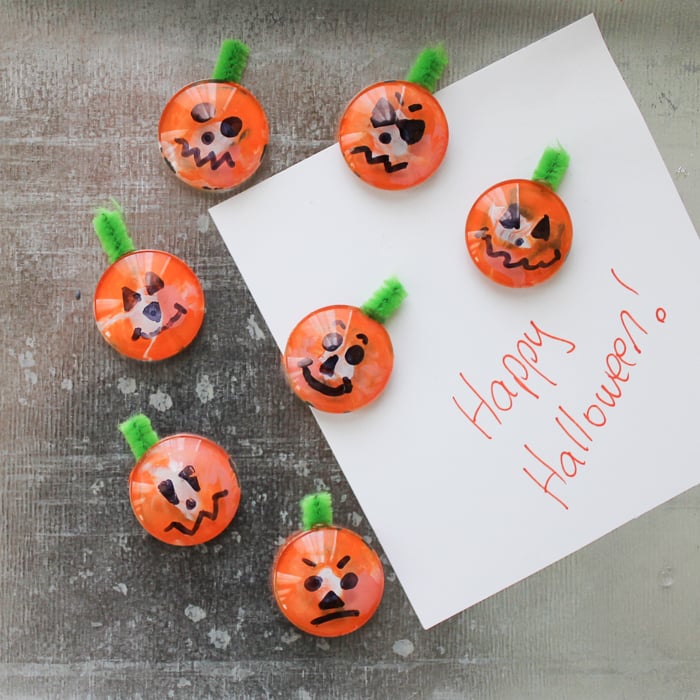
Then just add your pumpkin magnets to any metal surface!
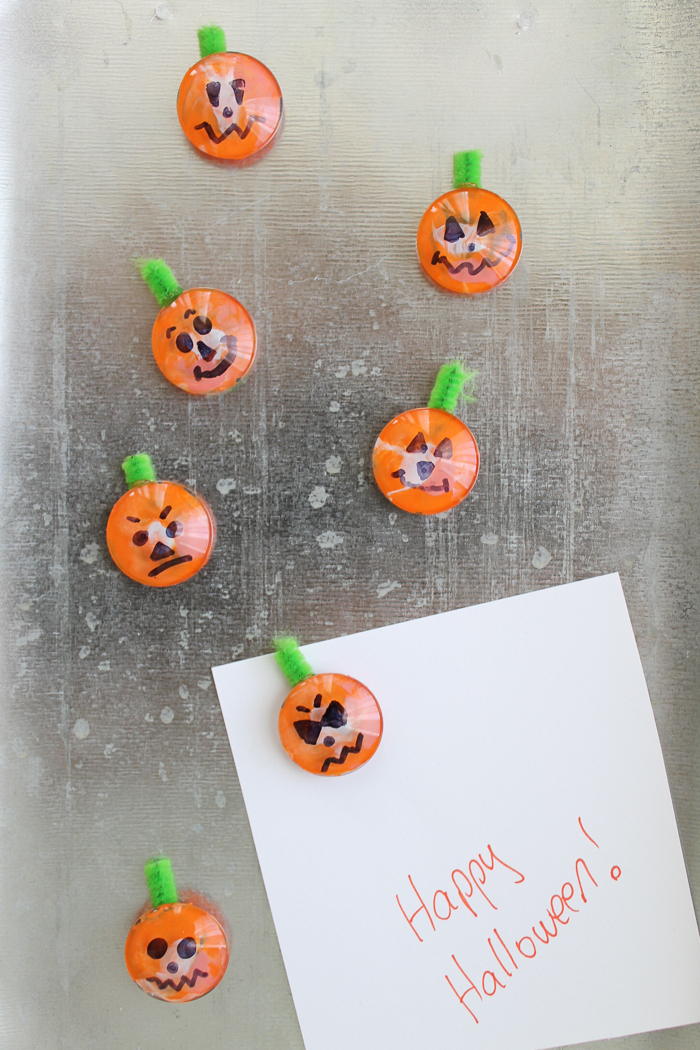
Dress up your refrigerator for Halloween this year with these pumpkin magnet crafts!
FAQs
I don’t have white masking tape. Can I use blue?
Yes, you definitely can use blue. However, I found that white masking tape stuck better to my rocks so you might want to experiment a bit before your party.
What is paint marbling?
It’s a technique that makes the paint look swirled, or marbled. Instead of being one solid color, your crafts looks more fluid and has a very cool visual effect.
I don’t have craft sticks. What else can I use to swirl the paint?
Craft sticks make great stir sticks and they are inexpensive. However, not everyone keeps a supply on hand like I do. 😉
The great thing about this technique is that it’s not difficult or scientific. And different methods for swirling paint will produce different results, so it’s fun to play around with!
Try swirling paint with a finger, a feather, even a plastic fork.
You can also try the drip method where you drip paint onto the surface then tilt the surface and let the paint run. It’s the most unpredictable method – but also provides the most unique results.
Plan Some Craft Time to Relieve Stress
Planning some Testors Crafternoons may be just what you need! After all, being creative is a stress reliever and we could all use a little more of that around the holidays.
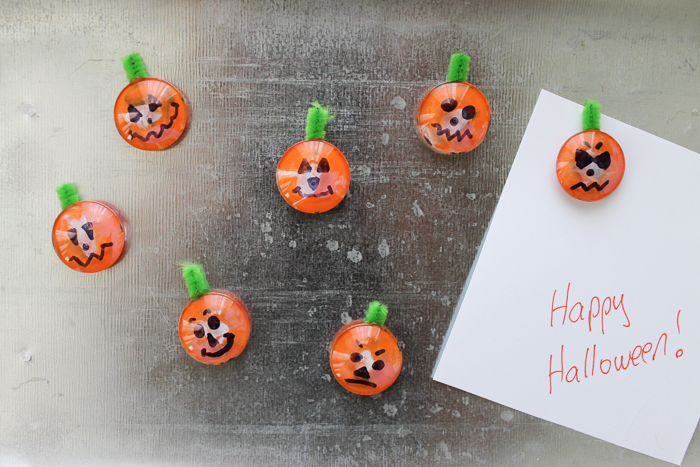
Besides…who can resist cute magnets made by the kids? I know I can’t!
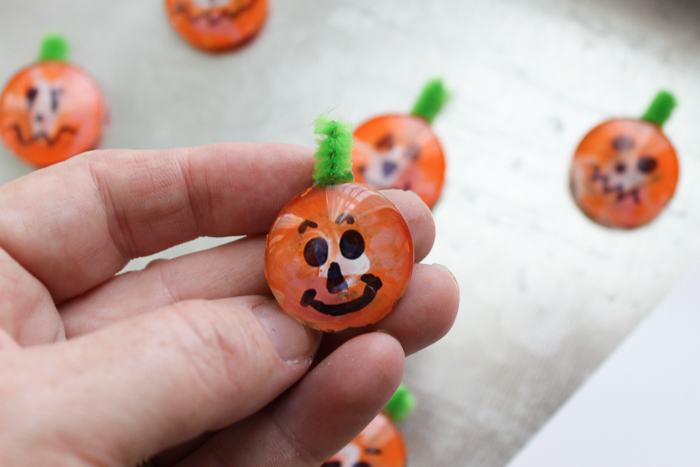
Be sure to pick up your supplies and plan an afternoon of Halloween crafts for kids. Your children will love it!
If you loved this Halloween magnet craft, let me know in the comments below!
Supplies
- Glass rocks with a flat side
- Testors Marbling Medium
- Testors Craft Paint I used white, coral, and orange.
- Magnets
- Adhesive I used quick-dry
- Black permanent marker
- Green pipe cleaner cut into short pieces for the "stems"
- Hot glue and a glue gun
- Craft sticks
- Small disposable cups
- Masking tape
Instructions
- Shake your paints well. Then mix equal parts of paint and marbling medium in small disposable cups.
- Use masking tape to mask off the dome part of the glass rocks. Leave the flat part exposed.
- Paint the glass rocks. Let the kids drop paint on them any way they want to.
- Then they can swirl the paint around with the craft stick or pcik up the glass rock and tilt it to help the paint run together.
- Set the glass rocks to dry. Keep them as flat as possible while they dry.
- Once the paint is dry, remove the masking tape. Use a craft knift to scrape off any paint that seeped under the masking tape.
- Adult Part: Use a strong adhesive to attach the magnets to the flat side of the glass rocks.
- Let your kids draw faces on their magnets with permanet black marker.
- Adult Part: Cut small pieces of the green pipe cleaner for the stems. Then attach the stems to the glass rocks by hot glue gun.
- Add the magnets to any magnetic surface.
Notes
- Protect your work surface well. I used cardboard but you may want to use drop cloths or cheap tablecloths for a large group.
- Have some more easy Halloween crafts for kids up your sleeve to help pass the time while the paint dries so no one gets bored.


What type of magnets did you use?
They were just some I had in my craft room. I generally buy them in bulk from Amazon.
If the glass rocks that you are using are about 1.25 to 1.5 inches in diameter they could be attached to a retractable ID Badge Holder or attach to a push pin for use on a Cork Bulletin Board. Obviously without the magnet