It is time to plan some Testors Crafternoons with these Halloween signs. I am going to show you an easy technique for making your own Halloween signs with our template or even with your own design. Then just get your family and friends together and get creative! It really is that simple! This post is sponsored by Testors, however, all projects and opinions are my own.
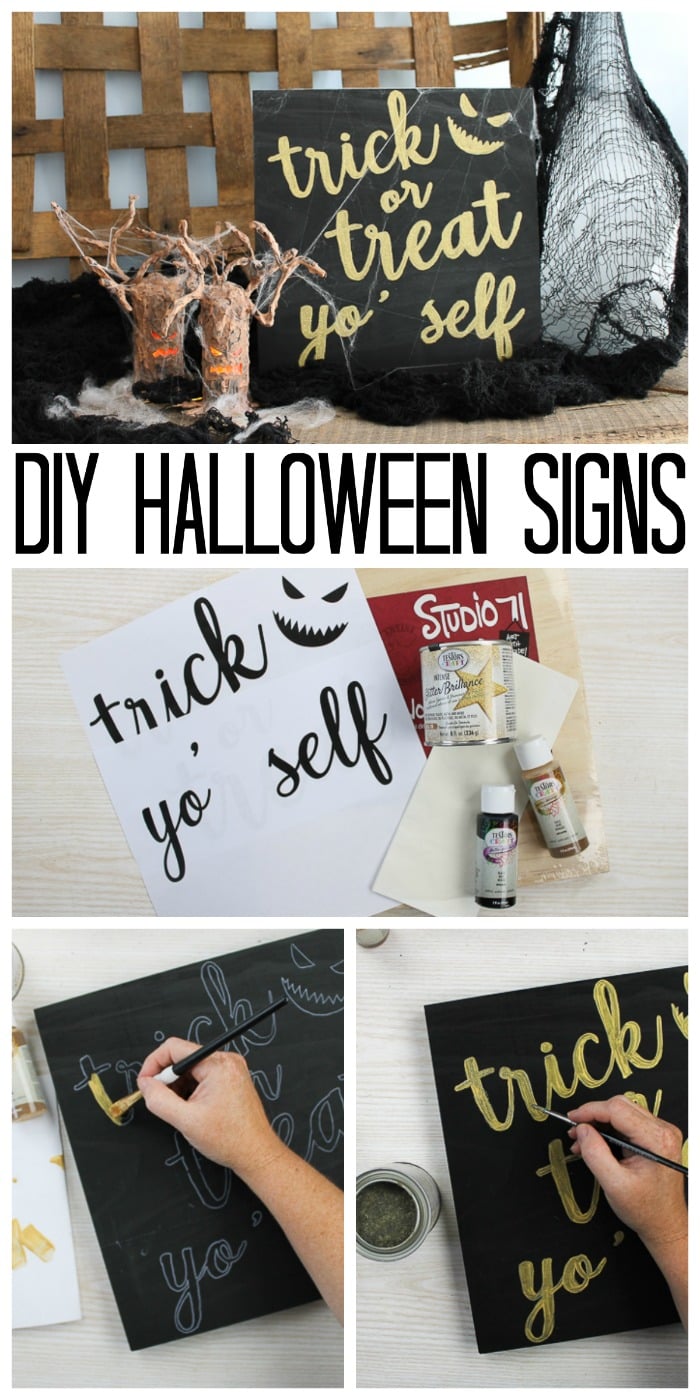
I LOVE Halloween. Coupled with crafting, it’s the perfect way to spend a chilly, Autumn afternoon! Gather your crafty friends and make a few spooky Halloween decorations to get in the spirit.
Since there’s a little bit of drying time, make sure you have another project to fill the time. While the paint dried, you could also fit in a Spider Halloween Pillow, personalized trick-or-treat bags, matching mommy and me shirts, or put together treat bags for trick-or-treaters!
DIY Halloween Signs
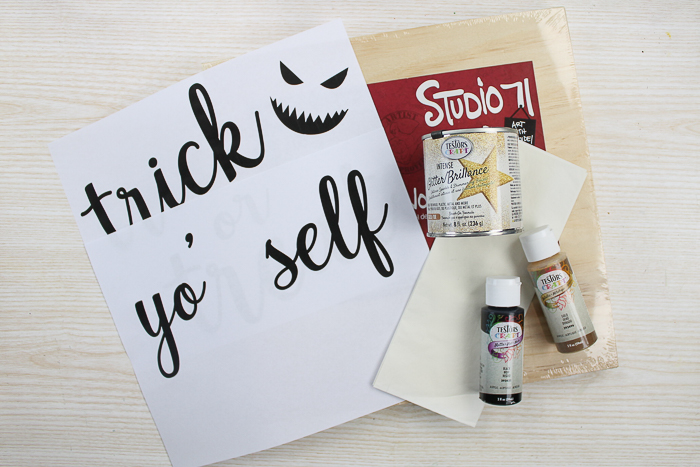
Supplies needed to make these Halloween signs:
- Testors Acrylic Paint (in black and metallic gold)
- Testors Intense Glitter Paint (in gold)
- 12×12 wood panel
- White tracing paper
- Pencil
- Paintbrushes
- Tape
- Trick or treat sign template (download page 1 and page 2)
Video Tutorial:
You can watch this video for full instructions for making your own Halloween signs.
Can’t watch the video or missed some of the steps? Follow along with the step-by-step instructions below.
Instructions:
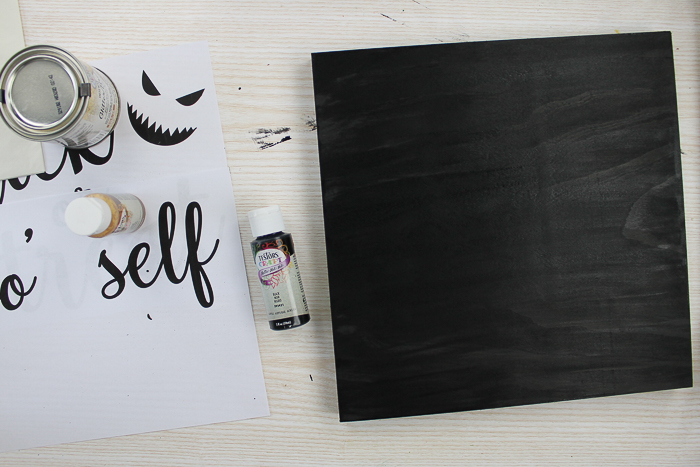
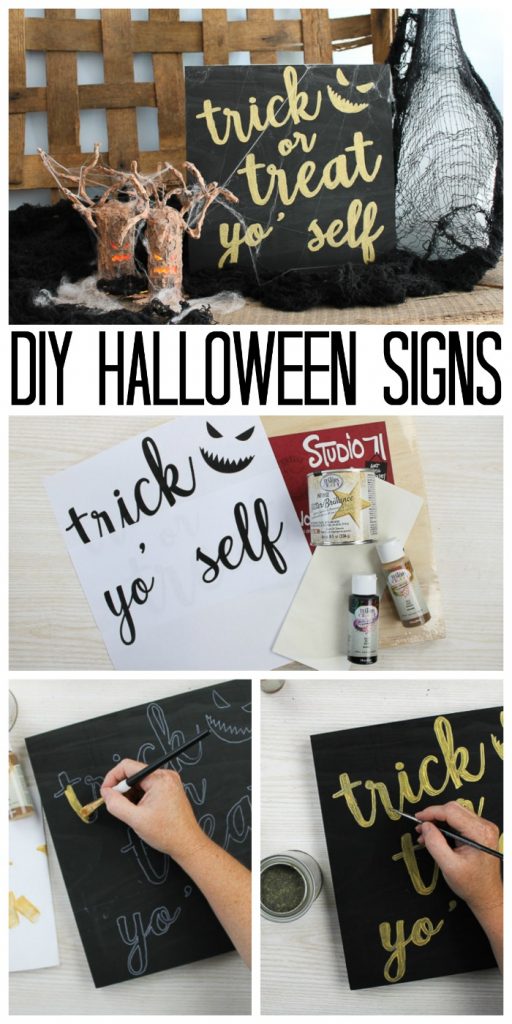
Start by painting the entire surface black. You can use one or two coats of paint, but allow it to dry completely between coats. If you are hosting a Testors Crafternoon, just be sure to have another project for your attendees to work on during the dry time.
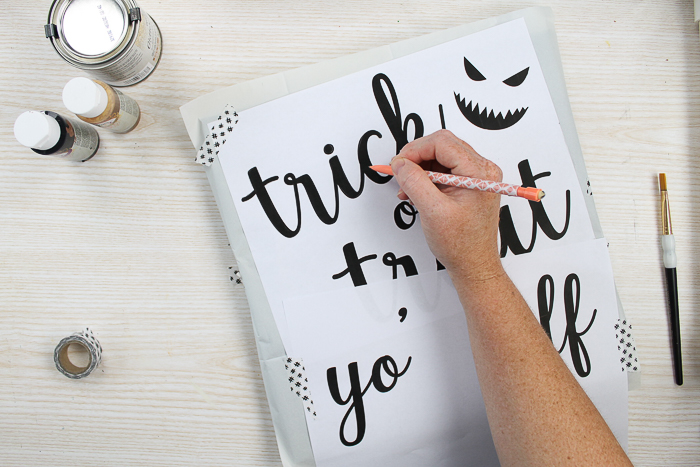
Then lay your white tracing paper over the sign with the shiny side down and tape it into place. Add your template to the top and tape it into place. Trace with a pencil over all the lines.
Note that the apostrophe in the “yo” I actually moved down so I skipped while tracing the first time and moved the template before tracing.
Then peel back your tracing paper to reveal the white lines on your black sign.
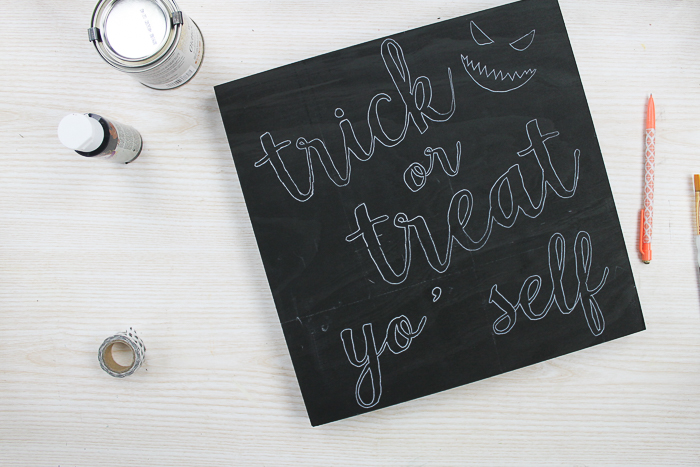
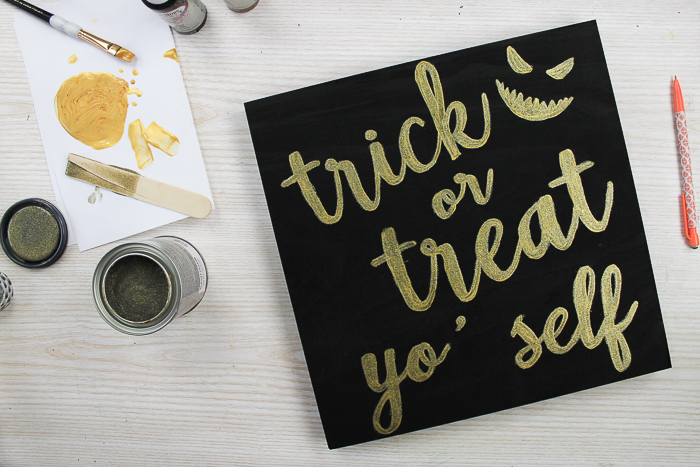
Fill in with the metallic gold paint then allow to dry completely.
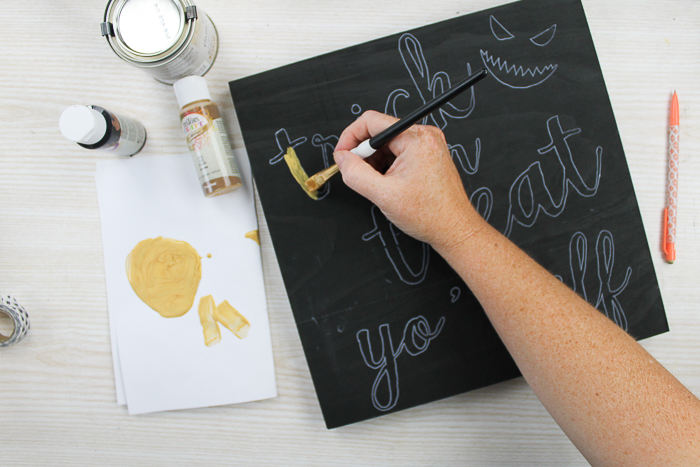
Note that these drying steps can be made quicker with the use of a hairdryer, especially if you have several people for your Testors Crafternoons.
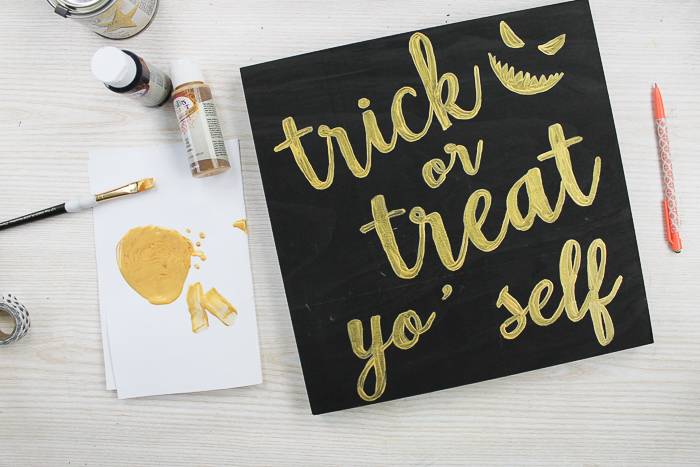
Shake your intense glitter paint well then start applying right over your metallic gold paint.
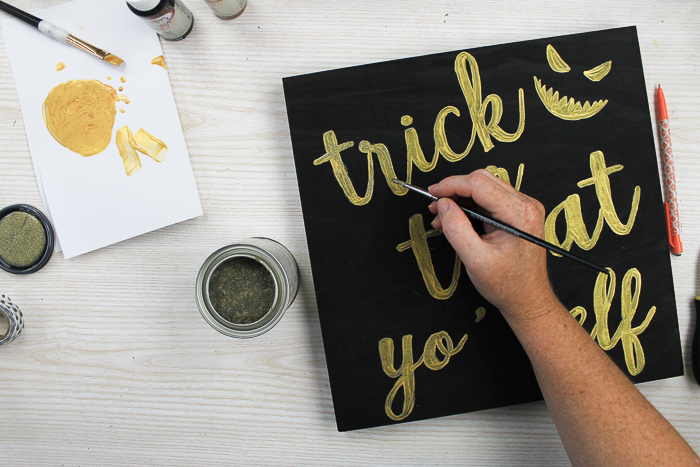
I actually did three coats of the intense glitter paint allowing each coat to dry before I added another. This made the glitter really extreme and was just what I was looking for. You can add as many coats as you like to your Halloween signs.
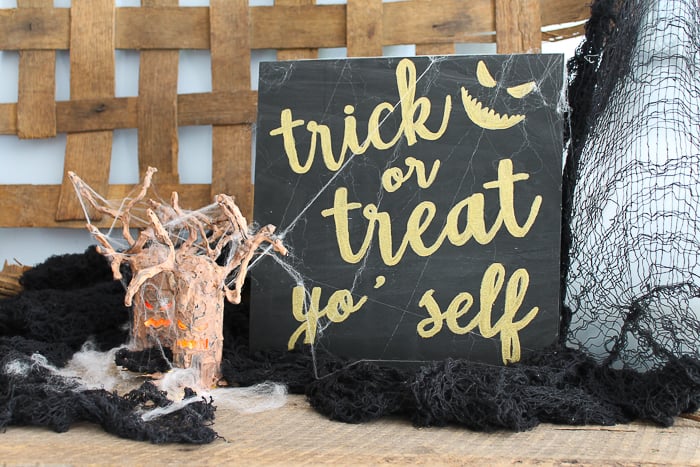
Then just allow everything to dry and put your Halloween signs on display right next to your Halloween tree from last week.
Testors Crafternoons
What are you waiting for? Why are you not planning a Testors Crafternoon right this second? If you have missed it, we shared four projects now that you can make for a Halloween crafting party. First was the Halloween lanterns than the pumpkin magnets which is an easy Halloween craft for kids. Last week I shared the Halloween tree tutorial and how you have a tutorial on how to make Halloween signs. Between the four ideas, you have everything you need to plan a fun crafting afternoon for crafters of all ages. Order your supplies and start planning your day of fun!
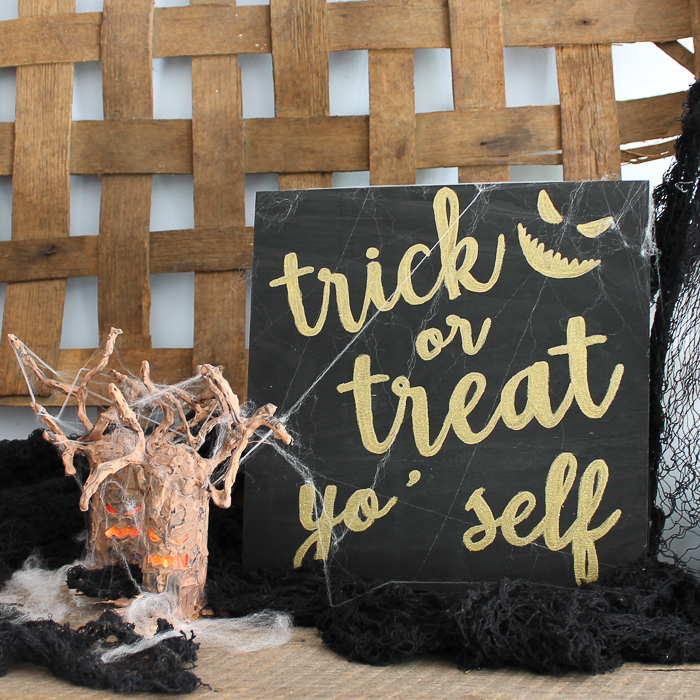
Your guests will love getting creative and getting to walk away with great finished craft projects like these Halloween signs and so much more!
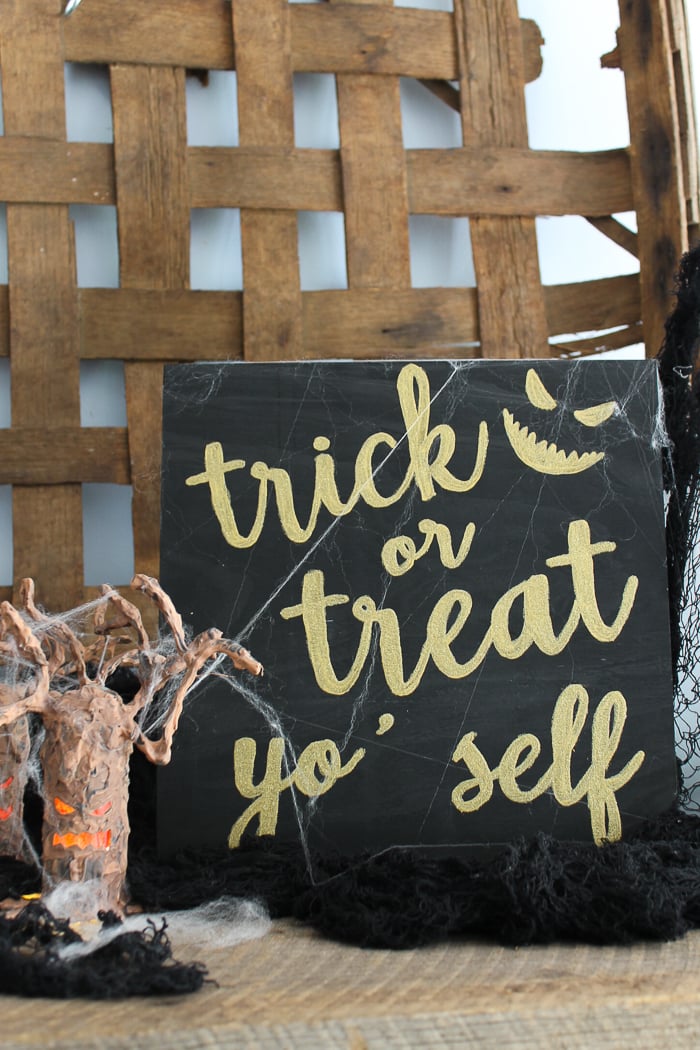
I absolutely love decorating my home with a little spook for Halloween.
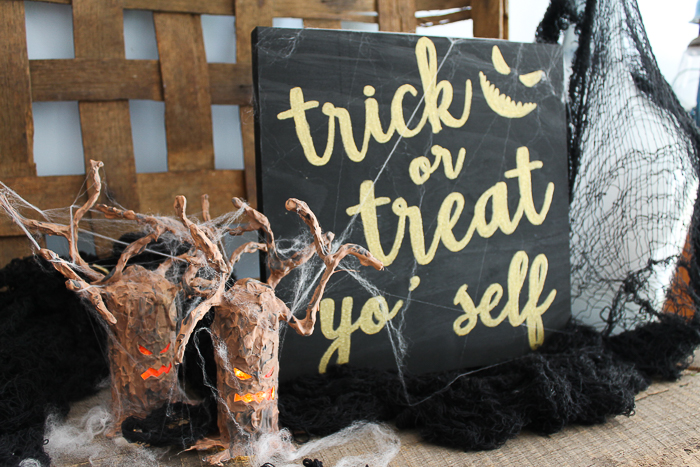
These crafts are all you need to do just that! Halloween signs and oh so much more all when you have your Testors Crafternoons!
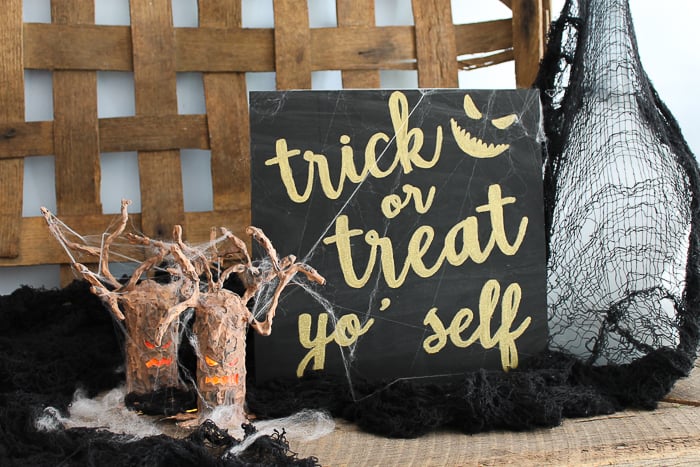
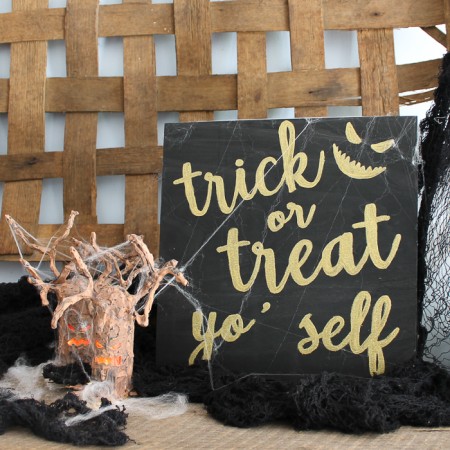
Supplies
- Testors Acrylic Paint in black and metallic gold
- Testors Intense Glitter Paint in gold
- 12 ×12 wood panel
- White tracing paper
- Pencil
- Paintbrushes
- Tape
- Trick or treat sign template page 1
- Trick or treat sign template page 2
Instructions
- Start by painting the entire surface black. You can use one or two coats of paint. Just allow to dry in between coats.
- Then lay your white tracing paper over the sign with the shiny side down and tape into place. Add your template to the top and tape it into place. Trace with a pencil over all lines.
- Then peel back your tracing paper to reveal the white lines on your black sign.
- Fill in with the metallic gold paint then allow to dry completely.
- Note that these drying steps can be made quicker with the use of a hair dryer especially if you have several people for your Testors Crafternoons.
- Shake your intense glitter paint well then start applying right over your metallic gold paint.
- Allow all the paint to dry and then display.



Where can you purchase the Testors products?
They have a store finder on their website and that is linked in the post above!
This is adorable, and I love the video. It is so detailed and very easy to follow! Love it!
Great tutorial for making custom signs without a cut machine. Thanks for sharing on MM.