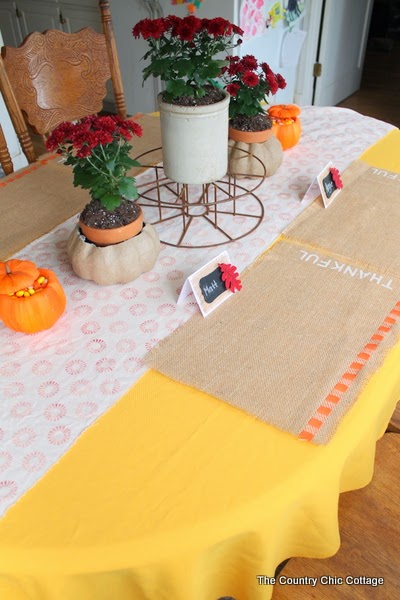
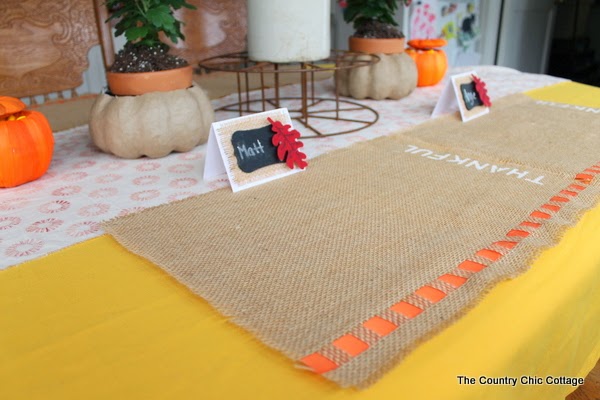
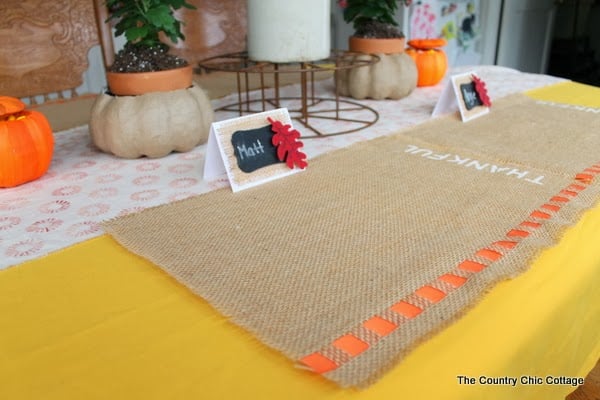
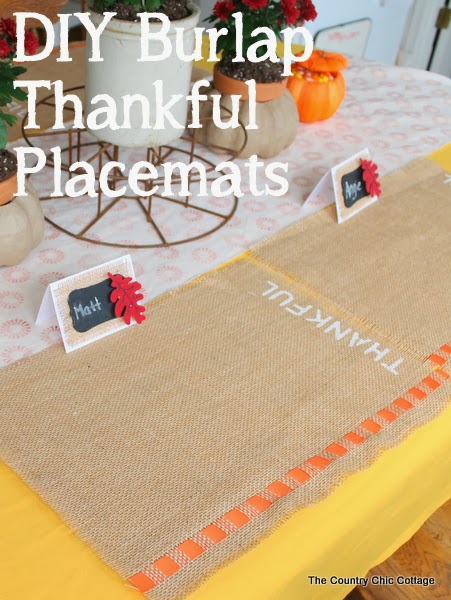
My DIY burlap placemats Fall and Thanksgiving are the perfect easy projects to get your Thanksgiving table setting started off with a bang. Colors of orange and brown create the ultimate autumn feel. With a set of four, you can easily serve a small crowd. This tutorial was originally posted over at Crafts Unleashed last year but I thought I would repost here just in case you missed it.
Like this fall placemat idea? Be sure to check out these fall tablescape ideas to set the mood for your next autumnal gathering or feast!
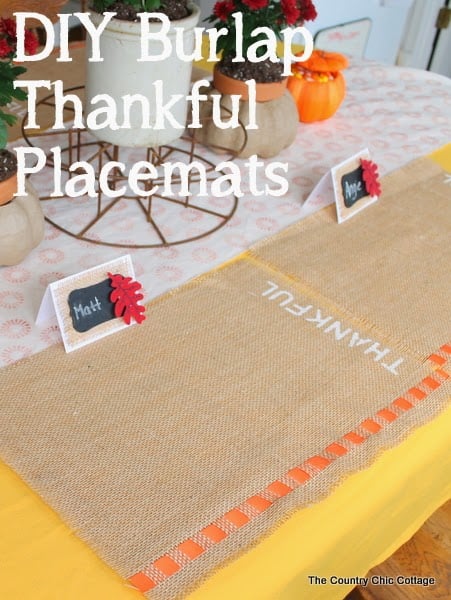
Make Your Own Fall Dinner Table Placemats
In need of some inspiration for fall or are you looking for some ideas for your next brunch? These fall placemats are so simple to make out of rustic burlap for a stunning table design. Easy to decorate with paint and ribbon, this simple project takes no time at all and is the perfect representation for autumn.
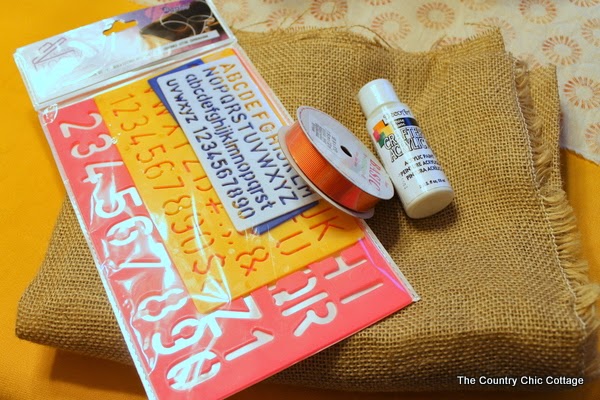
Supplies Needed
Some links below may be affiliate links which means you don’t pay anymore.
- Burlap: You will need two of these pieces to get four placemats. If you need more placemats, simply buy more pieces of burlap!
- Stencils
- DecoArt Crafter’s Acrylic in White
- Ribbon
- Stencil Brush: You can easily find this at online or your local craft or hardware store.
Note: Feel free to use any additional colors or stencils you would like for these placemats–the options for fall or are truly endless!
How to Make Your Fall Placemats
Quick, simple, and fun, this festive craft is the perfect way to celebrate and welcome that crisp feeling of fall. The whole family can help out with this craft because it is suitable for all ages!
Step 1
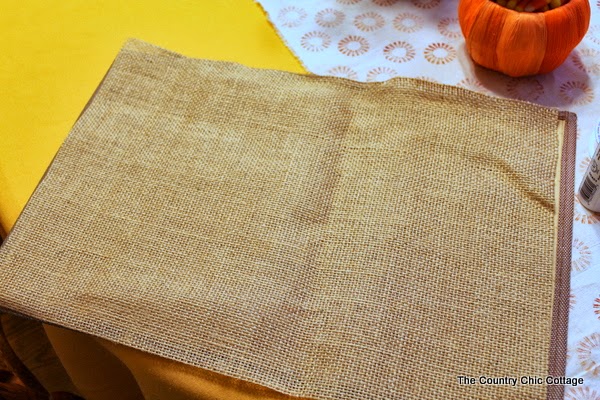
First, place the burlap over a placemat and cut the burlap out to match the size of the placemat.
Step 2
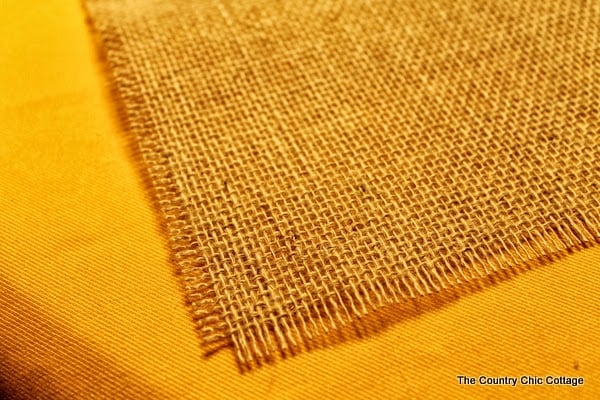
Next, I pulled away about three strings from each side to create a frayed edge. If you are worried about your placemat continuing to fray, you can use fray check all around the edges of your finished product.
Step 3
Then count in from one edge about eight strings and start pulling strings out. You can literally just pull a middle string easily.
Step 4
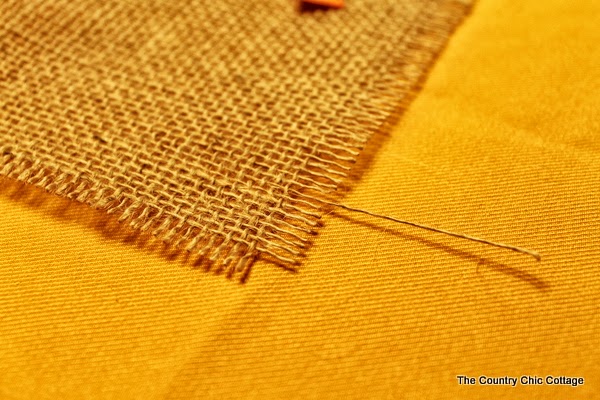
Pull enough strings so that your ribbon will fit through the burlap. In my case, it was around eight strings.
Step 5
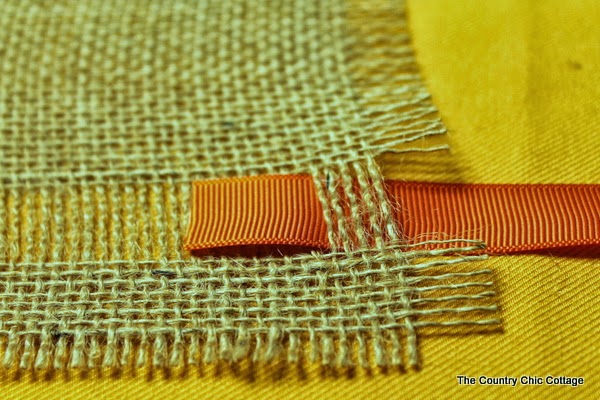
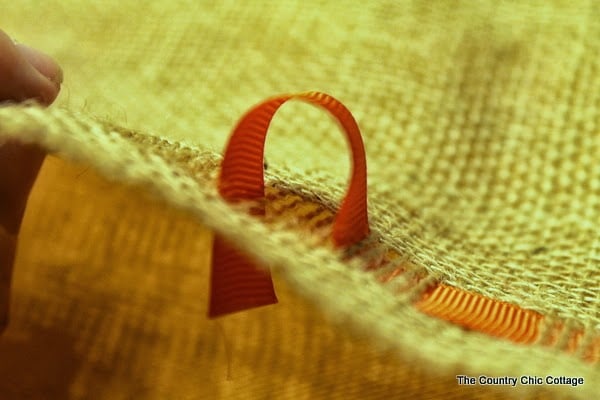
Start threading through your ribbon. I went five strings and then repeated — in and out of my placemat all the way down the burlap.
Step 6
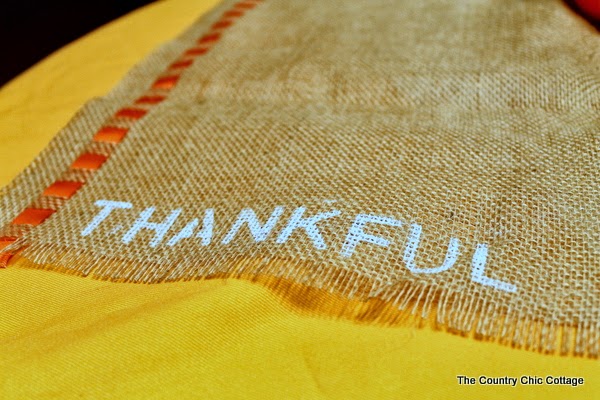
Now, it is time to add why we are all gathered together on Thanksgiving. I spelled “THANKFUL” down the side of each of my placemats with the stencil and white paint.
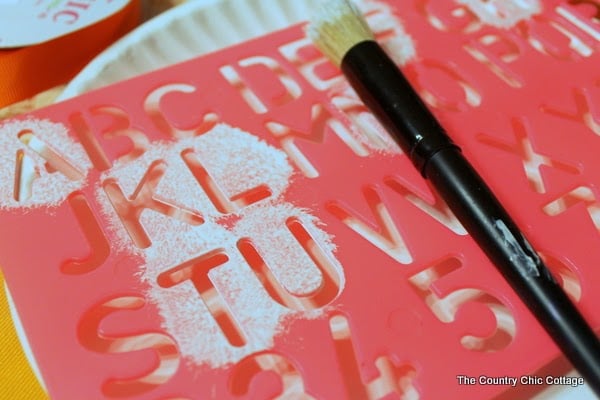
You could, of course, add different words to each of your placemats. I loved the thankful sentiment so I kept all four of mine consistent. Have fun with the different words!
Step 7
After your paint has dried, iron your placemats and they are ready to add to your Thanksgiving table!
I was given supplies and compensated for portions of this post through design teams. All opinions and projects are my own.
Like this Idea for Fall Placemats? Check out the Links Below!
Supplies
- burlap You will need two of these pieces to get four placemats. If you need more placemats, simply buy more pieces of burlap!
- stencils
- ribbon
- stencil brush
Instructions
- First, place the burlap over a placemat and cut the burlap out to match the size of the placemat.
- Next, I pulled away about three strings from each side to create a frayed edge. If you are worried about your placemat continuing to fray, you can use fray check all around the edges of your finished product.
- Then count in from one edge about eight strings and start pulling strings out. You can literally just pull a middle string easily.
- Pull enough strings so that your ribbon will fit through the burlap. In my case, it was around eight strings.
- Start threading through your ribbon. I went five strings and then repeated — in and out of my placemat all the way down the burlap.
- Now, it is time to add why we are all gathered together on Thanksgiving. I spelled “THANKFUL” down the side of each of my placemats with the stencil and white paint.
- You could, of course, add different words to each of your placemats. I loved the thankful sentiment so I kept all four of mine consistent. Have fun with the different words!
- After your paint has dried, iron your placemats and they are ready to add to your Thanksgiving table!



I like this idea. You could even take it one step further and stencil your guest’s names on them or add pumpkins, turkeys or leaves. Love!
The ideas of how to snazzy the placemats up are endless. These are great, love them. If we had a table/chairs to eat at I’d make these for us but maybe will make for daughter/family for their gorgeous table/chairs. We don’t have an eating area in our mfg. home. It’s just the two of us so we didn’t worry about that when we bought the place. Since hubs had been an over the road trucker I was alone a lot so ate in living room so I didn’t feel so lonely while eating. We just eat in l/r together now. People with a table/chairs in a dining area, enjoy it.
Think I’ll make a set of 6 in cases, see how daughter likes them. Happy days ahead.
I made 16 of these placemats in just a few hours this morning. Super easy and only cost me a total of $14! I chose to use different words..Blessing, Family, Friends, Home, Thankful, etc. All the things we will be giving thanks for!
Thank you for the idea!
I would love to see a picture! You can email it to thecountrychiccottage@yahoo.com! Thanks!