Get ready to get your spook on with a fabulous DIY Halloween vase! Inspired by the charm of a Pottery Barn classic, this project lets you create your very own Halloween-themed home decor on a budget. You’ll be amazed at how a simple vase transforms into a haunting masterpiece, complete with a skeleton arm and a black scarecrow. So, let’s dive into the world of DIY and start creating your very own Halloween vase.
Creating this DIY Halloween vase is not only a fun and engaging project but also a fantastic way to add a unique, spooky touch to your home decor.
By choosing to DIY, you have the freedom to personalize your vase to make it perfectly fit your style and match your existing Halloween decorations. Not to mention, it’s designed to be budget-friendly – you’ll be surprised at the stunning transformation you can achieve with simple, affordable materials!
This Halloween vase, complete with a chilling skeleton arm and a mysterious black scarecrow, is sure to be a conversation starter and will add a wonderfully eerie ambiance to any Halloween gathering.
Let the spooktacular crafting begin!
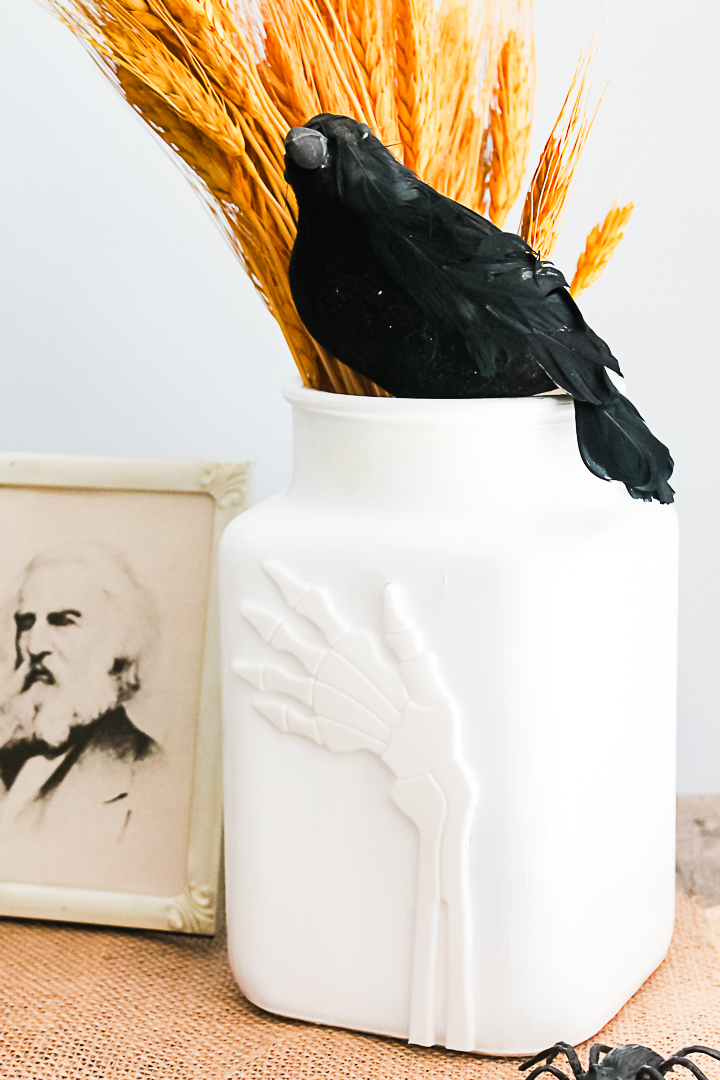
How To Make A Halloween Vase
Get ready to bring a spooky touch to your home decor this Halloween! With just a few simple and budget-friendly materials, you can create the perfect centerpiece for your living room or kitchen.
Supplies Needed
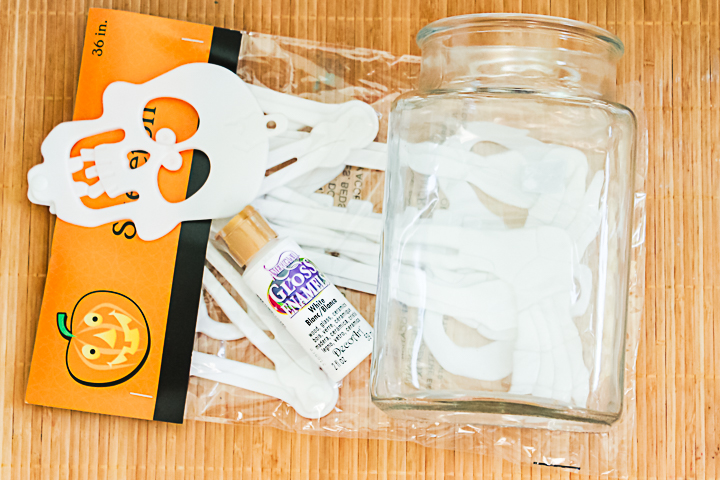
Here’s what you’ll need to gather:
- Vase or container (Check out Goodwill or Dollar Tree!)
- Thin, plastic white skeleton
- Americana gloss enamels for glass in white
- Hot glue and a glue gun
DIY Halloween Vase Instructions
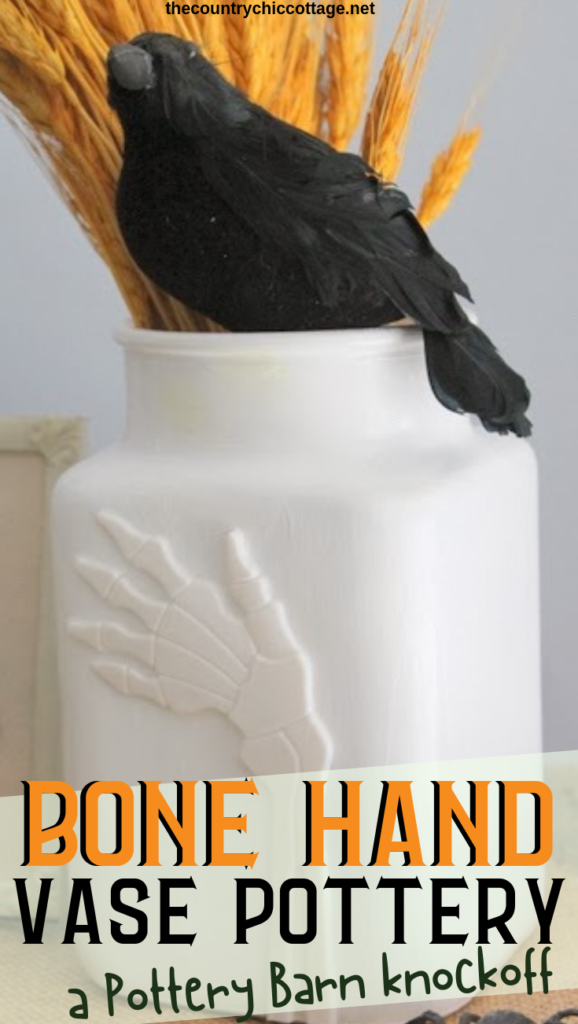
I was inspired by this original Pottery Barn vase, but $99 was not happening y’all. So, I came up with this budget-friendly option that anyone can make.
Here is a step-by-step of how I made it:
Step 1: Paint The Vase
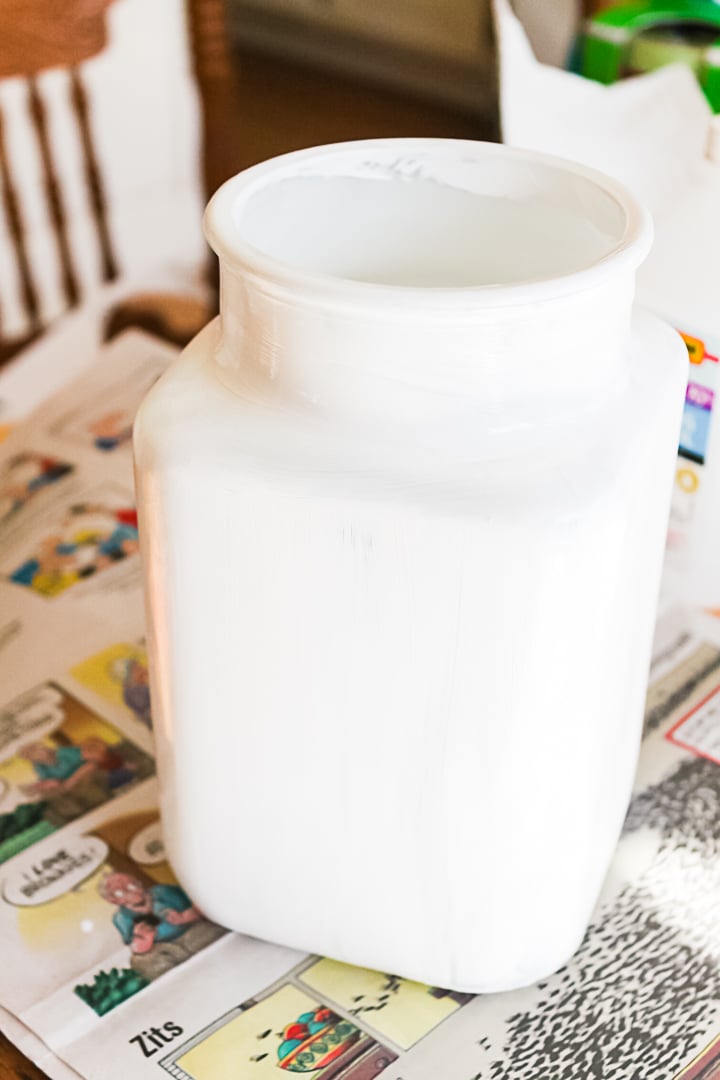
Begin by painting your vase or container. I used Americana gloss enamels for glass in white, but you can also use whatever color you would like.
You may need to do two-three coats of paint because the material of the vase will be a bit porous and may suck up some of the paint.
Allow the vase to dry well in between coats.
Step 2: Add The Skeleton Hand
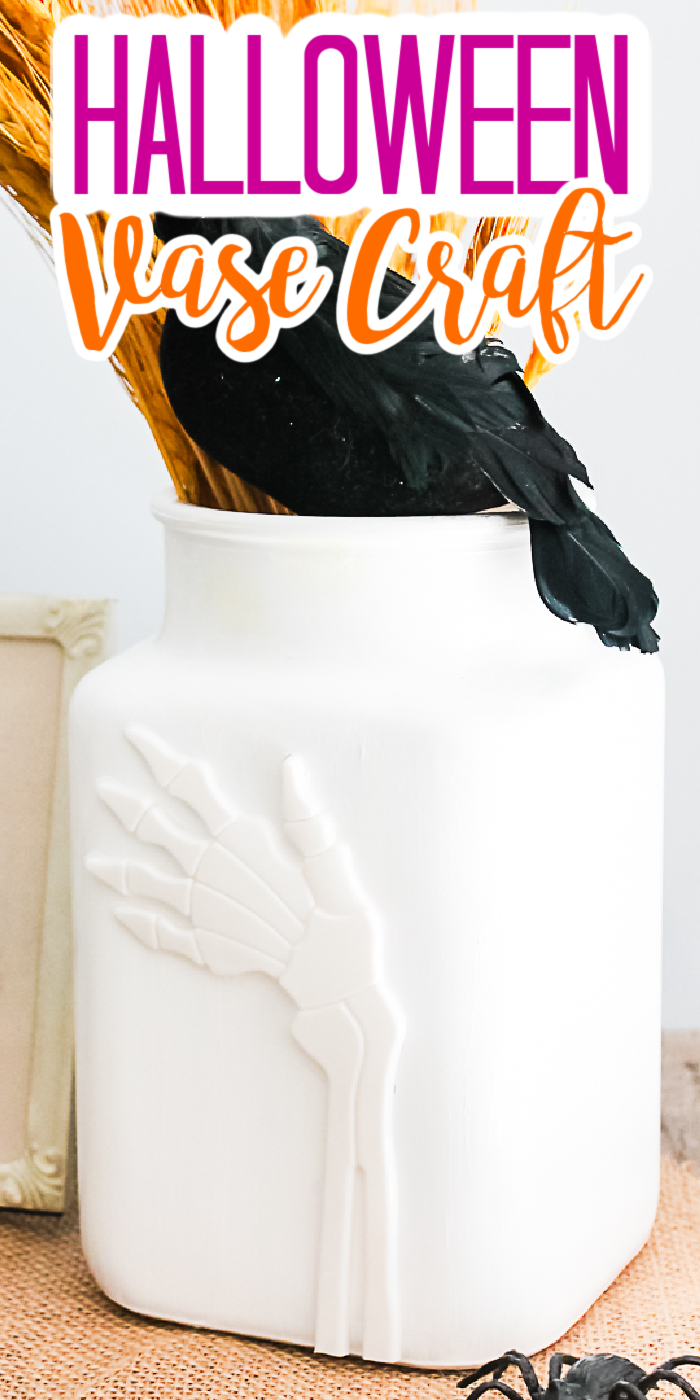
Once the vase is dry, cut the hand off of the skeleton with a pair of scissors and use hot glue to put it on the front of the vase. Make sure you place it in a position where it looks like it’s holding onto the container. You may need to bend or adjust the fingers so they look right!
Tip: You can use the other parts of the skeleton for other crafts like this skeleton dish.
Step 3: Finish Decorating
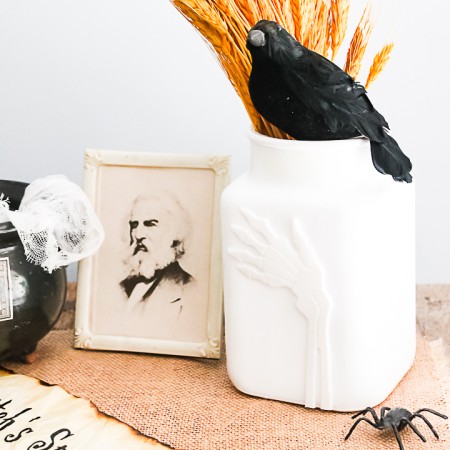
The final touch was adding this black scarecrow I found at Dollar Tree. I love how it finishes off the look and gives it a little more Halloween feel.
You can also add other decorations if you’d like, but I was happy with just this!
Now, just put some flowers in your vase and admire your work!
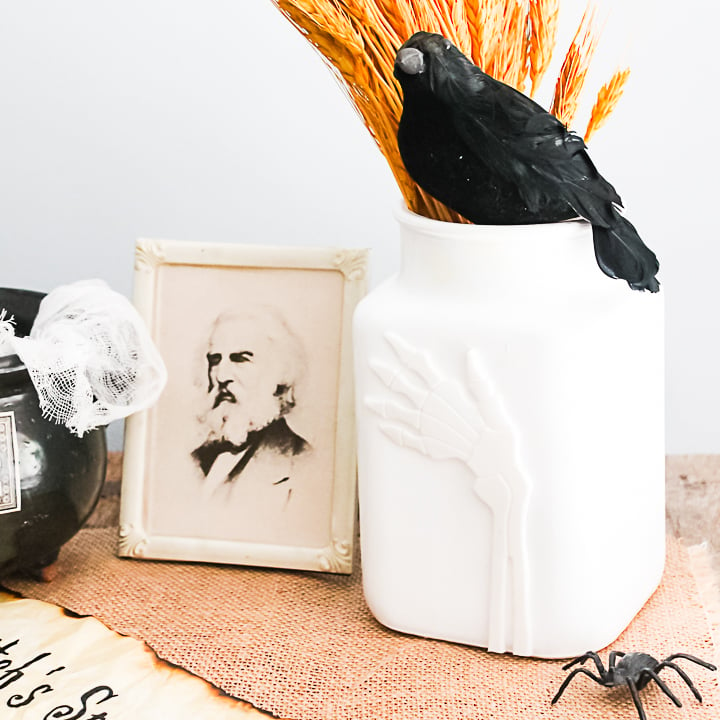
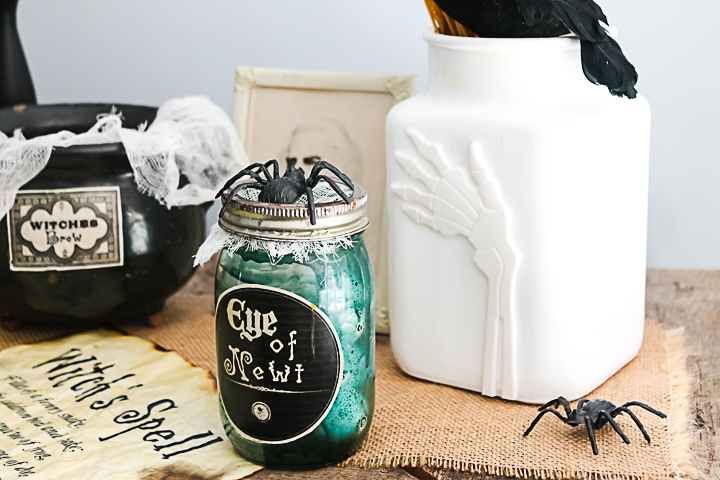
Looks pretty darn good, right? I put it with a few other Halloween crafts that I have made over the years. The Macbeth Halloween decor pictured is one of my favorite Halloween crafts of all time. You can also make those jars, the witch’s spell, and the cauldron.
Just scroll down and check out our list of Halloween home decor!
FAQs
If you have questions about making a white spooky Halloween vase, I have answers for you! Please leave your question for me in the comments if you don’t see it already answered below.
What can I use instead of a skeleton?
You can use any type of figurine or decoration. Get creative and see what you come up with! If it’s Halloween-themed, it should work out just fine.
Will this vase hold water if I put flowers in it?
Yes, this particular vase is meant to hold water. I used it for my flowers, and they are still doing well!
Can I paint the vase another color?
Of course! The beautiful thing about DIY projects is that you can customize them however you like. Paint your vase any color you’d like and express your creativity!
More craft ideas
If you love this project and want to make Halloween decor, we have those for you! Just follow the links below.
- Halloween Candy Bucket That Glows in the Dark
- DIY Haunted House That Lights Up
- DIY Halloween Wreath In A Spiderweb Design
- Mummy Ghost for Halloween
- DIY Ghost in a Jar Halloween Craft Idea
Supplies
- Vase or container Check out Goodwill or Dollar Tree!
- Thin plastic white skeleton
- Americana gloss enamels for glass in white
- Hot glue and a glue gun
Instructions
- Begin by painting your vase or container. I used Americana gloss enamels for glass in white, but you can also use whatever color you would like.
- Allow the vase to dry well in between coats.
- Once the vase is dry, cut the hand off of the skeleton with a pair of scissors and use hot glue to put it on the front of the vase. Make sure you place it in a position where it looks like it’s holding onto the container. You may need to bend or adjust the fingers so they look right!
- The final touch was adding this black scarecrow I found at Dollar Tree. I love how it finishes off the look and gives it a little more Halloween feel.
- Now, just put some flowers in your vase and admire your work!
Notes
- You may need to do two-three coats of paint because the material of the vase will be a bit porous and may suck up some of the paint.
- You can use the other parts of the skeleton for other crafts like this skeleton dish.



Oh this is really cute, I will have to remember this when I head to the dollar store so I can try it. 🙂 Thanks for sharing hun and have a great day!
Nicely done! I love this little bit of spooky added to an already fun display!
Very nice Angie! Love it being a wee bit spooky! 😉
I just made this and it turned out GREAT! It was so much fun to watch it come alive! Thank you for sharing.
I just made this and it turned out GREAT! Thank you for sharing!
love this! So easy. I was just at the dollar store too. I need to go back for the skeleton!
I love love love when you make something a big store has for a ridiculous price. I made an advent wall hanging. Big store price $300. bucks. My price, literally under 10 bucks. It was made with branches from my yard, twine and little buckets purchased at the dollar store, now I did use my cricket to cut out the numbers for the buckets but I could have easily hand numbered the buckets. But really it looked every bit as nice as the one from the big store and cost a fraction of the big store price. Woot.
Love it! Pinned it!
<3 Christina @ I Gotta Create!
Wow! I pinned it, too. Love!