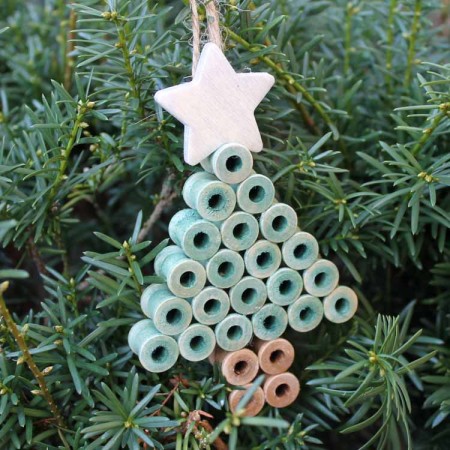
Make some rustic Christmas ornaments for your tree with wooden spools. This is a simple DIY project that will only take you minutes to make. Your country Christmas tree will never look better! The secret lies with a few products that make a rustic finish easily in just minutes. You will love the results!
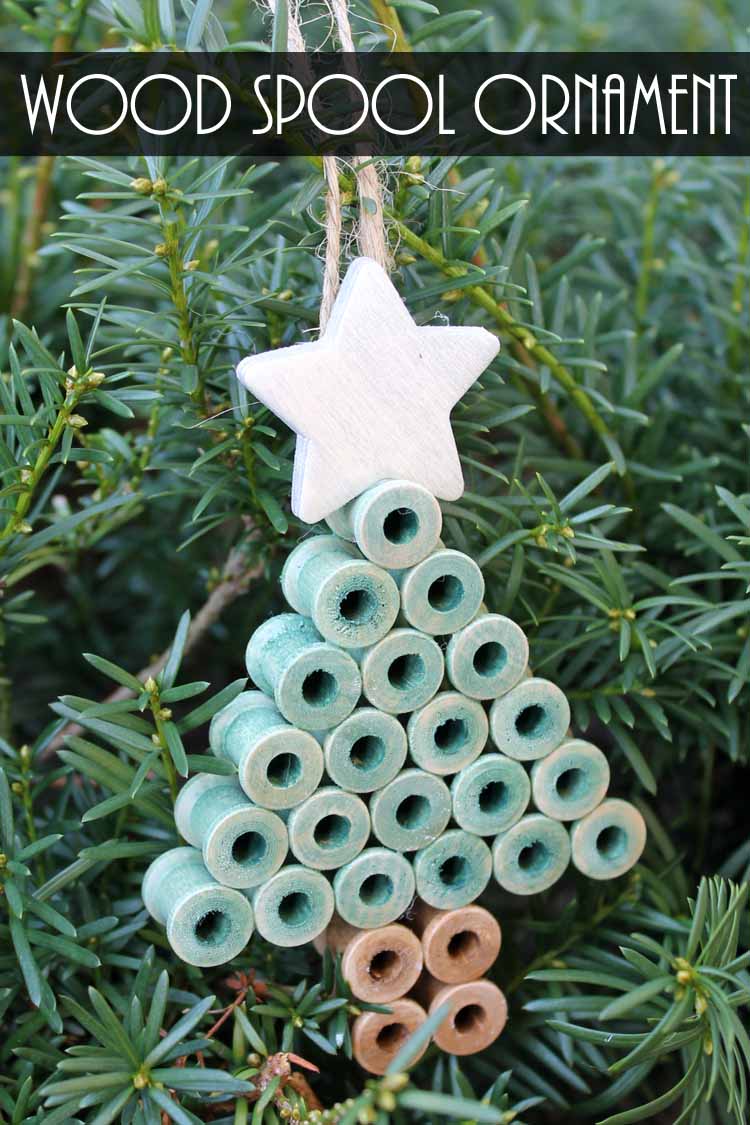
Y’all know how much I love rustic Christmas decor! There’s something so cozy and homey about it all. Well, these Christmas ornaments are all that and more. Plus, they are so easy to make!
All you need are a few wooden thread spools and colored stain to get started. I used the colors you would find on a traditional Christmas tree, but you can make this monochromatic or let the kids add a little colored flare. Also, if you don’t feel much like fussing with the stain, paint would work just fine for this craft, too.
If a farmhouse Christmas tree is right up your alley, this would look darling with this wooden red truck ornament or a wooden sleigh ornament with a monogram!
How to make rustic Christmas ornaments
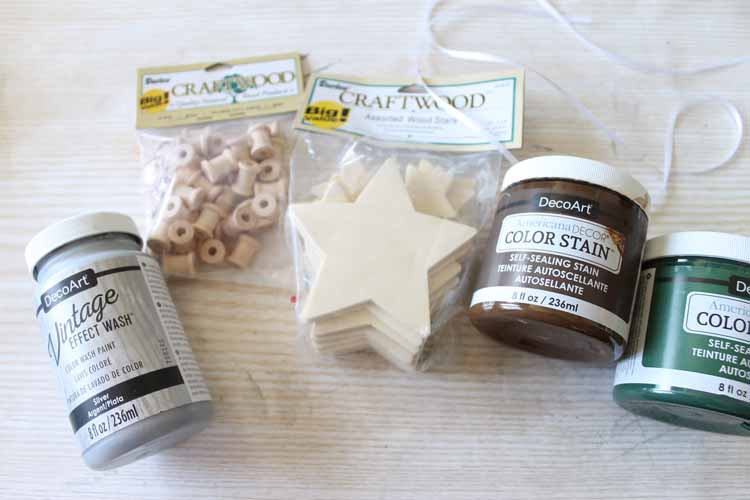
Supplies needed to make rustic Christmas ornaments:
Some links below may be affiliate links which means that you do not pay anymore, however, a portion of your purchase will go to this site.
- Wood Spools
- Wood Star
- Color Stain (I used green and brown)
- Vintage Effect Wash (I used silver)
- Twine
- Krazy Glue Craft Formula
- Paintbrushes
Instructions:
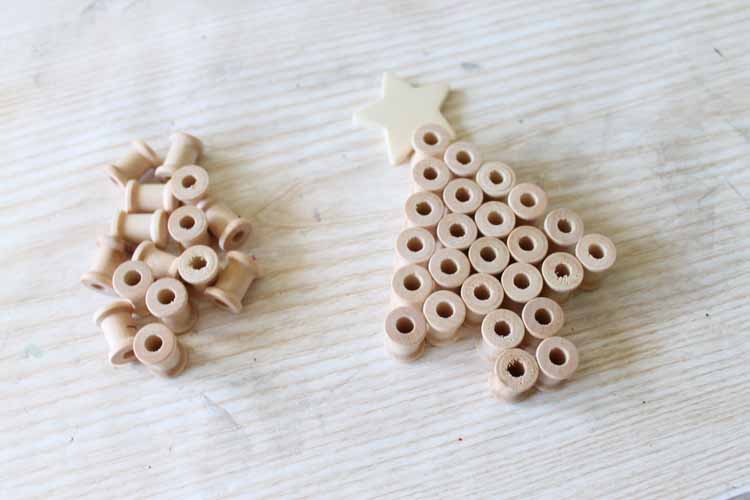
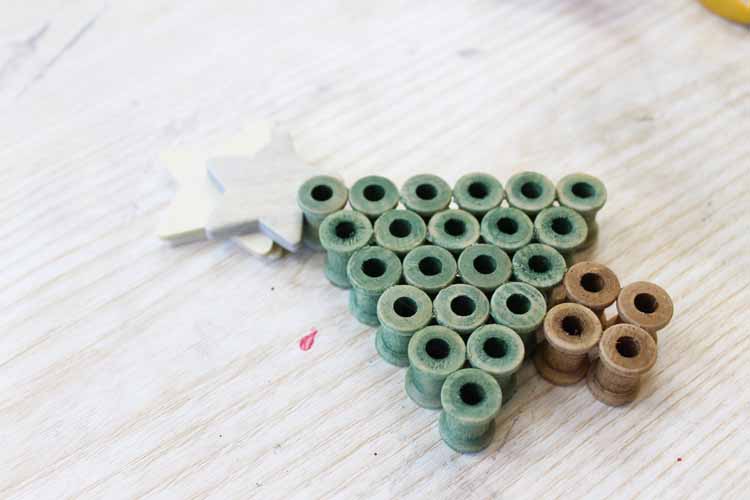
Dry fit your pieces into the shape you desire.
Then use the wood stain on each spool. To make it easier, add the spools to the end of a paintbrush as shown then use another brush to apply the stain.
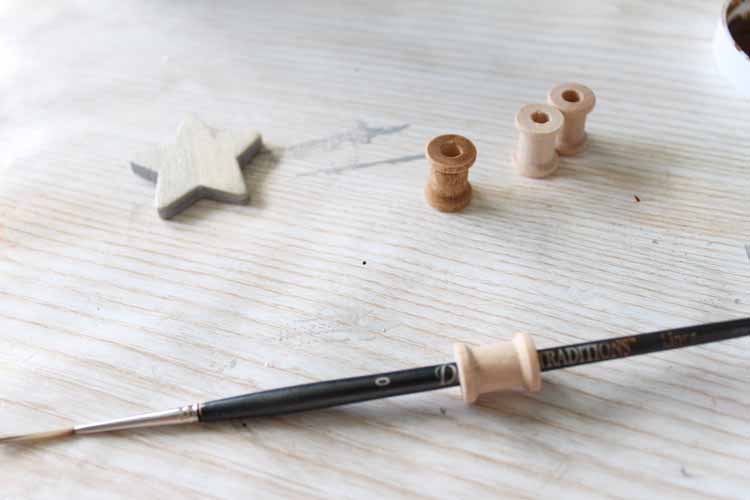
Apply the stain, allow to sit a few minutes, then remove all excess with a rag. This will give you a rustic finish in just minutes. You will also want to go back and stain the inside of each spool. For the star, I used the silver Vintage Effect Wash with the same technique. Set all of your pieces aside to dry completely.
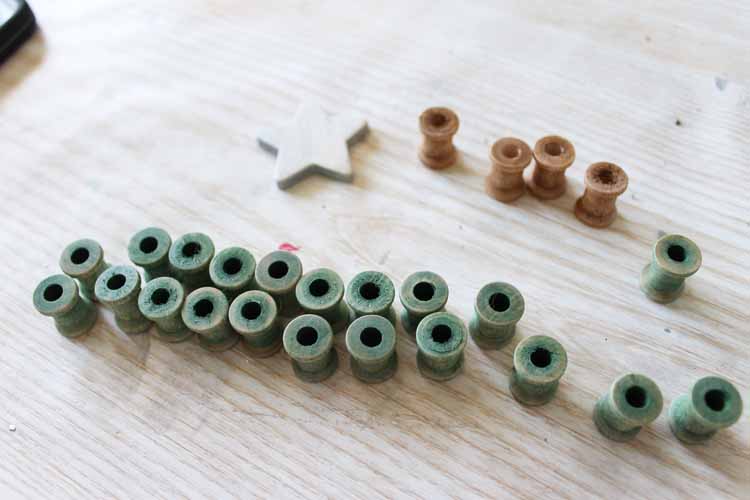
Then dry fit them together once again.
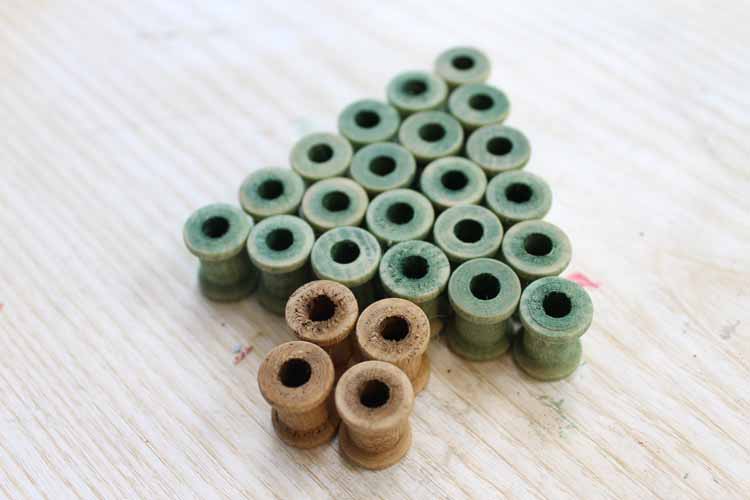
Now you can start adding glue. I found that gluing them together in pairs first helped me to handle them a bit better. I added glue at both the top and bottom. You want a glue that dries quickly and has a strong bond.
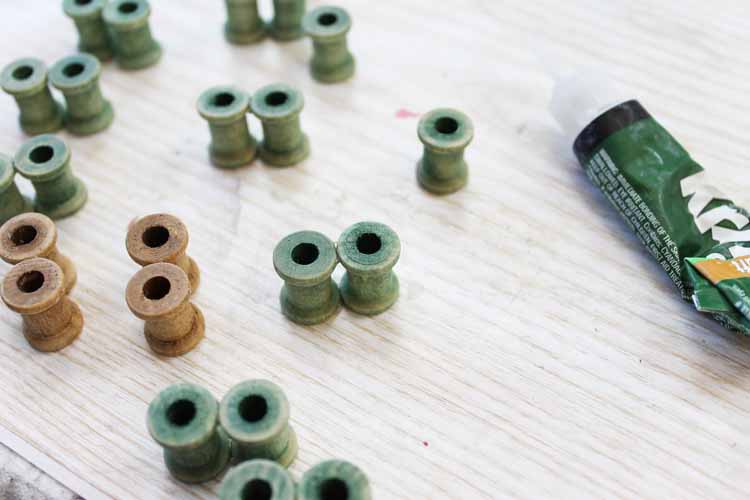
Then turn those pairs into rows of spools the right size for your tree as shown below.
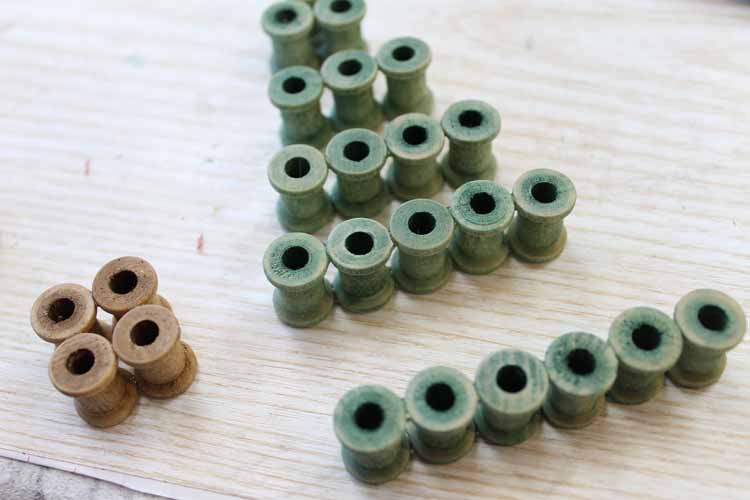
Then just use more glue to secure your rows together. I used additional glue at the top for my star. Use spare stars or anything else to hold it up while it dries.
Once your rustic Christmas ornaments have dried, add a piece of twine to the top with additional glue and add to your tree.
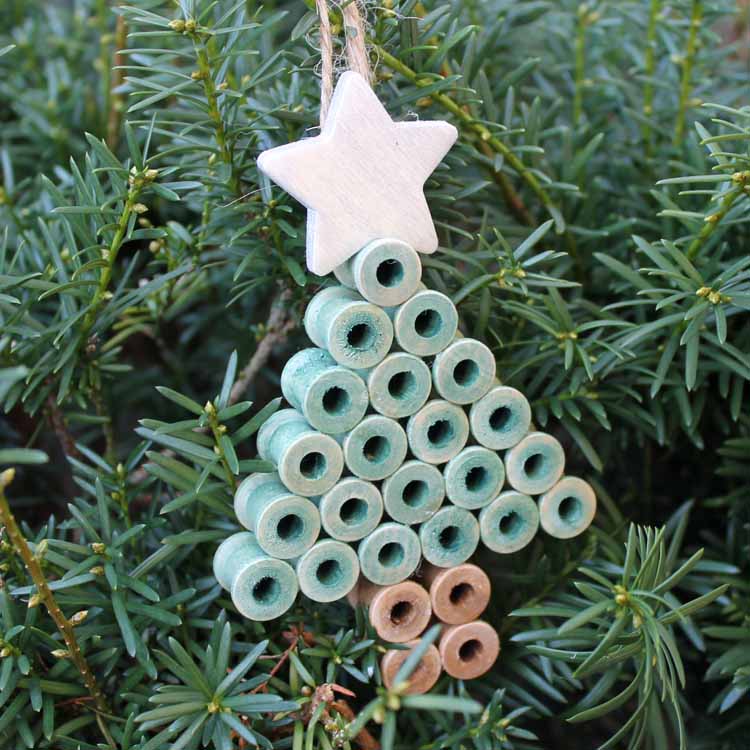
I love the rustic look of this one! If you are going for that handmade, rustic look this holiday season, these rustic Christmas ornaments made from spools are definitely for you.
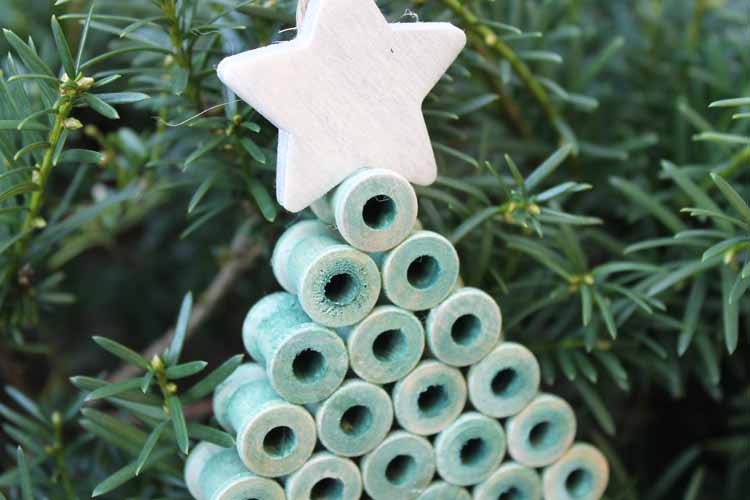
You can use this same method to do other shapes as well. I think a star would be super cute and maybe even a gingerbread man!
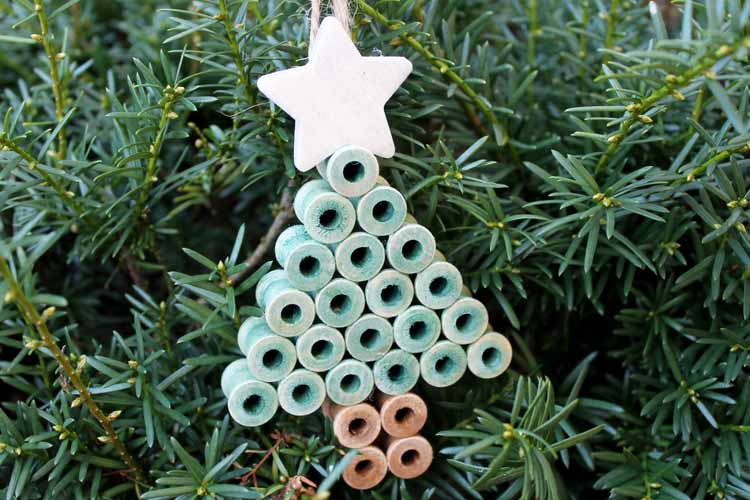
Love these rustic Christmas ornaments and want more ideas? Try the links below!
- How to Make Christmas Ornaments from Clay
- Red Truck with Christmas Tree Ornament
- Christmas Gnome
- Frame Ornaments with Your Cricut
- Wooden Spool Christmas Table Decorations
Equipment
- Twine
- Krazy Glue Craft Formula
Supplies
- Wood Spools
- Wood Star
- Color Stain I used green and brown
- Vintage Effect Wash I used silver
Instructions
- Dry fit your pieces into the shape you desire.
- Then use the wood stain on each spool. To make it easier, add the spools to the end of a paintbrush as shown then use another brush to apply the stain.
- Apply the stain, allow to sit a few minutes, then remove all excess with a rag. This will give you a rustic finish in just minutes. You will also want to go back and stain the inside of each spool.
- For the star, I used the silver Vintage Effect Wash with the same technique. Set all of your pieces aside to dry completely.
- Dry fit them together once again.
- Now you can start adding glue. I found that gluing them together in pairs first helped me to handle them a bit better. I added glue at both the top and bottom. You want a glue that dries quickly and has a strong bond.
- Then turn those pairs into rows of spools the right size for your tree.
- Then just use more glue to secure your rows together. I used additional glue at the top for my star. Use spare stars or anything else to hold it up while it dries.
- Once your rustic Christmas ornaments have dried, add a piece of twine to the top with additional glue and add to your tree.


So simple, but so adorable! And fun ~ spools are always fun.