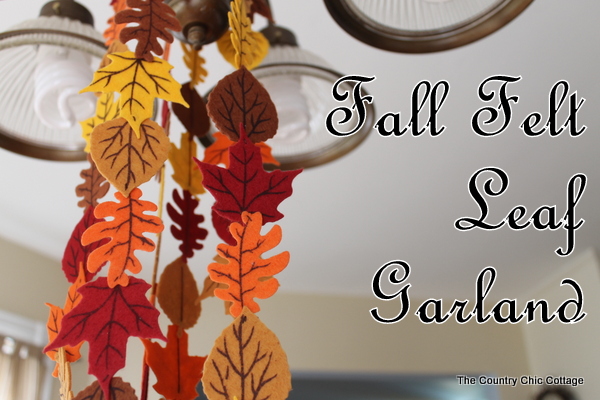
A fall leaf garland embodies everything we love about fall. Make this fall felt garland with rich fall-colored leaves to adorn any area of your home this autumn!
Do you feel that slight chill in the air that says fall is on its way? If it hasn’t arrived yet, it will soon, so it’s time to start adding a little touch of fall around the house!
Fall is one of my favorite seasons for decorating and crafting because there is SO much inspiration and so many colors to use. Not too long ago, I made my Fall Mason Jars and Fall Wooden Sign. I love seeing them around the house as I walk through.
Around here, we’re totally gearing up for apple and pumpkin season. Recently, as I was enjoying a cup of coffee on my porch and enjoying the fall porch decor, it inspired me to make a colorful fall felt garland for the house interior.
I pictured a fall leaf garland incorporating all the rich, bold colors of the season and couldn’t wait to get started. Now I’m sharing it with you!
Note: if you want even more fun fall projects, check out our Pallet Pumpkins in Minutes, DIY Burlap Pumpkin Wreath, and Easy Farmhouse-Style Fall Centerpiece ideas.
How To Make A Fall Felt Garland
Grab a few simple supplies and make my fall felt garland to dress up your home for the season. This is a super simple craft project that you could even get the kids in on to help.
Supplies Needed
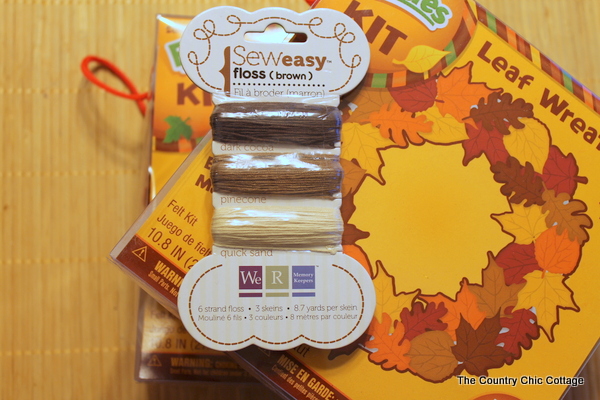
- Felt Leaf Wreath Kit
- Sew Easy Floss
- Needle
Fall Garland Instructions
Here are the instructions and notes for making this project. It’s an easy project to adjust to meet your needs. Make your fall felt garland longer or shorter by changing the number of leaves you use!
Step 1
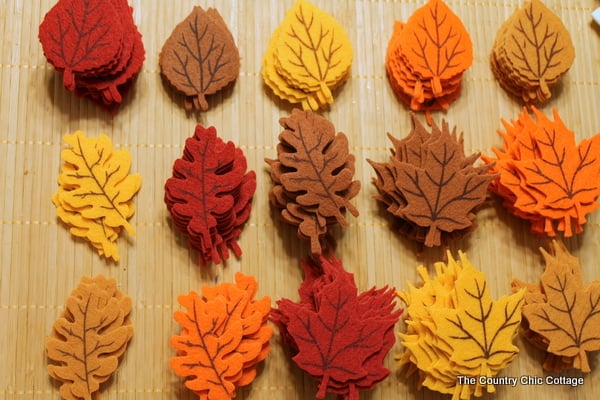
Sort your leaves, so you know what you have to work with (and whether you need more leaves for your project).
I got two wreath kits because I expected them to be smaller than they actually were. There are SO many leaves in one kit. I used ALMOST an entire kit and have over 10 feet of garland!
The leaves that came in my kit are pictured below. Note: the variety of leaf types and colors appears to be random.
Step 2
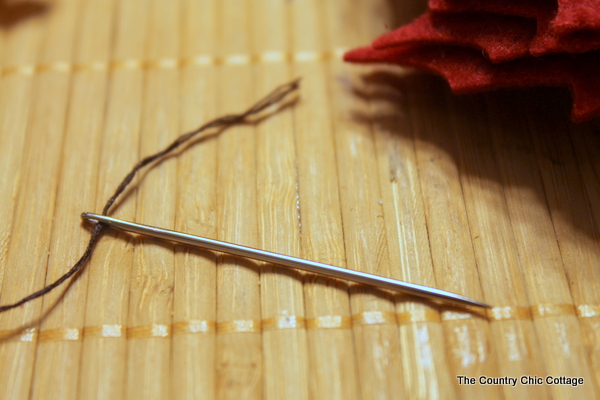
The floss pictured above (in the supplies image) is a 6-strand embroidery thread. Separated it into three strands and thread it through a large needle to sew the fall felt garland together.
Step 3
Next, hand-stitch the leaves together. I made it where there was only a small stitch visible on the “front”.
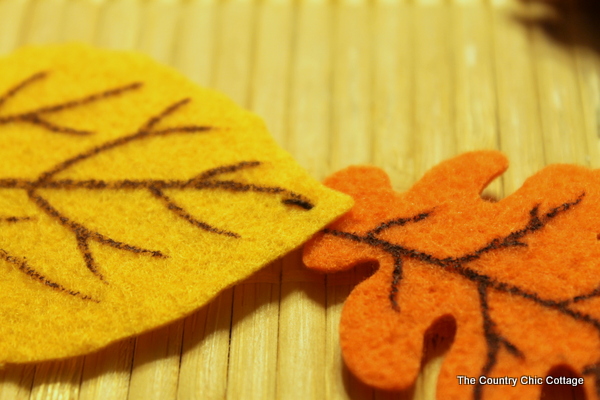
That puts the larger leaf-length stitch on the back. I stitched the leaves together with a bit of a pattern, putting the shorter stitch in front and the longer stitch in the back.
However, as I mentioned above, the package is random, so you might have to use more of one type or color than another.
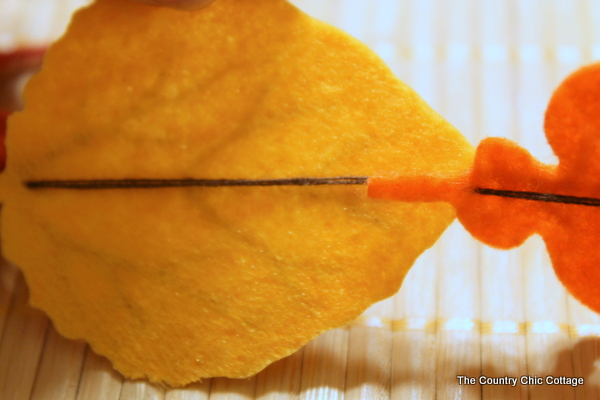
That is all there is to this fall felt garland project!
This project is a special one because it didn’t need to be completed in one session. I love that I could walk away from this one at any time and work on it a little at a time.
In fact, I did it while I watched TV in the evenings! Just a few TV episodes over a few days, and I had over 10 feet of garland. Wow!
FAQs
Here are a couple of questions that I see readers ask about making this fall leaf garland project. If you have a question, please check to see if I’ve already answered it below. Don’t see your question? Leave it for me in the comments!
Can I glue the leaves together instead of sewing them?
Not really, for a couple of reasons. First, the glue would not allow natural movement, so your garland would look stiff and be hard to position and store.
Also, by sewing them together, you have a built-in way of hanging and positioning your fall garland any way you want. Hang it, lay it on the mantle, or drape it somewhere for a burst of fall color!
Can I use twine or string instead of floss?
String should be a pretty easy swap, allowing you to keep the method of making this fall felt garland the same. Twine, on the other hand, is generally much thicker, so you wouldn’t be able to thread it into a needle.
However, one idea for making this project with twine would be to glue the leaves to the twine (but not to each other). If you space them out just a little bit, you should be able to create a more natural look and movement as you position your garland.
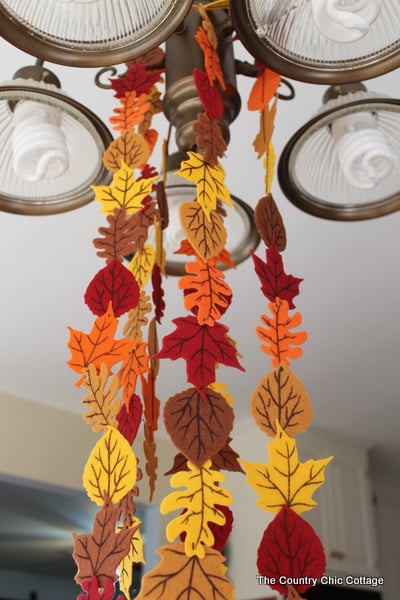
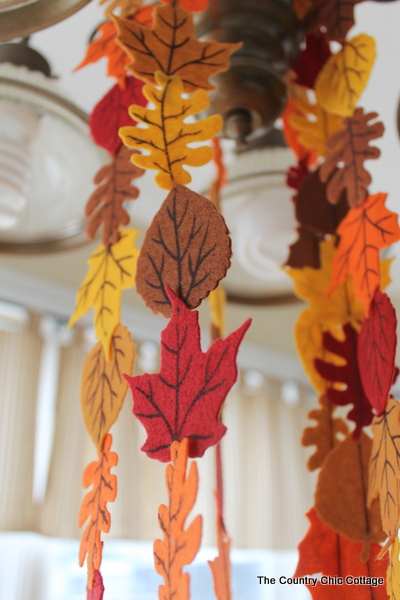
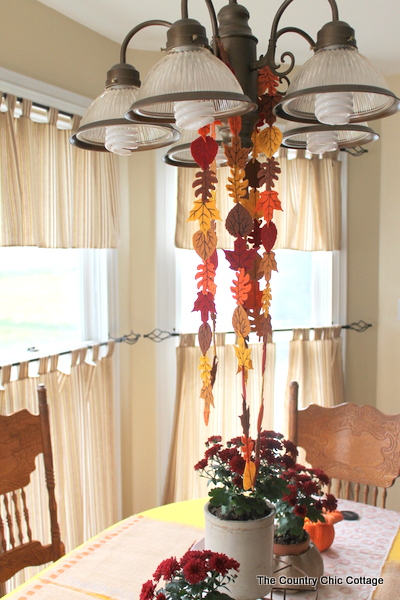
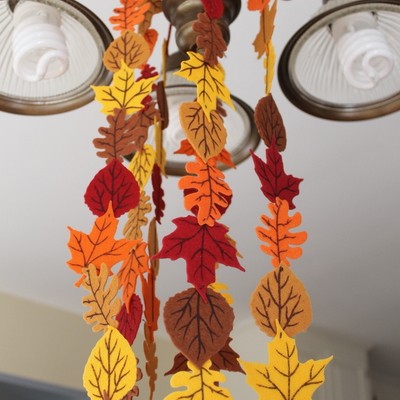
As you can see, I strung my fall garland around the light in my kitchen for a burst of autumn color. This is a super simple craft, and it’s so easy to just drape over a light or onto a mantle.
What are you waiting for? Get yourself some fall felt leaves today and string them together to create your personalized fall decor. It makes the perfect addition to any home.
In fact, you can keep these lovely leaves on display until you’re ready to swap them out for your Christmas decor (oh my goodness….it is getting closer, isn’t it???).
More Fall Crafting Inspiration
Autumn is such a fun season for crafting! If you love this fall felt garland project and want more terrific ideas, check out these projects!

Supplies
- Felt leaf wreath kit or fall felt leaves
- Sew Easy Floss
- Large needle
Instructions
- Purchase your leaves and sort them, so you know what you have to work with.
- Strip down your strand of floss until you only have three strands twisted together. Thread the floss through the needle.
- Hand-stitch the leaves together end-to-end. I recommend making a small stitch on the front side of the leaves and leaving the longer stitch on the back side.


What neat craft! It’s definitely starting to feel fallish. So this would be a great craft to make with the kids and something that versatile. We could add a few turkeys and use it for Thanksgiving as well.
Instead of making felt leaves myself I just might have to order one of those. They look really nice with the veins on the leaves. I’m a little behind in my emails so sorry if this comment is a bit tardy. I have to really look at things, pin them, etc. so it takes me awhile to get thru at least 100 posts. There’s so much inspiration, including on this site, I hate to miss any of it.
I like to leave a comment when I can but then that takes mucho time also. Happy days. Love your leaf garland. I love to make things for Fall.