Have you ever wanted to learn how to make a snow globe with sparkly glitter and without glycerin? I have some simple instructions for you today, so grab those mason jars and make something extra fun! I love quick and easy crafts for the holiday, and I hope you do, too!
Looking for more quick and easy Christmas craft ideas? Satisfy your need to create by reading my list of 40 Christmas Craft Projects in 15 Minutes or Less!
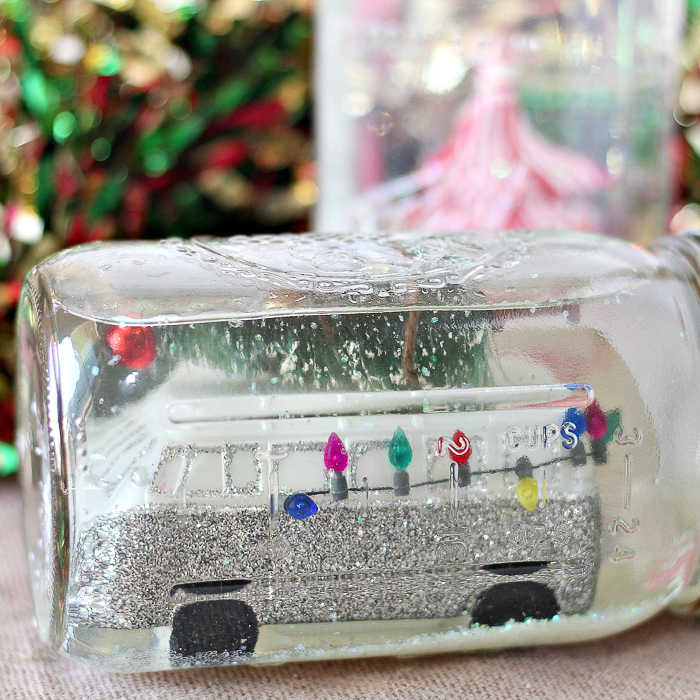
How To Make A Snow Globe
Embrace the Christmas spirit with this simple and stunning snow globe craft! It’s easy to fill with adorable Christmas ornaments and figurines. One of the best parts of this DIY snow globe is that it doesn’t require glycerin, making it one of my favorite snow globe projects!
Create your own snow globe this year with the kids, and get creative with what you place inside the mason jars. You can add pictures, notes, and much more inside to make the customizable snow globes special.
Supplies Needed To Make Snow Globe
- Cheap Christmas Ornament
- Mason Jars
- White Glitter: Two to three tablespoons of white glitter to make this DIY snow globe shimmery and sparkly.
- Clear Glue: Two to three tablespoons of clear glue is used in place of glycerin to ensure the glitter floats down slowly.
- HOT Water: The hot water is used to melt the glue.
- Hot Glue Gun and Glue Sticks
NOTE: Adding beads, buttons, or other random objects would be fun additions to these snow globe jars!
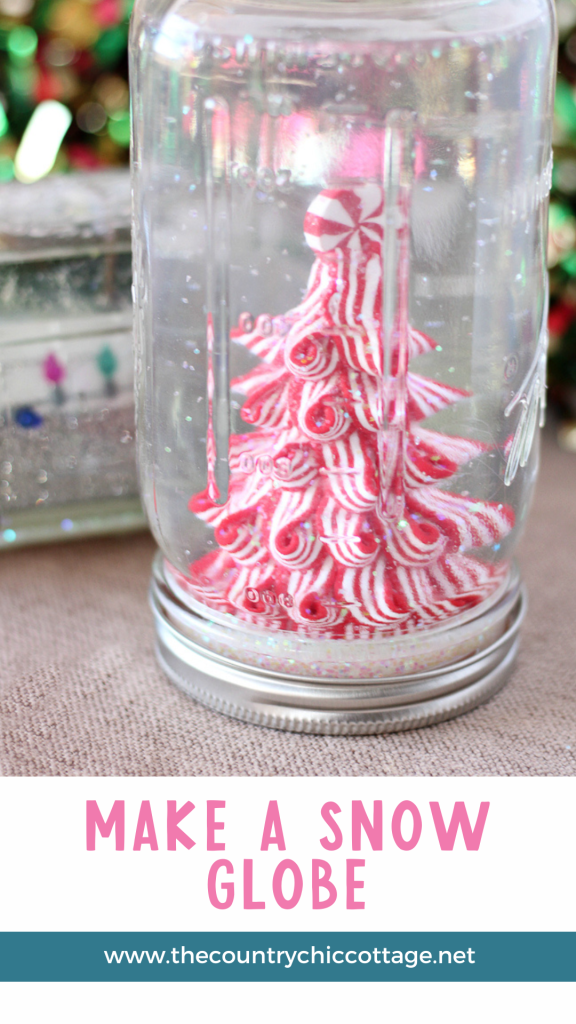
Step 1: Glue Ornament To Mason Jar Lid Or Inside Of Jar
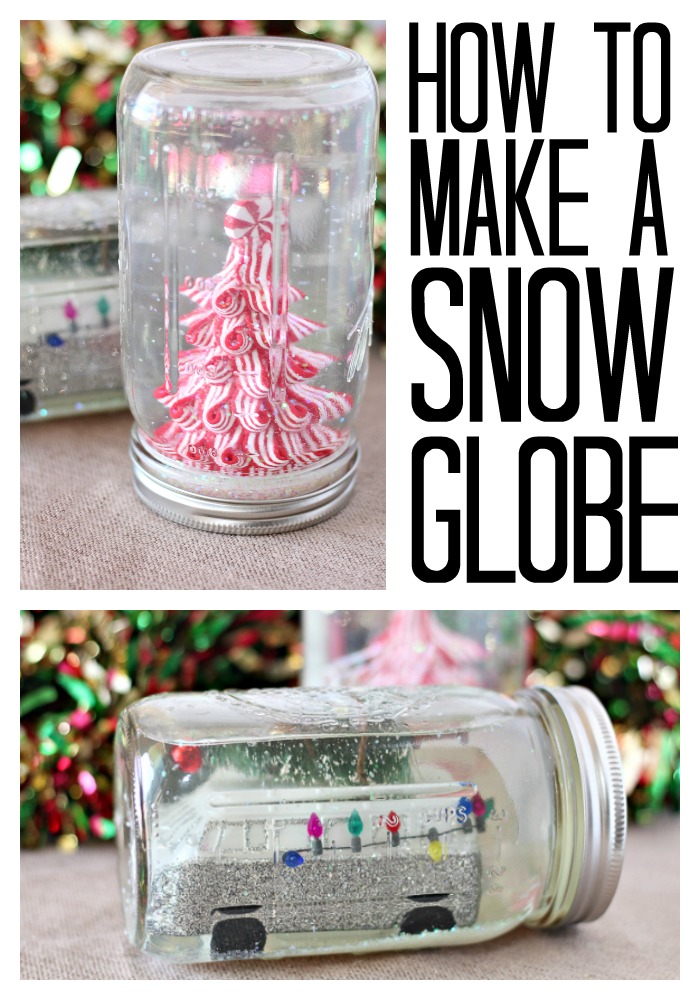
Start by using your hot glue gun to secure your ornament to the bottom of your mason jar lid. Ensure that your ornament will fit inside whatever size jar you use.
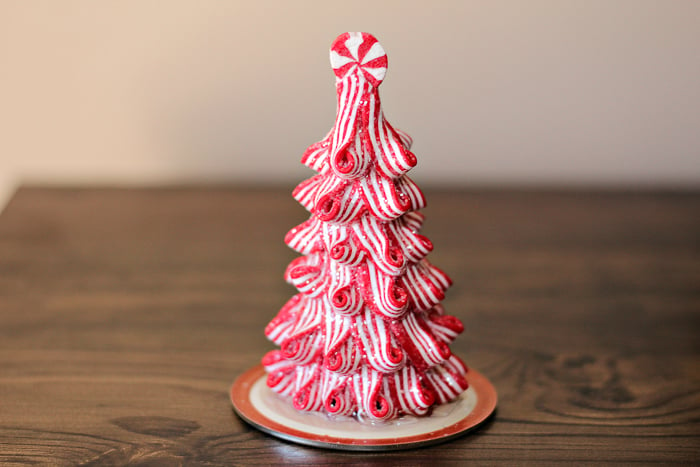
The bus is actually glued to the inside of the jar, as shown below. Depending on the ornaments you purchase, you can use either method.
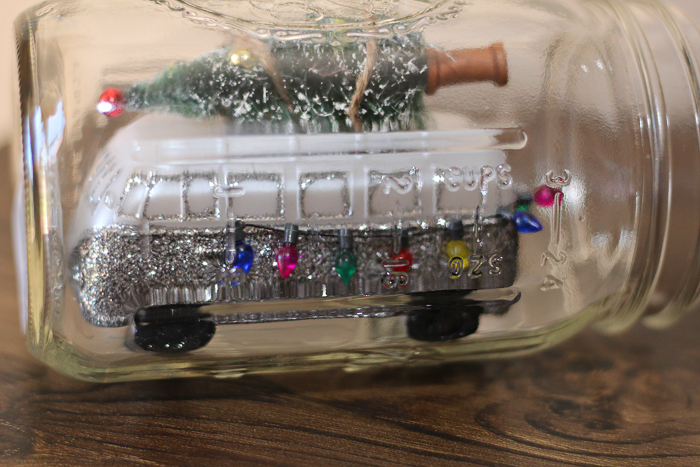
Step 2: Add Clear Glue & Glitter
Next, place your clear glue and glitter in the bottom of your mason jar. You can use two tablespoons or up to three depending on how thick you want your glitter to be.
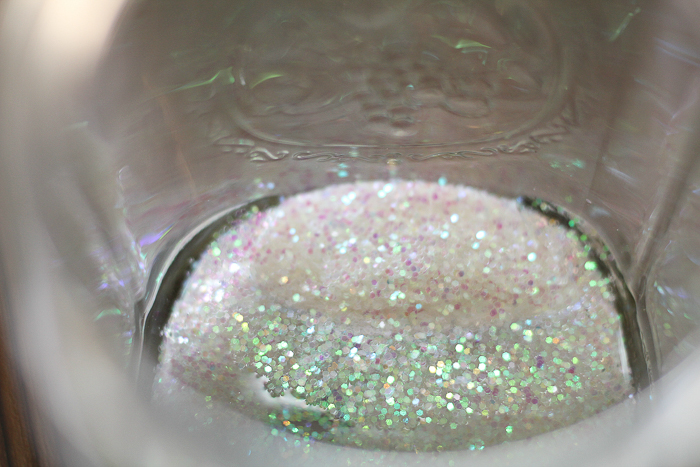
Step 3: Add Hot Water & Stir Well
Immediately pour in the hot water and stir well. If the glue and glitter clump up, microwave the jar for 30 seconds and stir. Repeat until the clumps are gone.
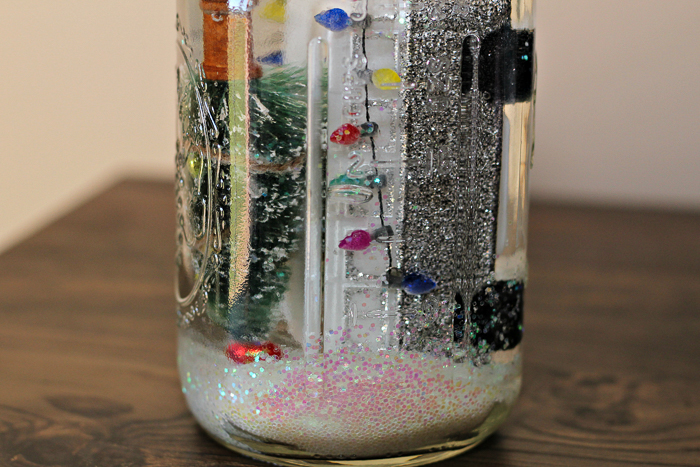
Step 4: Glue On Mason Jar Lid
Next, fill the jar the rest of the way with water to the rim. Place the hot glue on the inside of your jar lid, and screw the lid on tightly before the glue cools.
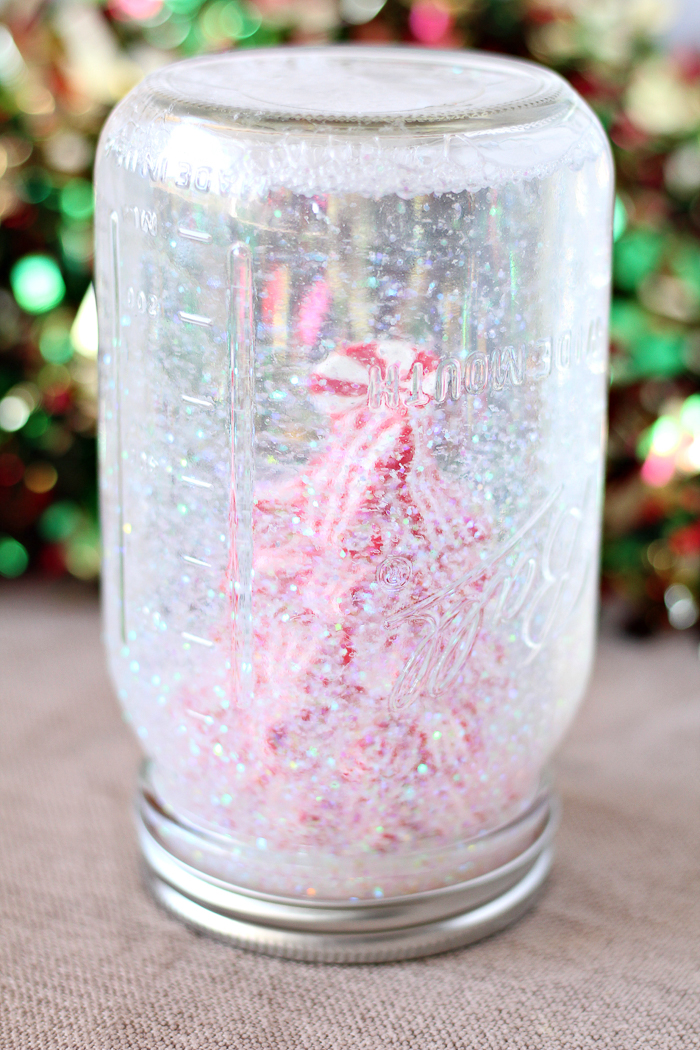
Step 5: Place Jar In Fridge
Finally, place the jar in the fridge to cool. Then shake and let the kids enjoy this fun Christmas decoration!
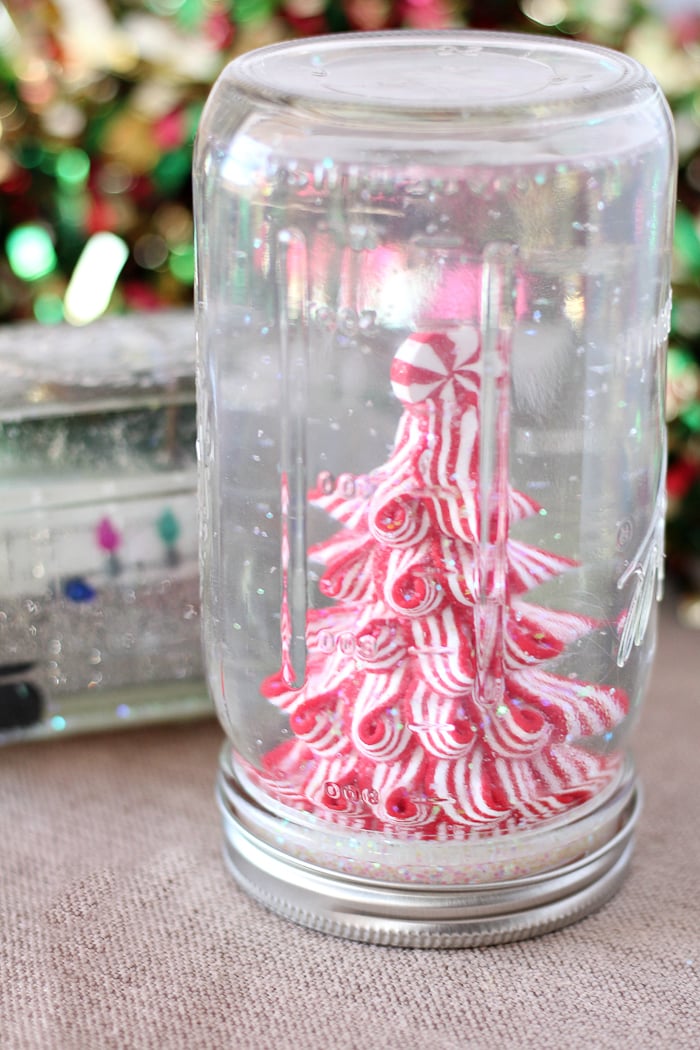
Now that you know how to make a snow globe, will you be making them for your Christmas decor?
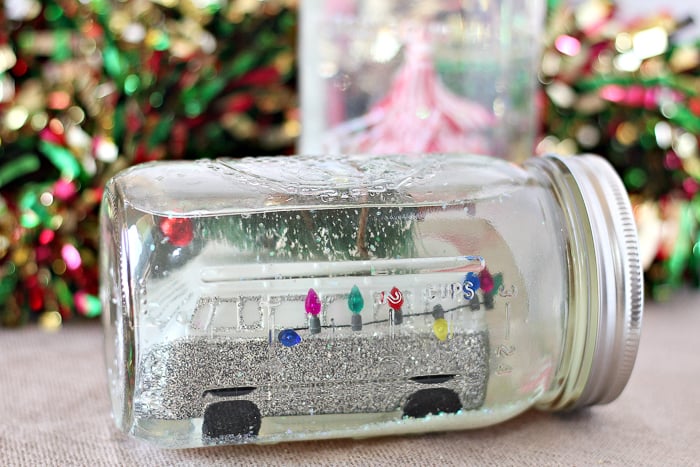
Use this DIY snow globe as a Christmas ornament for the Christmas tree or a holiday decoration around the house. Loved ones will also cherish this gift from children or you, so consider making these mason jar snow globes to give as presents!

FAQs About How To Make A Snow Globe
Here are a few common questions that I often see readers asking about making snow globes. If you have a question, please check if I’ve already addressed it below. If you don’t see your question listed, please leave it in the comments!
Can I Make This Snowglobe Using A Different Size Jar?
Yes, you can use any sized mason jar! Just make sure you have the rings and lids to match the jars.
Do I Need To Clean My Jar Before I Start This Project?
Yes! You will want to wash and clean your jar before you add the ornament. I would also clean the outside of the jar with alcohol because it will remove any extra ”dust” and give you a nice clean surface to see what is inside.
Can I Use Any Ornament For This Project?
Tenchianlly, no. Since you are adding water to this jar, you will want to use an ornament that can be submerged in water without damage.
Most of the ornaments you find at the craft store, Dollar Tree, or big box store (plastic, ceramic, etc.) will work. However, you should avoid ornaments made mostly of fabric or wood.
Can I Use A Different Color Of Glitter?
Yes! Feel free to explore different colors of glitter and even combine a few to make your own custom mix!
How Much Hot Water Do You Use?
Add a little at first to dissolve the glue mixture. Then, fill the jar.
You Put The Jar And The Object In The Microwave Together?
Yep! Be careful when putting objects that are metallic in there, however.
5 More Mason Jar Christmas Crafts
Did you love learning how to make a snow globe and want more Christmas crafts? Then check out the projects below!
- Elf Mason Jar Gift for Christmas
- Mason Jar Pinecone Tree
- Even More Christmas Mason Jar Crafts!
- Mason Jar Christmas Crafts
- Mason Jar Christmas Gifts with Snow Globe Toppers
A Year of Jar Crafts

Sign up for our email list to get a FREE book with an entire year of jar crafts! 12 months, 12 crafts, tons of fun!



How much hot water do you use?
Add a little at first to dissolve the glue mixture. Then fill the jar.
Put the jar and the object in the microwave together?
Yep! Be careful with putting objects that are metallic in there however.