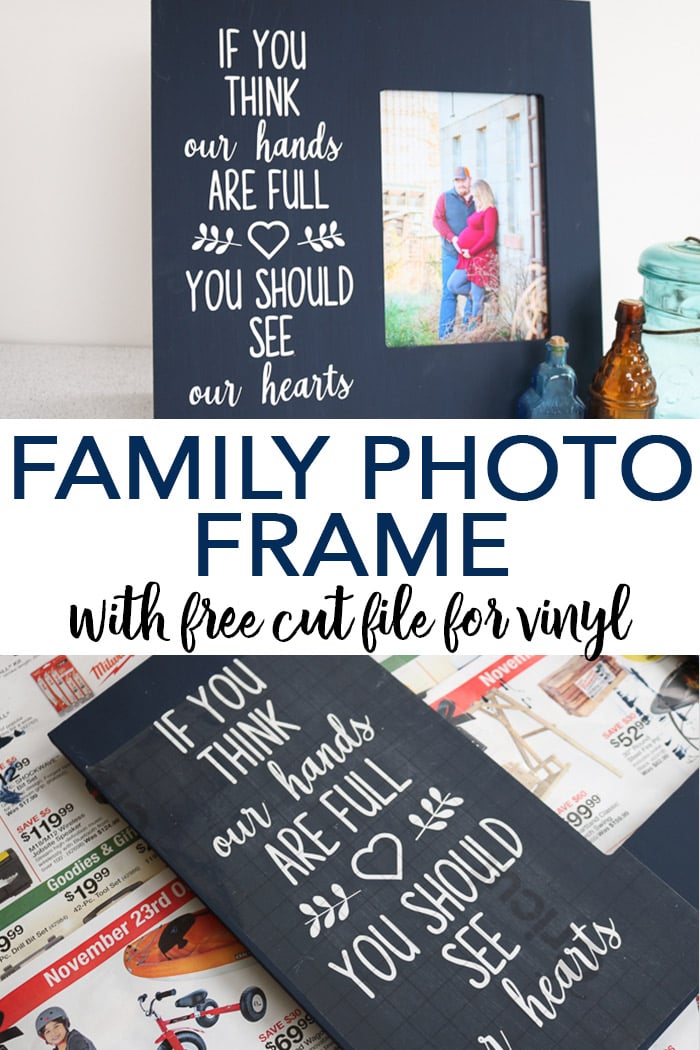
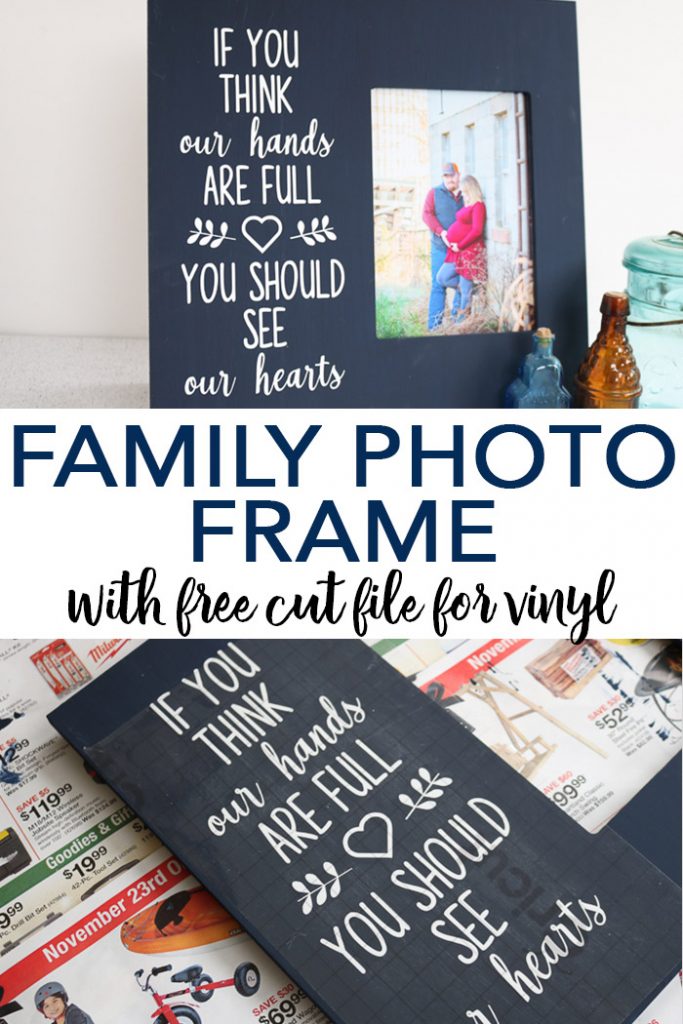
Use this month’s free SVG to preserve precious family memories with a special and unique family photo frame you’ll love to display in your home. Or, make a family photo frame as a DIY Valentine’s gift for family or friends! Plus, while you’re at it, grab the other 14 free Valentine SVGs I have for your other Valentine’s Day projects too!
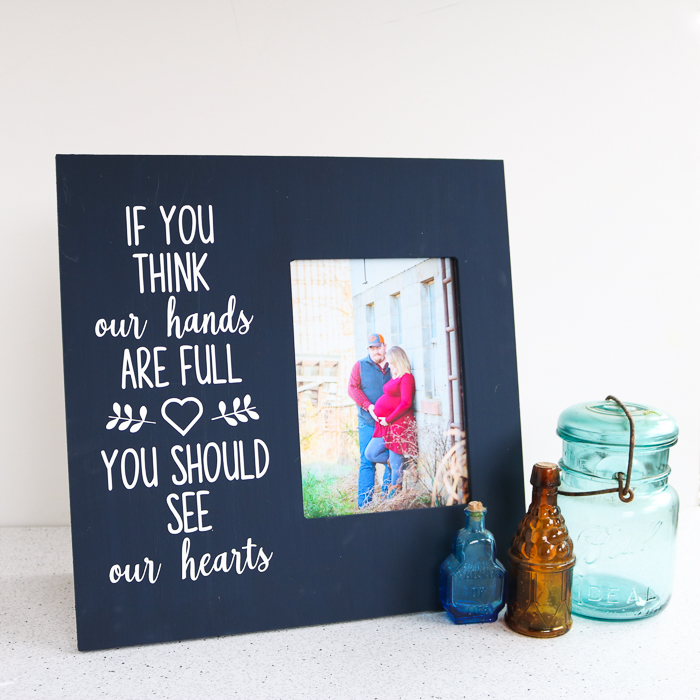
How To Make A Family Photo Frame
One of my favorite things is to display family pictures around our home. I love being able to see the smiling faces of family and friends in every room.
Over the years, I’ve made several different DIY family picture frames. A few of my favorites have been the:
The method I’m using for this differs from those other frames because it uses a Cricut machine and vinyl. Plus, it has a classic black-and-white motif.
Seriously, what’s not to love? Without any further adieu, let’s start crafting.
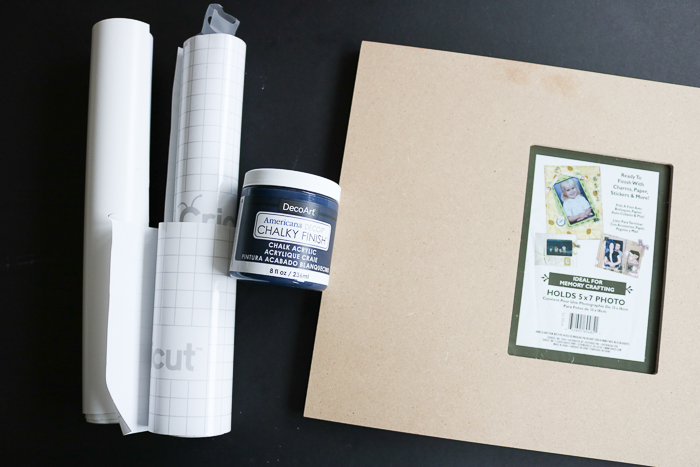
Supplies Needed To Make Family Photo Frame
- Frame
- Craft paint (I used black acrylic)
- White vinyl
- Transfer tape
- Cricut machine (you can see which is my favorite here)
- Paintbrush
- Free SVG file
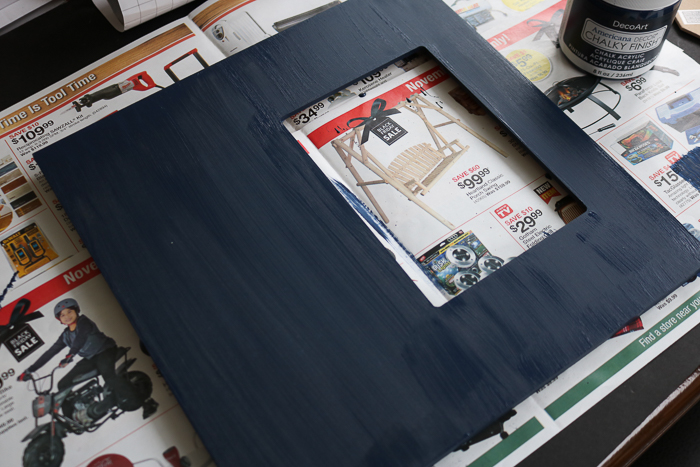
Step 1: Paint Frame
Paint the frame with a few coats of craft paint, allowing time to dry in between coats. I used a chalky finish paint, but you can choose any finish that you love.
Step 2: Download & Cut SVG File
Download the free SVG file while your paint is drying. You can click here to access the file. Then upload it to your cutting machine and cut the design out from the white vinyl.
TIP: If you need some help on how to upload the file to a Cricut machine, check out this video tutorial.
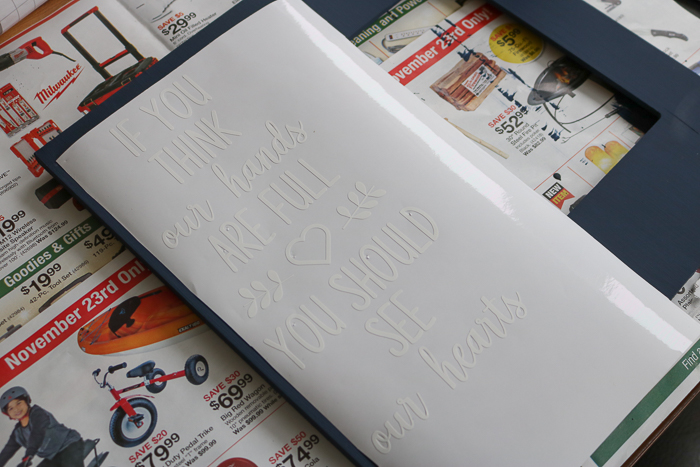
Step 3: Weed Vinyl
You will then need to weed all of the excess vinyl from around your design and the centers of all of the letters.
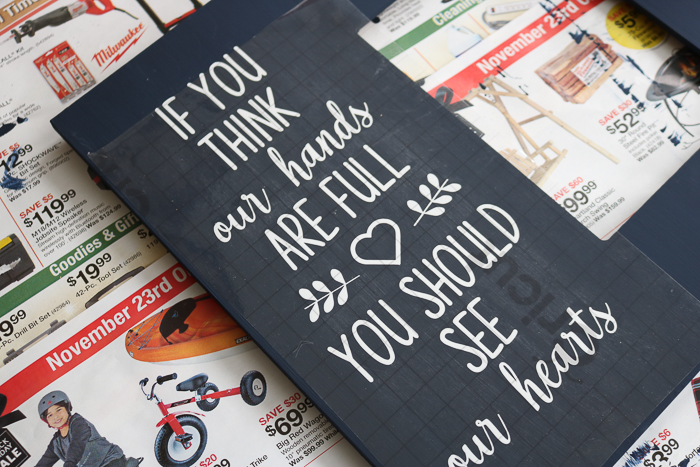
Step 4: Add Vinyl To Frame
Once your paint is dry, you can add the vinyl to the side of your frame with transfer tape.
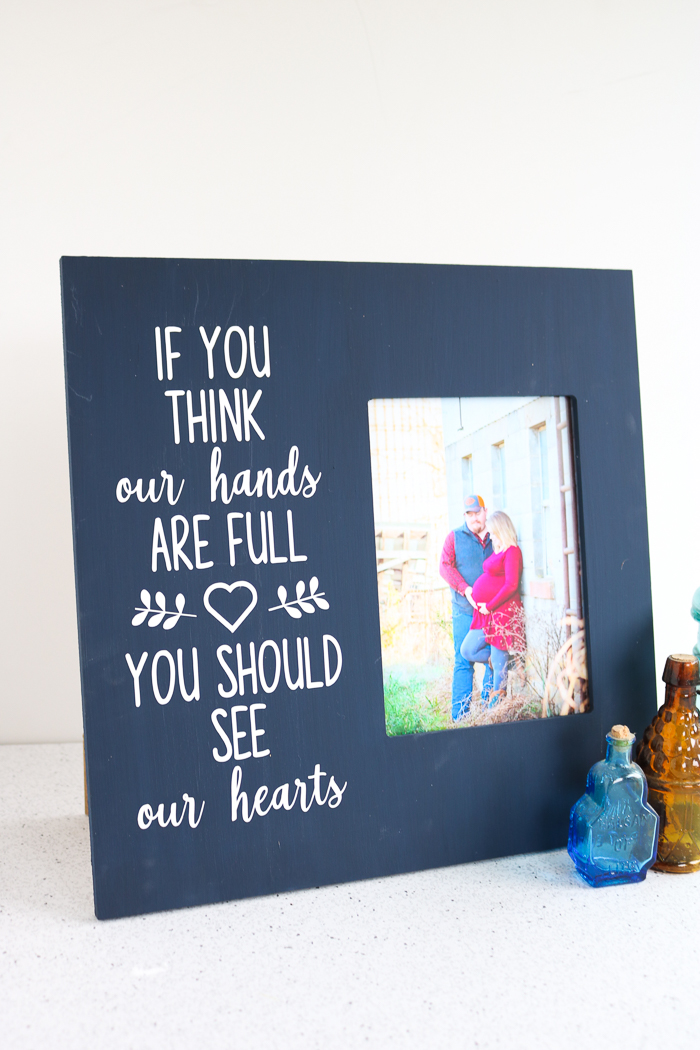
Step 5: Add Picture To Frame
Then just add in your pictures, and this family photo frame is ready for display or to wrap up for a fun gift idea!
I hope you enjoy making this project as much as I enjoyed creating it! This SVG file adds the perfect poignant sentiment, and you can use it on a variety of frames and home decor!
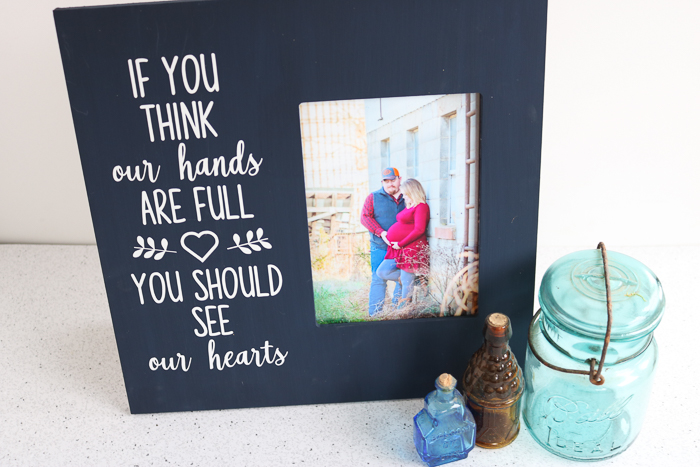
This project makes a great gift for Valentine’s Day! Also, you can give it to mom or grandma for a thoughtful Mother’s Day gift from the heart.
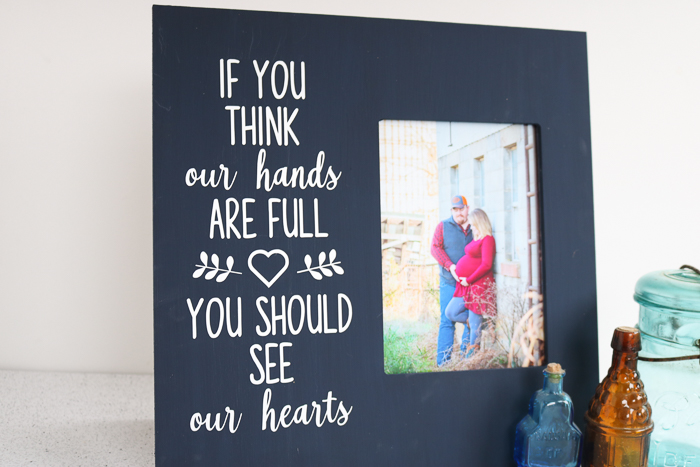
I love how this family photo frame turned out, and I am sure you will love it as well!
14 Free SVG Files For Valentine’s Day
In addition to my family photo frame SVG file, I have even more great SVG files that you can download for free to use in all of your Valentine’s Day crafts. Check them out below!

Just click on each of the links below and a post with instructions for download will open for each of the SVG files.
- You’re my lobster– The Simply Crafted Life
- Love you More– Pineapple Paper Co.
- Heartbreaker– Happiness is Homemade
- XOXO Y’all– Everyday Party Magazine
- Fancy Heart– 100 Directions
- Love Bug– See Lindsay
- Love Grows Here– Kingston Crafts
- Galentine’s Day– Hey Let’s Make Stuff
- Chocolate is my Valentine– That’s What Che Said
- I Love You a Sloth– Brooklyn Berry Designs
- Love Bites– Artsy Fartsy Mama
- Love is a Puzzle– Pattern Revolution
- Be Mine? Thought Bubble– Hello Creative Family
Use these files to create a family photo frame of your very own or any of the other great projects shown. Crafting for Valentine’s Day has never been easier!

FAQs About Family Photo Frame
Here are a couple of questions that I see readers ask about making this family photo frame. If you have a question, please check to see if I’ve already answered it below. Don’t see your question? Leave it for me in the comments!
Can I Use Any Photo Frame For This Project?
To make this family photo frame project, I recommend using a wooden frame that has space for the wording. I was able to find a blank one at my local craft stores such as Michael’s or Hobby Lobby.
What Cricut Machine Can I Use For This Project?
All of them! The Cricut Maker, Cricut Explore series, Cricut Joy, Cricut Joy Xtra, and Cricut Venture, can all cut SVG files!
The only thing to keep in mind is that each Cricut machine is different in regard to project size capabilities and the materials it can cut. So, depending on what project you have in mind, you might need to resize the SVG file or cut it out in a different material.
I Have Never Used An SVG Before, Do You Have Any Helpful Resources?
Yes, I do! If you are brand new to the world of SVG files and want to learn about them and how to use them in your projects, check out my SVG resources below!
- What is an SVG File?
- How to Use an SVG File on Your Cricut
- How to View SVG Files on a PC
- How to Use Zip Files on Your Cricut
- The Basics of Image and SVG Licensing and Your Cricut
- 10 Best Image and SVG Subscriptions for Crafters
- Free SVG Files for You Monthly
What Other Things Can I Do To Personalize This Family Photo Frame?
When it comes to picture frames, I prefer to go simple and let the photos be the focus. However, if you want to add a little more to this frame, you could add some lines or leaves in the open space around the photo.
You also change the color scheme – a white frame with black lettering would look nice!
What’s The Best Kind Of Paint For This Project?
I regularly use acrylic paint for projects like this one. It’s affordable, provides great coverage, and is permanent. In this project, I used black acrylic paint.
Need Help Organizing Your SVG Files?
Are you overwhelmed with the number of files on your computer? SVG (or digital cut) files can take up a ton of space, and it can be so hard to find exactly what you are looking for. That is where Cut File Clean Up comes in! The Cut File Clean-Up system ends the frustration of organizing your cut files so that you can find what you need and get to the best part of crafting—actually making your project.

The best part is that you can get it for a deal right now with great bonuses. And yes, those bonuses include even more digital cut files for your crafting. You can’t get enough of those, right? Grab it now.
5 More Photo Frame DIYs
Did you love this family photo frame and want more photo frame DIYs? Then check out the projects below!
- How To Make A Picture Frame From Scrap Wood
- Custom Mats For Frames Using The Cricut Maker
- Picture Frame Ornaments (Using Your Cricut)
- Baby Photo Frames with Footprints
- Wedding Frame with Song Lyrics from Cricut
