Looking for a fun and festive way to decorate your home in time for Memorial Day or the 4th of July? Look no further than this easy-to-make patriotic garland. With just a few materials, you can create an eye-catching decoration full of red, white, and blue that is sure to get everyone in the spirit of patriotism! Follow these simple steps, and you’ll have your own custom-made garland up in no time.
Garlands and banners are eye-catching pieces of decor that look great hanging in doorways or on mantles. And, you know I am BIG on banners. They are so easy to customize for any occasion!
When people think of certain holidays, certain colors may come to mind. For Memorial Day and the 4th of July, those colors often have red, white, and blue in them! So why not carry that theme through to your decorations?
I love to hang up a patriotic garland in our home to show our love for our country. And now you can make your own, too!
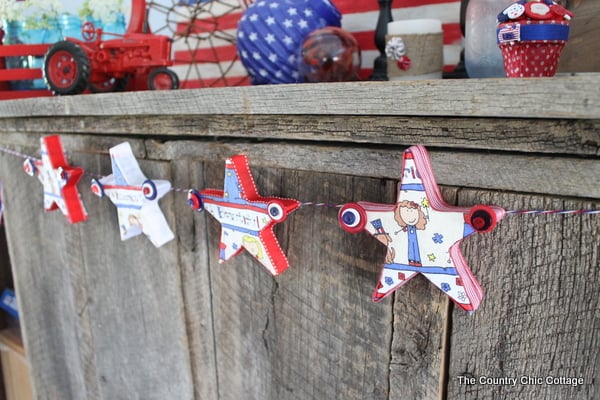
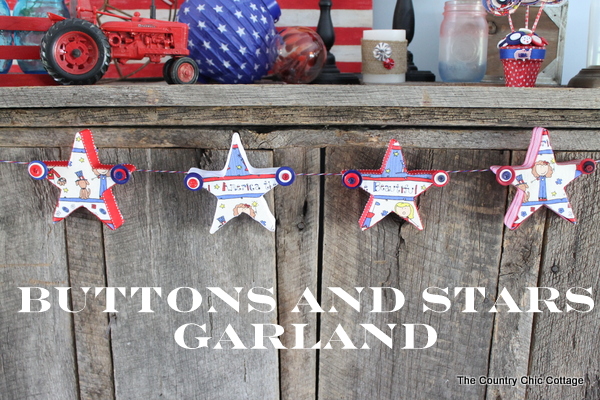
Now, this garland is different from my other projects, including my DIY Flag Patriotic Banner, Patriotic Bandana Banner, and my Patriotic Bunting From Bandanas. It’s a lovely red, white, and blue button and star garland that looks great and will shine as part of your summer or holiday decor.
This post was originally published on June 26, 2013; however, I am republishing it with more information.
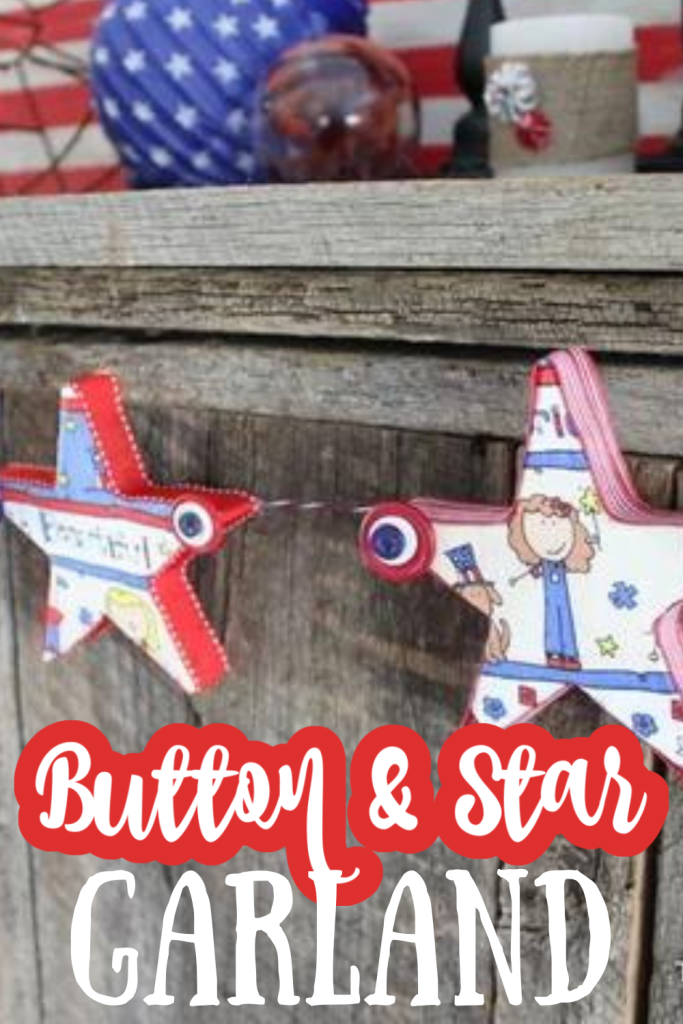
How To Make A Patriotic Garland With Stars
Display today’s patriotic garland project for Memorial Day, the 4th of July, and Labor Day! It’s super easy to make.
Supplies needed
Grab these supplies to make this star garland project. I have even included a few links to help you find what you need faster.
- Styrofoam sheet (or wood stars)
- Styrofoam cutter
- Decoupage medium (like Mod Podge)
- Fabric (of your choice)
- Ribbon
- Assorted buttons
- Red, white, and blue embroidery thread
- Hot glue and glue gun
4th of July patriotic garland instructions
This project is a very simple one to make. Just follow these step-by-step instructions and get ready to make a gorgeous star and button garland for your holiday or summer decor!
Step 1
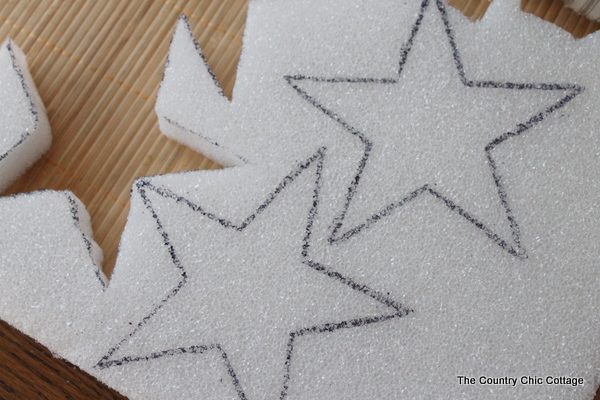
Use your Styro Cutter to cut out stars from your styrofoam sheet as shown. If you can find them, wood stars would work well too.
Step 2
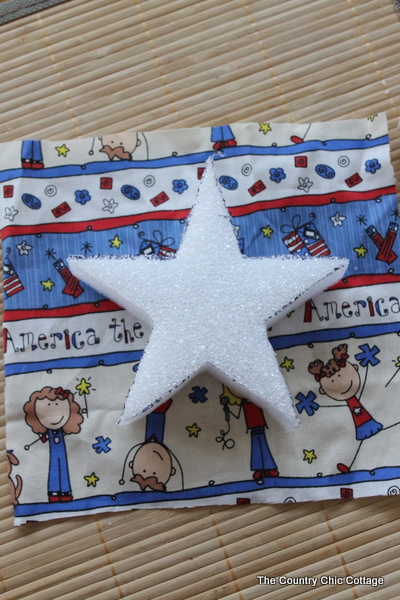
Cut out square pieces of fabric, making them at least a couple of inches larger than your star.
Step 3
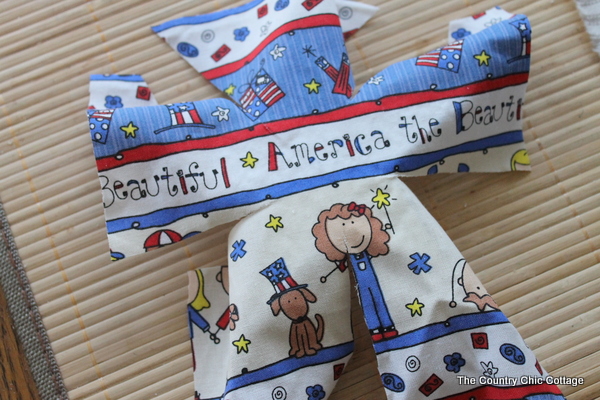
Cut the points of the star into the square.
Step 4
Use the decoupage medium to adhere the fabric to the star, as shown below. Trim away any excess fabric.
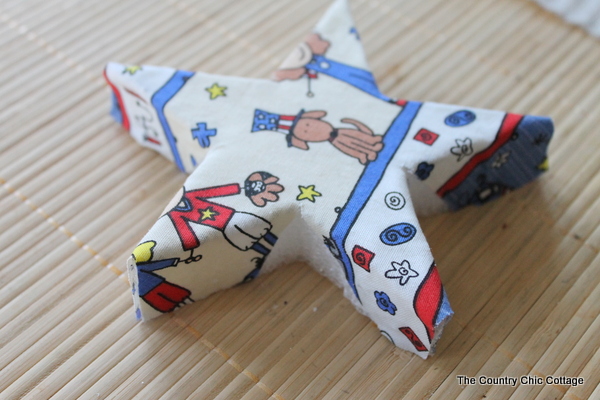
Step 5
Wrap the outer edge in ribbon and adhere it with the decoupage medium.
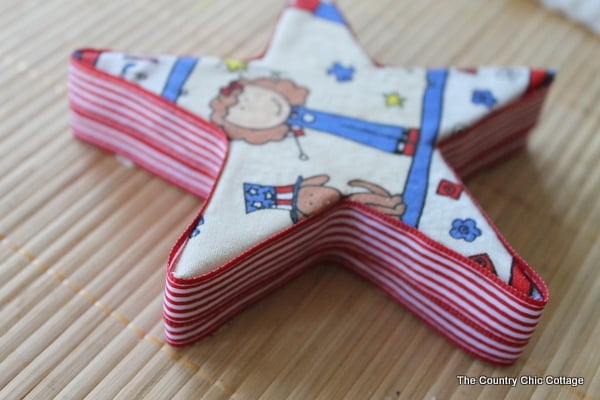
Step 6
Twist your red, white, and blue embroidery thread together to form one string. Add your stars to the string using hot glue. Then, hot glue the buttons onto your stars.
I assembled this patriotic garland right on my mantle.
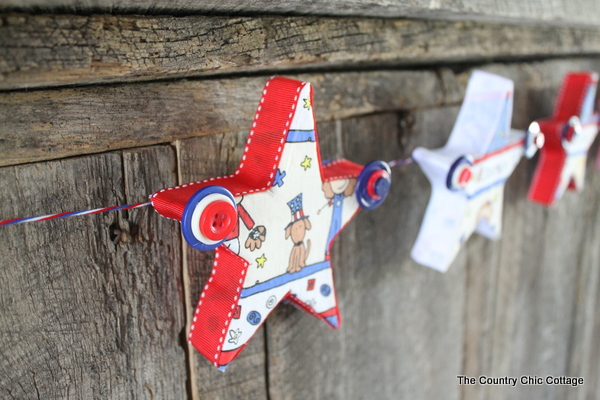
Take a step back and appreciate your creation. It will add a delightful touch to your Memorial Day, 4th of July, or Labor Day decorations.
FAQs
If you have questions about making this patriotic garland project, I have answers for you! Please leave your question for me in the comments if you don’t see it already answered below.
Can I use different glue for this star garland project?
Yes, definitely. I love using hot glue for projects like this because it’s easy to use and sets quickly. But you could use super glue or even craft glue if that’s what you have on hand.
Is there anything else I can use besides the embroidery thread?
Yes, there are definitely other materials you could use instead of embroidery thread, but keep in mind that anything else you use will create a different look for the project.
Depending on how you want your final project to look, you could use twine, baker’s twine, or even paracord.
Is this patriotic garland safe to leave outside?
Yes and no. It’s better to keep it indoors, but if you do choose to display it outside, make sure that the fabric and ribbon you use are weatherproof.
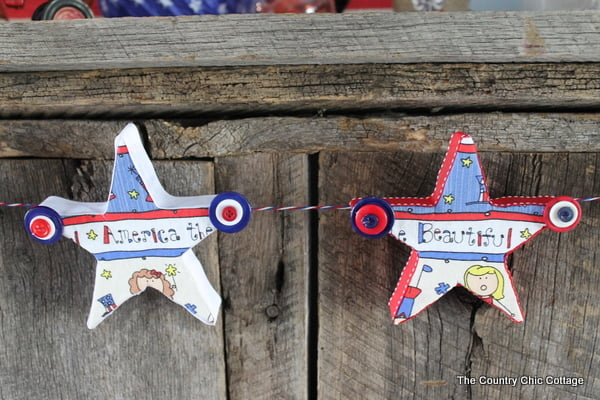
This button and star garland will be the hit of your farmhouse or Americana decorations this year. I added this garland to my 4th of July summer mantel decor!
More Red, White, And Blue Projects
Equipment
- Styrofoam sheet or wooden stars
- Styrofoam cutter
- Ribbon
- Assortment of buttons
- Hot Glue and a Glue Gun
Supplies
Instructions
- Cut out stars from your styrofoam sheet with a Styro Cutter.
- Cut out square pieces of fabric at least a couple of inches larger than your star.
- Make slits in the fabric to cut out the points of the star.
- Use the decoupage medium to adhere the fabric to the star as shown below. Trim away any excess fabric.
- Wrap the outer edge in ribbon and adhere it with the decoupage medium.
- Form one string by twisting the red, white, and blue embroidery thread together. Hot glue the stars onto the string. Then hot glue the buttons onto your stars.


super cute!! I love the think foam with the ribbon the side… I just had visions of doing something similar for Christmas… or what about a leaf garland for fall… thanks for the inspiration :o) Emily @ Nap-Time Creations
oh that is cute! i didn’t realize till I scrolled down more that the stars are 3d!