Today, I will tell you everything you ever wanted to know about the Cricut rotary blade. I have posted on some of the other blades for the Cricut machine but have not done a deep dive into the rotary blade. Today, we are going to put it to the test! We will cut 10 materials from thick to thin and see some results. If you have ever wondered what you can cut with your rotary blade and Cricut Maker or Maker 3, this post is for you!

What is the Cricut rotary blade?
Well, just like it sounds, it is a rotary cutting blade that fits in your Cricut Maker or Maker 3 machine. Now, I must note here that the Cricut Maker machines are the only Cricut machines with the Adaptive Tool System, so it is the only ones that will work with the rotary blade.
Now, what can this blade do for you? Well, it rolls along when cutting instead of dragging. This means that it cuts fabric like a dream. The best part? You don’t have to add any backing to that fabric! WHAT??? That is awesome, right? It means that the Cricut Maker is a sewist’s dream machine. It also means that you need the Cricut rotary blade in your craft room!
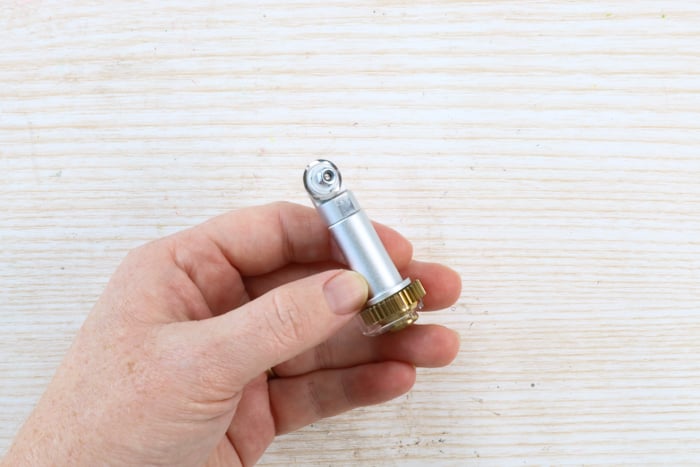
How does it compare with other blades?
From left to right in the picture below, you can see the following blades:
- Fine point blade (comes with all machines)
- Deep point blade (purchase separately)
- Rotary blade (comes with original Maker machine only – DOES NOT come with Maker 3)
- Knife blade (purchase for your Maker machine only)
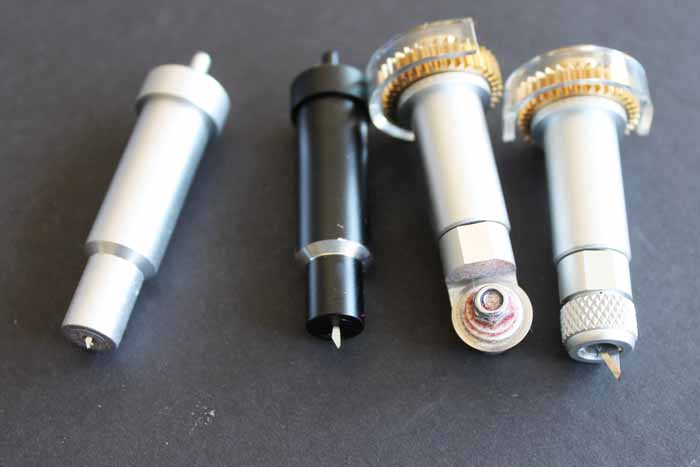
This image shows that the rotary blade is way different than any other blade you may use in your Cricut Maker or Cricut Maker 3. The others drag along the material as they cut while the rotary blade turns like a wheel. This allows you to cut fabric without any backing right on your Cricut Maker to make all the sewing projects.
How does it compare to the bonded fabric blade?
Cricut also makes a bonded fabric blade, so do you need both? With a Cricut Maker, the answer is no! The bonded fabric blade is just the fine point blade above in a pink housing. Just like with your fabric scissors, you want a blade just for cutting fabric, so they added it to a pink housing. This blade cuts fabric with interfacing on the back ONLY. It can be used in the Cricut Explore series of machines to cut bonded fabrics. However, the Cricut rotary blade will also cut bonded fabric, and I prefer it. So, I recommend only getting the rotary blade if you have one of the Cricut Maker machines and skipping the bonded fabric blade altogether.
How accurate is it?
The Cricut rotary blade can turn within a quarter of an inch to cut through hundreds of fabrics. They don’t recommend any smaller turns, but I have cut some really intricate cuts. If you are unafraid of ruining your material, give it a shot and see what happens! The accuracy of the Cricut rotary blade is way better than that of scissors. Imagine cutting perfect pattern pieces that fit together every time.
Can it cut several layers of fabric at once?
I have never tried cutting more than one layer at a time. The posts I have seen on this method use a spray adhesive to stack the fabric layers and cut them together. I do not want to use the adhesive on my fabric or my Cricut machine. You can see one tutorial on how to cut layers here.
Materials You Can Cut with the Cricut Maker Rotary Blade
There are hundreds of fabrics that you can cut with the Cricut rotary blade. It can cut everything from silk, cotton, and denim to canvas and burlap. I have had my machine for about a year and a half and have cut many things. Today, I am cutting 10 fabrics I have not cut before to give you some idea of the range. If you want to see some of the fabrics I have cut in the past, try clicking the links in the list below.
- Wool Felt
- Flannel
- Thermal Barrier Fabric
- Batting
- Crepe Paper
- Satin
- Cotton
- Cork
- Felt
- Lace
- Fleece
- Sweater Material
- Denim
- Burlap
Now, what fabrics are we going to experiment with today? I cut These ten fabrics with my Cricut rotary blade for today’s tests.
- Sequined
- Printable
- Jersey
- Tulle
- Lycra/Spandex
- Duck Cloth
- Velvet
- Faux Fur
- Suede
- Vinyl/Oil Cloth
These fabrics are just the tip of the iceberg. There are so many more that I want to try to cut, as the possibilities are endless with this machine. I think I may need a clone so I can cut things with my Maker all day.
Cricut Rotary Blade Video
Sometimes, it is easier to understand something with a video rather than text format. So, I made a comprehensive video below explaining everything you need to know about the Cricut rotary blade. Y’all enjoy!
Can’t watch the video or miss some of the information? I have everything below in text form so you can follow along with it!
Cutting Fabric with the Cricut Maker
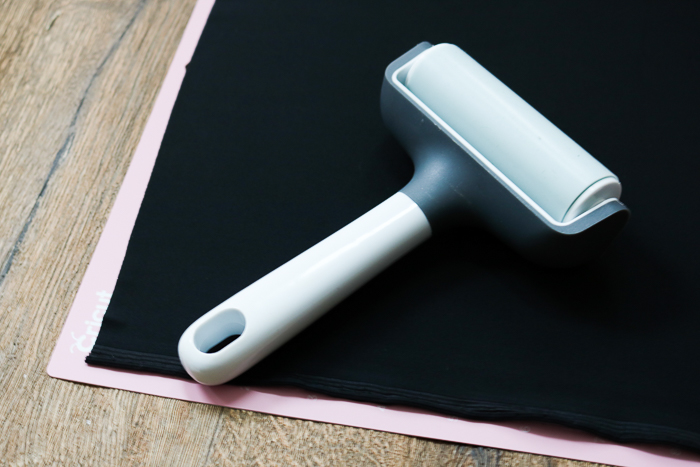
A few words about cutting the fabric before we dive into the tests. You will use a Cricut pink FabricGrip mat to cut most of these materials with your machine. Just put the fabric directly on the mat and smooth it down. A brayer like the one pictured above helps, especially with thicker materials. You can also use some of the other strength mats if needed. I will note where I had to change mat strengths when we talk about the cuts below.
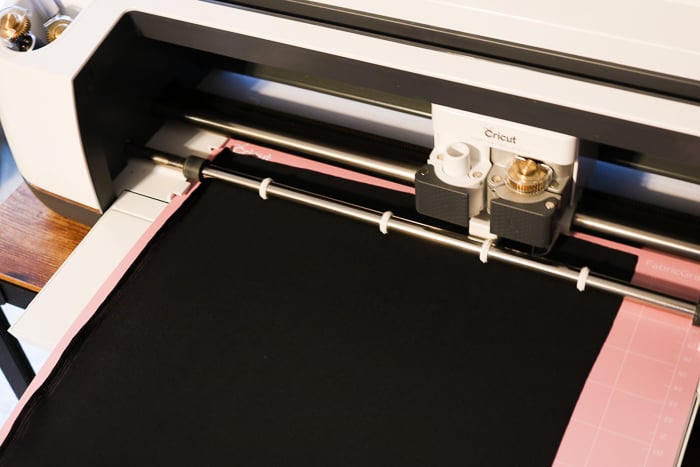
You then pick your material from the list in Cricut Design Space and let your machine do all the work. You can add a Washable Fabric Pen to your Maker that will allow you to mark your patterns right in the machine. For this, you will want to put your fabric on the mat upside down to mark the back. Imagine those perfect pattern pieces coming out of your Cricut Maker or Maker 3 perfectly cut to size. I told you it was a sewist’s dream!
10 Sample Material Cuts
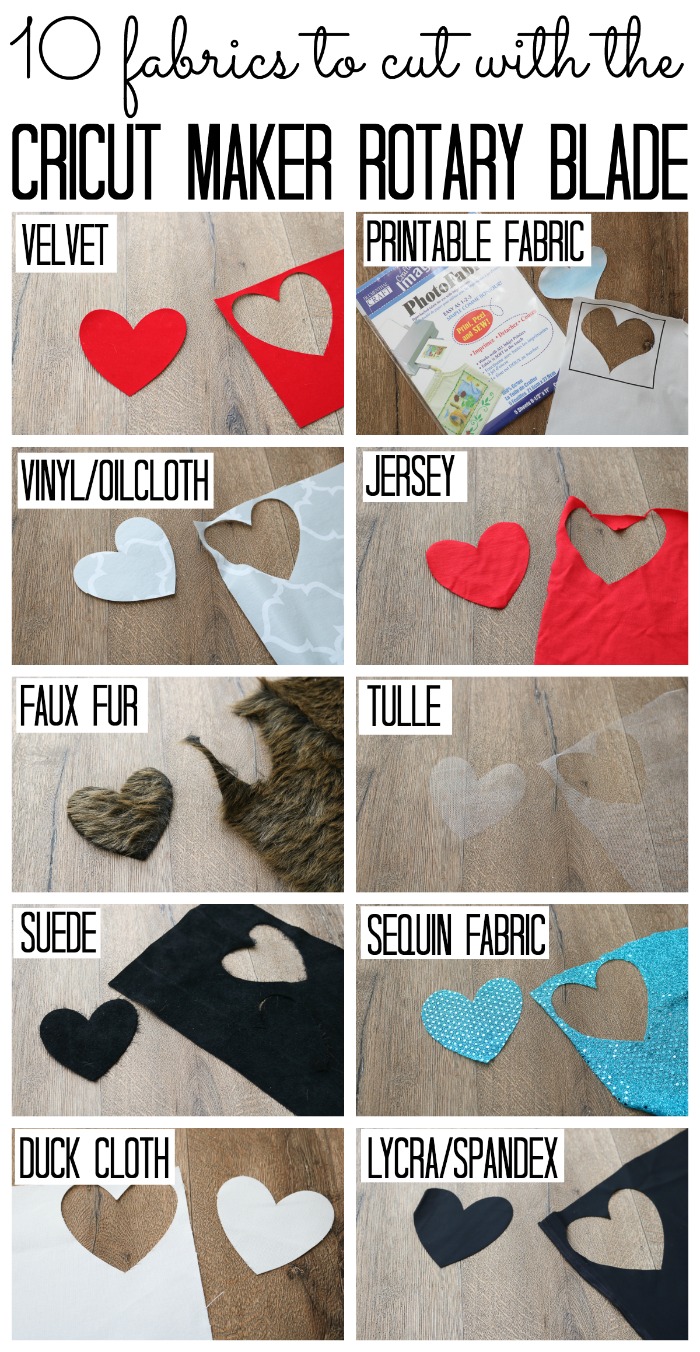
Now, it is time to cut some material! I will note on each material below if I had to use different settings or mats to get a good cut with the Cricut Maker rotary blade. You can also see each cut in the picture. Just as a note, I did replace my rotary blade with a new one before starting any of these cuts just to be sure my blade was not dull. I cut a heart in each case to keep things the same. Y’all enjoy!
Sequined Fabric
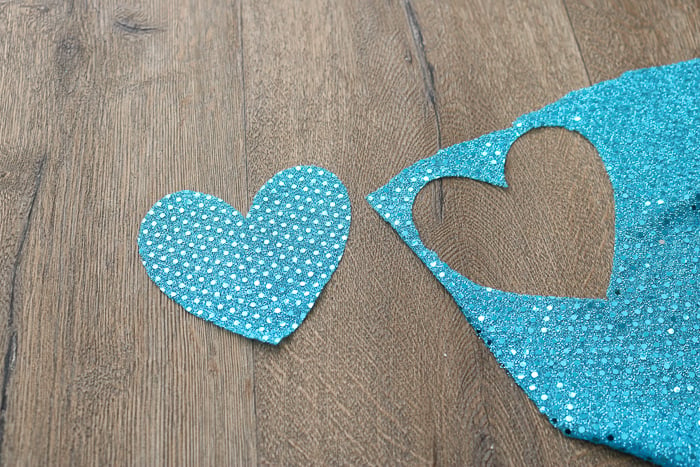
I used the FabricGrip mat and sequin fabric setting. I must say I was surprised by this one! The sequins make the fabric different thicknesses in different areas but the Cricut rotary blade did a consistent cut all the way around.
Printable Fabric
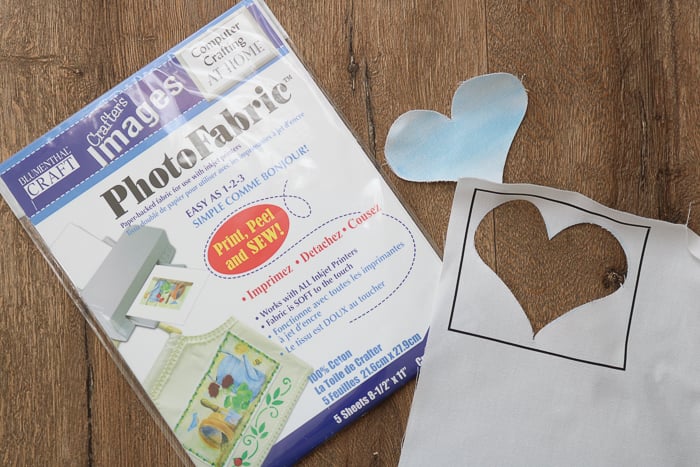
This is a paper-backed material that is made to run through your printer. The Cricut Print then Cut option was used on it. I removed the paper backing after it printed and before running through the Cricut Maker. I just put the material right on the fabric mat and used the duckcloth setting in this case. It worked great! Print any design right on the fabric and cut it with your machine!
Jersey or Tshirt Fabric

I love upcycling, and this machine is perfect for that. I cut a piece out of a t-shirt and cut it with my Maker, the FabricGrip mat, and the jersey fabric setting.
Tulle
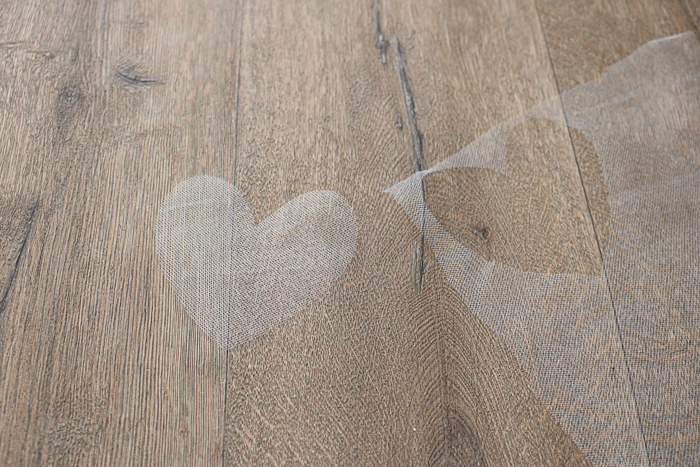
I love that this machine can cut the most delicate of fabrics. I had to put this tulle on my strong grip mat as the coating kept it from sticking to the FabricGrip mat. Otherwise, the tulle setting on the Maker cut this super sheer fabric like magic!
Lycra/Spandex
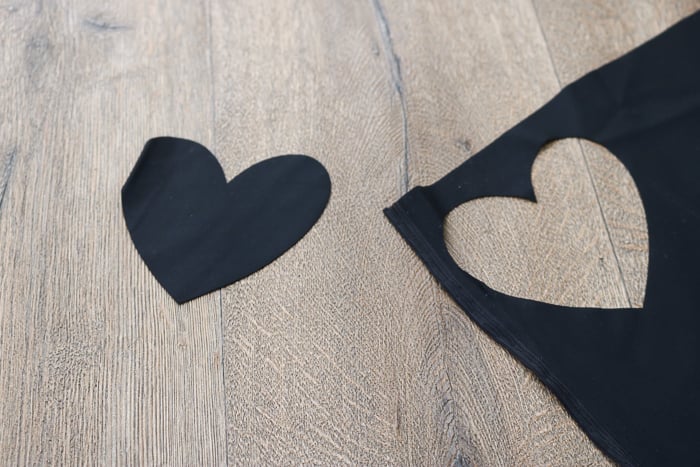
I have had several questions about cutting stretchy fabric on the Cricut Maker so why not give it a try? This is like the material you would make a swimsuit from, so it’s super stretchy. I cut it on the lycra setting right on my FabricGrip mat. The Cricut rotary blade had no trouble with this one.
Duck Cloth

From the super delicate tulle above to the super thick duck cloth, the Cricut Maker has a range like no other machine I have seen. This was cut right on my FabricGrip mat on the duck cloth setting.
Velvet

Why not velvet next? I used an adhesive-backed velvet as I was super excited about the crafting possibilities with this one. I cut on the StandardGrip mat, which has a paper backing, and used the velvet setting without issue.
Faux Fur
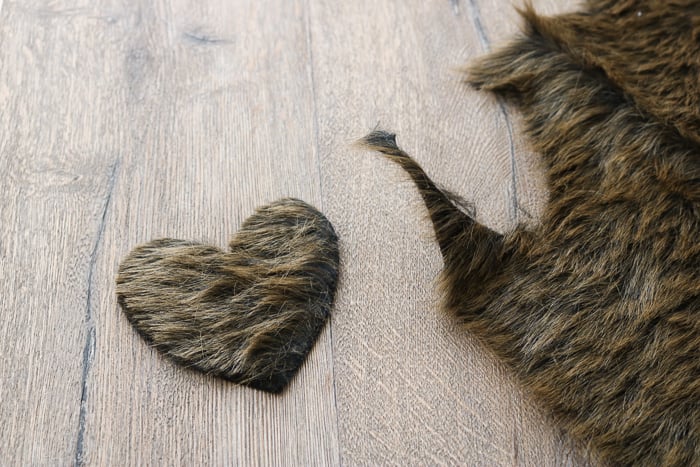
I did have some trials with faux fur, but I am happy to report success! I cut this piece with a strong grip mat and the faux fur setting. Here are a few pointers when working with faux fur:
- You will need a thin faux fur. I could not cut any of the thicker furs I found in the fabric section of my craft store. I used this piece with the kid’s craft stuff already cut as a small piece. It is thinner and works excellent.
- You will probably ruin your mat. The fur sheds horribly, especially when cutting, and fibers get all over your mat. You can try using strong grip transfer tape to clean the mat. Or you can put the strong grip transfer tape face up on the mat and try cutting a piece that way. This will save your mat from shedding, as it will all stick to the transfer tape.
Suede
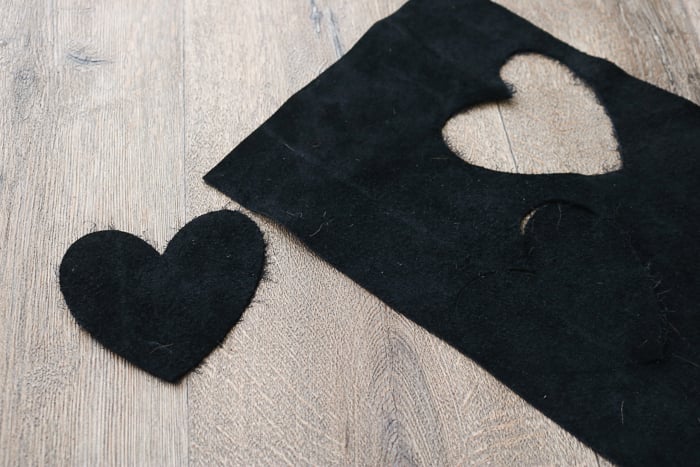
I have cut leather with my Cricut Maker before and have always had success with my knife blade. The suede calls for cutting with the rotary blade, so I thought I would give it a shot. I did have a few issues, but I finally got a pretty good cut with a strong grip mat and the suede setting.
Here are some things to watch out for with suede:
- You will need more than one pass. The Maker cut with just one pass, but that did not cut all the way through. Instead of hitting the arrow to eject your mat, just hit the Cricut “C” again to make another pass. After a few trials, I had to do 5 passes with the Cricut rotary blade to cut suede.
- The mat I used was 100% ruined. There is no way you could remove all of the fibers to use it again. You can try the transfer tape methods mentioned above for faux fur to save it.
- There were still some fraying edges and a few fibers that were not cut. I think this is just going to be the nature of suede. To get a really clean cut, you will have to trim away those fibers with scissors.
Vinyl/Oilcloth

So, I wanted to try oilcloth for my last experiment but could not get some. This is a vinyl material with a flannel-like backing. Basically, like one of those tablecloths, you may get a department store. It is very similar to an oilcloth. I cut it on the fabric mat with the oilcloth setting, and it worked great!
Troubleshooting Tips
Here are a few things to watch for when using the Cricut rotary blade.
When to Change Your Cricut Rotary Blade
So, how long will the rotary blade last before you have to replace it? I will say that I use my machine and blade a lot, and mine has lasted over a year. I just replaced it for this experiment. You want to replace it when you notice uncut threads or when the material settings in Design Space no longer seem accurate. I found that mine was skipping threads on every material I cut. This could be due to dulling or even a nick. The blade is easy to replace and you keep your same housing. Purchase a replacement blade then follow the instructions here for swapping them out.
Machine Doesn’t Recognize the Rotary Blade
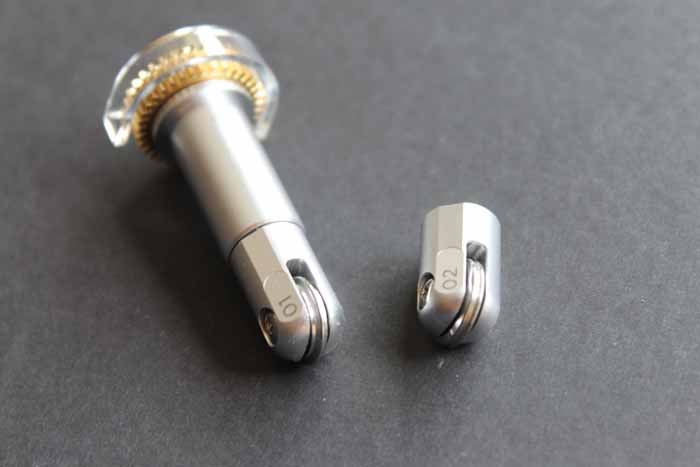
I always get emails from people saying their machines say they don’t have the rotary blade installed but they do. Well, almost all the time, they have the scoring wheel installed instead of the rotary blade. These two can look very similar. If your blade has an 01 or 02 on the side, like the image below, that is actually for scoring and not cutting. Add the correct housing of the blade to your machine and try again. If you have the blade installed, I would try contacting Cricut for assistance.
When to Calibrate the Rotary Blade
The machine will automatically calibrate your rotary blade when you insert it for the first time. If your cuts are off, you can run a calibration again to get a more accurate cut. Just click the down arrow (or V) next to your name in the upper right-hand corner in Design Space. Then click on settings, then machines. You can click calibration from there and click rotary blade to begin. NOTE: This option will only appear if Maker or Maker 3 is picked as your machine type.
So, will you be trying some fabric cutting with your Cricut rotary blade? Do you have other fabrics you would like to see cut with this machine? Leave me a comment with anything you want to see cut in a future post. I love doing these experiments for y’all, and I am sure there will be many more in the future!
New to Cricut?

Sign up for our email list to download the Beginner's Guide to Cricut Design Space for FREE today!
Sign up to get the guide emailed to you!




Great video! I have an older cricut, but I have never tried to cut fabric on it. That would be a great idea for me! Thank you so much for sharing at Celebrate it!
Great Video! I’m still struggling with how to cut thicker glitter canvas material or “vegan/faux leather”. I’ve tried a bunch of different settings but nothing is working! Wondering if either rotary or knife blade would be the ticket?
I would say either the rotary or knife would work better on both of those.