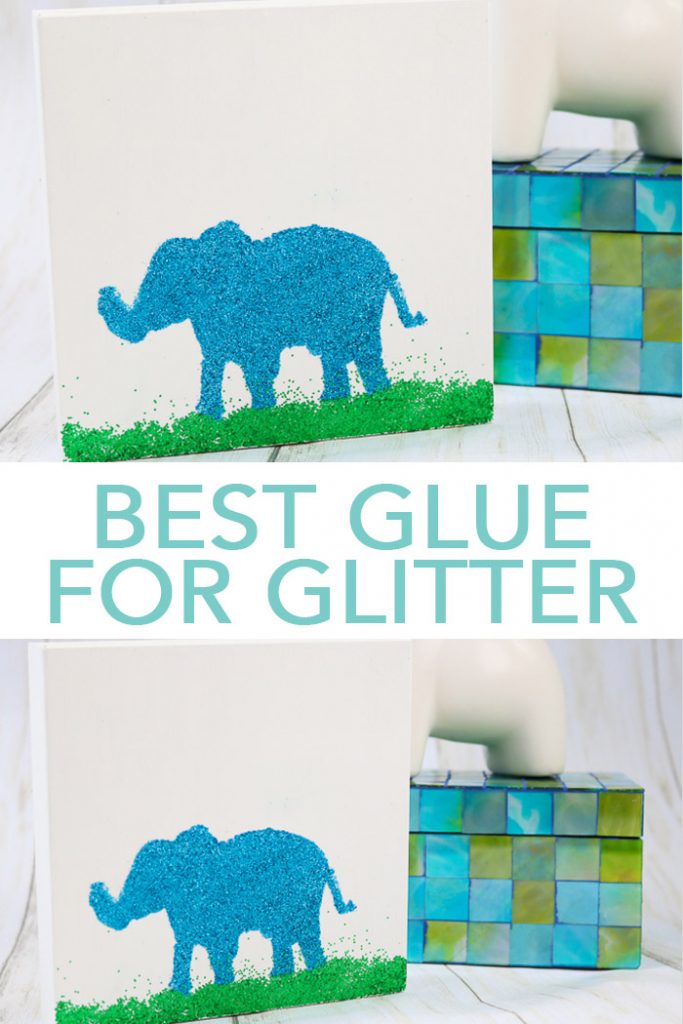
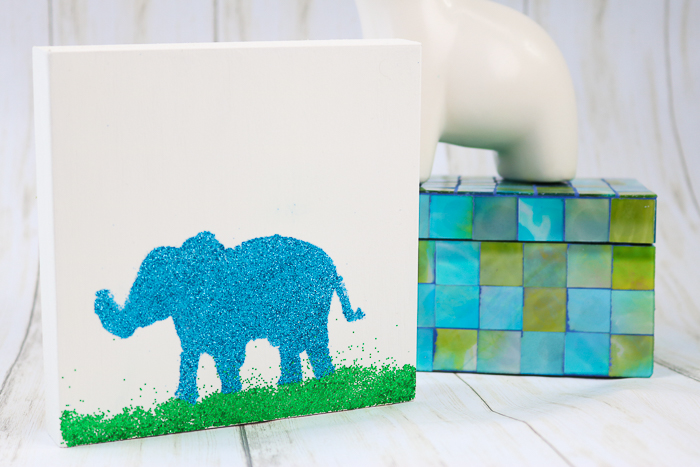
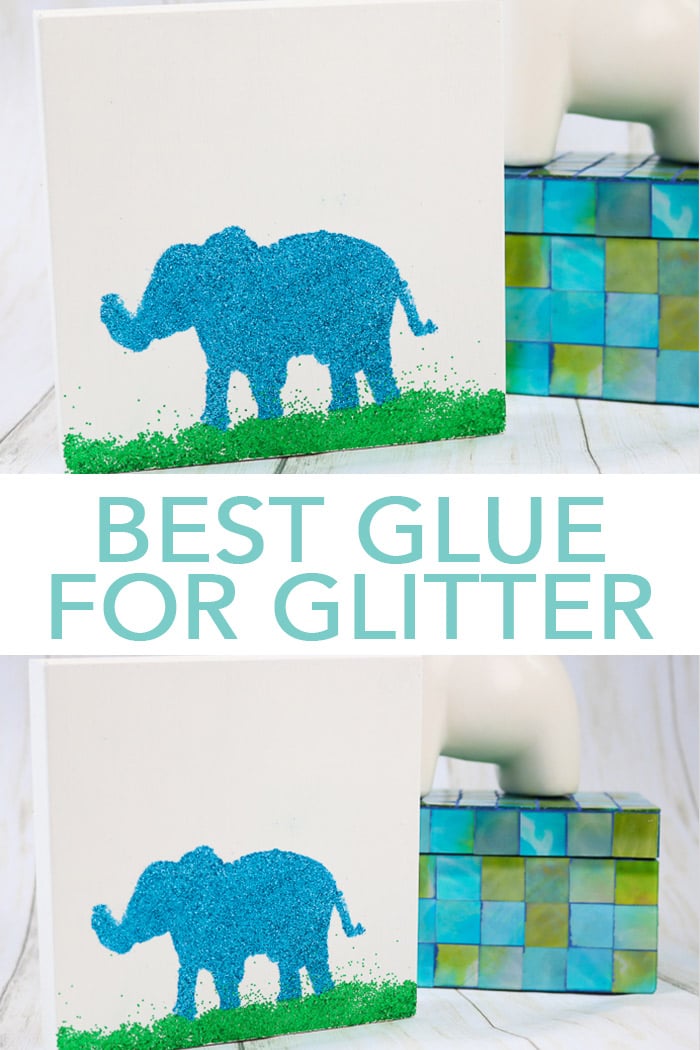
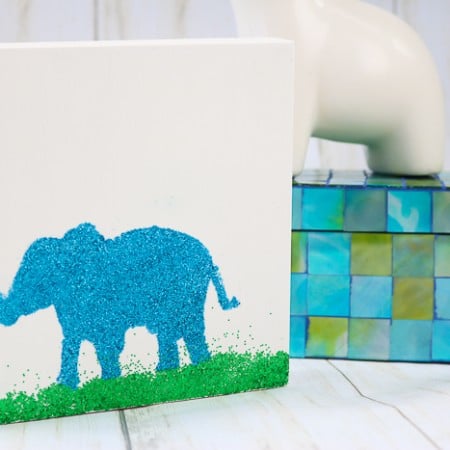
What is the best glue for glitter? I have used a ton of different things over the years but tried out the new Mod Podge Ultra recently and I am in love! Want no shed glitter projects? This is definitely the product for you! I am doing a quick and easy project below to show you the results. So, be sure to try it and I am sure you will agree this really is the best glue to use for glitter! This is also Craft Lightning Decoupage Week so be sure to see the projects at the end of this post as well as catch up with the projects from day 1, day 2, and day 3.
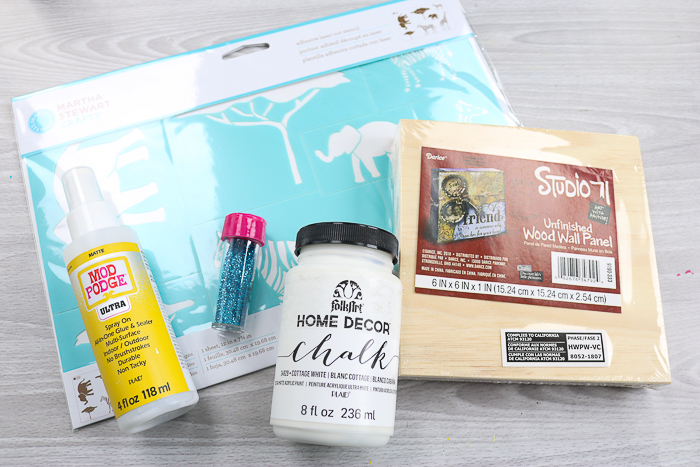
Supplies needed to make this glitter craft:
Some links below may be affiliate links which means that you do not pay anymore, however, a portion of your purchase will go to this site.
- Unfinished wood canvas
- White craft paint
- Glitter in two colors
- Mod Podge Ultra
- Wax paper
- Scrap paper
- Paint bottles for weights
- Stencil
- Paintbrush
How to make a glitter sign:
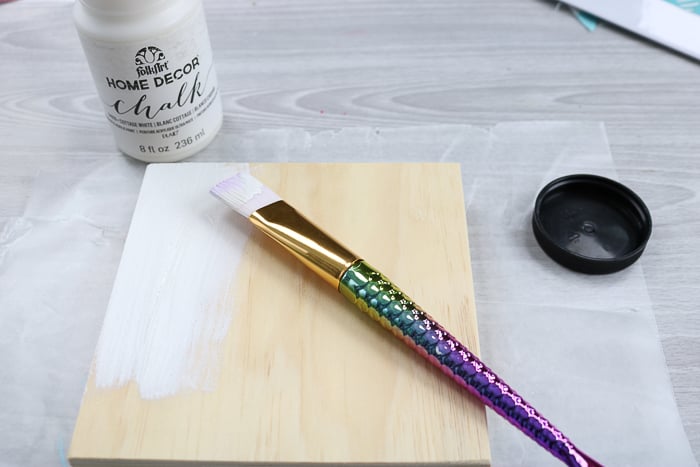
Paint your unfinished wood canvas with the white craft paint. Allow to dry completely. This may require two coats.
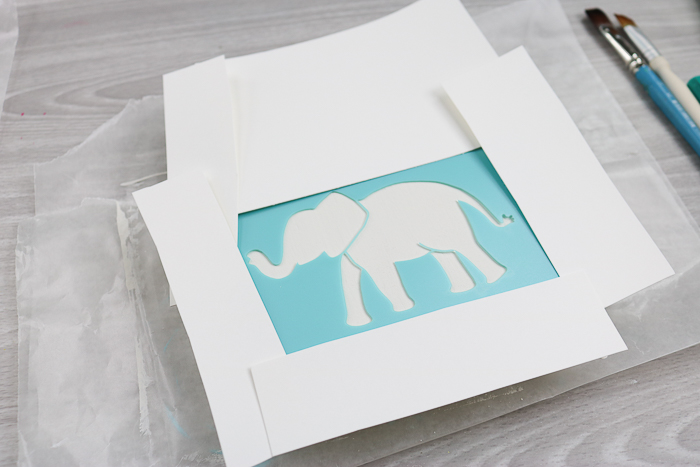
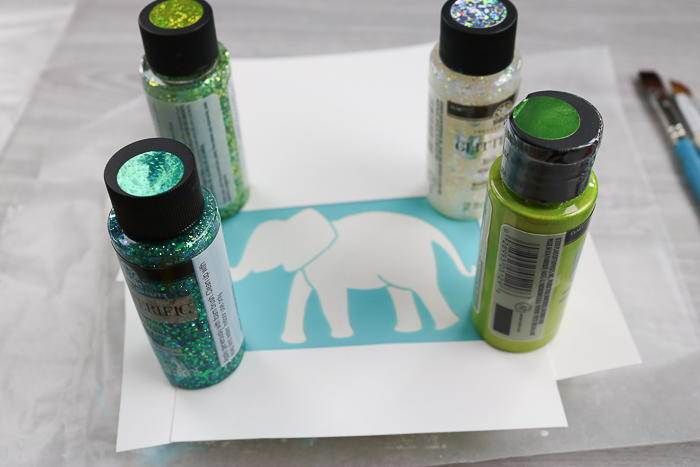
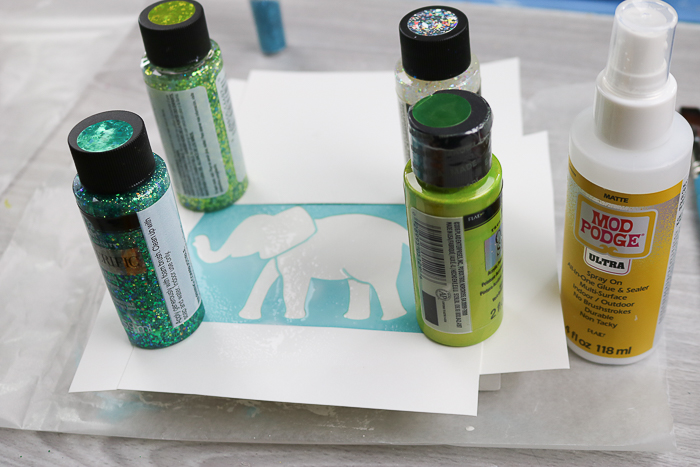
Put the painted panel on a piece of wax paper. Lay the stencil in place on the wood. Place scrap paper around the outside as shown below. You will want all areas of the sign to be covered as you may get overspray from the Mod Podge Ultra bottle.
You will want to weigh down the stencil to get as little of the spray under the stencil as possible. I just used some additional paint bottles.
Now it is time to give the Mod Podge Ultra a try! Here are a few tips on how to use this glue for glitter:
- There is a matte version as well as a gloss version so pick the one that suits your project best.
- Shake the bottle well for approximately 10-15 seconds.
- Prime by spraying on the wax paper away from the project until you get a clean spray.
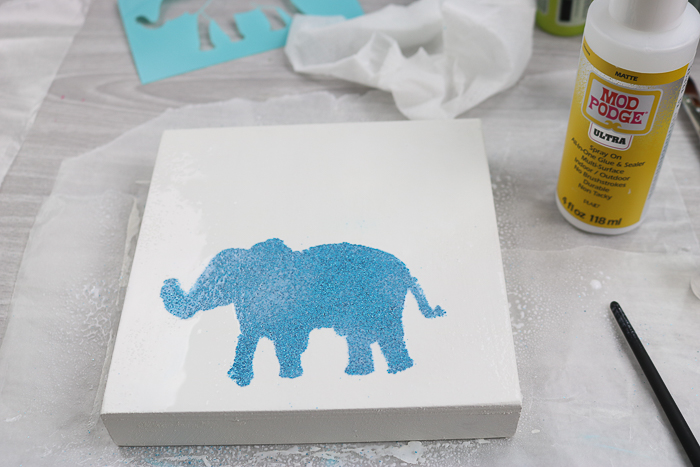
- Spray over the top of the stencil with a fine layer.
- You will also want to clean the pump once you are done with your project. Do this by removing the pump from the bottle and running water through it.
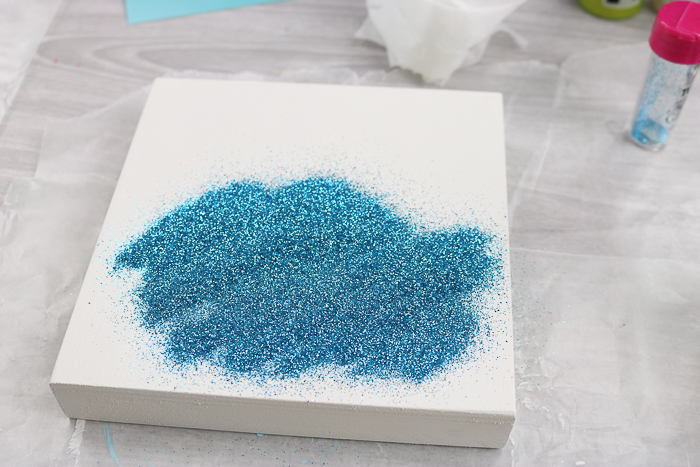
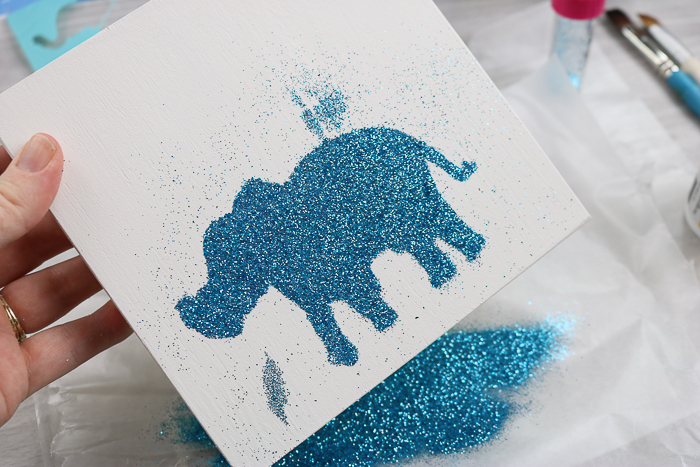
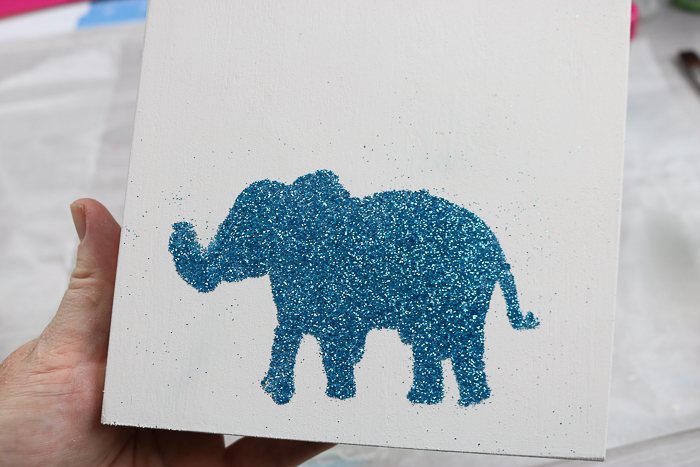
Once you have sprayed the area, remove the stencil and sprinkle liberally with glitter.
Shake off any excess onto a piece of paper. You can then use the paper to put the excess back in the bottle.
Use a dry paintbrush to brush off any excess that is sticking on around the sign. This is usually from static electricity.
Now comes the fun part! Spray over the top of your entire project with a layer of the Mod Podge Ultra. That really makes this the best glue for glitter! It locks it in and it is not going anywhere!
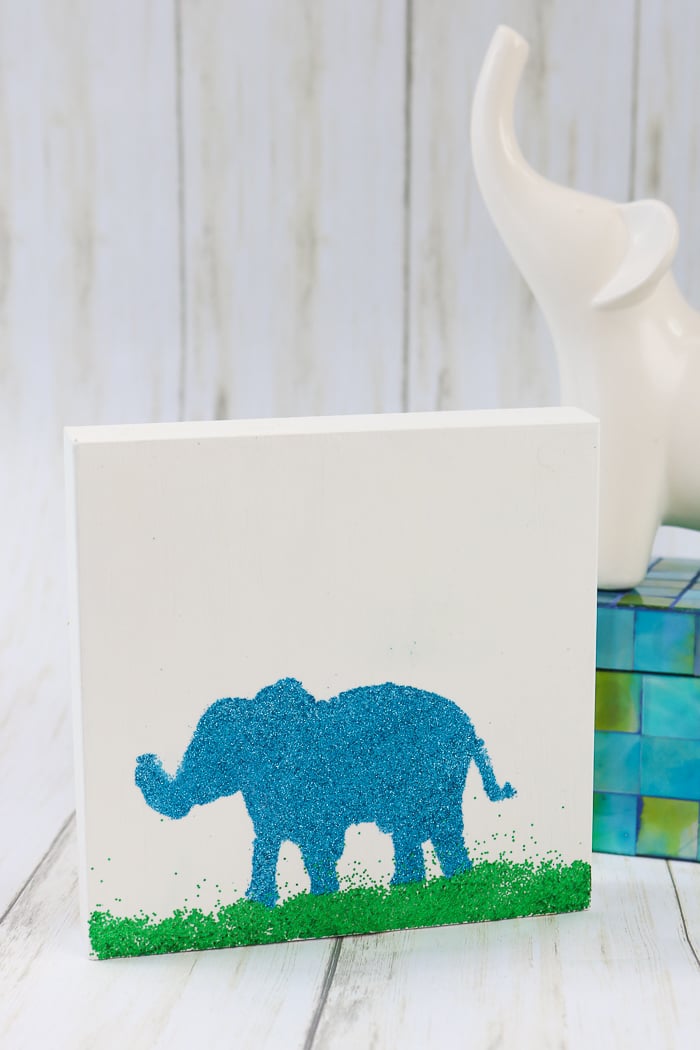
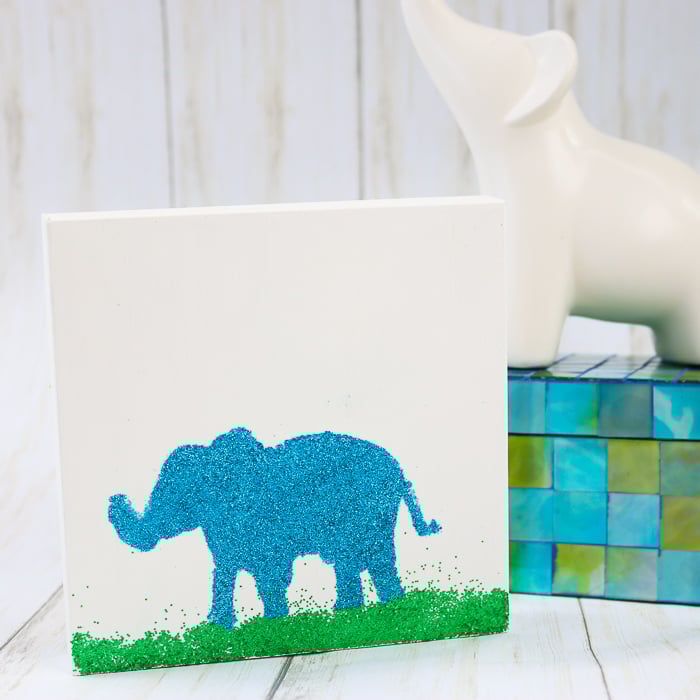
I allowed that to dry completely then I added a bit of “grass” with some green glitter using basically the same method as above. I did leave a few of those flakes in this instance for some interest.
Print out this glitter wall art craft card below!
Supplies
- Unfinished wood canvas
- White craft paint
- Glitter in two colors
- Mod Podge Ultra
- Wax paper
- Scrap paper
- Paint bottles for weights
- Stencil
- Paintbrush
Instructions
- Paint your unfinished wood canvas with the white craft paint. Allow to dry completely. This may require two coats.
- Put the painted panel on a piece of wax paper. Lay the stencil in place on the wood. Place scrap paper around the outside as shown below. You will want all areas of the sign to be covered as you may get overspray from the Mod Podge Ultra bottle.
- You will want to weigh down the stencil to get as little of the spray under the stencil as possible. I just used some additional paint bottles.
- Now it is time to give the Mod Podge Ultra a try! Here are a few tips on how to use this glue for glitter:- There is a matte version as well as a gloss version so pick the one that suits your project best.- Shake the bottle well for approximately 10-15 seconds.- Prime by spraying on the wax paper away from the project until you get a clean spray.- Spray over the top of the stencil with a fine layer.- You will also want to clean the pump once you are done with your project. Do this by removing the pump from the bottle and running water through it.
- Once you have sprayed the area, remove the stencil and sprinkle liberally with glitter.
- Shake off any excess onto a piece of paper. You can then use the paper to put the excess back in the bottle.
- Use a dry paintbrush to brush off any excess that is sticking on around the sign. This is usually from static electricity.
- Now comes the fun part! Spray over the top of your entire project with a layer of the Mod Podge Ultra. That really makes this the best glue for glitter! It locks it in and it is not going anywhere!
- I allowed that to dry completely then I added a bit of "grass" with some green glitter using basically the same method as above. I did leave a few of those flakes in this instance for some interest.
What is the best glue to use for glitter?
No matter what the surface – glass, canvas, paper, wood, and more – I definitely think that Mod Podge Ultra is the only glue to use on your glitter crafts. Use it first to adhere the glitter then spray over the top to lock it in. If you are tired of shedding glitter projects, this is the glue for you! I am so excited about this new version of Mod Podge! I have been using it all week on various projects and will be reporting all of my findings next week so y’all stay tuned!
So, if you are looking for the best glue for glitter, look no further! Mod Podge Ultra has you covered – literally! Y’all enjoy and glitter all the things!
Love this project and want more decoupage craft ideas? Try the links below!
More glitter crafts from The Country Chic Cottage:
- 30 Glitter Crafts for the Holidays
- DIY Glitter Mini Mason Jar Ornaments
- Glitter Faux Wood Grain Vase
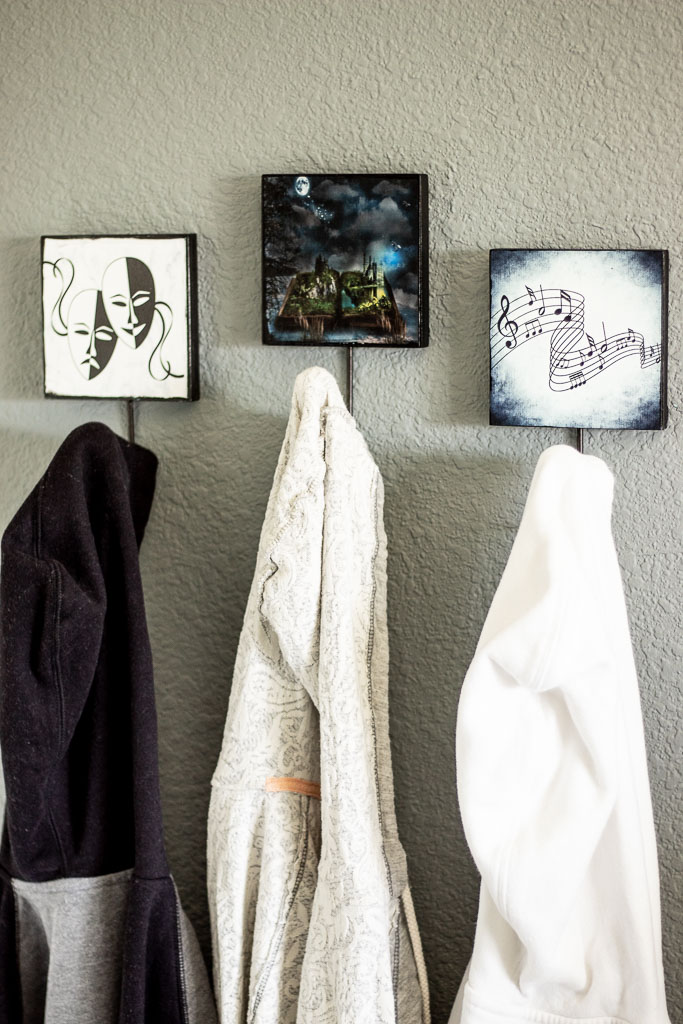
Redo some wood hooks with decoupage like these from Leap of Faith Crafting.
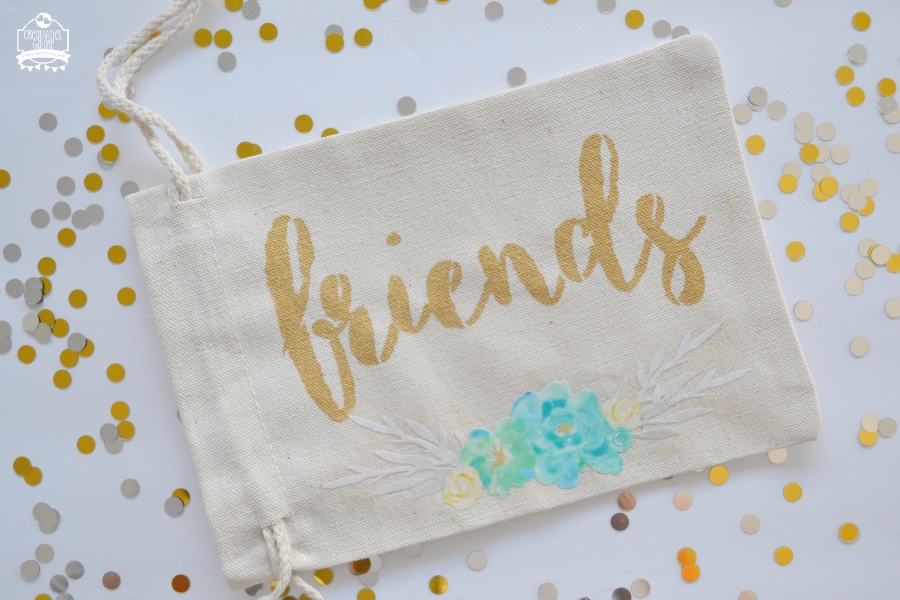
Did you know that you can decoupage onto fabric? Try making this decoupage canvas bag from Creativities Galore!
Give Mod Podge Ultra a try as it really is the best glue for glitter! Then try some of these other decoupage projects as well. Stay tuned as we have one more day left of Craft Lightning Decoupage week.

