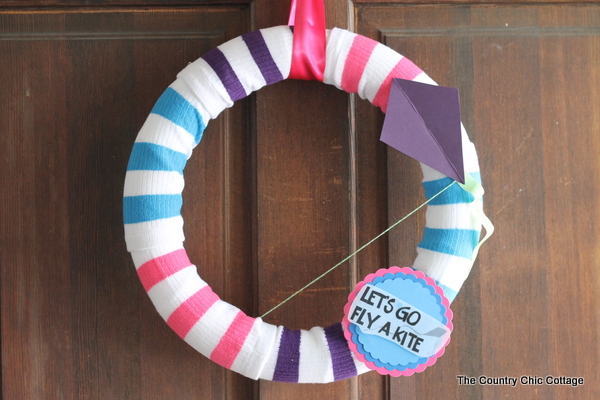
Make this easy spring wreath using socks and a few craft supplies. This is a fun project you can make with kids and customize it however you want!
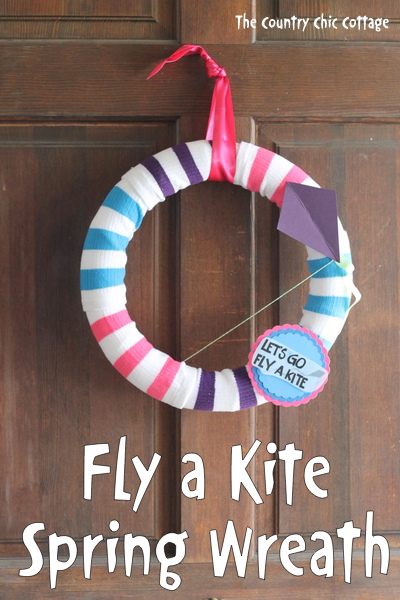
Did you read that title right? A wreath from socks?
Yep and I am going to show you how.
I love my sock snowman craft and came up with another fun sock craft!
A few weeks ago I found the cutest striped socks at the Dollar Tree. So I went to Facebook to see what suggestions you had to turn them into a craft. Most of the responses were sock monkeys, but then I came up with another plan.
This easy spring wreath.
The striped colors on the sock were just screaming spring to me. See how I turned these simple dollar socks into this adorable fly a kite spring wreath.
How to Make Spring Wreath from Socks
You can use your Cricut machine and a few craft supplies to make this adorable spring wreath.
Supplies Needed
- Cricut Explore or Maker
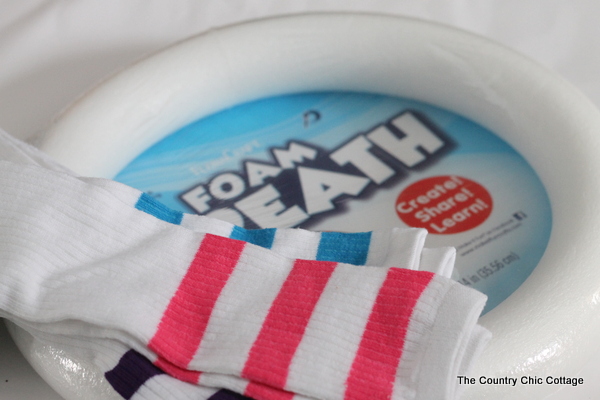
- Tube socks
- Wreath form
- LightGrip Cricut Mat
- Cardstock
- Hot glue gun
- Weeding tools (optional)
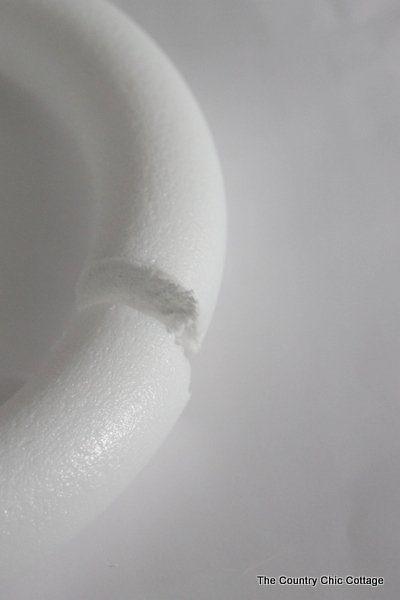
Use a knife or saw to separate your wreath in one area.
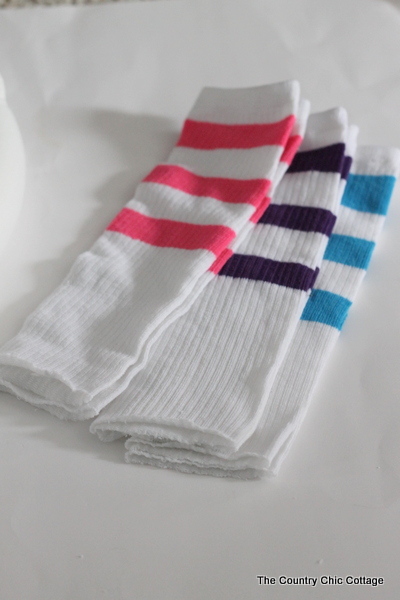
Cut the tops of your socks off as shown.
Start putting the socks over the wreath. Just work them over just like you were putting them on your leg. Putting them on stripes-side first works best.
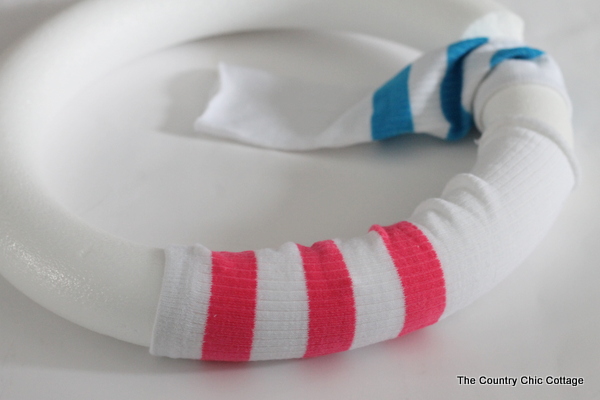
You are going to put the stripes of the next sock over the now raw cut edge of the sock before it.
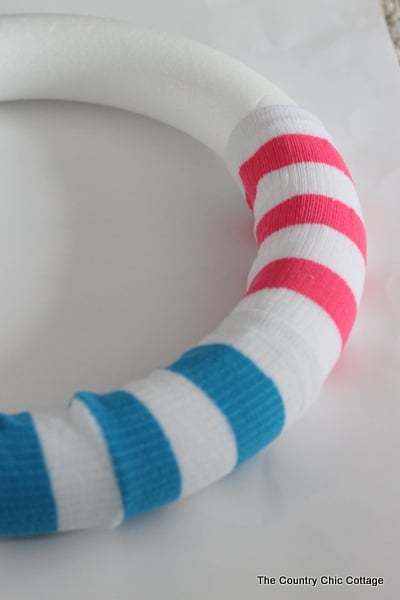
Eventually you will have a complete and finished looking wreath. All of this took maybe 10 minutes! This is an extremely quick and easy method for getting a cute wreath base.
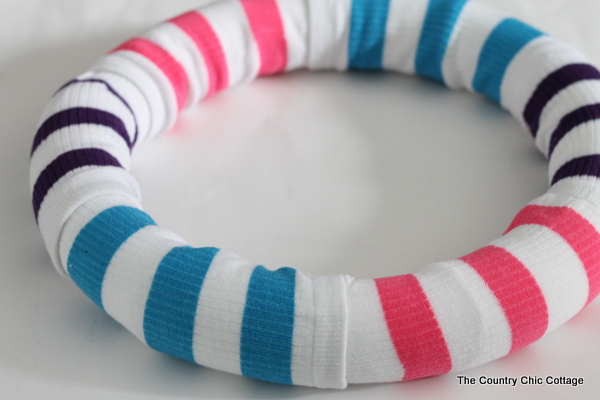
Then you can add some paper embellishments using your Cricut.
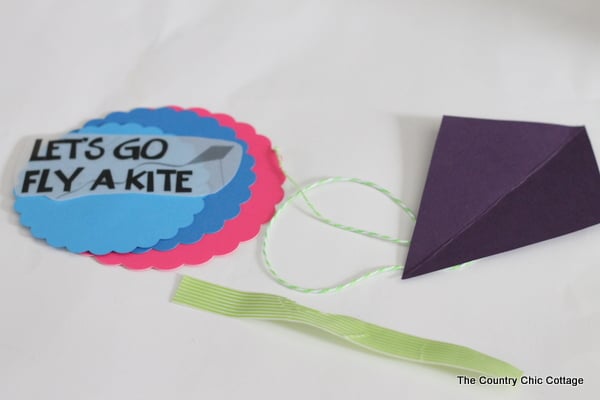
I decided on a kite craft theme for my wreath after finding the “Let’s Go Fly a Kite” graphic below in my scrapbook stash. I used a few other paper elements plus some baker’s twine and washi tape.
Cricut Design Space Instructions
Find a design that you like in Cricut Design Space. You can find a kite and fun shapes, similar to what I used here.
I also used some scalloped edges. Follow the on-screen instructions to cut the various pieces.
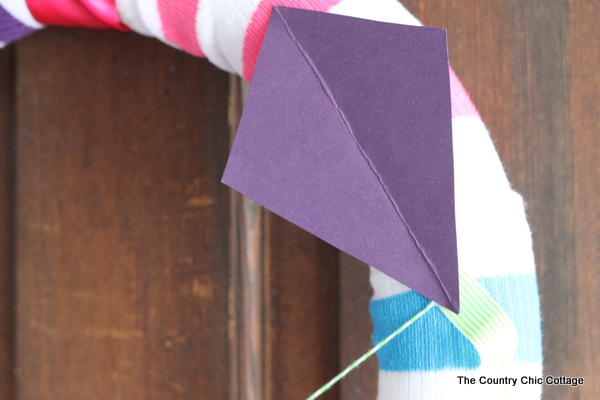
The “kite” went on the side of the wreath with a baker’s twine string. You can use whatever you have on hand for the tail. I actually used a piece of washi tape but ribbon will absolutely work. Everything was added to the spring wreath with hot glue.
I then added a few paper scallop circles with my graphic on top. Again putting them on with hot glue.
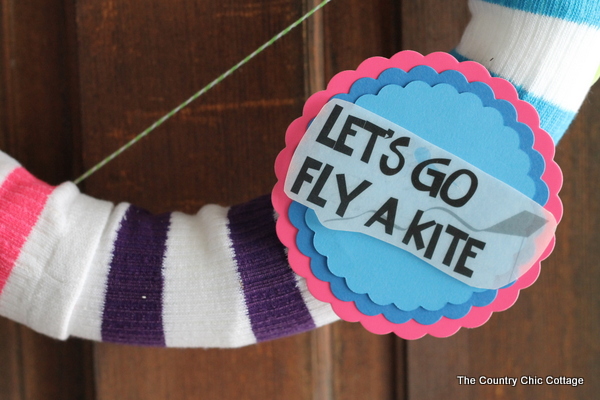
Now just add some ribbon to the top to hang and this one is ready to go on your door.
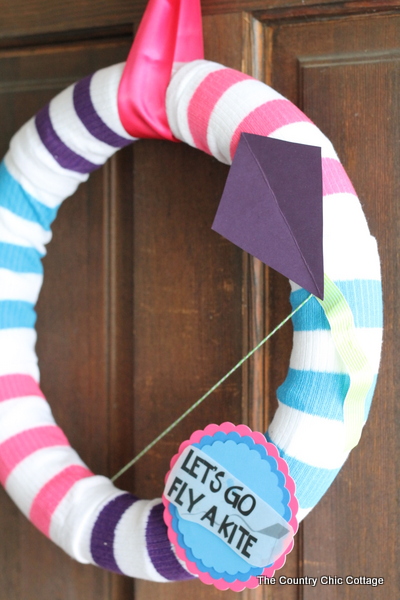
This wreath is perfect for the windy spring months when in fact you do just want to go fly a kite.
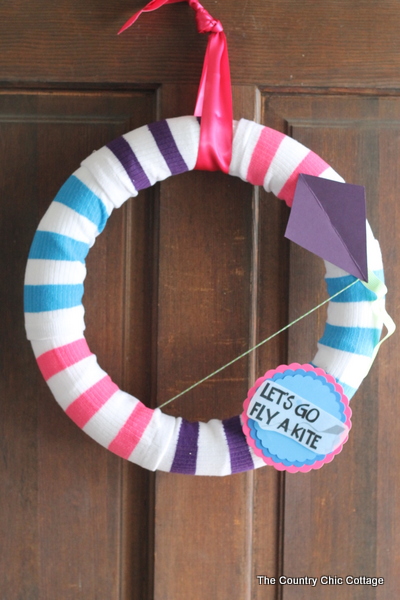
This spring wreath is so quick and easy you can even find time to go fly a kite with your kids when you are done! Make this perfectly simple spring wreath and add some cheer to your front door.
Equipment
- Cricut Explore or Maker
Supplies
- Tube socks
- Wreath form
- LightGrip Cricut Mat
- Cardstock
- Hot glue gun
- Weeding tools (optional)
Instructions
- Use a knife or saw to separate your wreath in one area.
- Cut the tops of your socks off as shown.
- Start putting the socks over the wreath. Just work them over just like you were putting them on your leg. Putting them on stripes-side first works best.
- You are going to put the stripes of the next sock over the now raw cut edge of the sock before it.
- Eventually you will have a complete and finished looking wreath. All of this took maybe 10 minutes! This is an extremely quick and easy method for getting a cute wreath base.
- Then you can add some paper embellishments using your Cricut.I decided on a kite craft theme for my wreath after finding the “Let’s Go Fly a Kite” graphic below in my scrapbook stash. I used a few other paper elements plus some baker’s twine and washi tape.
- Cricut Design Space InstructionsFind a design that you like in Cricut Design Space. You can find a kite and fun shapes, similar to what I used here.I also used some scalloped edges. Follow the on-screen instructions to cut the various pieces.
- The “kite” went on the side of the wreath with a baker’s twine string. You can use whatever you have on hand for the tail. I actually used a piece of washi tape but ribbon will absolutely work. Everything was added to the spring wreath with hot glue.I then added a few paper scallop circles with my graphic on top. Again putting them on with hot glue.
- Now just add some ribbon to the top to hang and this one is ready to go on your door.
More Fun Spring Wreath Ideas:


Ingenious. Fun and still cool.
Soooo clever!!! I am totally doing this (and giving you props for the idea, of course)!!!
This comment has been removed by the author.
Are you SURE this is socks? So pretty. Loved your guestpost on The Frugal Girls. New follower here and soon to be FB fan. Stop by my site for Wonderful Wednesday Blog Hop! It would be so great if you’d add some links. 🙂
Sinea at Ducks ‘n a Row
Cute cute!! Love this idea!
You are so crazy creative and this is beautiful!
Kelly @ View Along the Way
http://www.viewalongtheway.com
ingenius! Finally, a better us for soccer socks!
hehe I love the use of socks!
I love all the beautiful colors in this wreath! Super cute!
This is so cute and innovative!! Love the idea!
Too cute, Angie! I can’t believe you did this with socks!
I NEVER would have thought to use socks to make a wreath. How fun is that? And easy… I love easy!
This is so cute, Angie! I just saw those same socks yesterday and literally stood in the aisle for 5 minutes trying to figure out what I could do with them. I couldn’t think of anything on the spot, and since we just de-stashed I figured I shouldn’t start hoarding things with no plans again so soon. Now I wish I would have actually grabbed them!
Cover wreath with socks? Genius.
Angie!
I just LOVE this wreath idea. It’s so colorful and the little kite is precious!! Would you mind if I pinned this to The Home Depot’s wreaths Pinterest board?
Cheers!
Caroline
Senior Editor, homedepot.com
Certainly Caroline! Go right ahead! 🙂