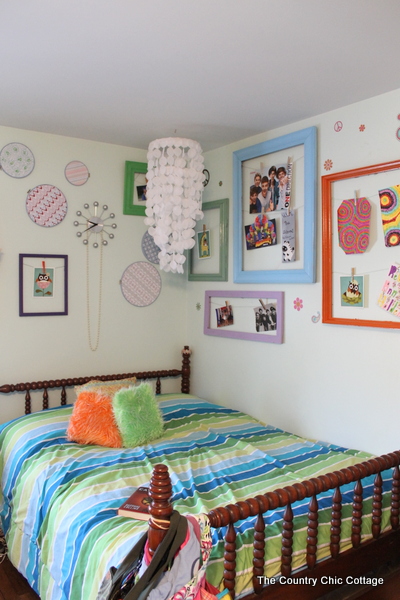
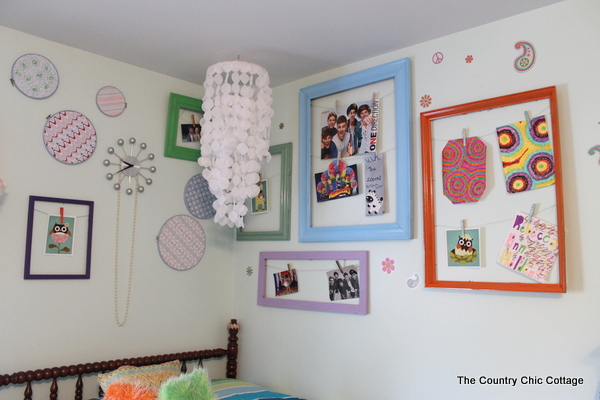
Make a revolving art wall for a teen room! This is a great solution for rotating artwork, cards, photos, and more without damaging the paint on the walls. Full tutorial below!
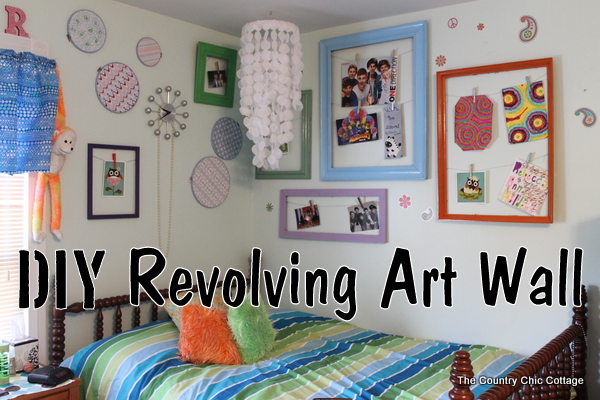
Taking a break from holiday projects for a little tween room update. We were all there once. You tape pictures up on your walls of the latest bands, heartthrobs, and trends. Well it is one of my pet peeves. The tape on the walls I worked so hard to paint makes my skin crawl. So I came up with a solution that would make us both happy.
I saw an project in the new Young House Love book for a revolving art wall. (Yep my copy came this past weekend!!) My wheels started spinning. My DIY revolving art wall will allow my preteen to change out her “art” as often as she feels like it and no tape or poster putty is required.
If you need more decor ideas for your teen’s room, I have plenty! Check out the big reveal here!
This project is super simple. I gathered frames of various shapes and sizes. Garage sales, thrift stores, my own stash — I spent maybe $5 on the entire project.
How to Make a DIY Revolving Art Wall Frame
Supplies needed for a revolving art wall frame
- Old frames of various shapes and sizes
- Paint (if needed)
- Clothes pins
- Bakers twine
Instructions
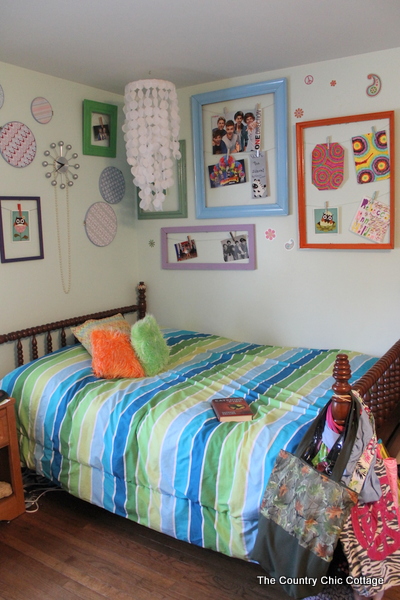
Next I painted them in a rainbow of colors. I let my tween pick the colors. Some were spray painted and others were painted with a brush.
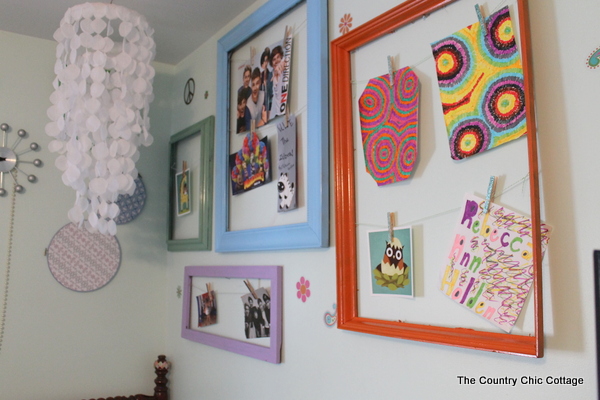
We strung each frame with baker’s twine in one or two strands. I used the baker’s twine to keep the wall colorful and bright.
We also made the clothespins. There are ones Mod Podged with glitter, scrap book paper, and some that are just painted.
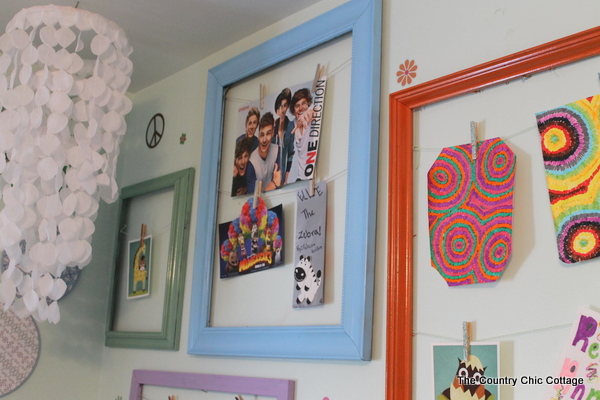
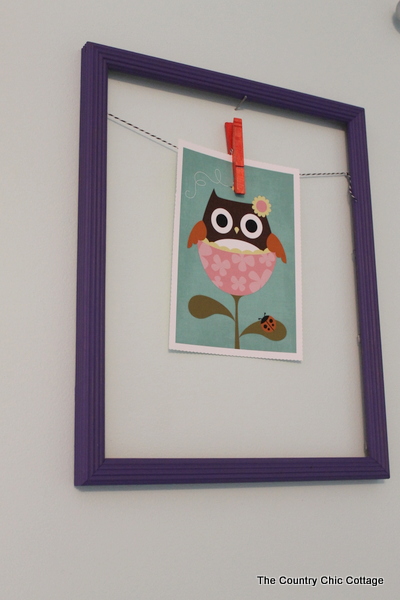
Next came the art hanging. I let her take over and hang whatever she wanted up on the frames. I was sent a few prints from Lee Art Haus that we both love. I was not paid for the mention of this shop but the prints were sent to me for free.
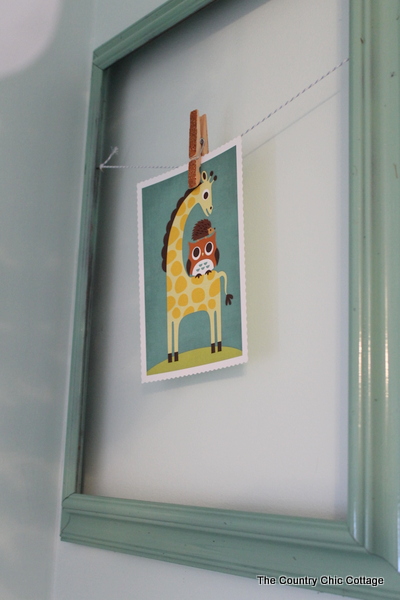
The prints are whimsical and there is a huge selection. If you are looking for any prints similar to these for yourself or your children, be sure to check out Lee Art Haus on etsy. From my personal experience, excellent quality, shipping, packaging, and customer service. Enjoy this one y’all! Maybe even a Christmas present for someone in your life.
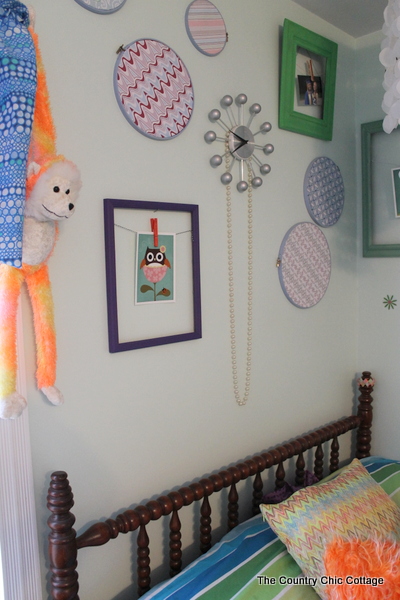
If anyone is wondering, you can find tutorials for the embroidery hoop art and the rose petal chandy right here on The Country Chic Cottage.
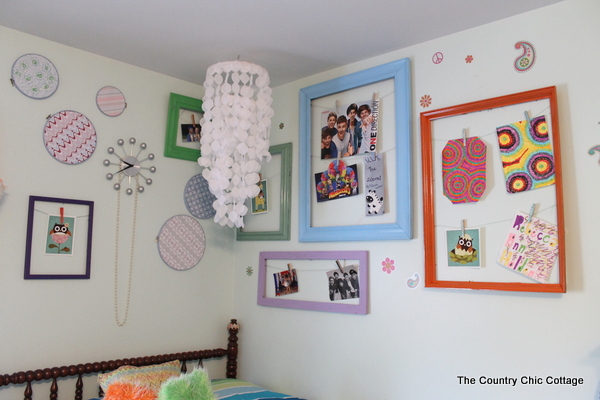
I hope y’all have enjoyed this project and can put it to work getting the tape off of your walls. So far so good for me!
Equipment
- Paint (if needed)
- Clothes pins
Supplies
- Old frames of various shapes and sizes
Instructions
- Paint frames as needed in the colors of your choice.
- Add baker’s twine to each frame in one or two strands. I used the baker’s twine to keep the wall colorful and bright.
- Next secure the art with clothes pins and display!


I absolutely love this idea! With four kids in the house I don’t want to see my freshly painted walls gouged with thumb-tacks either. Thanks for the cool (and easy) idea!
This is a great idea! It looks cute and saves your walls.