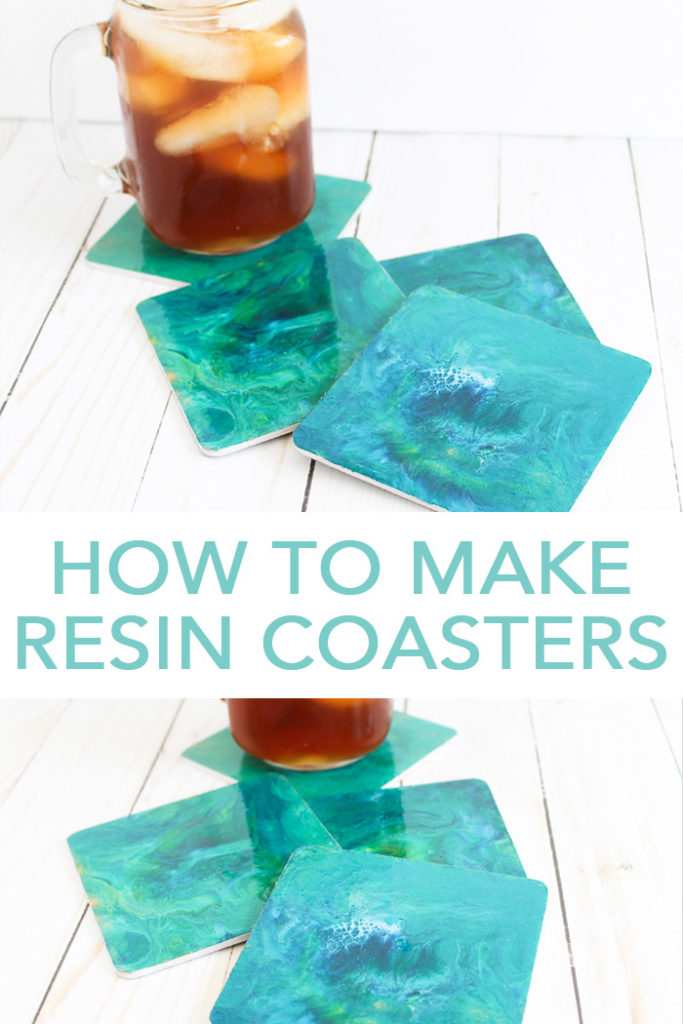
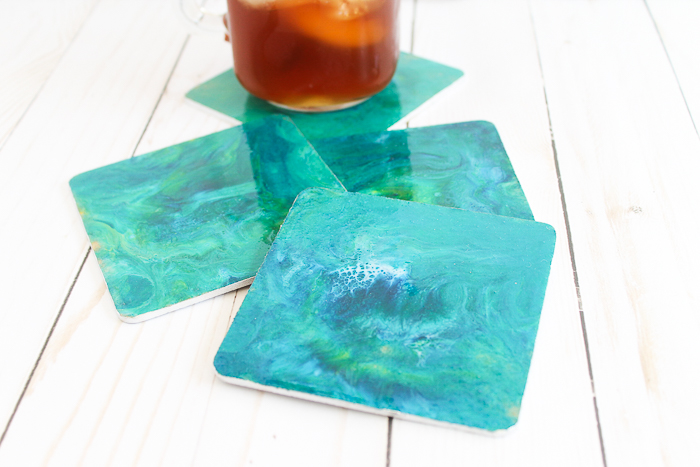
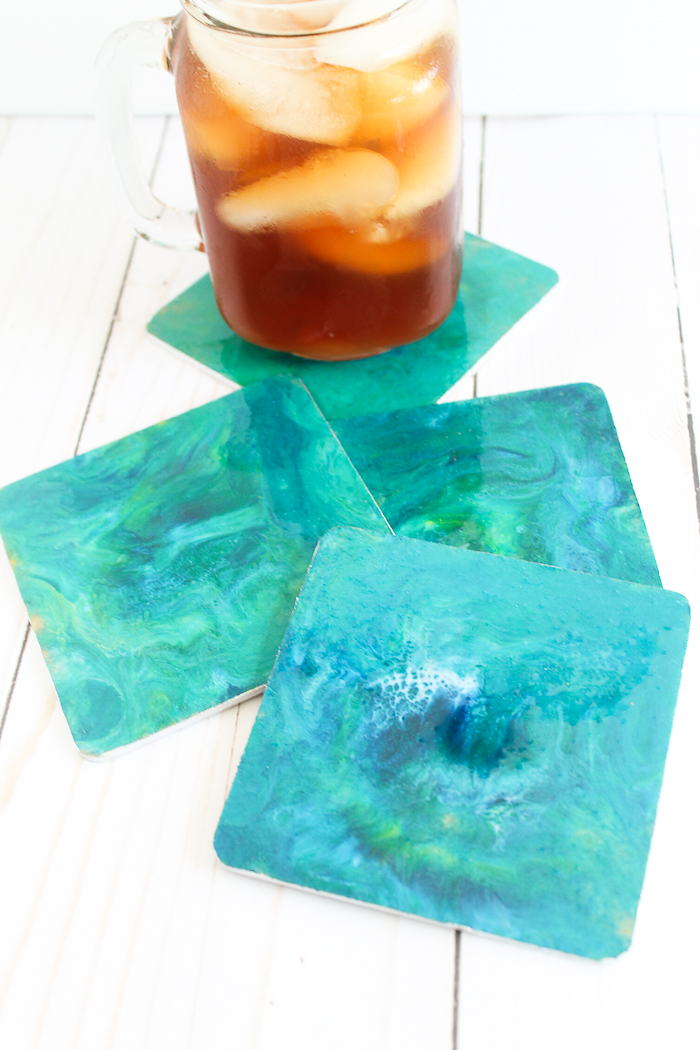
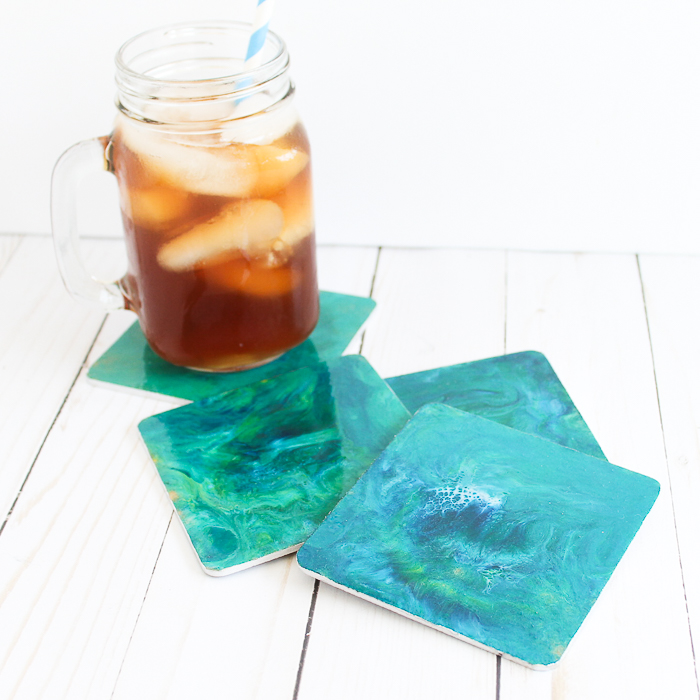
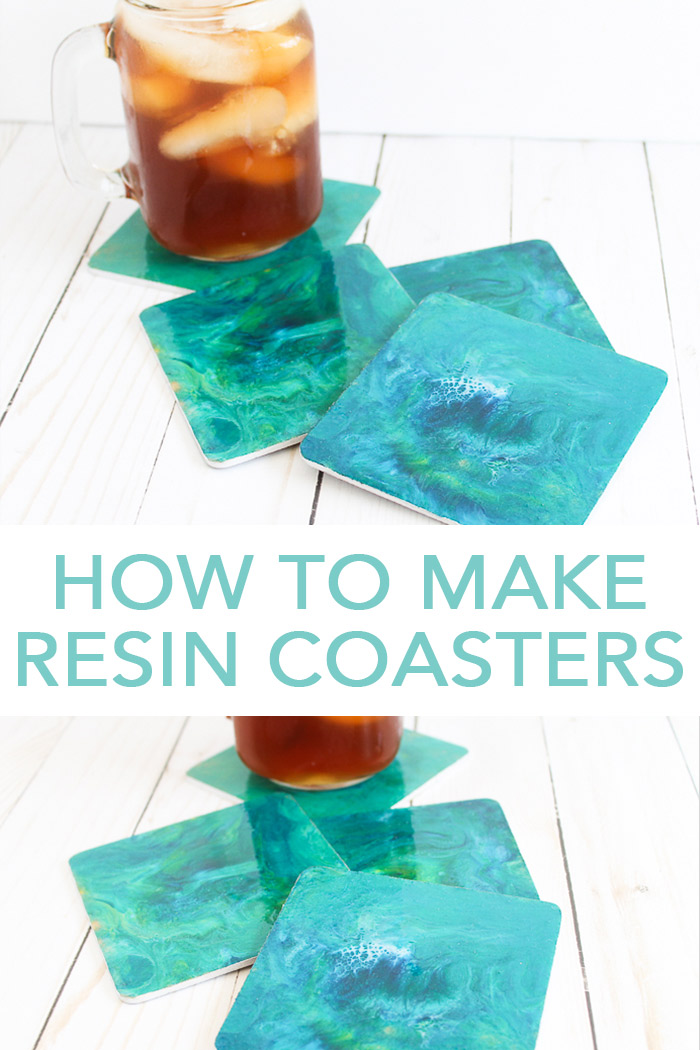
Resin coasters are actually easy to make and they are super durable. So, if you are looking for some coasters for yourself or to give as a gift, give resin a try! We are actually going to show you how to use a marbled resin technique to decorate these coasters. If you just want to pour a clear resin finish over coasters, then click here to see our photo coasters and follow those instructions.
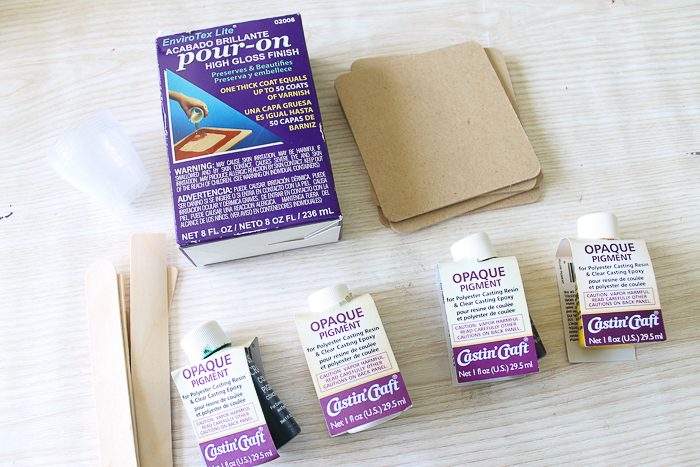
Supplies needed to make marbled coasters:
Some links below may be affiliate links which means that you do not pay anymore, however, a small commission will go to this site.
- Wood coasters
- EnviroTex Lite® Pour-On High Gloss Finish
- Castin’ Craft Universal Opaque Pigments in the colors of your choice
- Paint or sealer
- Measuring cups
- Mixing cups
- Stir sticks
- Liquid leafing paint or other craft paint
- Paintbrushes
How to make resin coasters:
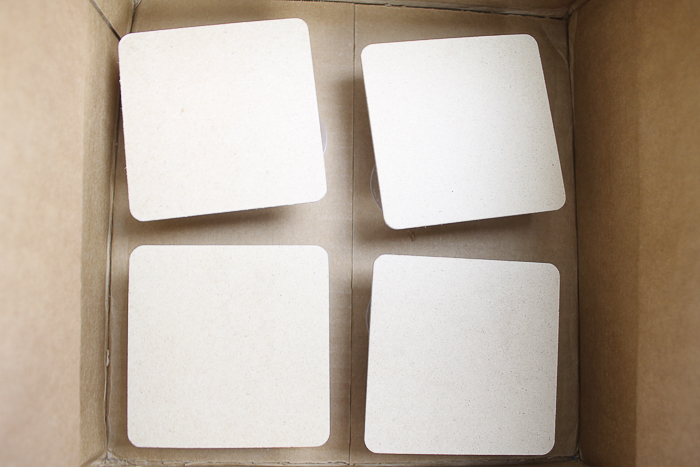
You will want to start by sealing your wood coasters in some way. I used a clear decoupage sealer but paint would work as well. This layer is just to minimize bubbles in your final project. You will want to allow this to dry completely before continuing.
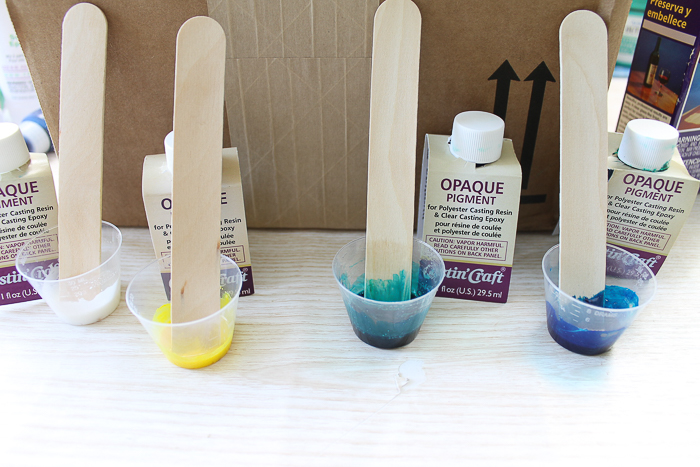
Then mix your 2 part epoxy resin. You just want to make sure to follow all instructions within the packaging as measuring and mixing is one of the primary reasons that resin projects are not successful. Once mixed, divide up your resin into individual small disposable cups. Add a few drops of pigment to each and mix well. I mixed white, yellow, some green with blue, and some blue with green.
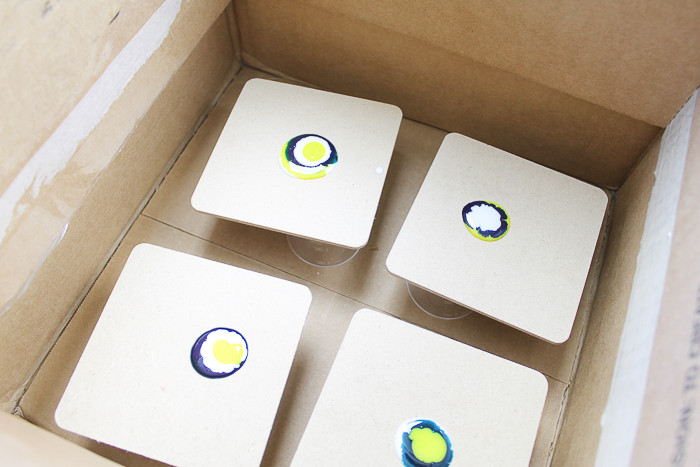
Add your coasters to a box or just protect your work surface well. This project is messy! You will also want to raise the coasters up off of your work surface. I used extra small cups but you can use anything that is disposable.
Then start randomly pouring your resin. I did a concentric circle method but I made each one different.
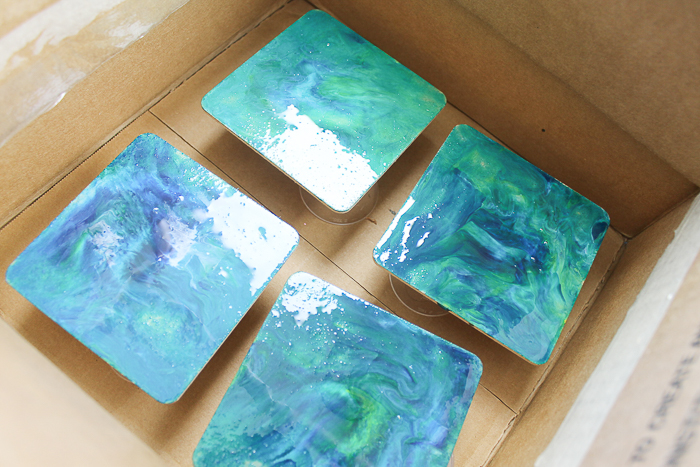
Then just work the resin until it covers your entire surface. You can tip then around or even use a stir stick to push the resin around. Wipe away excess from the edges and pop any bubbles according to the methods in the directions with your resin. You will also want to come back periodically to wipe away excess from the sides. Then allow to cure overnight.
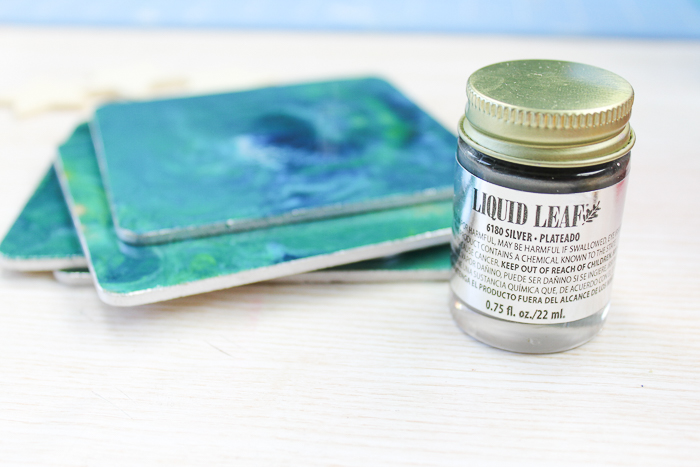
Once cured, you can use the liquid leaf paint to finish the sides. Just paint on and allow to dry.
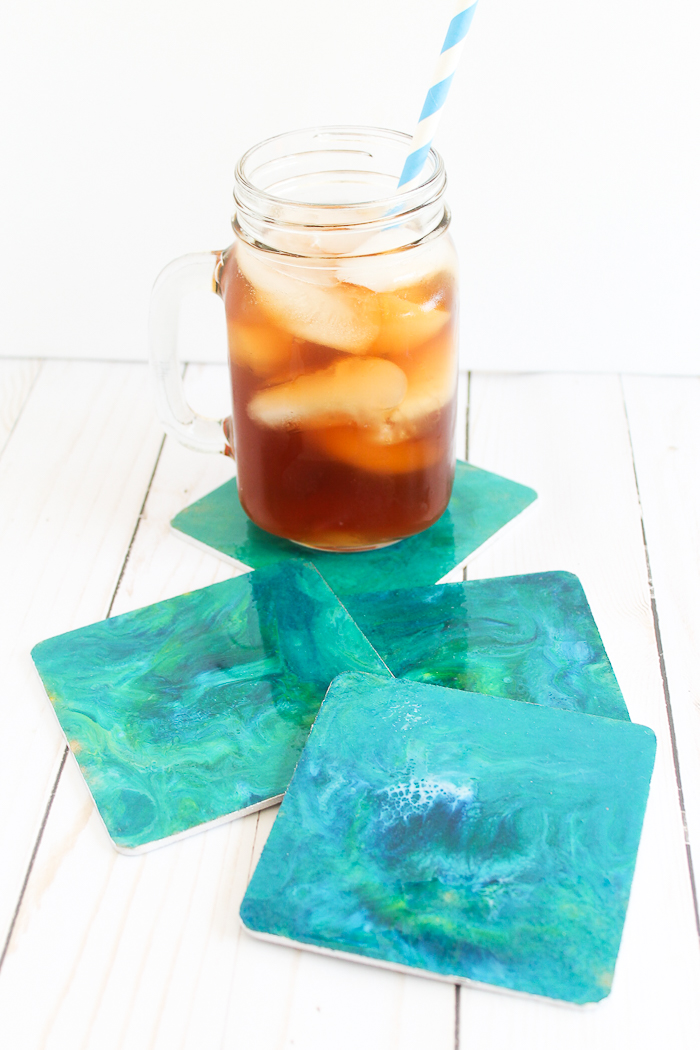
Once dry, you have some gorgeous resin coasters ready for your table!
I love the way mine turned out! The colors remind me of the ocean and these coasters are perfect for my summer decor.
Don’t be afraid of resin projects! Once you have a few successes, you will be hooked!
So, grab your supplies and whip up some resin coasters of your very own! Pick any colors that will match your decor and start marbling!
Love these DIY coasters and want more ideas? Try the links below!
- DIY Wood Coasters with the Cricut Maker
- How to Make Coasters with Maps
- Wood Burning Ideas: How to Make Coasters
- Copper Foil Coasters
- DIY Map Coasters
- DIY Coaster Gifts
Struggling with resin and need help?
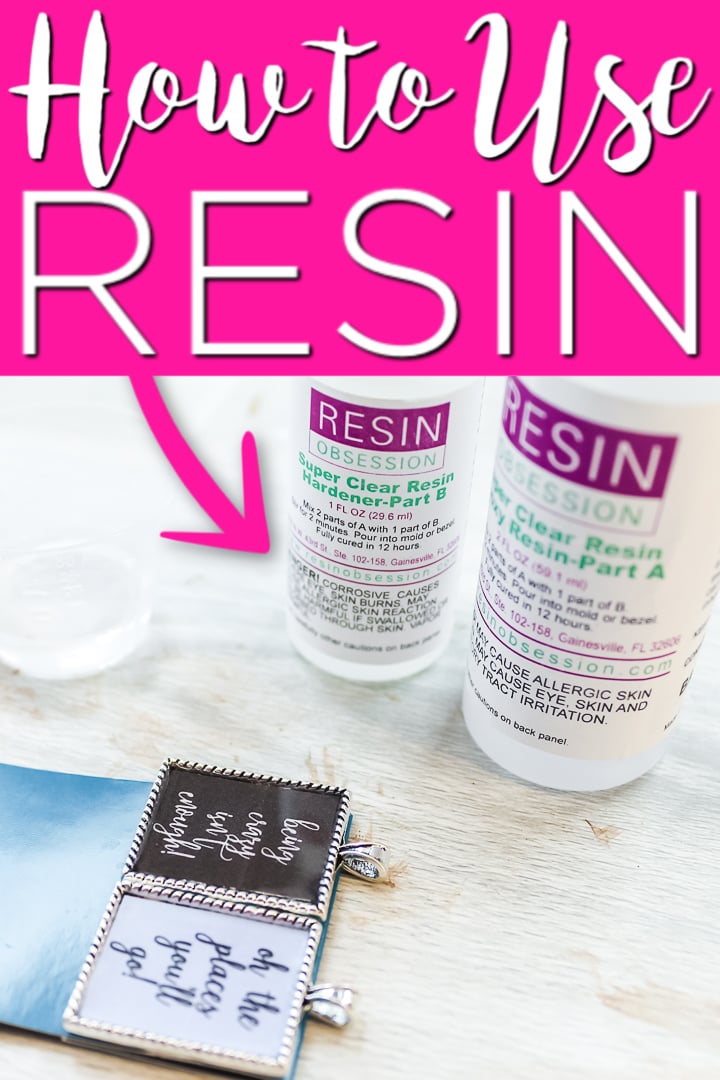
I know that a ton of you are intimidated by resin. Don’t be! You just need to know the basics and gain some experience with the medium. I have a course that will help you master epoxy resin and give you the confidence you need to tackle this project and so much more.
With unique insights drawn from more than a decade of creating and selling resin jewelry worldwide, this course is from an Amazon best-selling author on the topic. This class goes beyond making a few projects. You get thirty video lessons to give you clear directions on how to make resin jewelry you can confidently share and sell. Want to see more?
Struggling with resin and need help?
I know that a ton of you are intimidated by resin. Don’t be! You just need to know the basics and gain some experience with the medium. I have a course that will help you master epoxy resin and give you the confidence you need to tackle this project and so much more.

With unique insights drawn from more than a decade of creating and selling resin jewelry worldwide, this course is from an Amazon best-selling author on the topic. This class goes beyond making a few projects. You get thirty video lessons to give you clear directions on how to make resin jewelry you can confidently share and sell. Want to see more?

