DIY a vintage crate with Mod Podge and a wooden thrift store crate or storage box. Add a vintage label for extra flair!
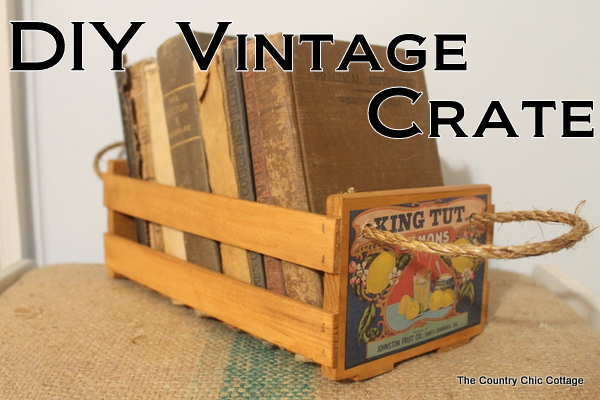
Let’s do something with a little farmhouse flair today. Let’s make a “vintage” crate. Y’all know how much I like to fake vintage items. You can give your home a vintage touch with some farmhouse flair and spend just a few dollars.
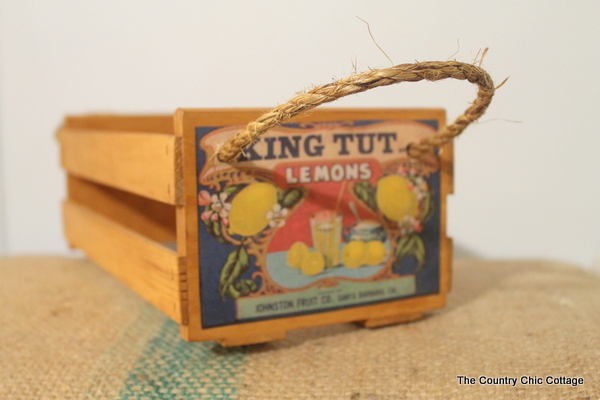
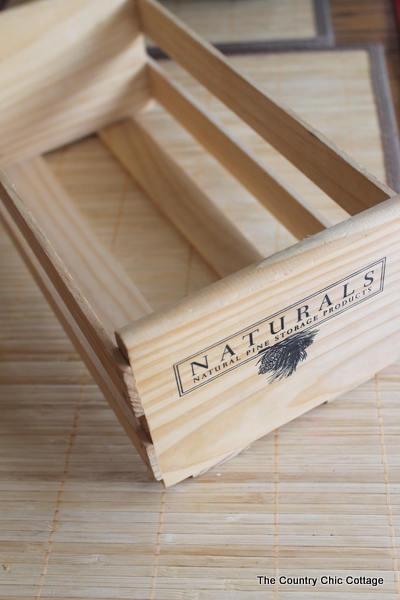
The inspiration for this project came from Pretty Handy Girl and her wine crate with rope handles. I put my own spin on this project with the “vintage” label. The project is super easy overall. You will need some sort of crate to make vintage. I found this one for $1 at a thrift store. It is a pine storage box. I have seen tons of these at the Goodwill and thrift stores.
How to Make a Vintage Crate
Supplies:
- Wood stain in the color of your choice
- Printable vintage fruit crate labels
- Mod Podge
- Scissors
- Drill
- Rope
Instructions:
Step 1:
Stain the unfinished box so the wood will look vintage. I used some stain I had on hand and applied it to all surfaces.
Step 2:
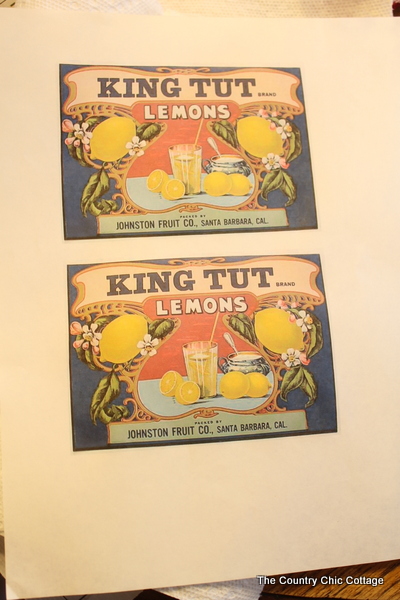
Find and size the labels to fit the crate and print them out. While the stain dried, I found printable vintage fruit crate labels and hit the jackpot over at Vintage Holiday Crafts!
I have learned tons about the proper way to use Mod Podge over the years, so that knowledge came in handy for this project.
Step 3:
Cut your labels out and apply a layer of Mod Podge to the BACK of your labels and let dry. That is right — don’t apply them yet.
Step 4:
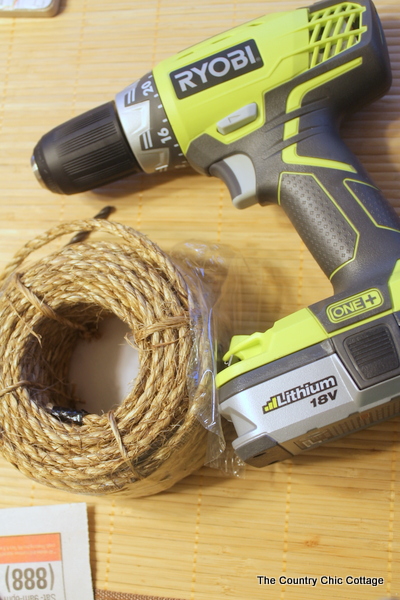
After that coat dries, then apply a coat of Mod Podge to your crate and apply the label. This makes sure your application is as smooth as possible. I was always getting wrinkles in my Podge projects…not anymore! After my labels dried, I broke out my Ryobi Lithium Ion Drill.
You will notice I said MY drill, right?? I posted a drill comparison between Lithium Ion and Nicad around Father’s Day. The Home Depot was nice enough to send us two drills to try out and compare.
The RYOBI 18V ONE+ Lithium Ion Compact Drill Kit won in my book, hands down. There are so many advantages with the Lithium Ion: the battery life, holding a charge four times longer, and the battery compatibility with other Ryobi Lithium Ion tools. There are all of those advantages!
What won me over completely? THE WEIGHT!! It is soooo much lighter than any other drill I have used. Girls….buy it for Father’s Day or birthdays or whatever but USE IT for YOU! Every girl needs a drill to love….don’t y’all think…
Step 5:
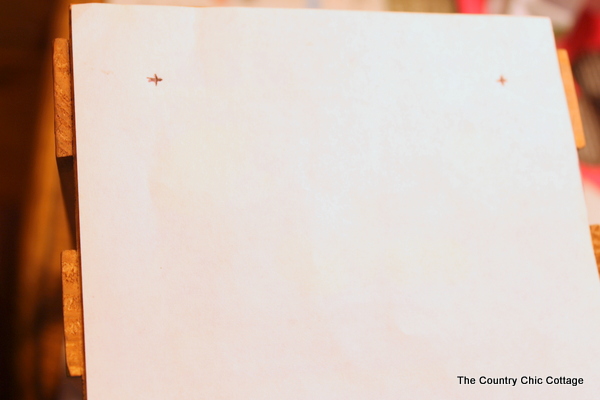
Okay, enough drill love, back to the project at hand. Create a template for where you want your holes to go and mark the box.
Step 6:
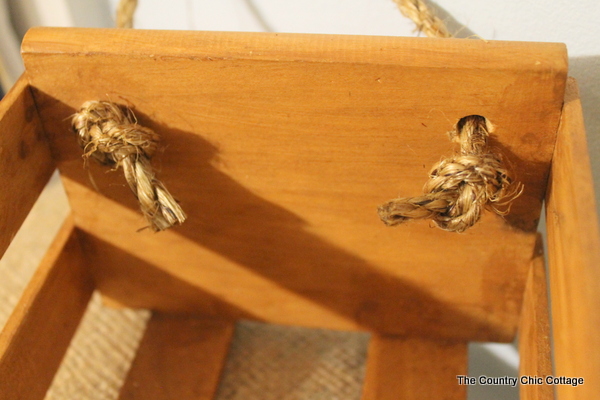
Drill large enough holes on both sides for your rope to run through. I did this using my beloved Ryobi Lithium Ion Drill.
Be sure to cut your rope VERY long. I made the mistake of not cutting enough to make my knots the first time, and I had to cut another piece.
Step 7:
Run your rope handles through both holes and tie it off. Then just trim any excess rope.
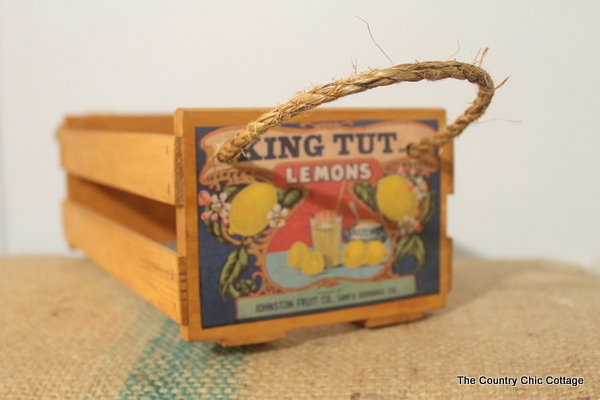
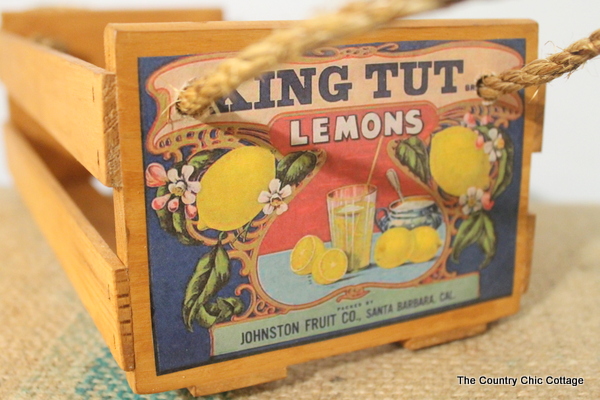
I’m in love with that vintage-looking label! I chose not to add a coat of Mod Podge or any sealer on the top of my label, because I think if the label gets beat up and worn over time, it will just make it look more authentically vintage.
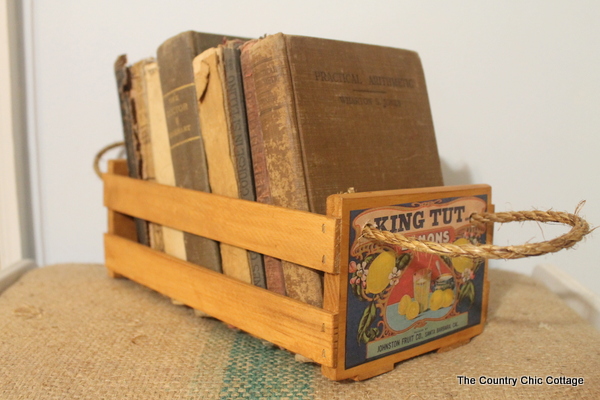
A collection of vintage-worn books with missing covers look incredible in these crates, but you can use them for organizing and displaying all kinds of treasures!
My DIY Vintage Crate is ready for display. Would you be fooled if you saw this in my home?
And if you are shopping, be sure to get your own RYOBI 18V ONE+ Lithium Ion Compact Drill Kit. It is available at The Home Depot or online at homedepot.com/ryobi. Tell hubby you bought it for him…I won’t tell…
Posting to Transformation Thursday at The Shabby Creek Cottage.
Posted at SNS on Funky Junk Interiors.
The Home Depot partnered with bloggers such as me to help promote their Lithium-Ion power tool Father’s Day program. As part of this promotion, I received compensation. They did not tell me what to purchase or what to say about the products. The Home Depot believes that consumers and bloggers are free to form their own opinions and share them in their own words. The Home Depot’s policies align with WOMMA Ethics Code, FTC guidelines, and social media engagement recommendations.
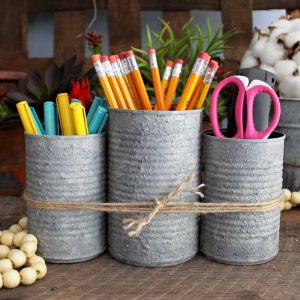
Looking for more farmhouse style ideas? Check these out!



Supplies
Instructions
- Start by staining all surfaces of the box, if desired. Allow to dry completely.
- Print and trim the labels according to the size of your crate. I found printable vintage fruit crate labels and hit the jackpot over at Vintage Holiday Crafts!
- Cut your labels out and apply a layer of Mod Podge to the BACK of your labels and let dry. Don’t apply them yet.
- After that coat dries, then apply a coat of Mod Podge to your crate and apply the label.
- Next, mark where you want the holes for the rope handles on your box.
- Drill large enough holes on both sides for the rope to run through.
- Run your rope handles through both holes and tie it off. Trim any excess rope.
- Fill your crate and display!




cute little crate Angie! great tip about mod podge!!! I didn’t know that.
whoa! you lucky girl to have The Home Depot notice you! I can’t get them to give me the time of day… sad too, cause I always shop them.
gail
Oh My Gosh…I just love this!! 🙂
Love it! I actually have some of these crates in my basement and thought I had a project in mind, but this kind of steers me in a new direction! I was lucky enough to try some of the Ryobi tools at Haven and loved them! Very impressed!
what a neat project. love the pix of you with the drill… a woman who is skilled with power tools knows no limits!
Super cute crate, Angie! And I **LOVE** the photo with the drill!! Lookin’ good, girl! 🙂
Great job! Liz
Super cute!! I love the books inside too!
This is so cute! I pinned it to come back to when I get some free time. I hoard old books, so this will be perfect for displaying them. Thanks, Angie!
xoxo,
Johnnie
Angie, the crate turned out so cute!
I have been so intimidated by using a drill. Your project looks simple (and fun!) and a good place to start for me!
Angie, it is adorable!! I like the ropes a lot and I love how you styled it with the older books. Very cool. 🙂
I love it! Pinning 🙂
I love that crate–I am going to have to try that myself….Thanks! Linda
mysewwhatblog
Cute crate!
love the wood and rope…
also didn’t know the tip about the Mod Podge!
thanks for sharing.
Pat
Lo-ove it. Going to be looking for crates next week. I Mod Podge quite a bit, but didn’t know about the trick. Can’t wait to try it out.
I love the idea and I love what it looks like!