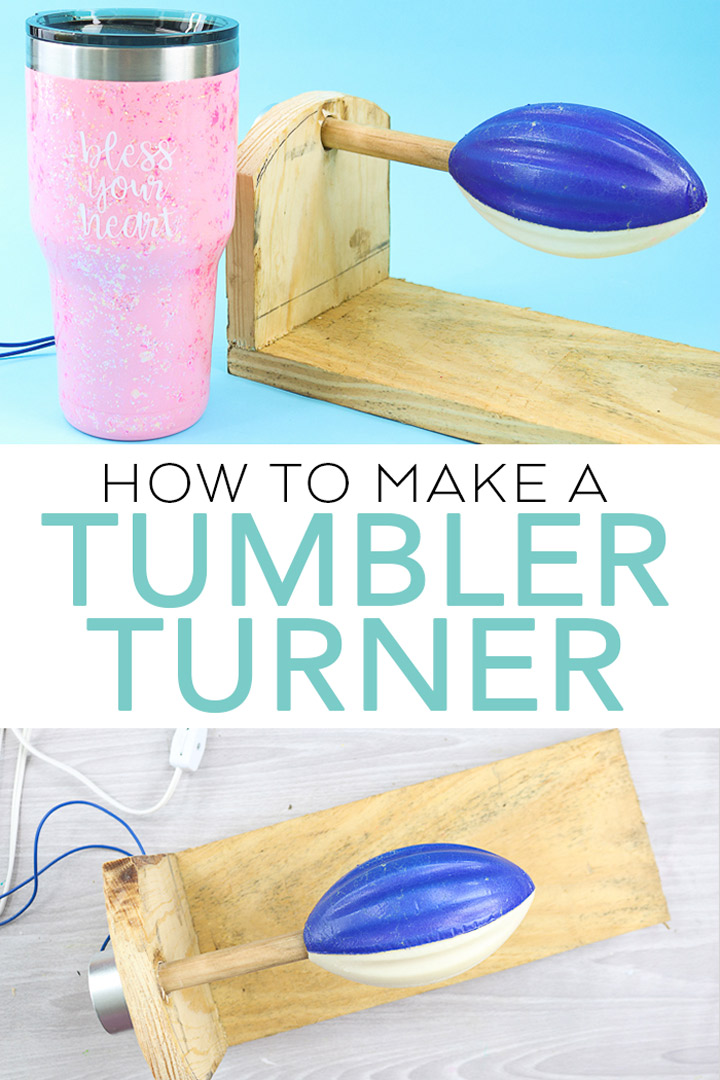
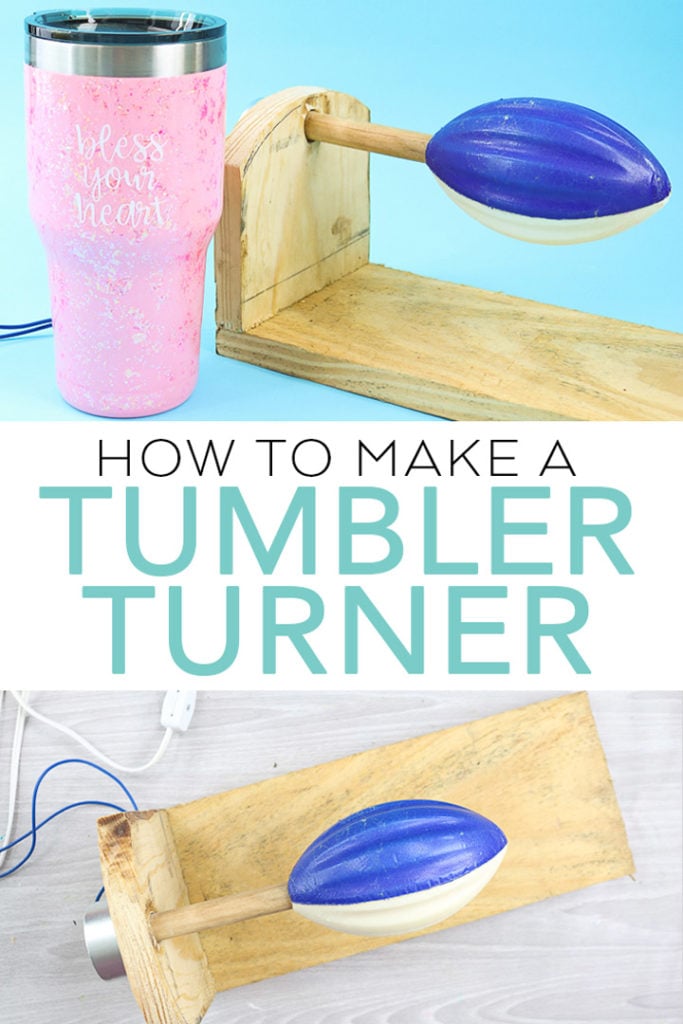
Today I am going to show you how to make a tumbler turner. We have already talked about how to make an epoxy tumbler with the Spin It from We R Memory Keepers here. But what if you don’t want to spend the money on a store-bought cup turner? Well, it is time to make a DIY cup turner then! Follow along below as we make a DIY tumbler turner that is perfect for making those glitter cups.
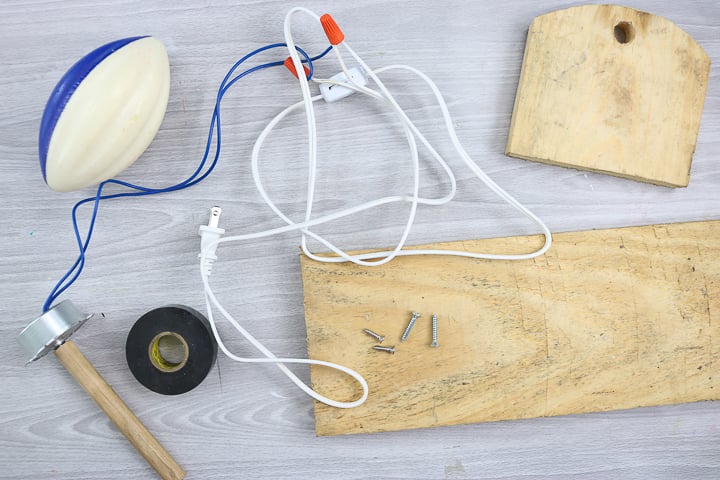
Supplies needed to make a DIY tumbler turner:
- Motor (Click here for the one I used.)
- Cord (Click here for the one I used.)
- Wood pieces
- Wood dowel (5 1/2 to 6 inches long and 5/8 to 3/4 inch in diameter)
- Wire nuts
- Electrical tape
- Screws
- Football or pool noodle (needs to fit your cups tightly)
- Drill
- Drill bit
- Industrial grade adhesive
How to Make a Tumbler Turner
Video Tutorial
Want to watch me make this DIY tumbler turner? Then just play the video below!
Can’t watch or need more details? Just follow along below!
How to Make a Tumbler Turner
Written Instructions:
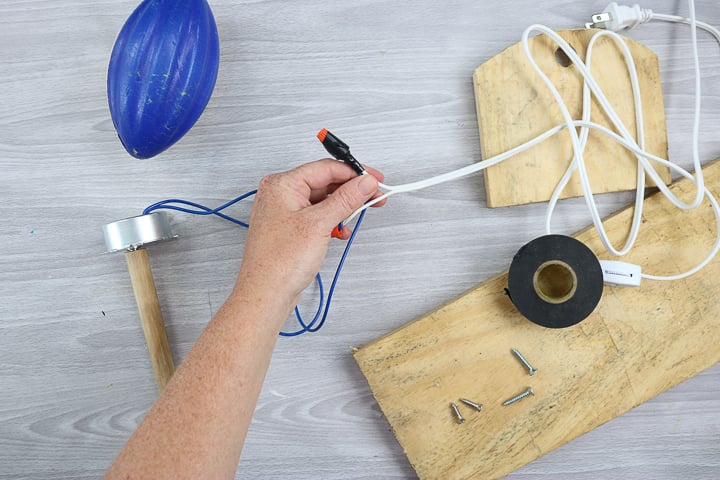
Ready to learn how to make a cup turner? It is actually easier than you may think. Start by wiring the motor. MAKE SURE IT IS NOT PLUGGED IN! Use wire nuts to screw one wire from the plug to one wire for the motor. Cover with electrical tape. Repeat for the second wire. NOTE: It doesn’t matter which wire goes with which as this just determines motor direction. You can test the motor after wiring to ensure it is working.
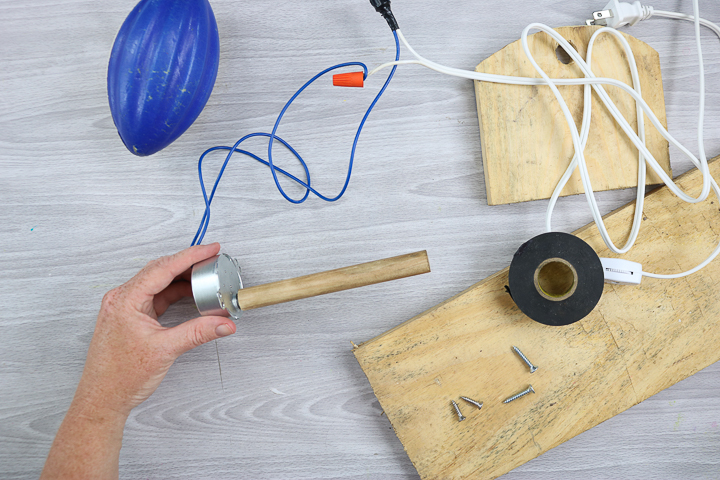
Find the center of your dowel rod and drill a hole slightly undersized for the rod coming out of your motor. In this case, the rod was 1/4 inch so I drilled a 1/4 hole. Then press the dowel rod onto the motor with your hand. This will ensure a tight fit. You can also use some adhesive to ensure this does not slip when in use. AGAIN THE MOTOR SHOULD NOT BE PLUGGED IN!
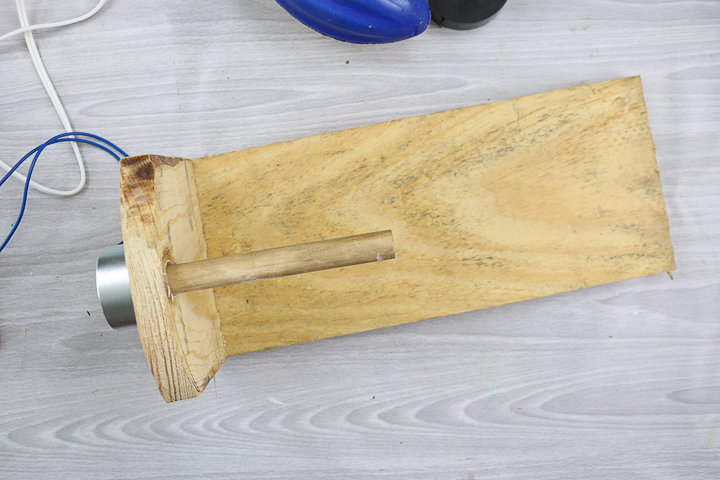
You will need two boards. One longer piece for the base and one shorter piece with a hole drilled in it for the motor. This hole needs to be larger than your dowel with plenty of clearance. Put the dowel through this hole and secure the motor with some screws in the mounting brackets.
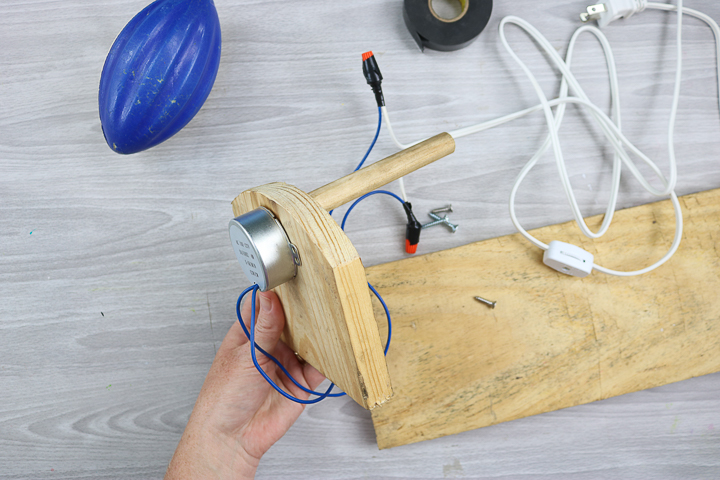
Then use additional screws to put the two pieces together.
Now you need to add something to hold the cup on the end. A foam football or piece of a pool noodle are popular options. Just make sure it fits the cups you will be making snugly. Then cut a hole if needed.
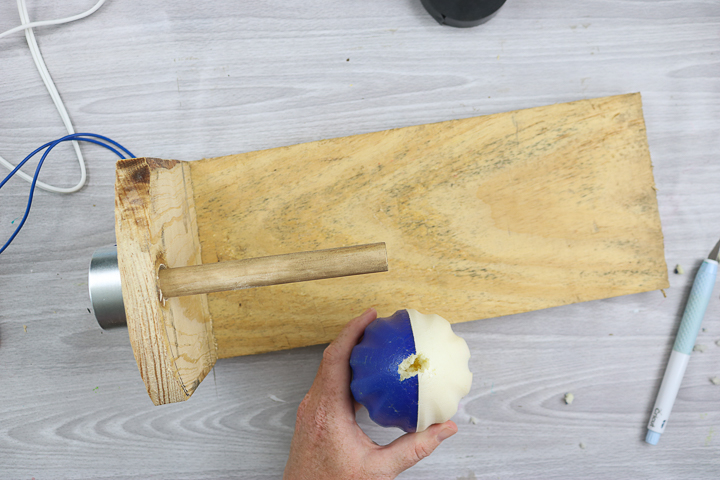
Place on the dowel rod
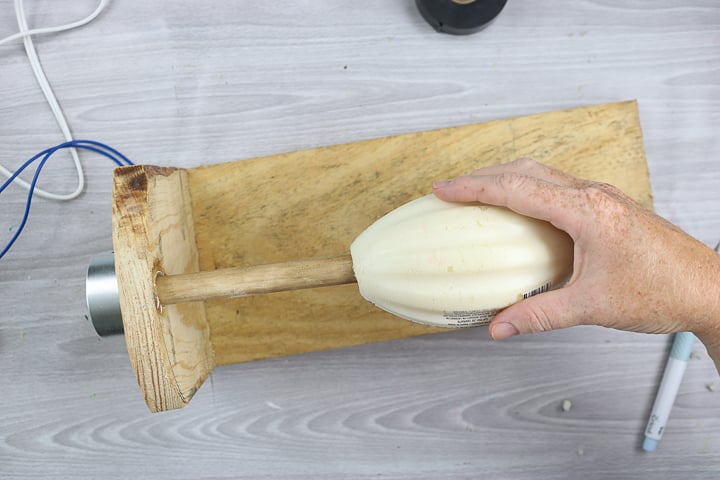
Then remove, add a bunch of glue to the inside, and add back to the dowel. Allow to dry completely before using.
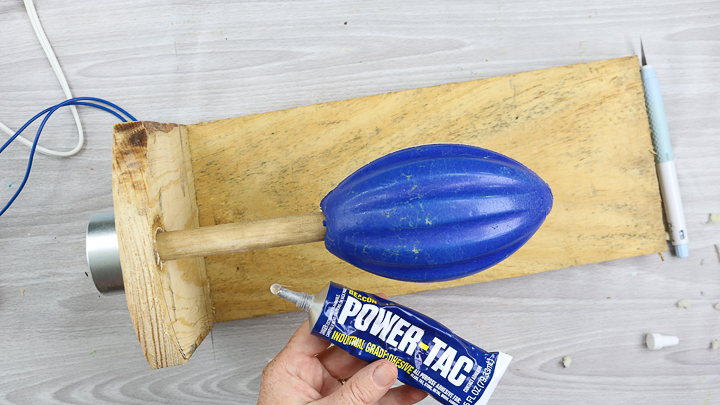
You have just made your own DIY cup turner! Now it is time to make a glitter tumbler or two (or a dozen!)
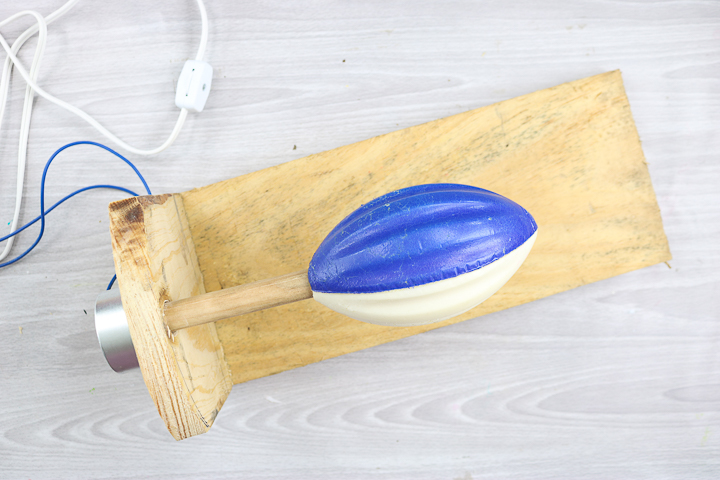
Which is better a DIY Tumbler Turner or the Spin It?
The answer is that I really don’t know! The DIY cup turner we made with this tutorial is definitely cheaper than the Spin It. But, I don’t make enough cups to really put both to the test. Which will last longer? What will be the price per cup made? Not sure! I will say the DIY version is quieter and seems to do a good job. The Spin It, of course, comes already put together so you can skip all of these steps and get right to the making. I think there are benefits and drawbacks to both.
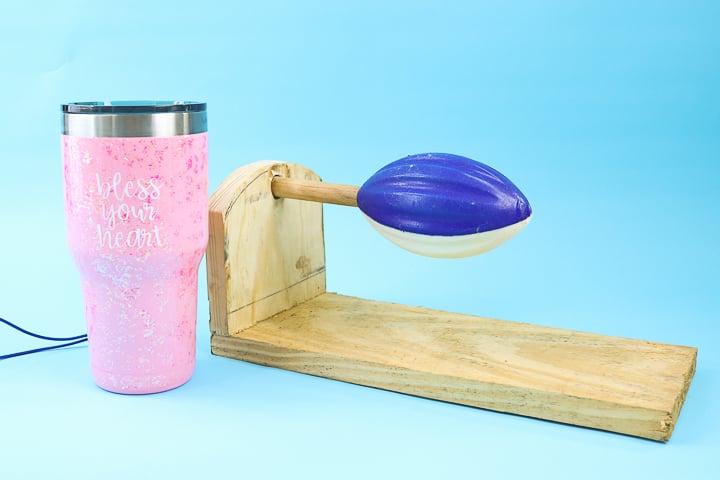
So, now that you know how to make a tumbler turner, will you make one for your glitter tumblers?
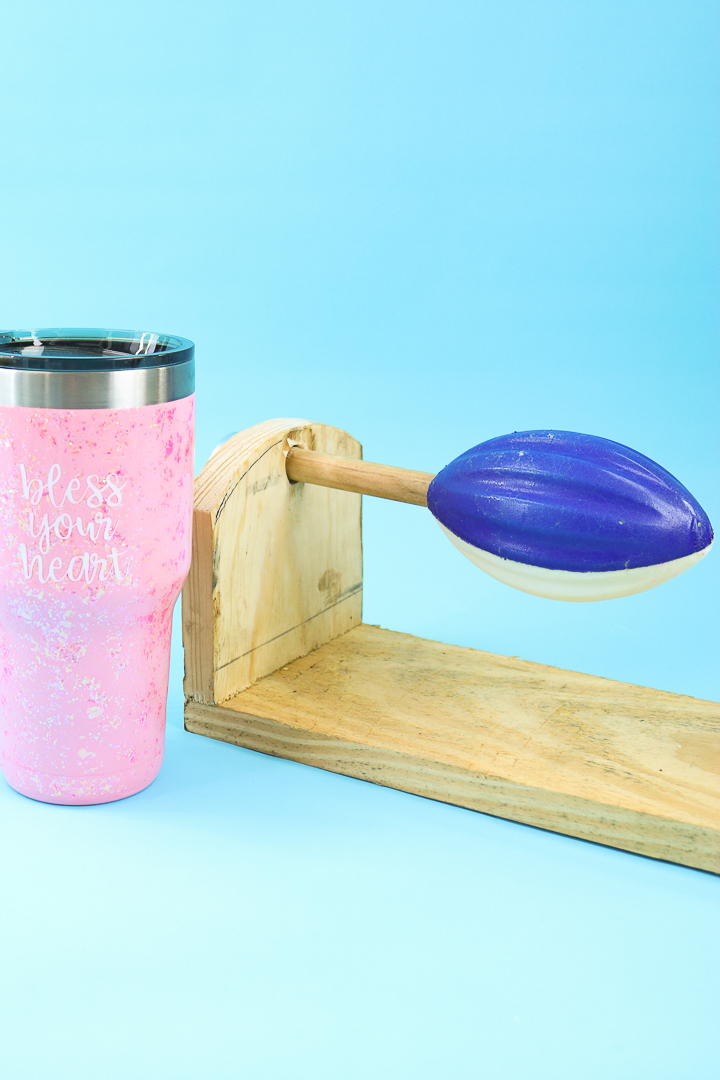
These tumblers are so fun to make and they make the absolute best gifts!
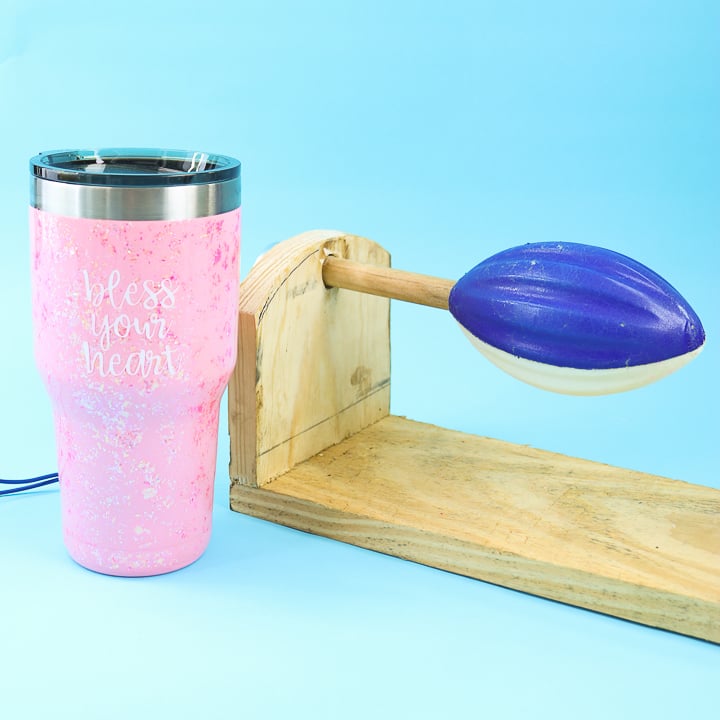
So, made a DIY tumbler turner of your very own and make a few of these cups for friends. They will love the results!
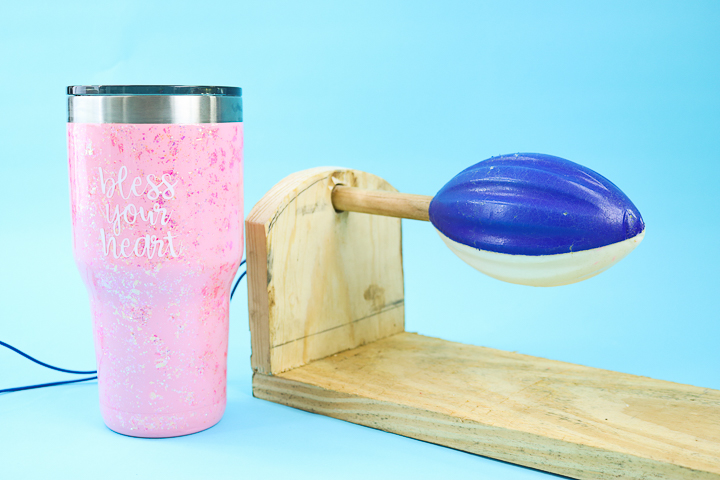
Want to print the instructions for this cup turner? Use the card below!
Supplies
- Motor
- Cord
- Wood pieces
- Wood dowel (5 1/2 to 6 inches long and 5/8 to 3/4 inch in diameter)
- Wire nuts
- Electrical tape
- Screws
- Football or pool noodle (needs to fit your cups tightly)
- Drill
- Drill bit
- Industrial grade adhesive
Instructions
- Ready to learn how to make a cup turner? It is actually easier than you may think. Start by wiring the motor. MAKE SURE IT IS NOT PLUGGED IN! Use wire nuts to screw one wire from the plug to one wire for the motor. Cover with electrical tape. Repeat for the second wire. NOTE: It doesn’t matter which wire goes with which as this just determines motor direction. You can test the motor after wiring to ensure it is working.
- Find the center of your dowel rod and drill a hole slightly undersized for the rod coming out of your motor. In this case, the rod was 1/4 inch so I drilled a 1/4 hole. Then press the dowel rod onto the motor with your hand. This will ensure a tight fit. You can also use some adhesive to ensure this does not slip when in use. AGAIN THE MOTOR SHOULD NOT BE PLUGGED IN!
- You will need two boards. One longer piece for the base and one shorter piece with a hole drilled in it for the motor. This hole needs to be larger than your dowel with plenty of clearance. Put the dowel through this hole and secure the motor with some screws in the mounting brackets.
- Then use additional screws to put the two pieces together.
- Now you need to add something to hold the cup on the end. A foam football or piece of a pool noodle are popular options. Just make sure it fits the cups you will be making snugly. Then cut a hole if needed.
- Place on the dowel rod
- Then remove, add a bunch of glue to the inside, and add back to the dowel. Allow to dry completely before using.



Thank you!!!!! My husband and I have been going back and forth about the cost of the Tumbler Turner on Amazon. Your information means we can use ours money smarter and make more than we could purchase!!!